
Security Policies in Systems Manager
Security policies in Systems Manager (SM) networks can be used to monitor a number of security-related data points on enrolled client devices. Compliance information can then be used to generate scheduled reports or control deployment of apps and profiles to clients through the use the automatically generated security dynamic tags. This article will walk through the configuration and use of security policies.
Note that creating policies alone does not enforce or block behavior on devices. A tag labeling a device as 'compliant' or 'violating' is automatically applied to all devices, and needs to be used to scope profiles or apps to grant conditional access, or conditionally apply more restrictions. See the article on dynamic tags for more info.
For info on related topics, refer to the articles on App blacklist/whitelist and the application of tags and scoping with security policy tags.
Note: Some security policy features are not available for Legacy SM users. Differences will be indicated where relevant.
Creating Security Policies
- Navigate to Systems manager > Configure > Policies.
- Click Add new along the right side of the page.
Note: Customers with Legacy SM can only create one security policy, and thus skip this step.
- Enter a Security policy name that describes its intended use or purpose.
Note: The name can only contain letters, numbers, dashes, underscores, and periods, and must not be blank.

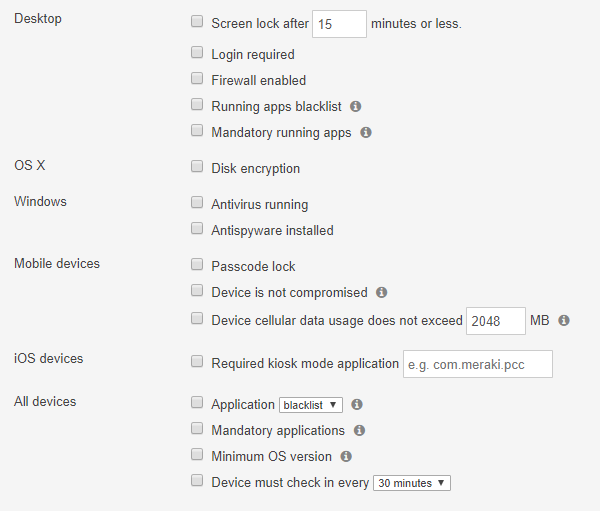
- Select any of the traits that should be used to determine device compliance. See below for an example.
- Click Save Changes.
If additional policies need to be configured, click Back to list and repeat from Step 2.
Deleting Security Policies
Note: Legacy SM users can only have one policy, which is only used for security reports. Thus it cannot be deleted. Instead, delete any undesired reports.
- Navigate to Systems manager > Configure > Policies.
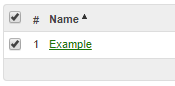
- Check the box next to the policy or policies that should be deleted.
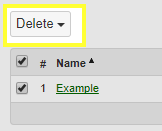
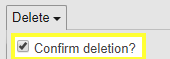
- Click Delete.
- Check the box confirming deletion.
- Click Delete # check security policy/policies.
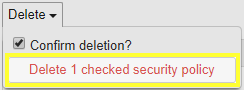
- The security policy/policies will then disappear from the list and be removed from any policies or security reports.
Generating Security Reports
Once a security policy has been created, security reports can be used to automatically send compliance reports to configured administrators or e-mail addresses.
- Navigate to Systems manager > Configure > Alerts.
- Under the Security report section, click Add a new report.

- Select a Security policy to report on.
- Choose a Schedule that indicates the frequency the report should be sent at.
- Check the box for Only failing? if only devices out of compliance should be included in the report.
- Check the box for Filter tags? if only devices with certain tags should be included in the report.
- If Filter tags? is checked:
- Select the Tag scope. "Any" requires at least one of the tags be present on a client to match. "All" requires all of the tags be present on a client to match.
- Select the Tags to match on.

- Click Save Changes.
To delete a report, simply click the X in the Delete column next to the report. Then click Save Changes.

To control who should receive the scheduled reports, use the Delivery settings section of the Configure > Alerts page.

Checking Device Compliance
There are few different ways to determine if a client is compliant with a security policy.
To check an individual client:
- Navigate to Systems Manager > Monitor > Devices.
- Select the client that is to be checked.
- Under the Security section, the Security policy field will indicate compliant with any existing policies. Green indicates compliance
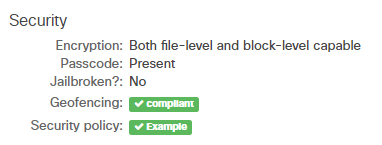
Red indicates non-compliance
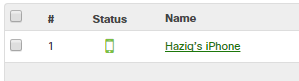
To check multiple clients:
- Navigate to Network-wide > Monitor > Clients.
- Using the dropdown in the upper right corner above the client list, select Security.
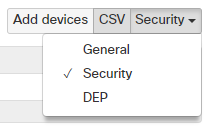
- This will present a set of security policy fields within the client list.
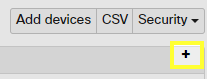
- To add or remove fields, use the + sign on the right end of the header row.
- Within the list that appears, check the boxes in the Security section for any desired columns.
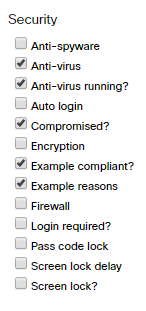
- The list will now indicate the compliance of policies or specific security traits, as selected.

Using Security Policies to Control Profiles
Similar to other types of tags, security policy compliance can be used to dynamically control which client devices will receive a particular profile. Both "Compliant" and "Violating" tags will be available for each configured security policy in the Scope for a given profile.
The example image below shows the Scope for a profile containing VPN settings, which should only be pushed to devices with the "vpn" tag and are compliant with the security policy indicated.

Note: This feature is not available for Legacy SM users.
Additional Resources
Please review our documentation for more information on the application of tags and scoping.