
Manual Channel Selection, Transmit Power Adjustment, and Antenna Configuration
Overview
The ability to manually set the Radio Channel and Transmit Power on Meraki MR Access Points, MX64/65/67/68W Security Appliances and Z1/Z3 Teleworker Gateways gives you more granular control over the wireless coverage in your environment. Additionally, certain MR models feature the ability to add and configure External Antennas. You can successfully make these adjustments in the Cisco Meraki dashboard by following the steps below:
MR Access Points
- Log in to the dashboard.
- Navigate to Wireless > Configure > Radio settings.
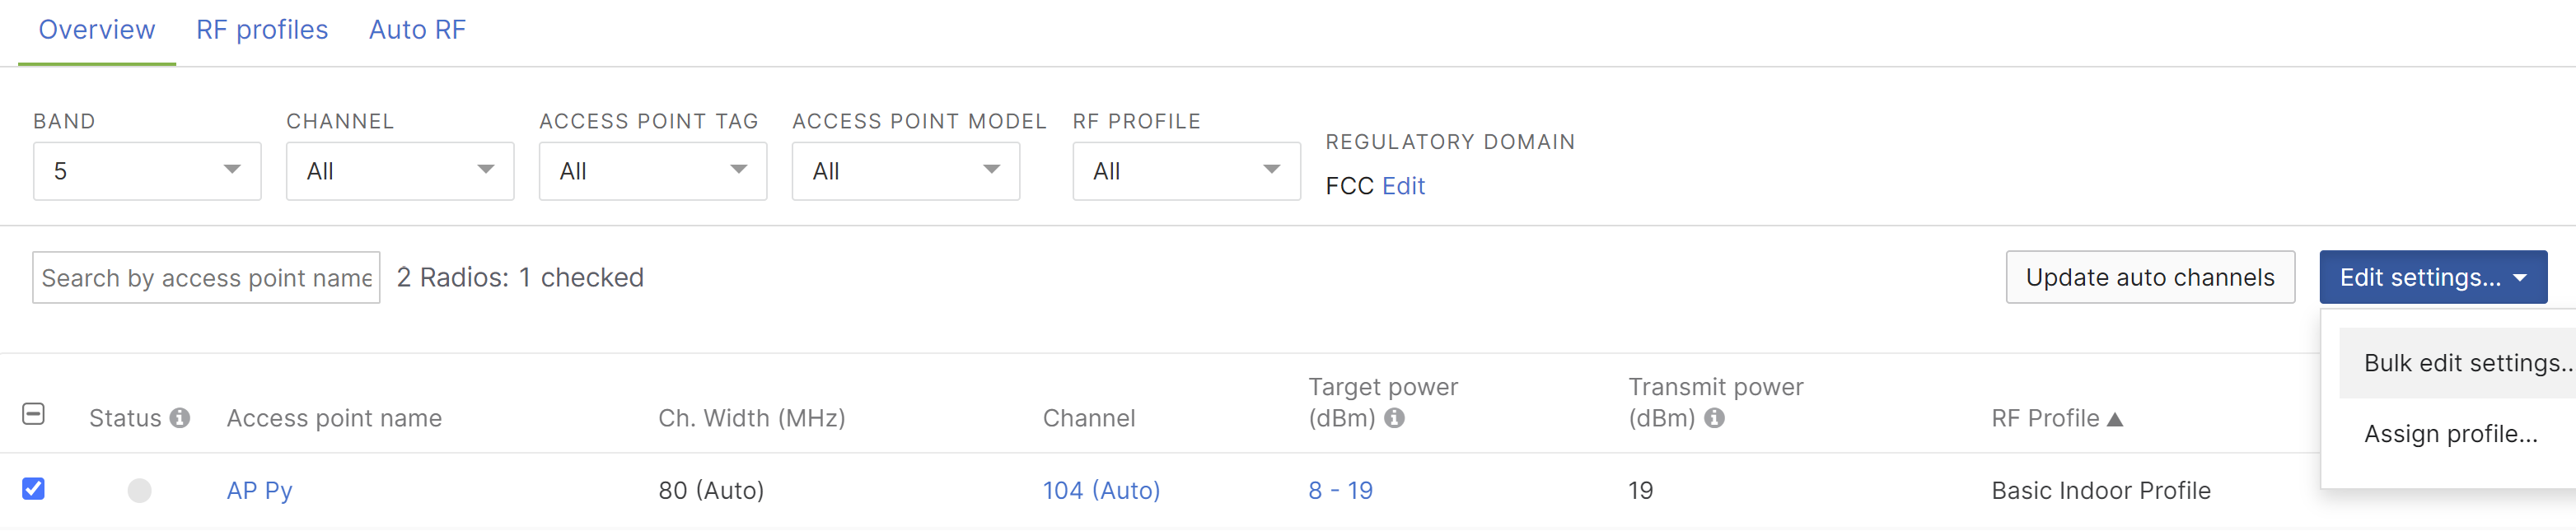
- Choose the Band and access point you would like to configure. Then, open the blue Edit settings drop-down menu and select Bulk edit settings:
- Select the options that require manual configuration:

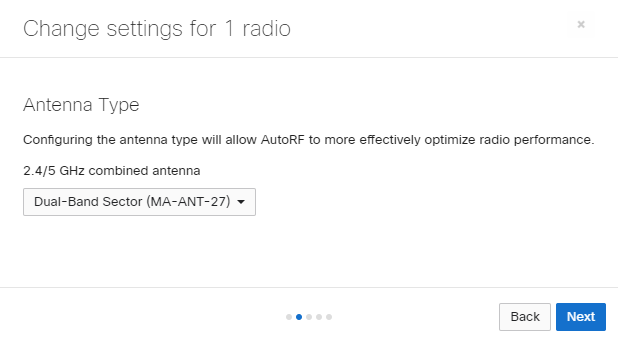
- If applicable, select the antenna in use by the access point in the drop-down menu:
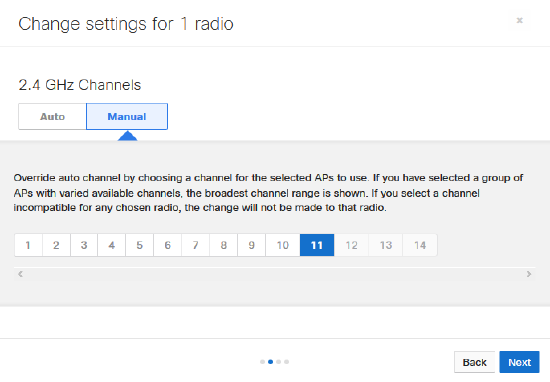
- Select Manual to display the available Radio channels and then choose the channel the radio will operate on:
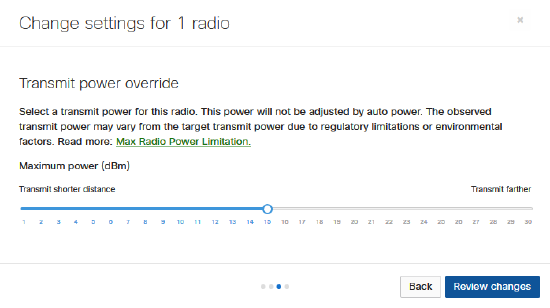
- Adjust the radio Transmit power by dragging the slider bar from right to left. Select Review changes to confirm the desired Transmit power and proceed to the final review:
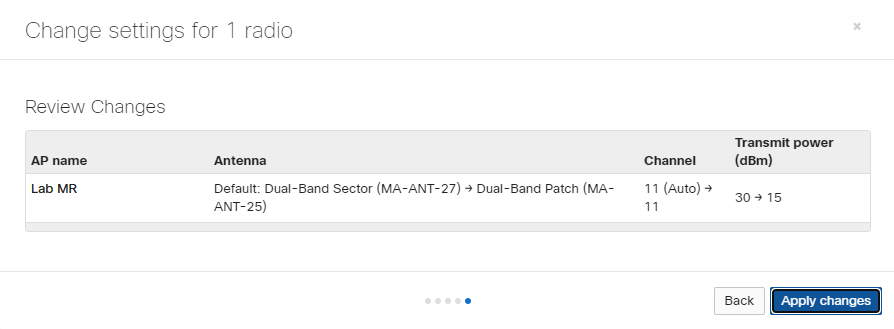
- Once you have confirmed the changes, select Apply changes. Please note that clients will be disconnected briefly when you change channels or power levels:
Note: The 2.4 GHz radio on an MR access point can have its power set to "Off." This will prevent this particular unit from serving clients with its 2.4 GHz radio. Please reference the following article for further information on Disabling 2.4GHz.
Note: Single radio models (MR12 and MR62) will appear as "Off" on the Wireless > Configure > Radio settings page under the Transmit power (dBm) column, even though the radio is not disabled. If the 2.4 GHz radio is configured to be disabled, the Transmit power (dBm) column will display "SSID disabled".
MX64/65/67/68W and Z1/Z3
- Log in to the dashboard.
- Navigate to Security & SD-WAN > Configure > Wireless settings (for the Z1/Z3 devices, Teleworker gateway > Configure > Wireless settings).
- Under Channel Settings, use the Channel field to adjust the channel the indicated radio will operate on, and Transmit power to indicate what power level to use.

-
Select the Save changes button. Please note that clients will be disconnected briefly when you change channels or power levels.
Best Practices
Manually setting the channel can improve roaming performance for clients who cannot seamlessly roam between access points on different channels. However, manual channel selection can also increase the amount of co-channel interference produced by nearby access points if using the same channel. Co-channel interference can also be improved by reducing the Transmit Power on nearby access points. When unsure if manual settings are needed, leave channel and power settings on Auto.