WPA2 Enterprise Profile Setup on Android
This article is to be used as a short reference guide on how to manually set up a WPA2-Enterprise with RADIUS Authentication (IEEE 802.1X) wireless profile on Android devices. This profile will allow the client devices to connect to the SSIDs configured with WPA2-Enterprise with 802.1X authentication as the association requirement.
Note: As each version of Android and device manufacturer make slight variations to the layout and options in Android, this information should be used as general guidelines as your options and configuration may vary slightly. This is based on Android version 9.
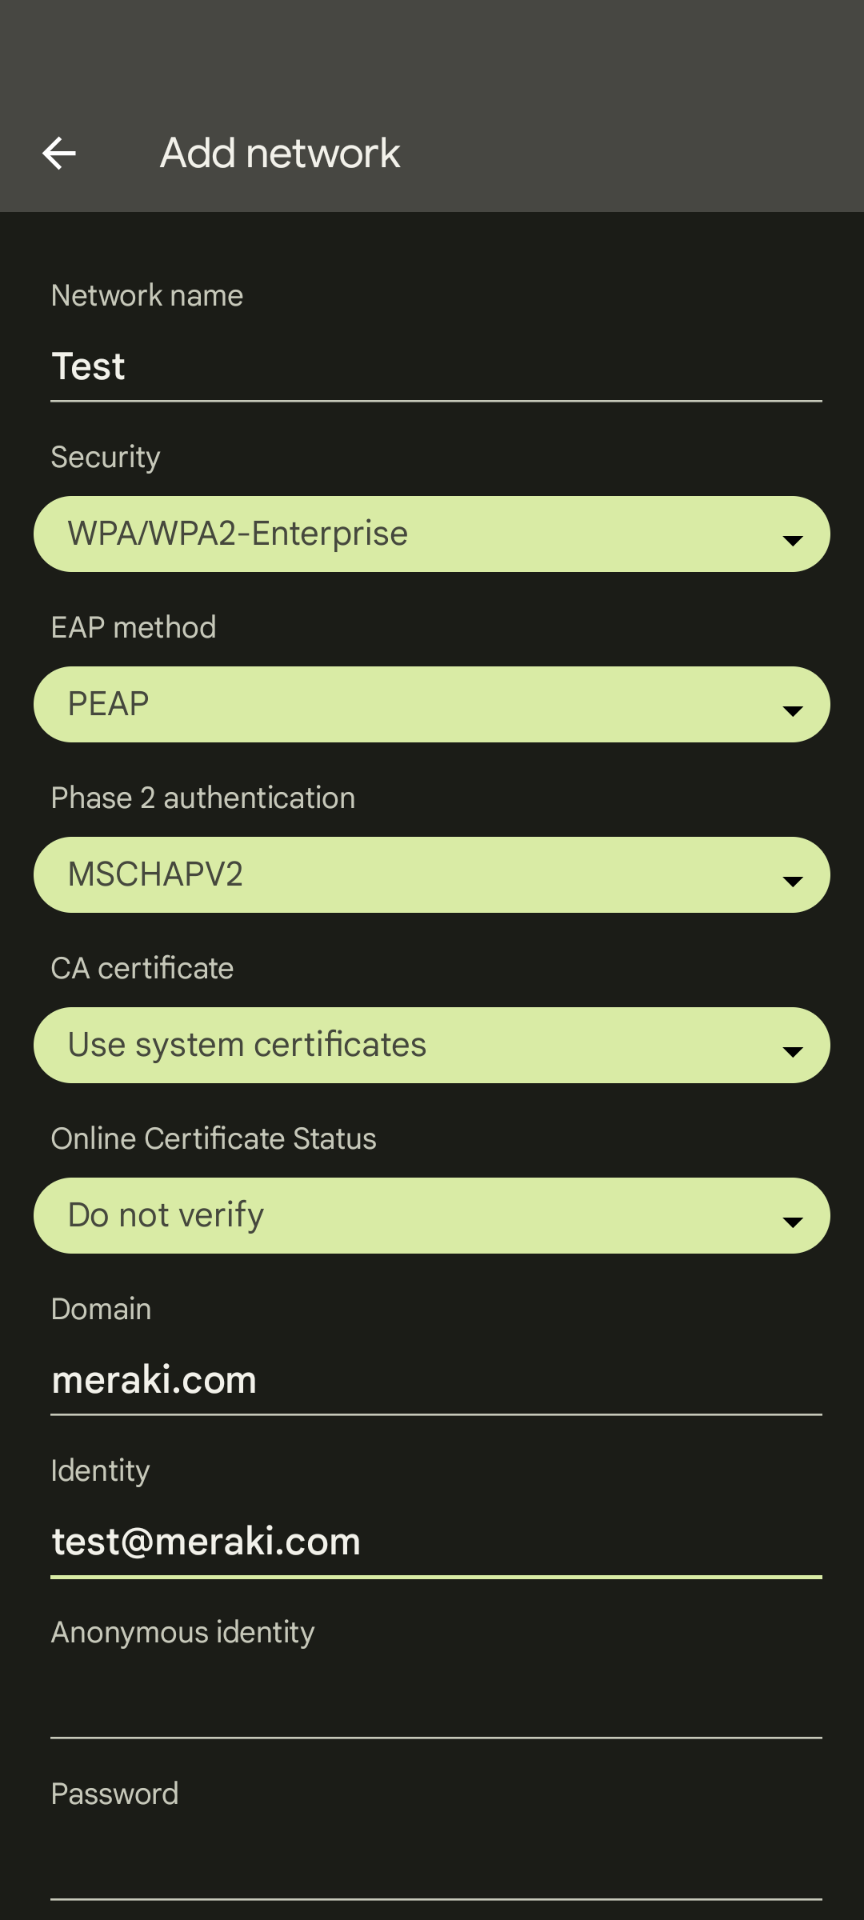
Starting with Android 11 QPR1, you must enter the domain for server certification validation in order to successfully connect. Enter: meraki.com
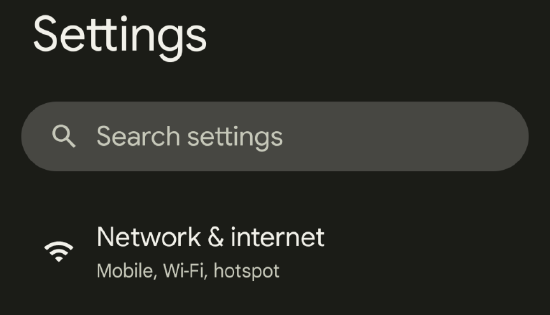
- At the home page, navigate to Settings.
- Navigate to Network & Internet

- Tap on Internet
- Select + Add Network

- Enter the Network SSID name and choose WPA/WPA2-Enterprise (802.1x EAP) from the Security drop-down menu
- Choose PEAP from the EAP method drop-down menu
- Choose MSCHAPV2 from the Phase 2 authentication drop-down menu
- If the RADIUS server is using a public root CA then choose the "Use system certificates" option and specify the domain name. Otherwise, choose the "Install certificates" to install certificates required for the client connection. The new release of android versions creates challenges for enterprise security networks running WPA2 Enterprise PEAP authentication (username/password) because the option to bypass the security certificate has been removed. See Meraki MR and Android 11 Security Update documentation for additional details.
- In the Identity field enter the email address as seen on the Wireless > Users list in Dashboard
NOTE: Some device manufacturers require that this information is entered in the Anonymous Identity field rather than the Identity field. If one field fails to work on your device, try entering the information into the other field and test again.
- Enter the password for the corresponding username in the password field.
- Optionally, check the Show Password check-box to verify that the password was entered correctly.
- Press Save in order to save the changes.


