Self-registration for Splash User Accounts
Using a Sign-on Splash Page with Meraki Authentication is a convenient way to control user access without an Active Directory or RADIUS server. Self-registration allows users to create their own accounts for these SSIDs, without requiring an administrator manually enter this information. This article outlines how to configure self-registration, as well as describe the end-user experience.
Configuring Self-registration
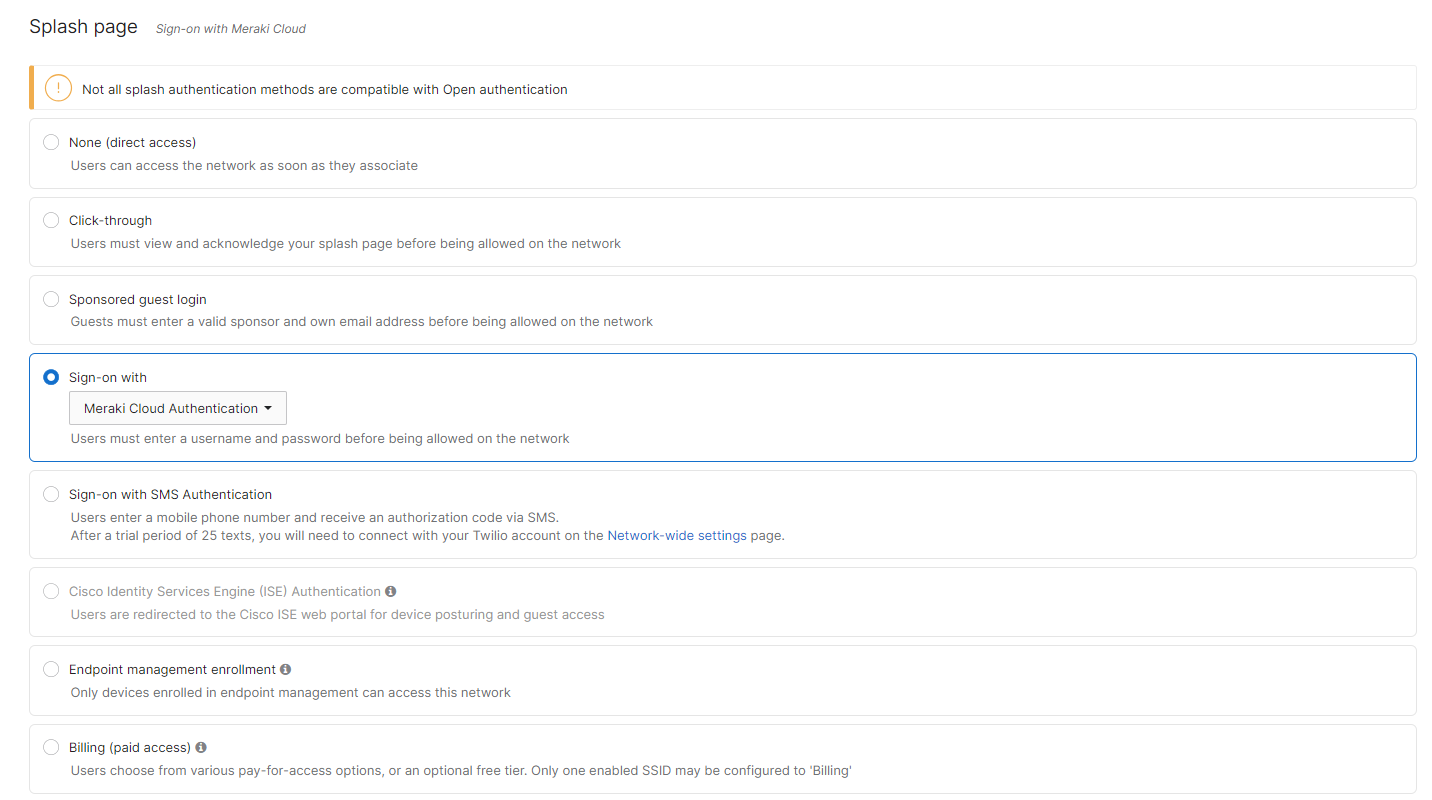
- Navigate to the Wireless > Configure > Access control page
- Under Splash page select Sign-on with Meraki Cloud Authentication
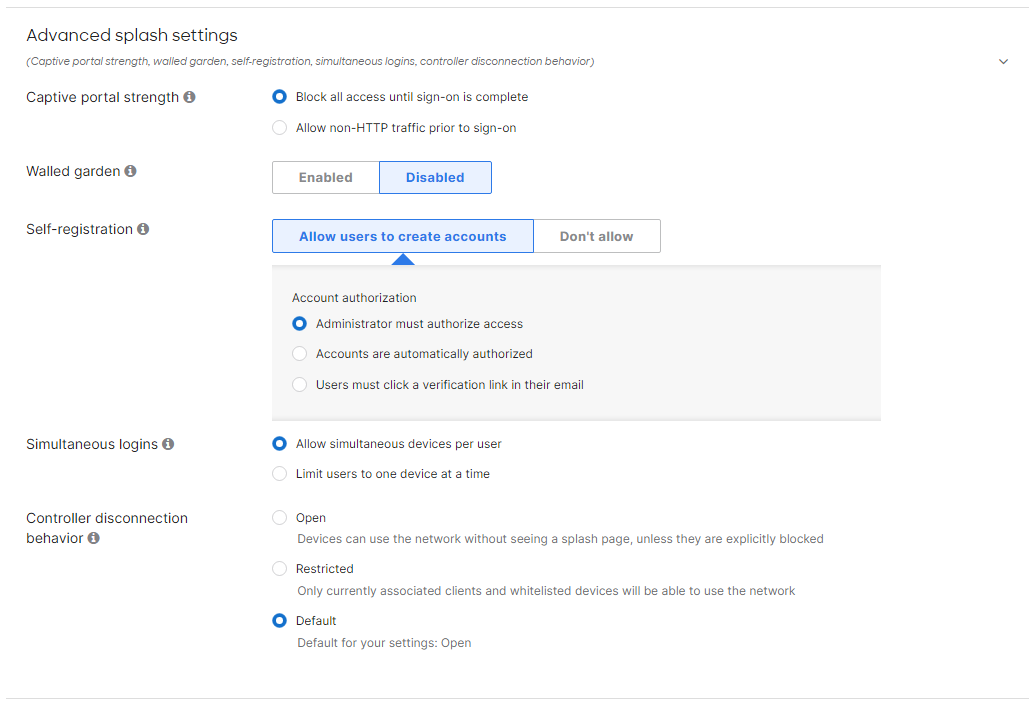
- Under Advanced splash settings > Self-registration choose to "Allow users to create accounts"
Creating Accounts
- Upon browsing, users will be greeted by the splash page. The exact display will differ by theme and other customization options, but they will have a log on area with a Create an account button.
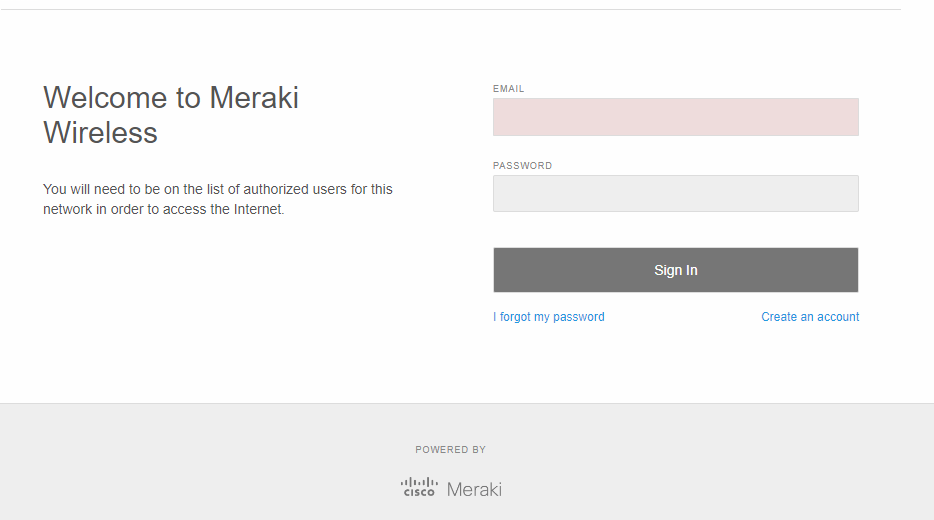
- Users will then be prompted for a name, e-mail address, and password
- A confirmation email will be sent to the listed email address. If the user clicks the link in the email labeled "If you received this email in error, please click here:", then the created user will be deleted out of the Dashboard.
Granting Users Access
Before a user with a self-registered account can access the network, a Dashboard administrator must authorize that user:
- Navigate to the Network-wide > Configure > Users page, and ensure the correct SSID is selected from the drop-down
- Click on the user account you wish to change the authorization of. Set the Authorization dropdown to 'Yes'
- That user account will be able to authorize through the splash page using the email address and password they created
Note: A guest ambassador account can be created to handle the authorization of user accounts, without granting additional administrative privileges.
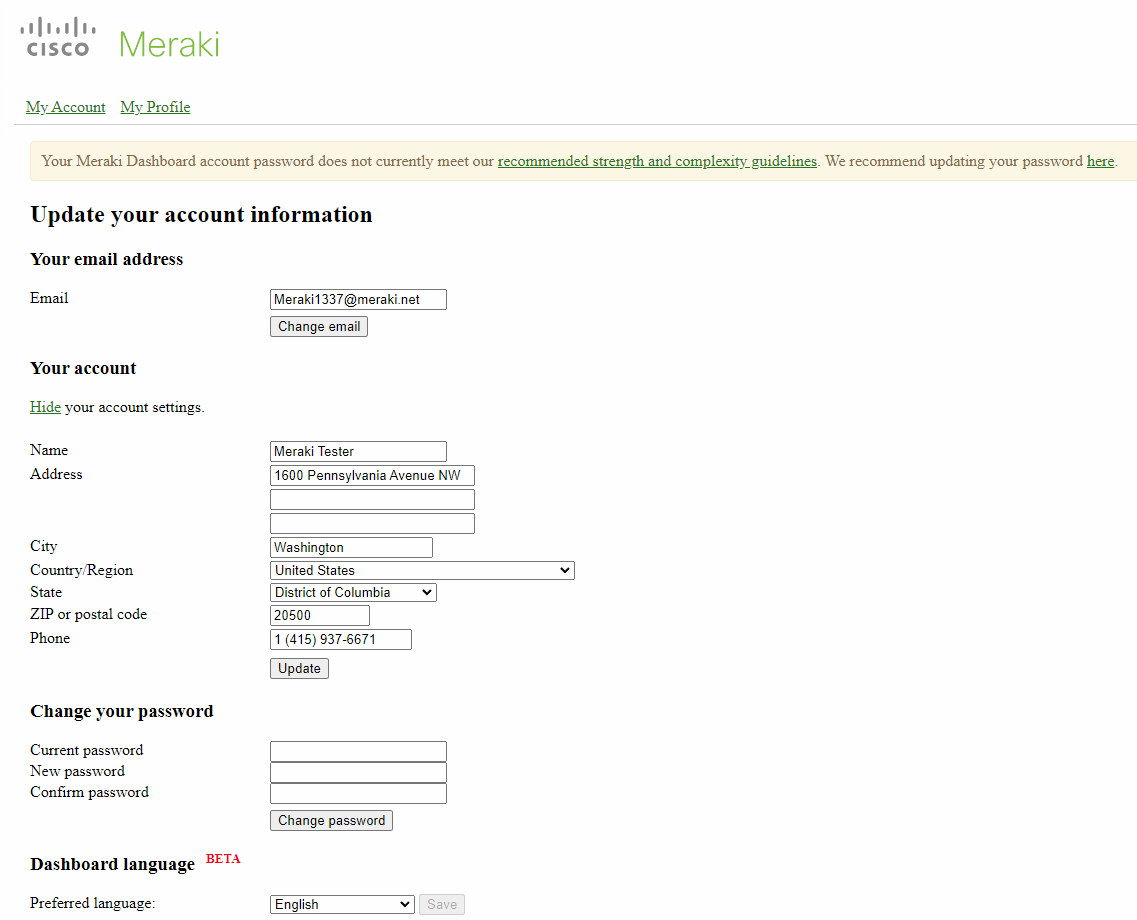
Managing Self-registered Accounts
Once a user has created their account (or had an account created on their behalf), a welcome email will be sent to the associated email address. This email will contain a link to account.network-auth.com, where they can log in and update their account information: