Cisco Single Sign-On Integration
Cisco SSO Login Experience
Cisco Single Sign-On (SSO) is an identification system that enables users to access multiple applications and websites with one set of login credentials. The Cisco SSO login experience through Cisco Customer Identity (CCI) will be the default for all Meraki users. With this seamless user login experience, Meraki users will enjoy enhanced account security and the ability to navigate across various Cisco products and applications with a single login.
*Please, not that at this time the feature is not available on the Meraki Mobile app.
SSO Authentication Flow
The following diagram illustrates the Authentication flow for Cisco SSO Integration with Meraki dashboard users

The following steps demonstrate how the user experience will look like. For more detailed steps and testing scenarios, please refer to section Using the Feature.
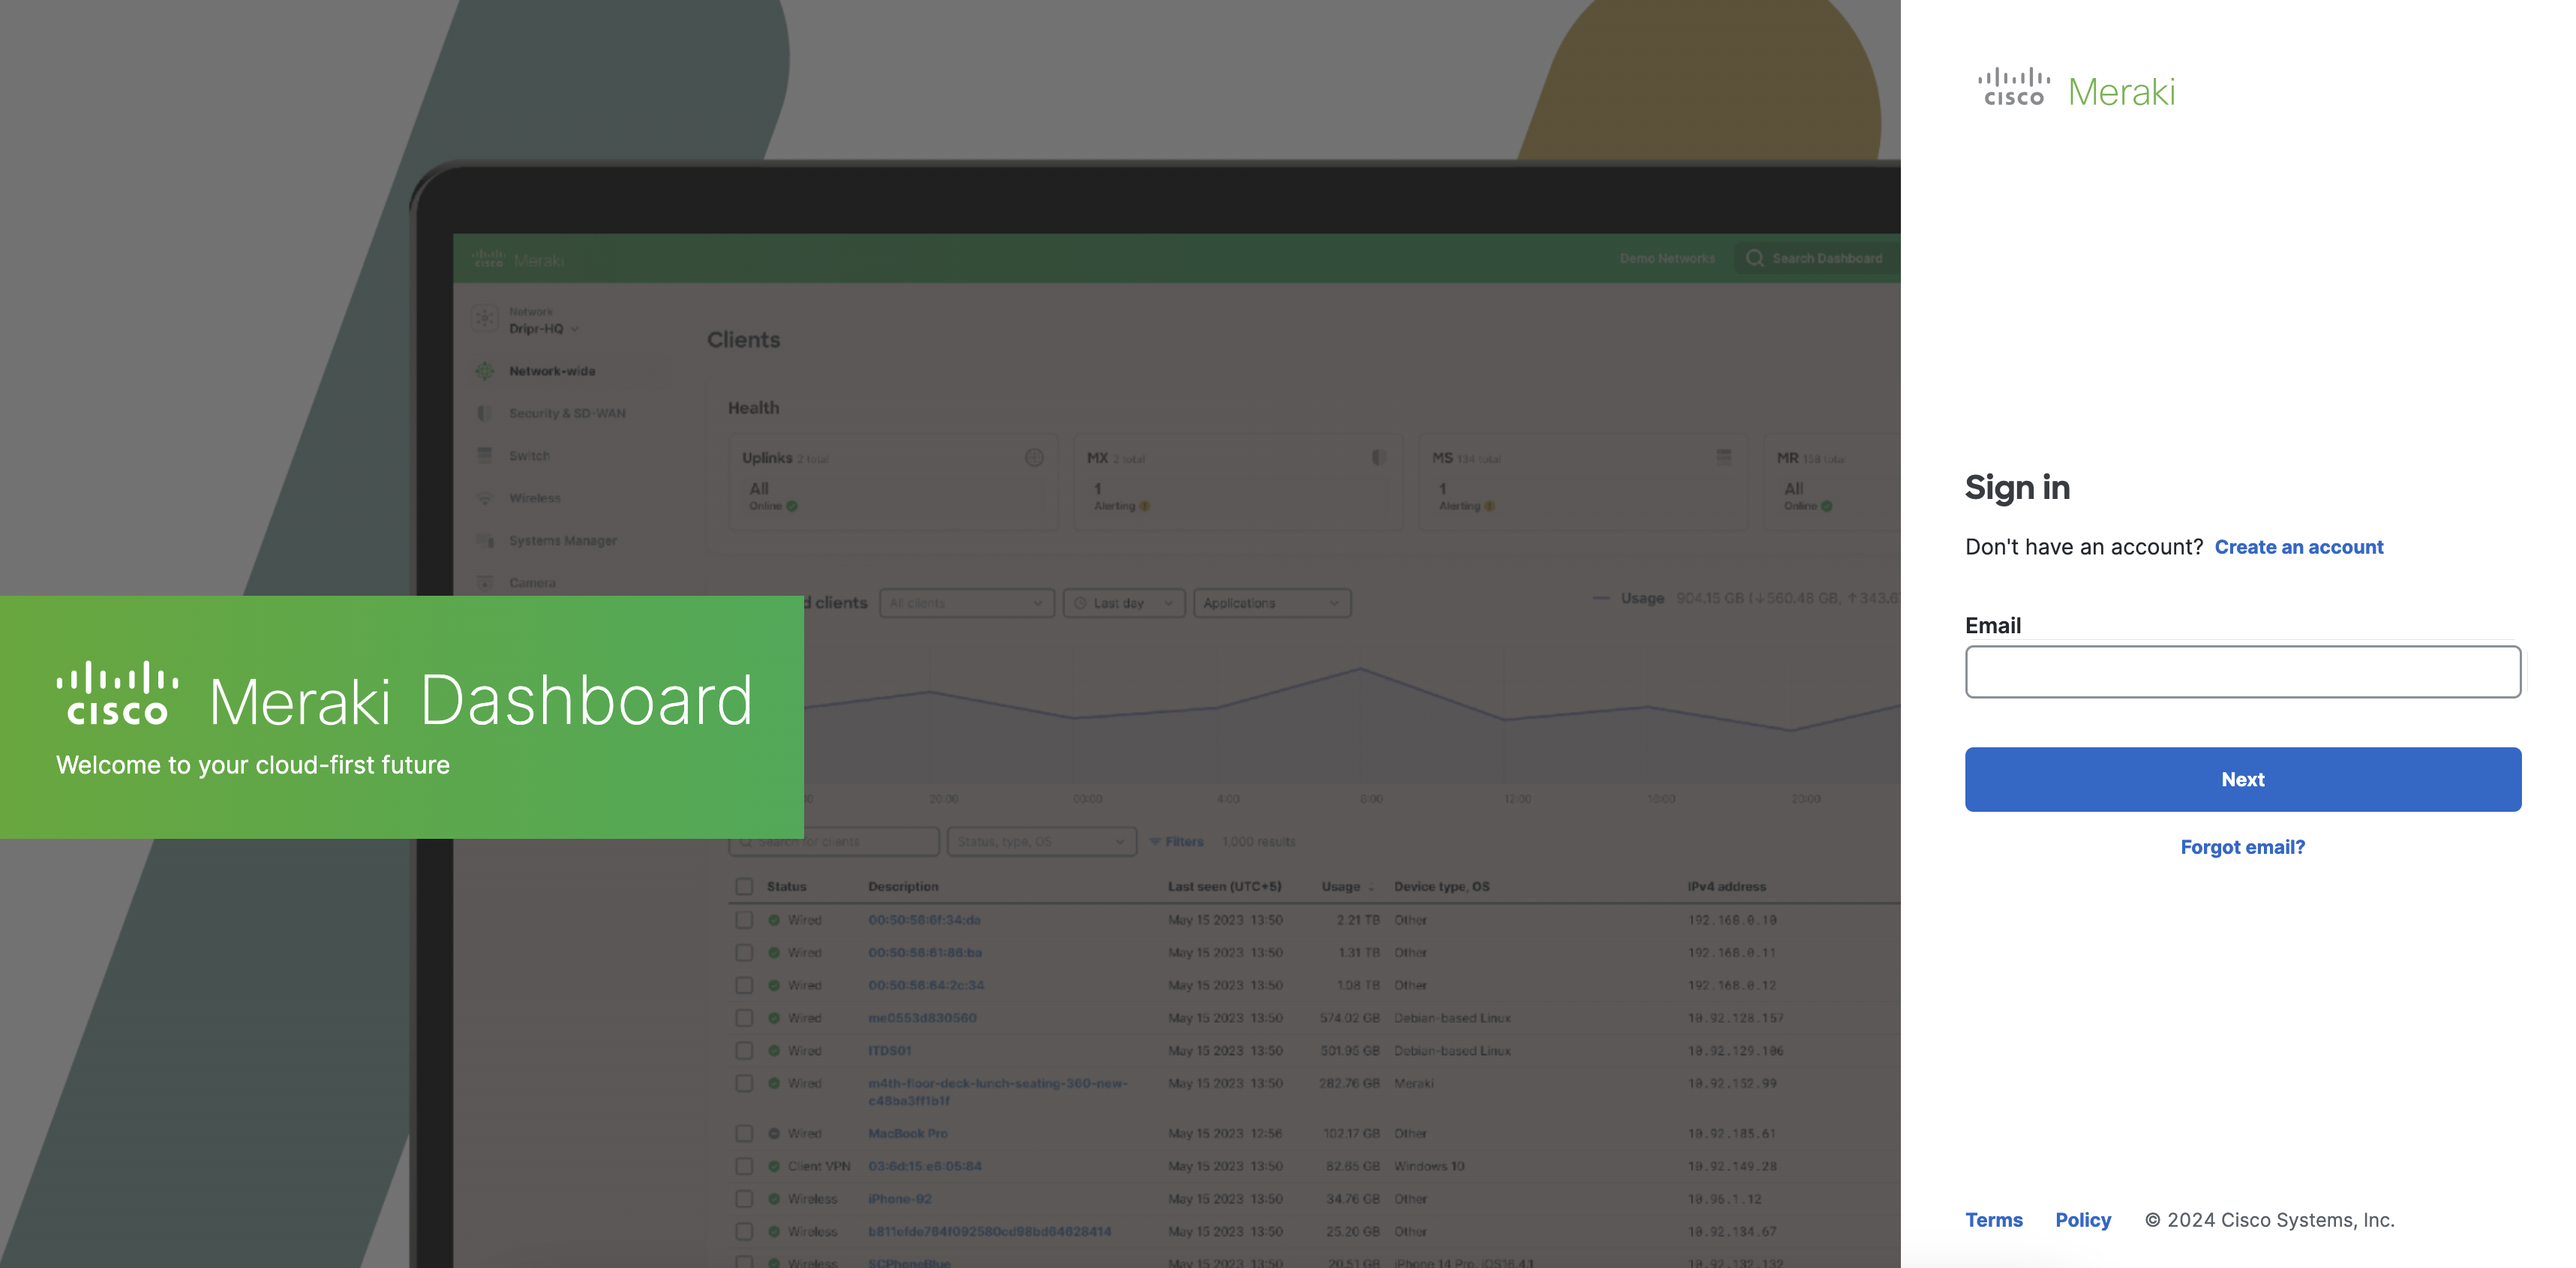
1) Meraki dashboard users will log into the dashboard using their Meraki dashboard Credentials (dashboard.meraki.com)

2) User is checked for Cisco SSO Account

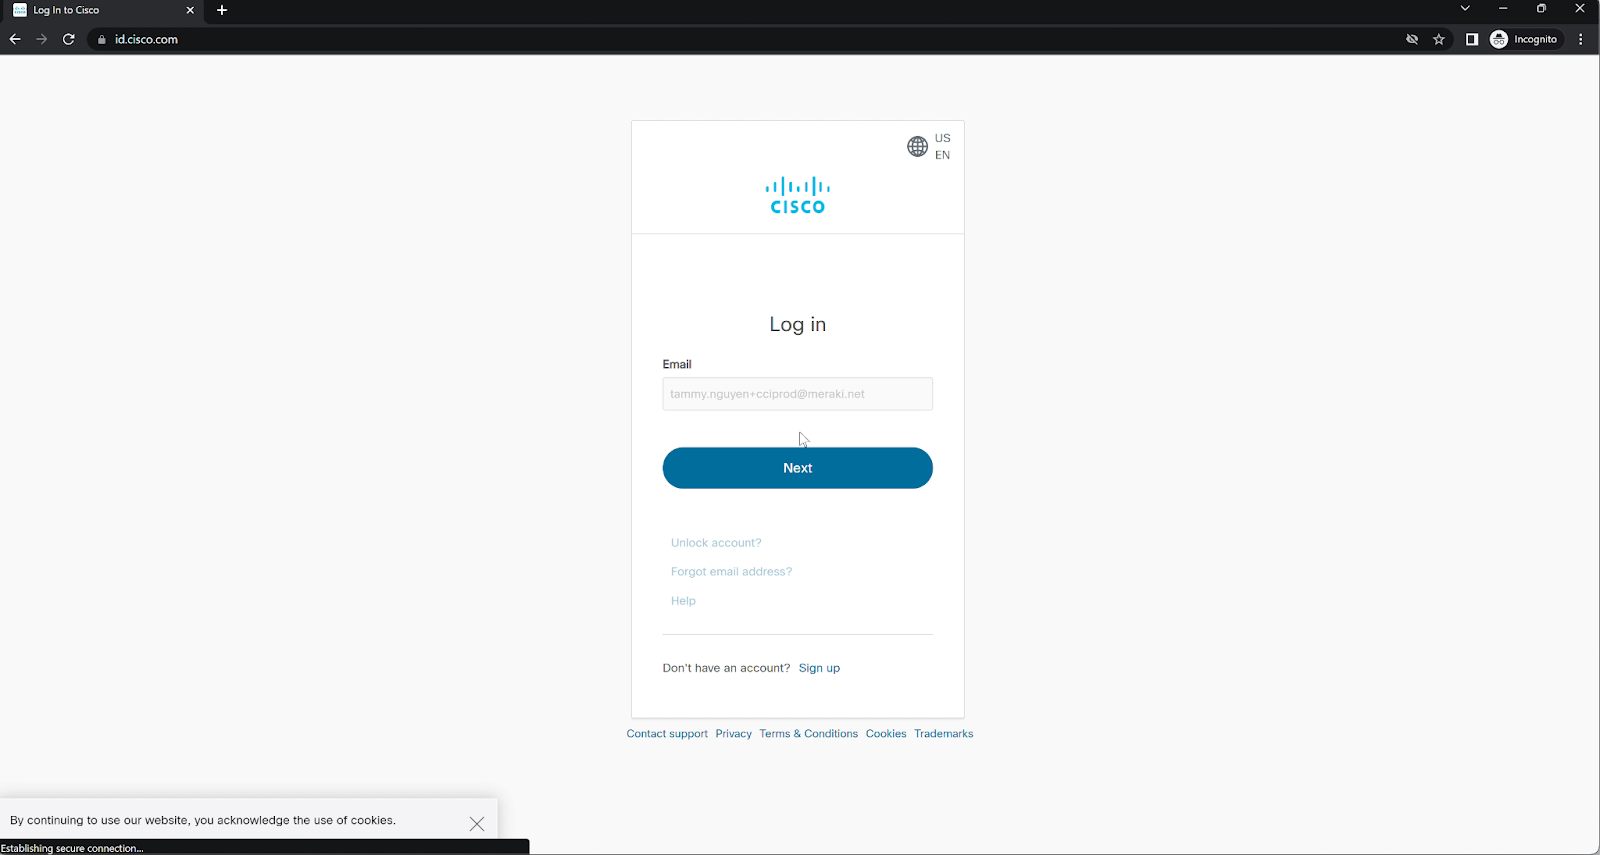
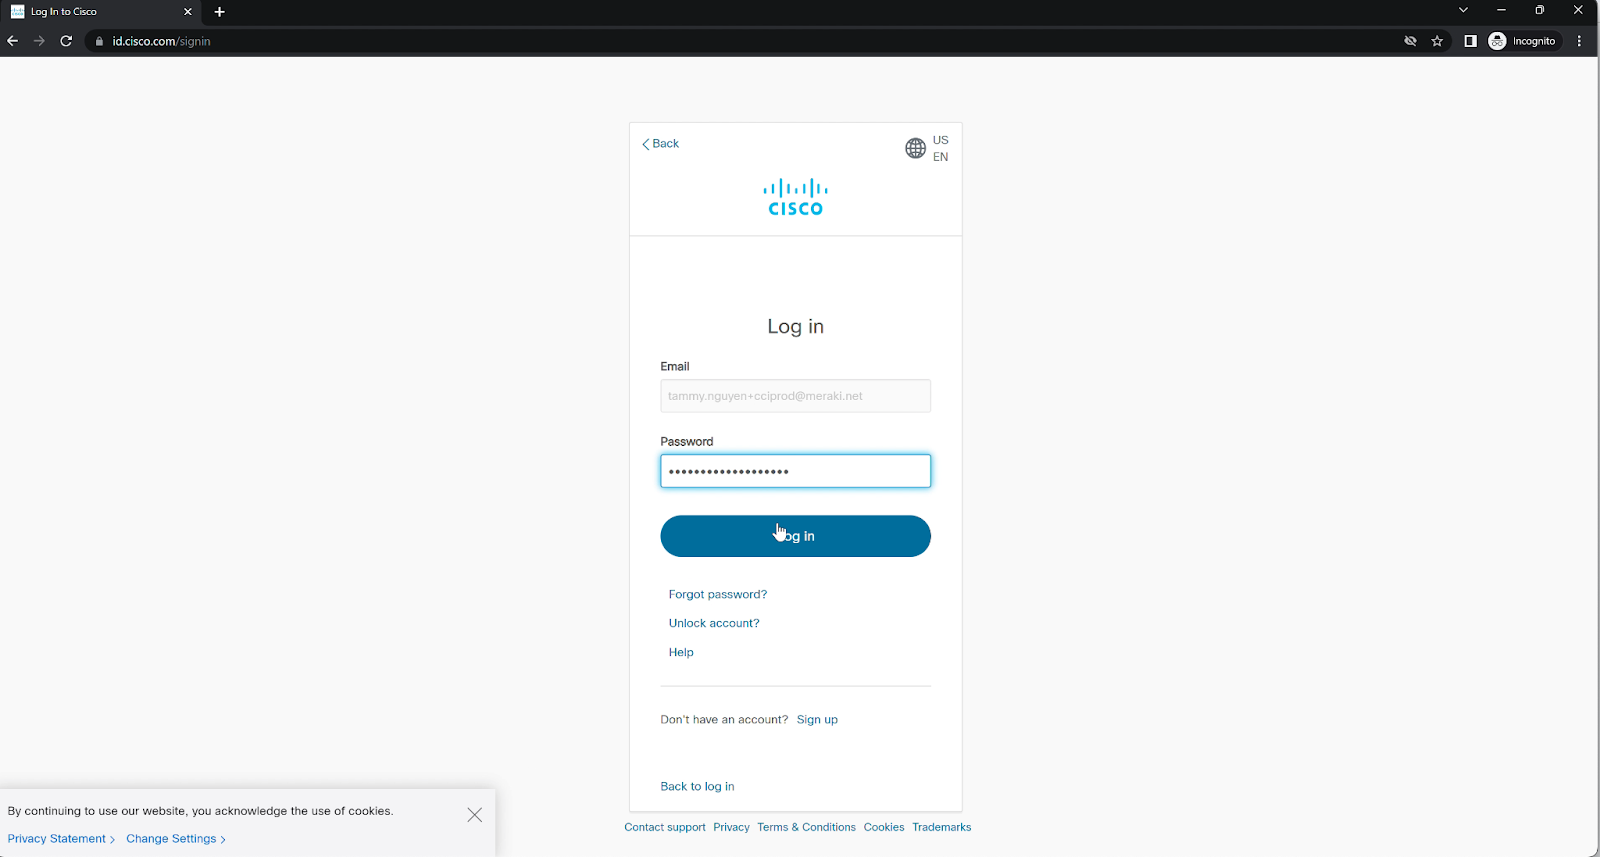
3) User gets redirected to Cisco login page for Authentication.

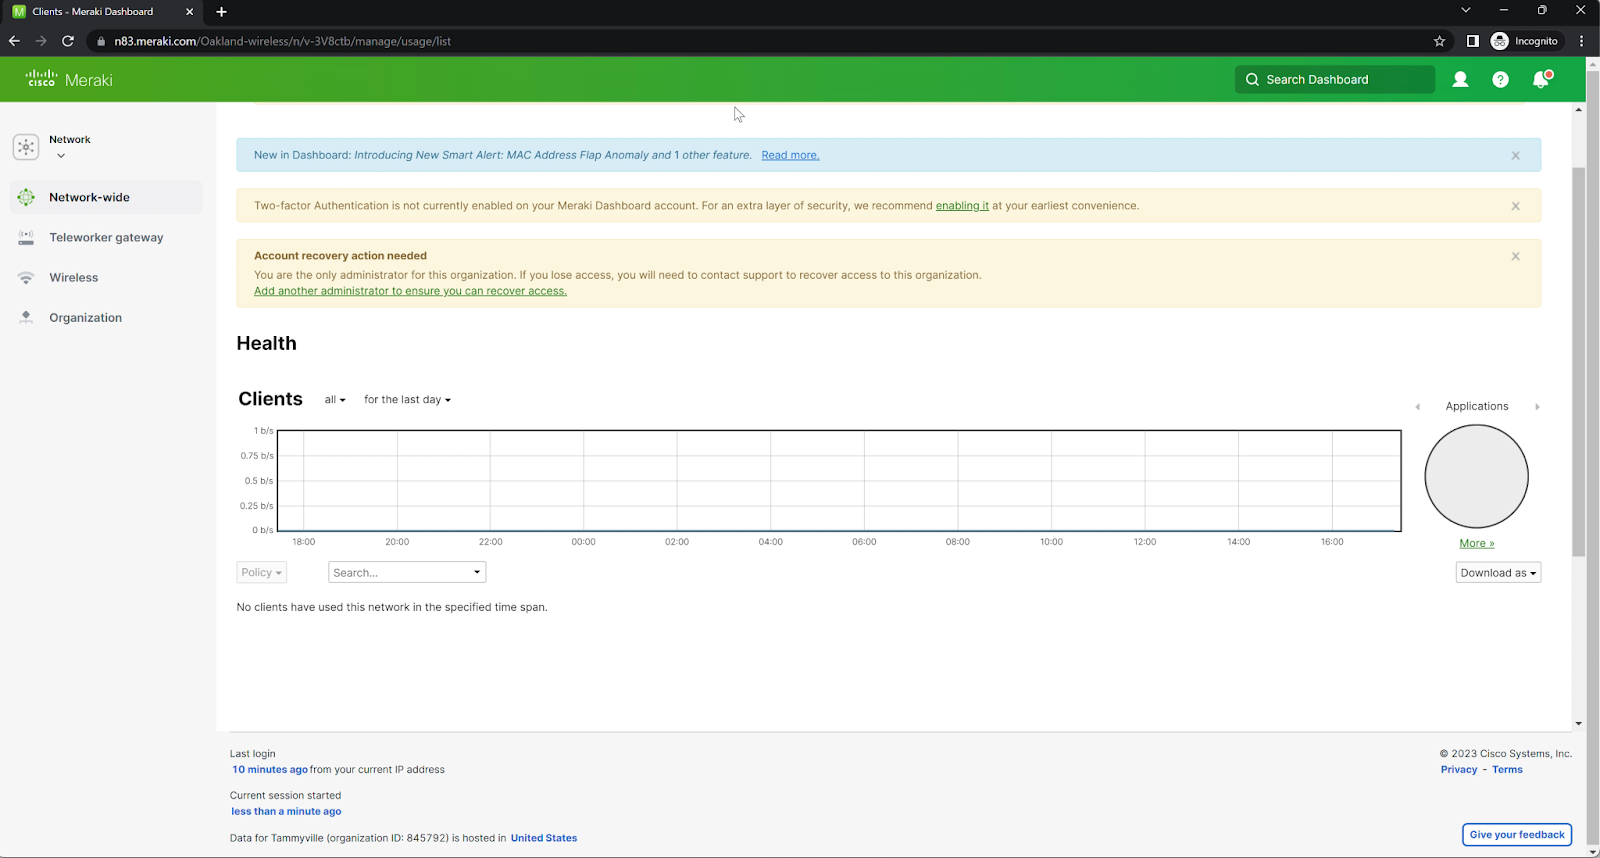
4) Upon successful login, User gets redirected back to the Meraki dashboard.

Using the Feature
With the single sign-on feature enabled on your account, you will be able to sign in to the platform or application using your existing login credentials from Cisco SSO (if you already have an account on id.cisco.com) or your Meraki login credentials.
Here are the steps to follow:
If you have a Meraki account and a Cisco SSO account with the same email address:
- Go to dashboard.meraki.com
- Type in the email address associated with your Meraki account and click “Next”
- You will see a pop up message notifying you that you are being redirected to Cisco SSO for the first login to activate your account
- Use your existing Cisco SSO credentials.
- You will be redirected back to the Meraki dashboard and signed in automatically.
Next time you type in your email address on dashboard.meraki.com and click next, you will be automatically redirected to Cisco SSO for authentication. Use your Cisco SSO credentials. You will be redirected back to the Dashboard upon successful login.
Note: Cisco SSO users cannot use Magic Search to locate a client. When they search for a client using the mac address or the name of the client and click on the client, they will be redirected to demo networks.
If you have a Meraki account but do not have a Cisco SSO account with that same email address:
- Go to dashboard.meraki.com
- Type in the email address associated with your Meraki account and click “Next”
- You will see a pop up message notifying you that you are being redirected to Cisco SSO for the first login to activate your account
- Use your existing Meraki Dashboard credentials.
- You will be redirected back to the Meraki Dashboard and signed in automatically.
Next time you type in your email address on dashboard.meraki.com and click next, you will be automatically redirected to Cisco SSO for authentication. Use your existing Meraki Dashboard credentials. You will be redirected back to the Dashboard upon successful login.
Testing Scenarios
To test the single sign-on feature, we recommend that you try the following scenarios once you have enabled Cisco SSO login method:
- Sign in using both the desktop version of the Meraki Dashboard and the Mobile app if you are a Mobile user.
- If you have access to more than 1 organization in the Dashboard, select an organization different from the one you logged into when you enabled the Cisco SSO login method.
- Sign in using an incognito or private browsing window to test the feature in a fresh session.
- Sign out and try signing in again to ensure that the feature is working as expected.
- Change password in Cisco SSO (id.cisco.com) and log into the Dashboard.
Reporting Issues
If you encounter any issues while testing the single sign-on feature, please report them to our PM team using email ps-sso-beta@cisco.com. When reporting an issue, please include the following information:
- A detailed description of the issue you encountered.
- The steps you took to reproduce the issue.
- Any error messages or screenshots that may help us diagnose the issue.
Providing Feedback
In addition to reporting issues, we encourage you to provide feedback on the single sign-on feature to help us improve it. Here are some questions to consider when providing feedback:
How did you find the experience of using the single sign-on feature?
Did you encounter any issues or difficulties while using the feature?
If you are a multi platform user, did you find the feature to be faster or more convenient than signing in with a separate set of credentials?
Are there any additional features or functionalities that you would like to see added to the single sign-on feature?
Thank you for participating in the beta program and testing the new single sign-on feature. Your feedback and input are invaluable to us as we work to improve the feature and make it more useful for our users. If you have any questions or concerns, please do not hesitate to contact us at ps-sso-beta@cisco.com.

