
Cisco Prime Infrastructure Integration Guide for Cisco Meraki
Cisco Prime Infrastructure is able to monitor all Meraki MR Access Points, MX Security Appliances, and MS switches. Cisco Prime uses the industry standard SNMP protocol to gather information about Meraki devices, from the Cloud, for both monitoring and inventory purposes. Cisco Prime also offers one-click links to manage and run further diagnostics for all Meraki devices.
Cisco Prime Infrastructure release 2.2 or later is required for Meraki Device Visibility. The Meraki Tech pack is a separate bundle which needs to be installed on the Cisco Prime server.
Device Visibility
In addition to the Meraki Dashboard, Meraki device visibility is extended into Cisco Prime Infrastructure. Cisco Meraki devices can be monitored with Cisco traditional devices, all from one appliance. The Meraki Cloud provides data for the Meraki devices at the Organization level to Cisco Prime via SNMP (v2c or v3). Using the Cisco Prime Server's built in searching capability, an administrator can filter to find devices in a particular Dashboard Network or filter by a particular model:

There are a number of information elements displayed on the Network Devices page in the Cisco Prime Console, specifically:
- Device Name
- Reachability / Status
- IP address/DNS name
- Device Type or Model
- MAC address
- Client Count
- Serial Number
- Mesh Status
- Network Name
Note: Not all of the above information is available for every Meraki product type.
For Cisco Prime Infrastructure compatibility information and list of supported devices:
Device Configuration
The Meraki Dashboard remains the single point of configuration for Meraki devices. Cisco Prime makes it very easy to get to any specific device by including a device link next to the IP address of the device. These links will launch a browser window that will bring the administrator right to the device in the Meraki Dashboard.

Setup
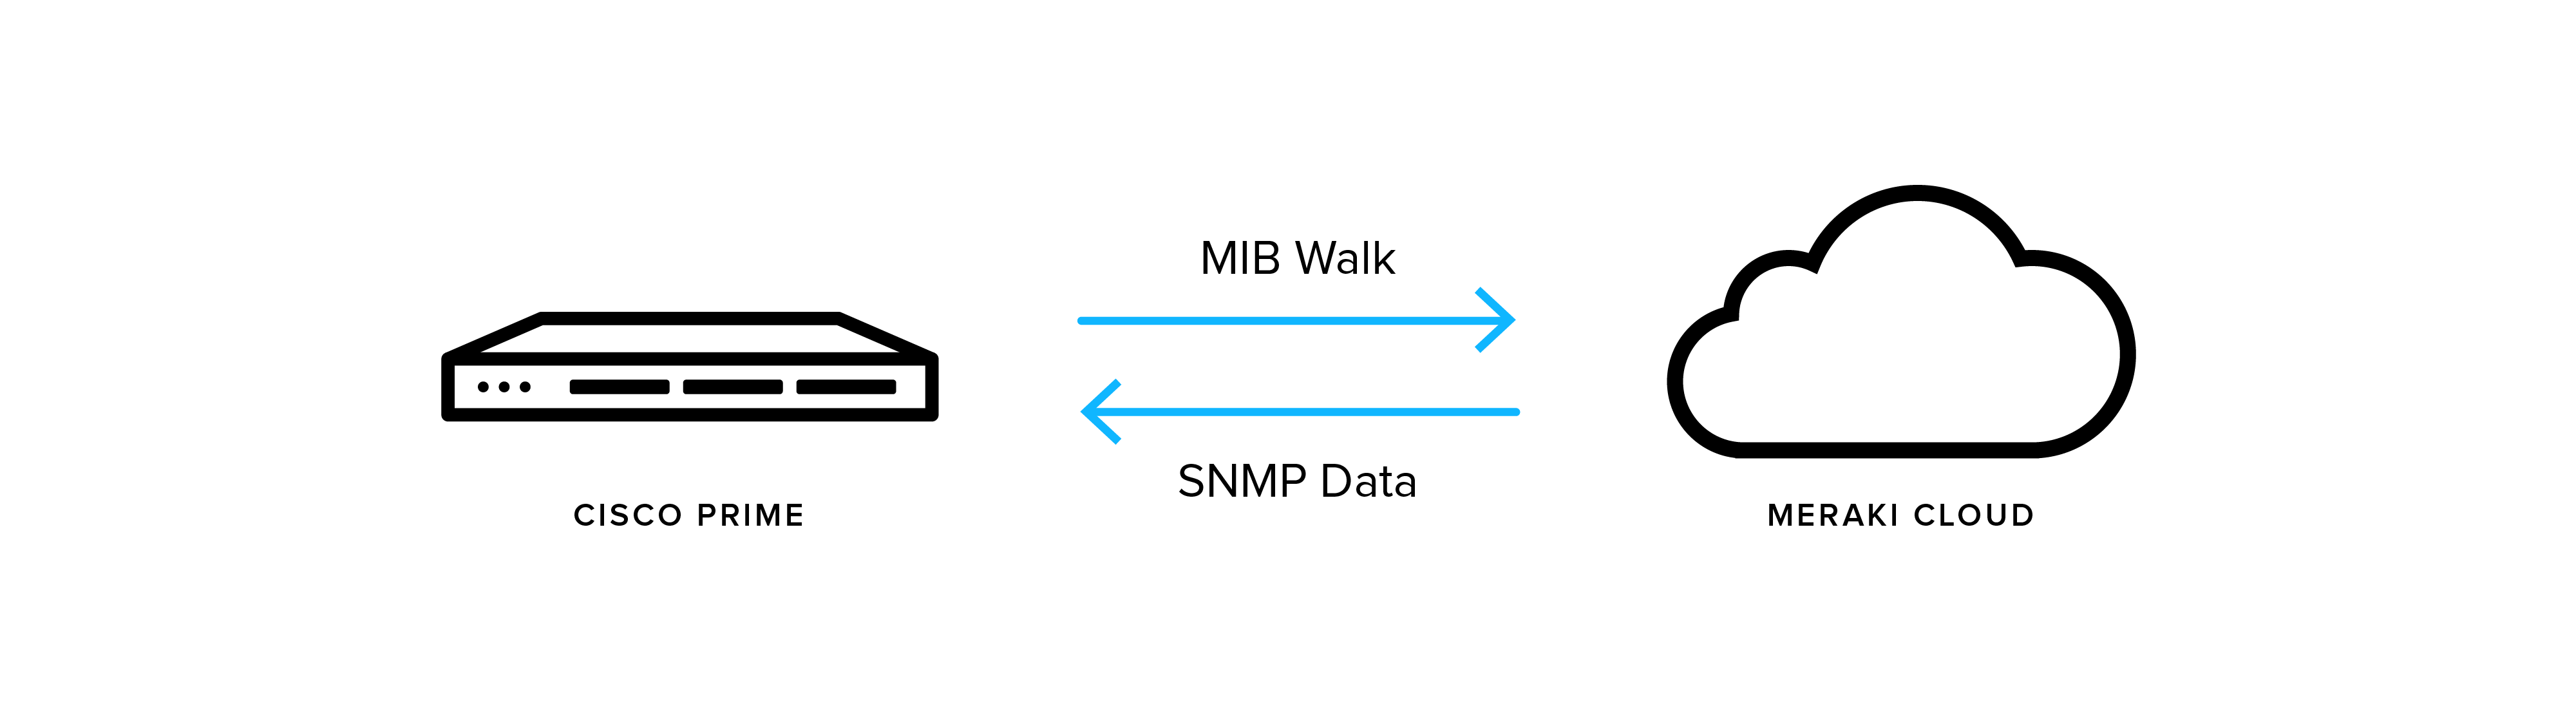
Cisco Prime uses SNMP to poll data from the Meraki Cloud. To begin the integration, ensure that SNMP is enabled on the Meraki Cloud. Both the Cisco Prime Infrastructure server and the Meraki Cloud support SNMP v2c and SNMP v3.
The following instructions outline how to set up Cisco Prime integration:
- Enable SNMP on the Dashboard
-
Add the Meraki Cloud to the Cisco Prime Server
-
Verify Connectivity
Enable SNMP on the Dashboard
SNMP is enabled on the Dashboard on the Organization > Settings Page. For this example we are enabling SNMP v3.
- Authentication mode: SHA (Configurable)
- Authentication password: password (Configurable)
- Privacy mode: AES128 (Configurable)
- Privacy password: secret (Configurable)
- Username: 0/111111 (Generated by the Cloud)
- IP Restrictions: 1.1.1.1 (Public IP address of the Cisco Prime Server)
Add the Meraki Cloud to the Cisco Prime Server
- Click the "Add device" button from the Monitor Network Devices page
- Enter the DNS name of the Meraki Cloud for the Organization (snmp.meraki.com)
- Enter the information configured on the Cloud to the SNMP Parameters section of the "Add Devices screen"

Verify Connectivity
The Dashboard device will show a green checkbox after the SNMP configuration is validated. Meraki Devices within the Dashboard organization will begin to populate in the monitor devices console:
