Sensor Alert Profiles
Overview
The MT line of sensors have a robust and easy to set up alerts in order to notify a user in the event of threshold violation. This article outlines the process to create an Alert Profile and assign it to a sensor.
Each alert profile may have multiple sensor thresholds which trigger based on the conditions specified. We can assign multiple email recipients, as well as a phone number for SMS notification.
Twilio integration is not required for SMS notifications to operate.
For SMS, add the telephone number in the following format: "+ [country code] [subscriber number including area code]".
Setting up an Alert Profile
Once the MT sensors are set up correctly and reporting data to the dashboard, in order to set up notifications, an Alert Profile must be created. The Alert Profiles can also be set to only send alerts during a set schedule. To create an Alert Profile, follow the steps outlined below.
There are two types of Alert Profiles currently configurable:
Sensor Status Alerts
This is a default alert profile that allows the user to configure device level status alerts. The profile is treated as a default and applied to all sensors automatically and only allows the user to toggle the alerts on/off and configure recipients.
- Navigate to Sensors > Monitor > Overview > Alert Profiles.

- Select Edit on the Sensor status alerts profile.
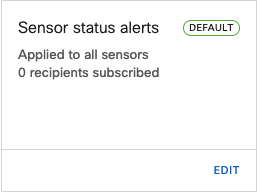
3. Alert conditions can be set in this profile based on either general device health or model specific.
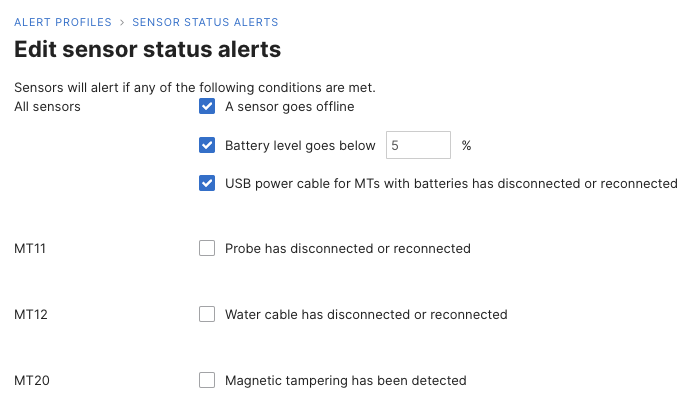
Offline alerts are sent once the device is marked offline. The time since the sensor was last seen depends on the model and is not customizable:
| Model | Time |
| MT10, MT11, MT12, MT14, MT20, MT30 | 60 minutes |
| MT15, MT40 | 5 minutes |
4. An Email or SMS Recipient can be added in the field for notifications. As per the note, all default recipients in the network-wide alerts will be automatically subscribed.
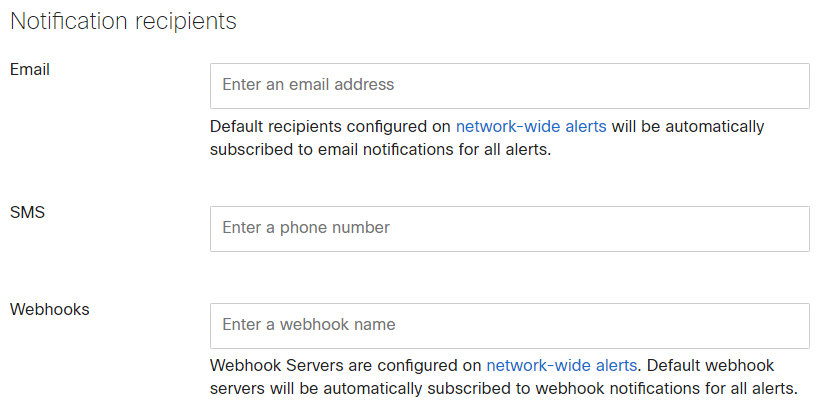
Users can also subscribe to Meraki App Push Notification by adding their Dashboard User email as an Email Recipient on the alert profile.
5. Selecting Save will save the Alert Profile.
This Alert Profile is applied automatically to all sensors in the network and doesn't need to be applied manually.
Sensor Alert Profile
- Navigate to Sensors > Monitor > Overview > Alert Profiles.

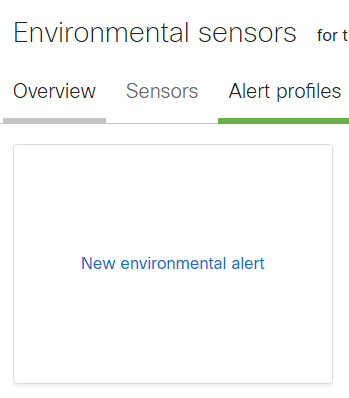
- Select New environmental alert.
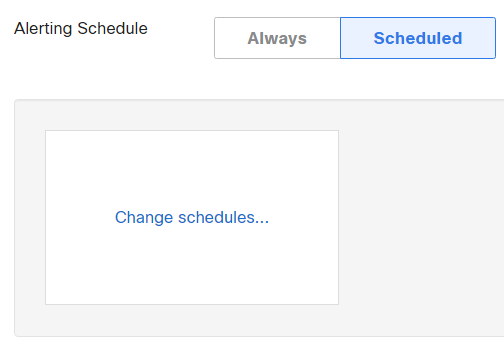
- Provide a name and set an Alerting Schedule. If Always is going to be selected, skip to step 11.

- If Alerting Schedule is set to Scheduled the alerts will only be sent during the specified timeframe.
- Click on Change schedules.
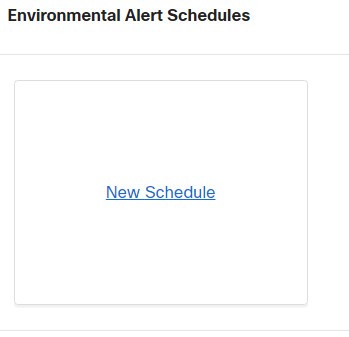
- Create a New Schedule
- Provide a name and select a schedule for the alert to be enabled:
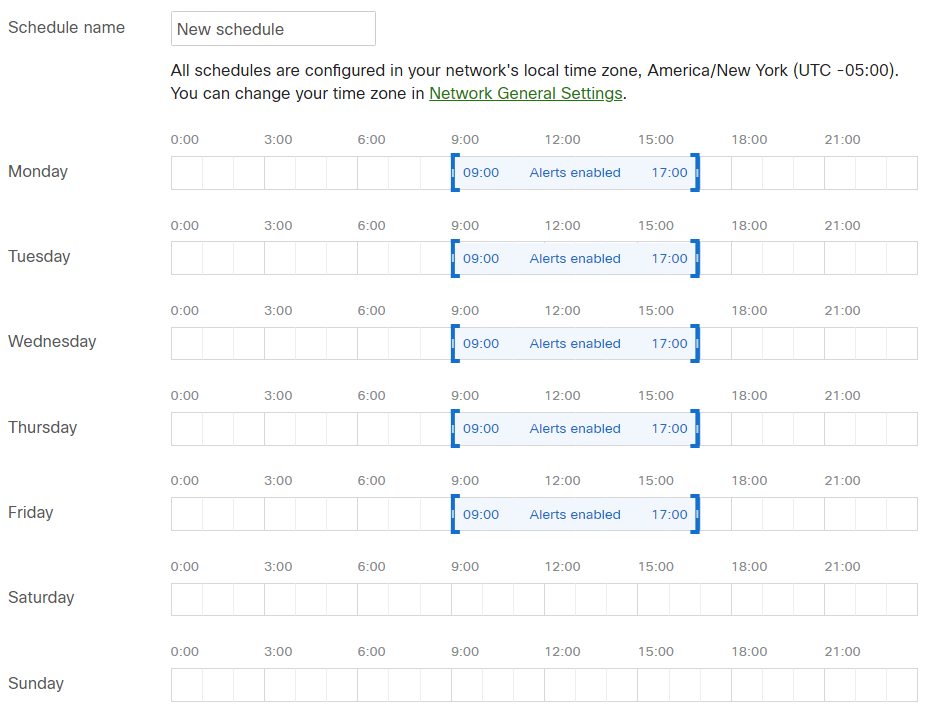
- Click on Done to save the alert schedule.
- Click on Select for the newly created schedule. You should see Selected under the schedule.
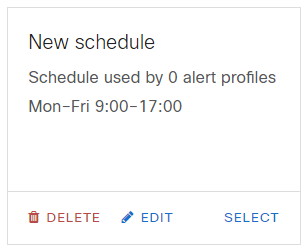
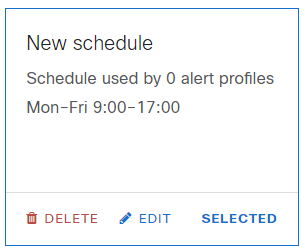
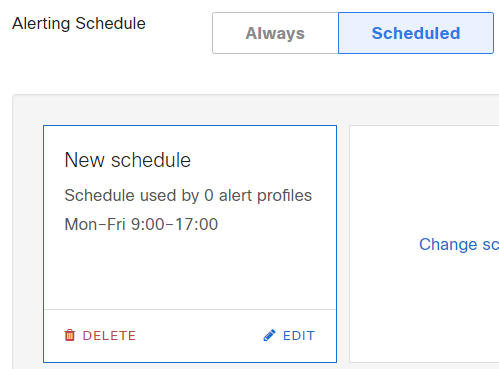
- Click Save to have it appear under Alerting Schedule.
- Alert Conditions can be set for Temperature, Humidity, Water, Door, Indoor Air Quality, TVOC, CO₂, PM2.5 and Ambient Noise states and levels. Along with that an Alert back off can be optionally set for each metrics (with the exception of Water Detection) in case the alert only needs to be sent if the state persists for an extended period of time.
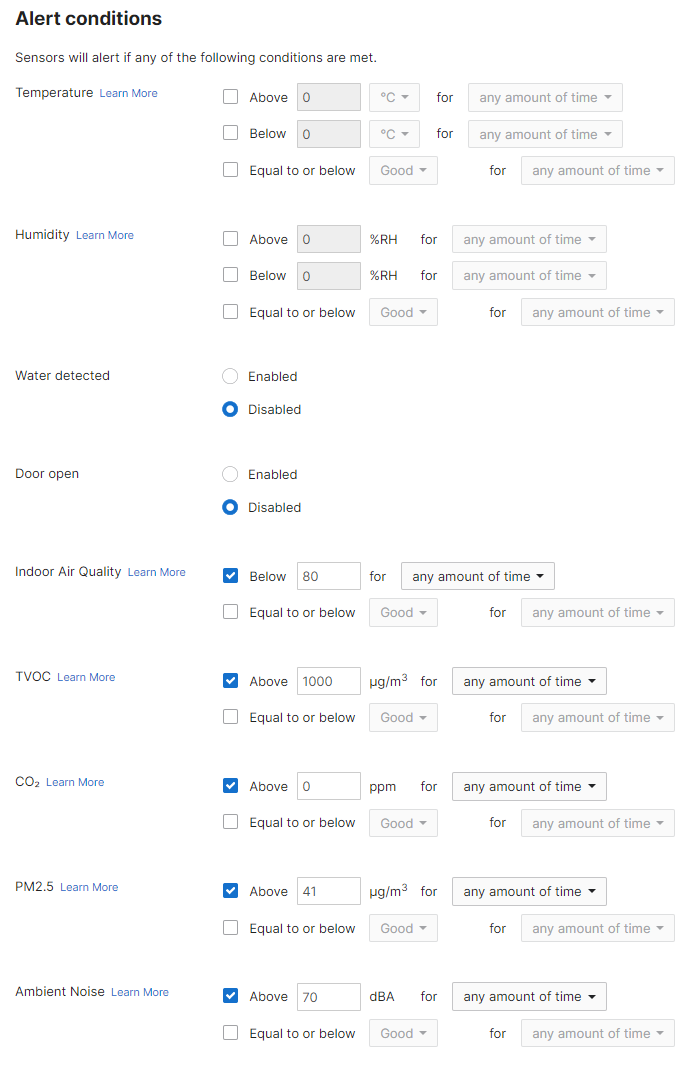
Temperature Qualitative Alert Profiles ('Good', 'Fair', 'Poor', and 'Inadequate') are expected to use Celsius as the unit of measurement.

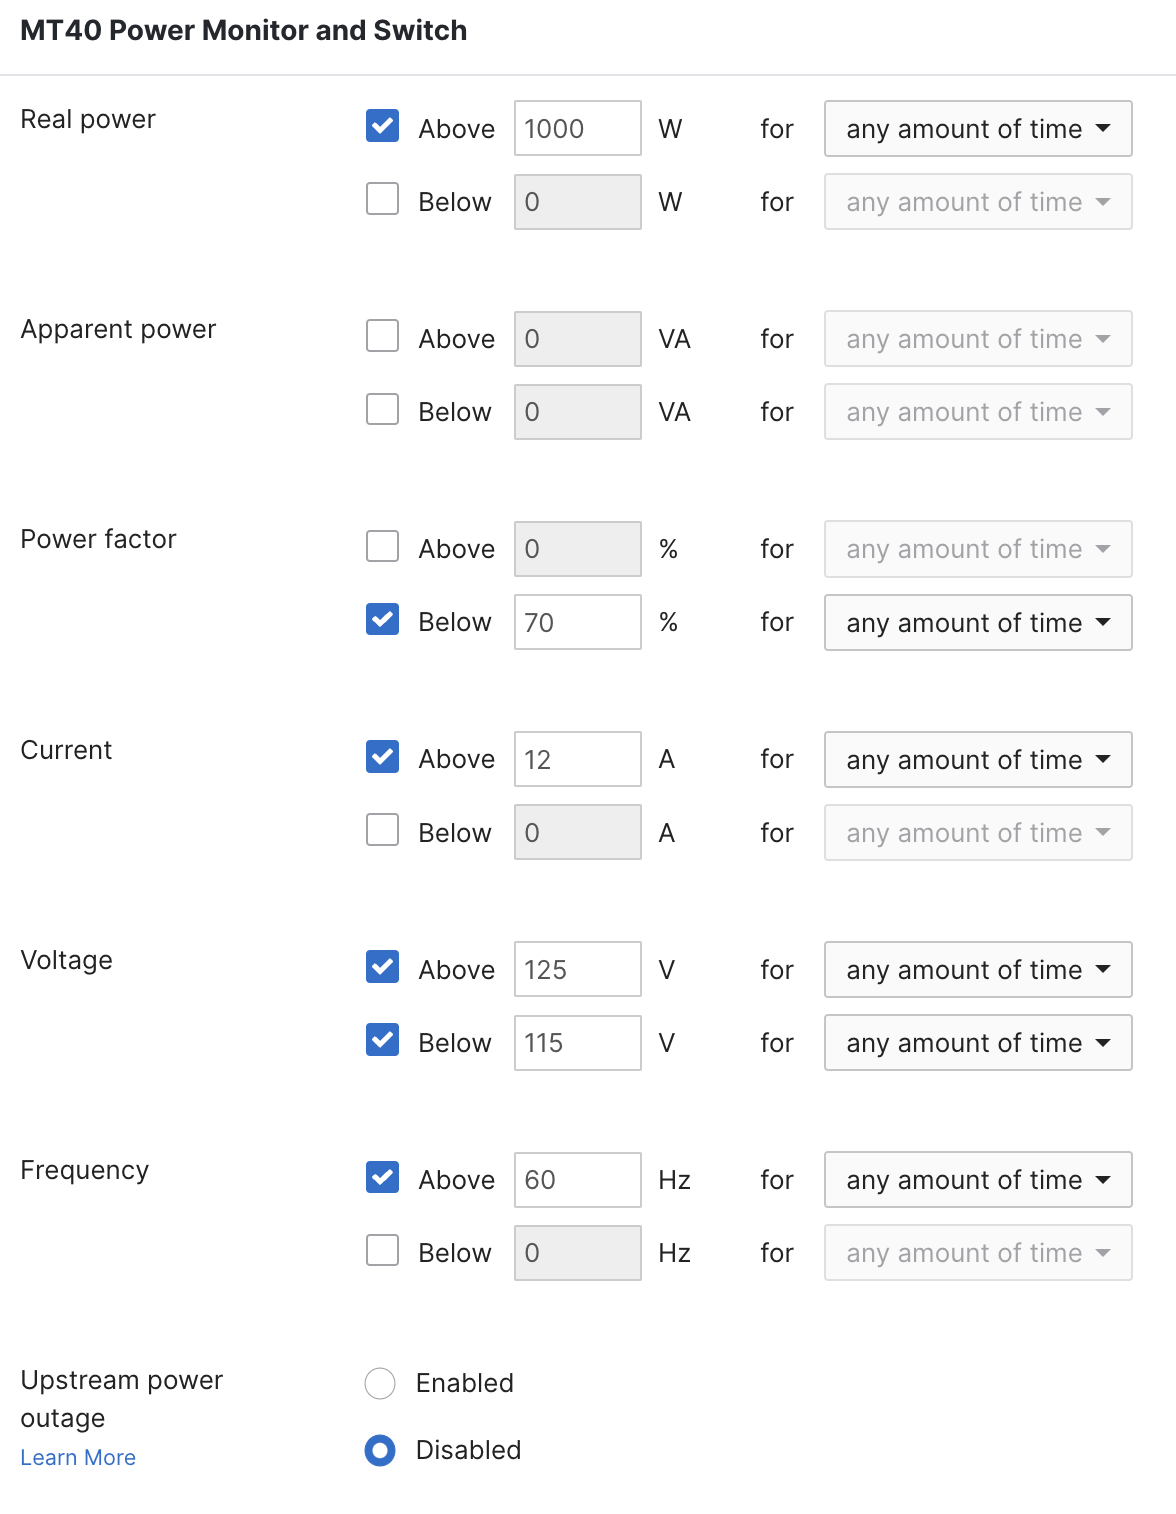
- A separate section for MT40 Smart Power Controller is available under Alert Profiles. Users can define alerts for Real Power, Apparent Power, Power Factor, Current, Voltage and Frequency Metrics. Along with that, an Upstream Power Outage alert can also be enabled for this sensor.
- An Email or SMS Recipient can be added in the field for notifications. As per the note, all default recipients in the network-wide alerts will be automatically subscribed. User can optionally disable the default recipients.

SMS Alerts are not supported with mainland China telecom providers.
Users can also subscribe to Meraki App Push Notification by adding their Dashboard User email as an Email Recipient on the alert profile.
13. Selecting Save will save the Alert Profile.
MT20 will log all door opens and closes events, the behavior cannot be modified.
The alert profile will be sent if ANY of the condition's thresholds are triggered.
As the UI suggests, all recipients under Network-wide > Configure > Alerts are automatically subscribed. This also includes any subscribed Webhook Servers. Optionally, default alerts can also be disabled.
Assigning the Alert Profile
After the Alert Profiles have been created, it needs to be assigned to a set of sensors. It can be assigned by 2 methods:
Individually from the Sensor Details page:
.png?revision=1)
-
Once the Alert Profile has been created, navigate to Sensors > Monitor > Overview > Sensors and Select a sensor.
-
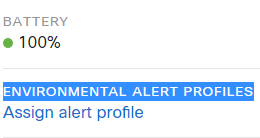
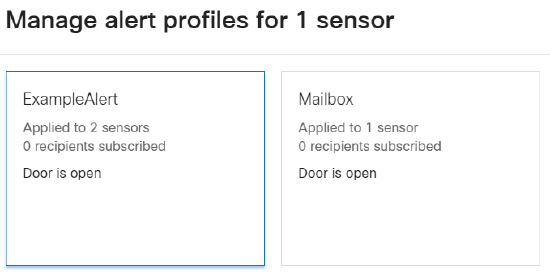
On the left side rail, the pencil button under the Environmental Alert Profile section will bring up a modal to Assign Alert Profiles.
-
Select the desired Alert Profile and click Save.
Bulk Assign
-
After the Alert Profile has been created, navigate to Sensors > Monitor > Overview > Sensors.
-
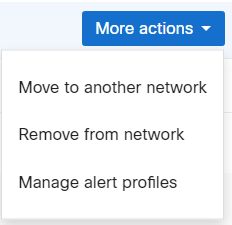
Check the box next to multiple sensors and click on More actions > manage alert profiles button in the top-right.
-
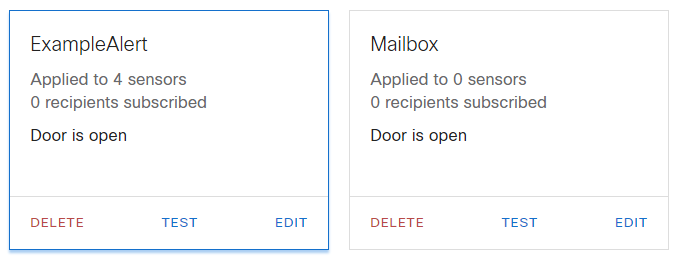
Select the desired Alert Profile(s) and hit Save.
Webhooks
The MT device alerts also generates Webhook Alerts when any of the conditions on an Alert Profile are met. A webhook server can be scoped to any alert profile.
Here are the steps to get a Webhook Alert for MT sensors:
- Create and add a Webhook Server under Network-wide > Configure > Alerts.

- Add a new Environmental Alert Profile using any of the methods mentioned in Setting up an Alert Profile and scope the Webhook Server created in step 1.

For additional help on creating Webhook servers, see Webhook setup for more information.

