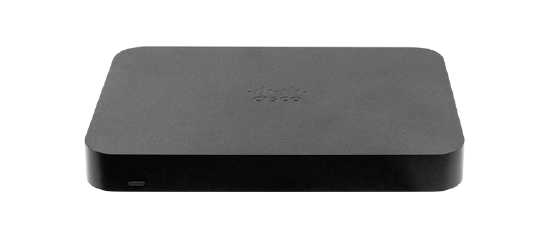
Z3/Z4 Quick Start
Quick Start
If you just want to get started without reading any more, follow these basic steps.
- Unpack and mount your Z3/Z4 (desktop or wall mount) and power it on.
- Make sure the Z3/Z4 can get a DHCP lease from the WAN connection / ISP modem.
- Plug the WAN / Internet port into the WAN connection / ISP modem using the provided patch cable.
- After powering on, the Z3/Z4 may need to download the latest firmware image from the cloud. While upgrading, the power LED will flash. When the Z3/Z4 has fully checked into the Cisco Meraki Dashboard, the LED become solid.
- Login to http://dashboard.meraki.com and create a new network. Enter in the serial number of your Z1 (found on the bottom of the unit). This will create a new teleworker gateway network to begin working with your Z3/Z4.
- You’re done!
If you need to set up a static IP address for the WAN connection, please read the Z3/Z4 Installation Guides.
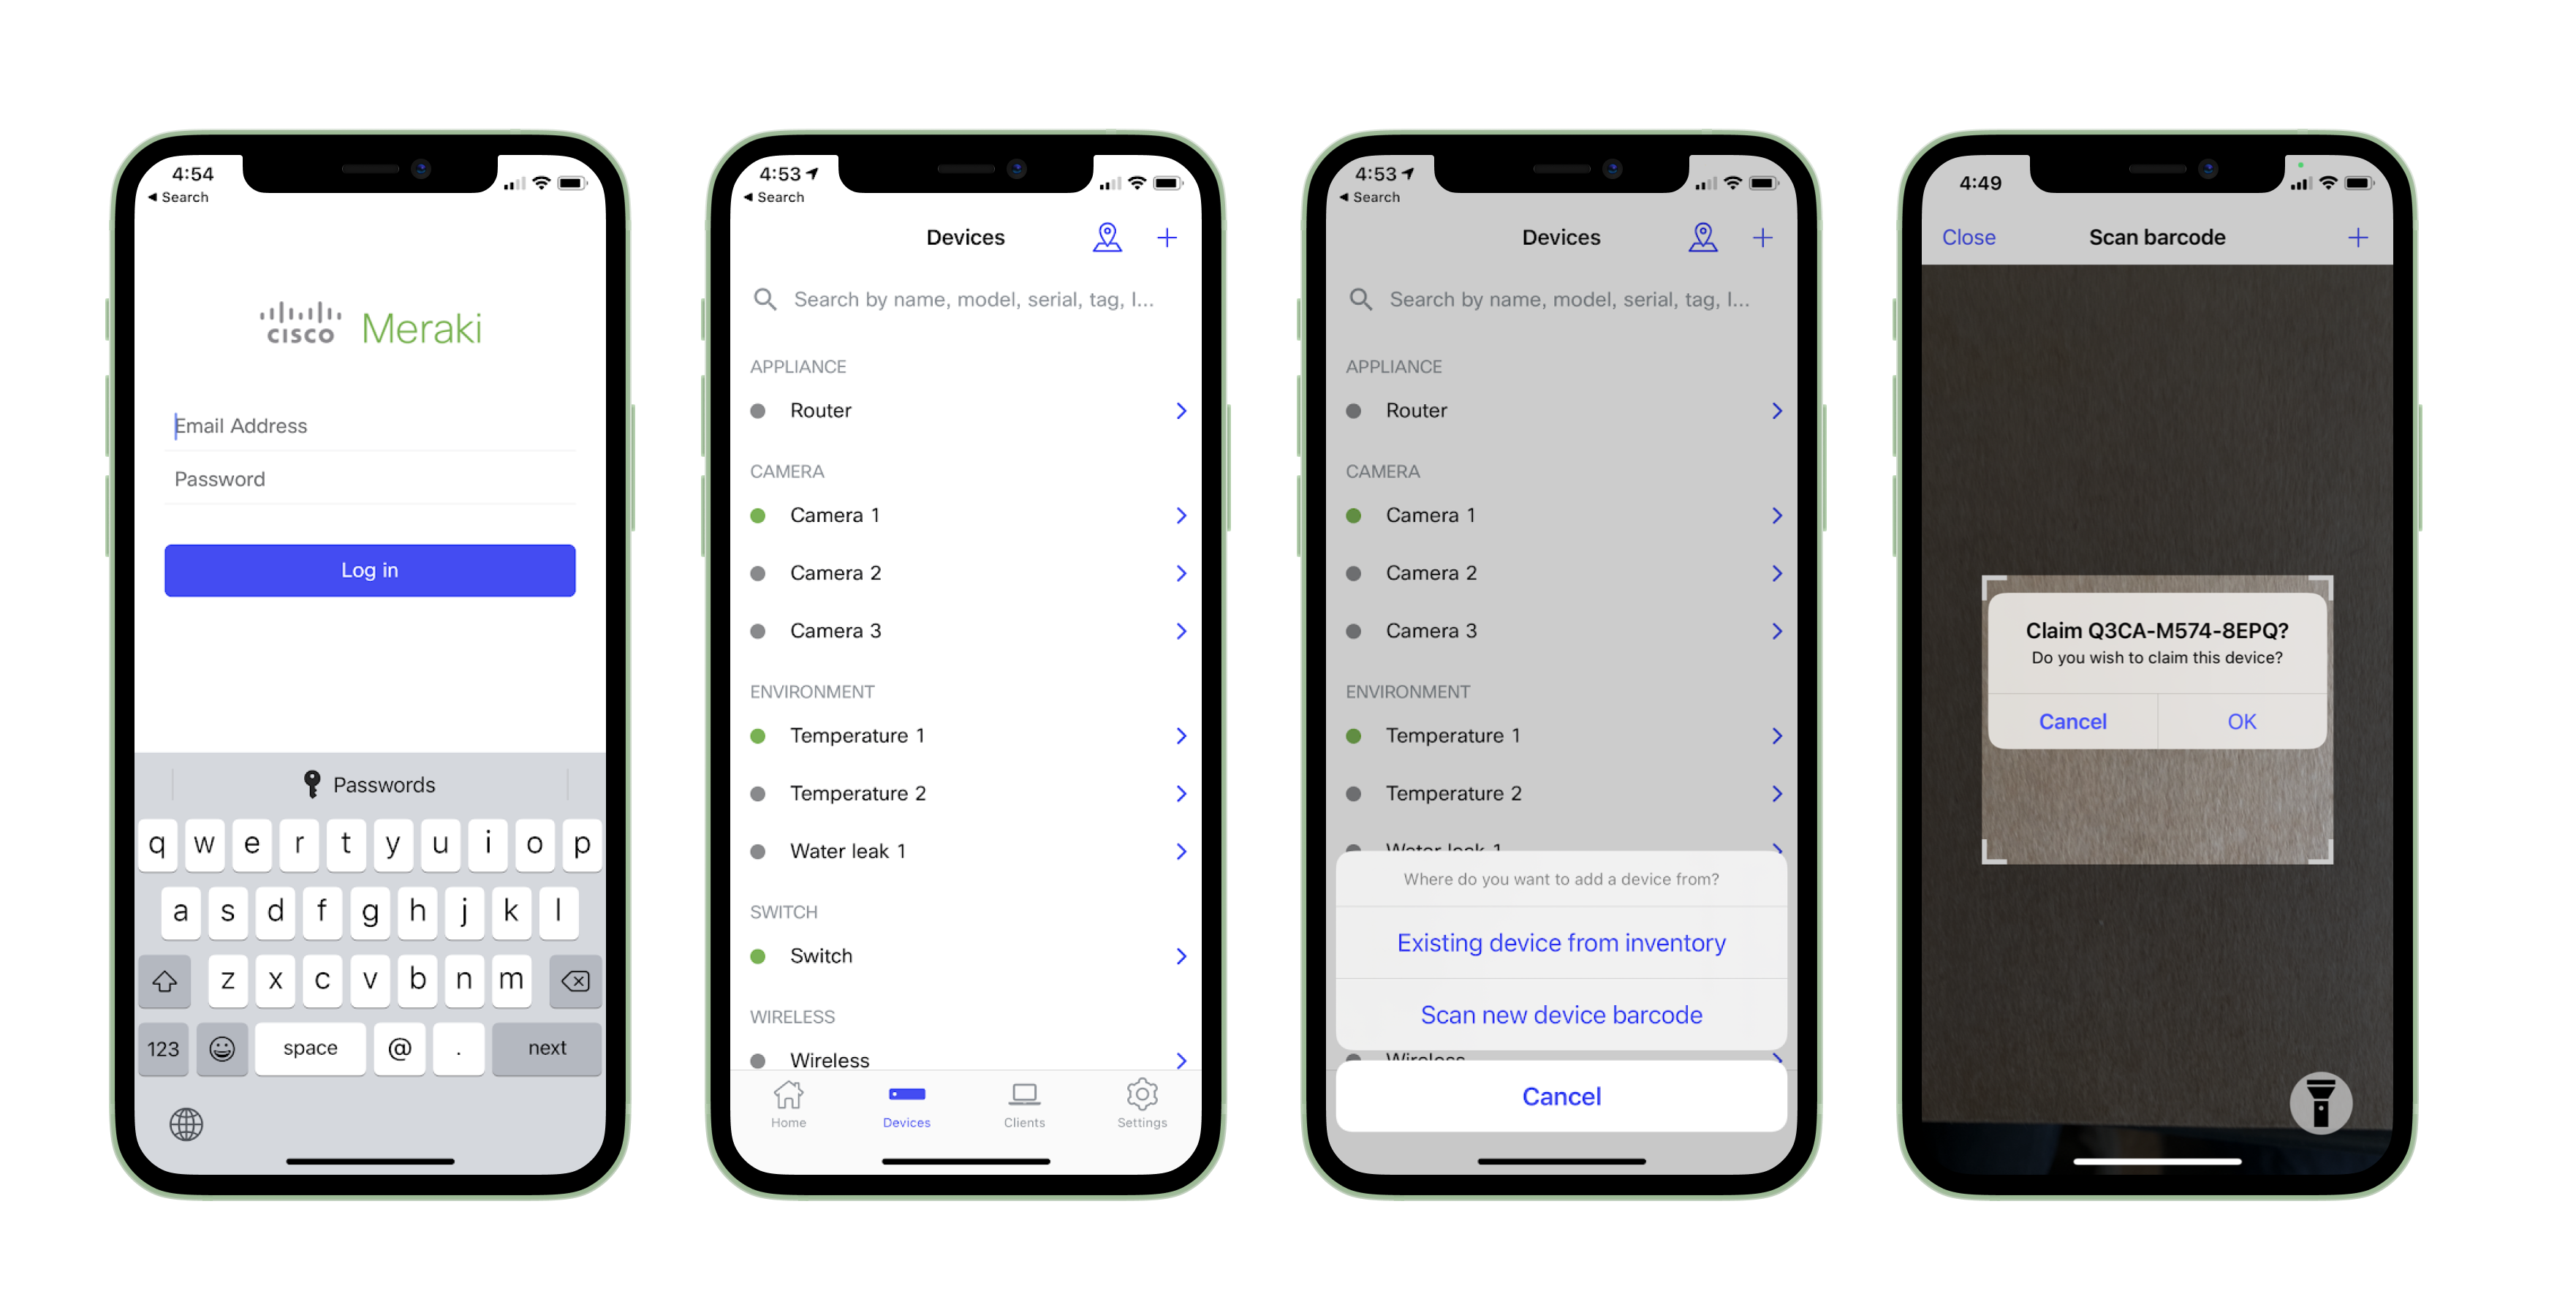
Quickly Scan and Claim Multiple Devices through the Meraki Mobile App
If you have to claim multiple devices, the quickest way is by scanning their barcode using the Meraki app.
- Log in to your Meraki iOS or Android app with your Meraki dashboard account. Create a new account if you do not have one.
- Navigate to the correct network through the left-side bar.
- Go to the Devices tab from the bottom navigation bar.
- Select the + icon on the top right of the screen and pick Scan new device barcode.
- Point your phone camera toward the hardware barcode to claim the device.
- Enter device information and then select Done. Press Add another to claim a new device.