
Meraki Cloud Authentication (Cisco Secure Connect Embedded)
Overview
Cisco Secure Connect delivers a turn-key solution that will be bundled with Meraki Cloud Authentication as part of the package. Meraki Cloud Authentication is supported and designed for lab testing and Prof of Value (POV) only as it doesn't require external integrations.
- Usage Guidelines: The Meraki Cloud Authentication feature is intended for use in testing environments only, and should not be used in production organizations.
- Support Status: Meraki Cloud Authentication is supported "as is". There will be no further enhancements made to this feature.
- Bug Evaluation: Any bugs identified in the Meraki Cloud Authentication feature will be evaluated on an individual bases. However, please note that there is no guarantee of a fix for any identified issue.
Client-based ZTNA doesn't support Meraki Cloud Authentication.
Use Case
-
Customers who don't have an IdP to authenticate users in Secure Connect can leverage Meraki Cloud Authentication as the cloud based authentication.
-
Existing Meraki Cloud Auth customers can continue using Meraki Cloud Authentication with the Secure Connect turn-key offer.
Prerequisites
-
API keys should be in place.
Deployment
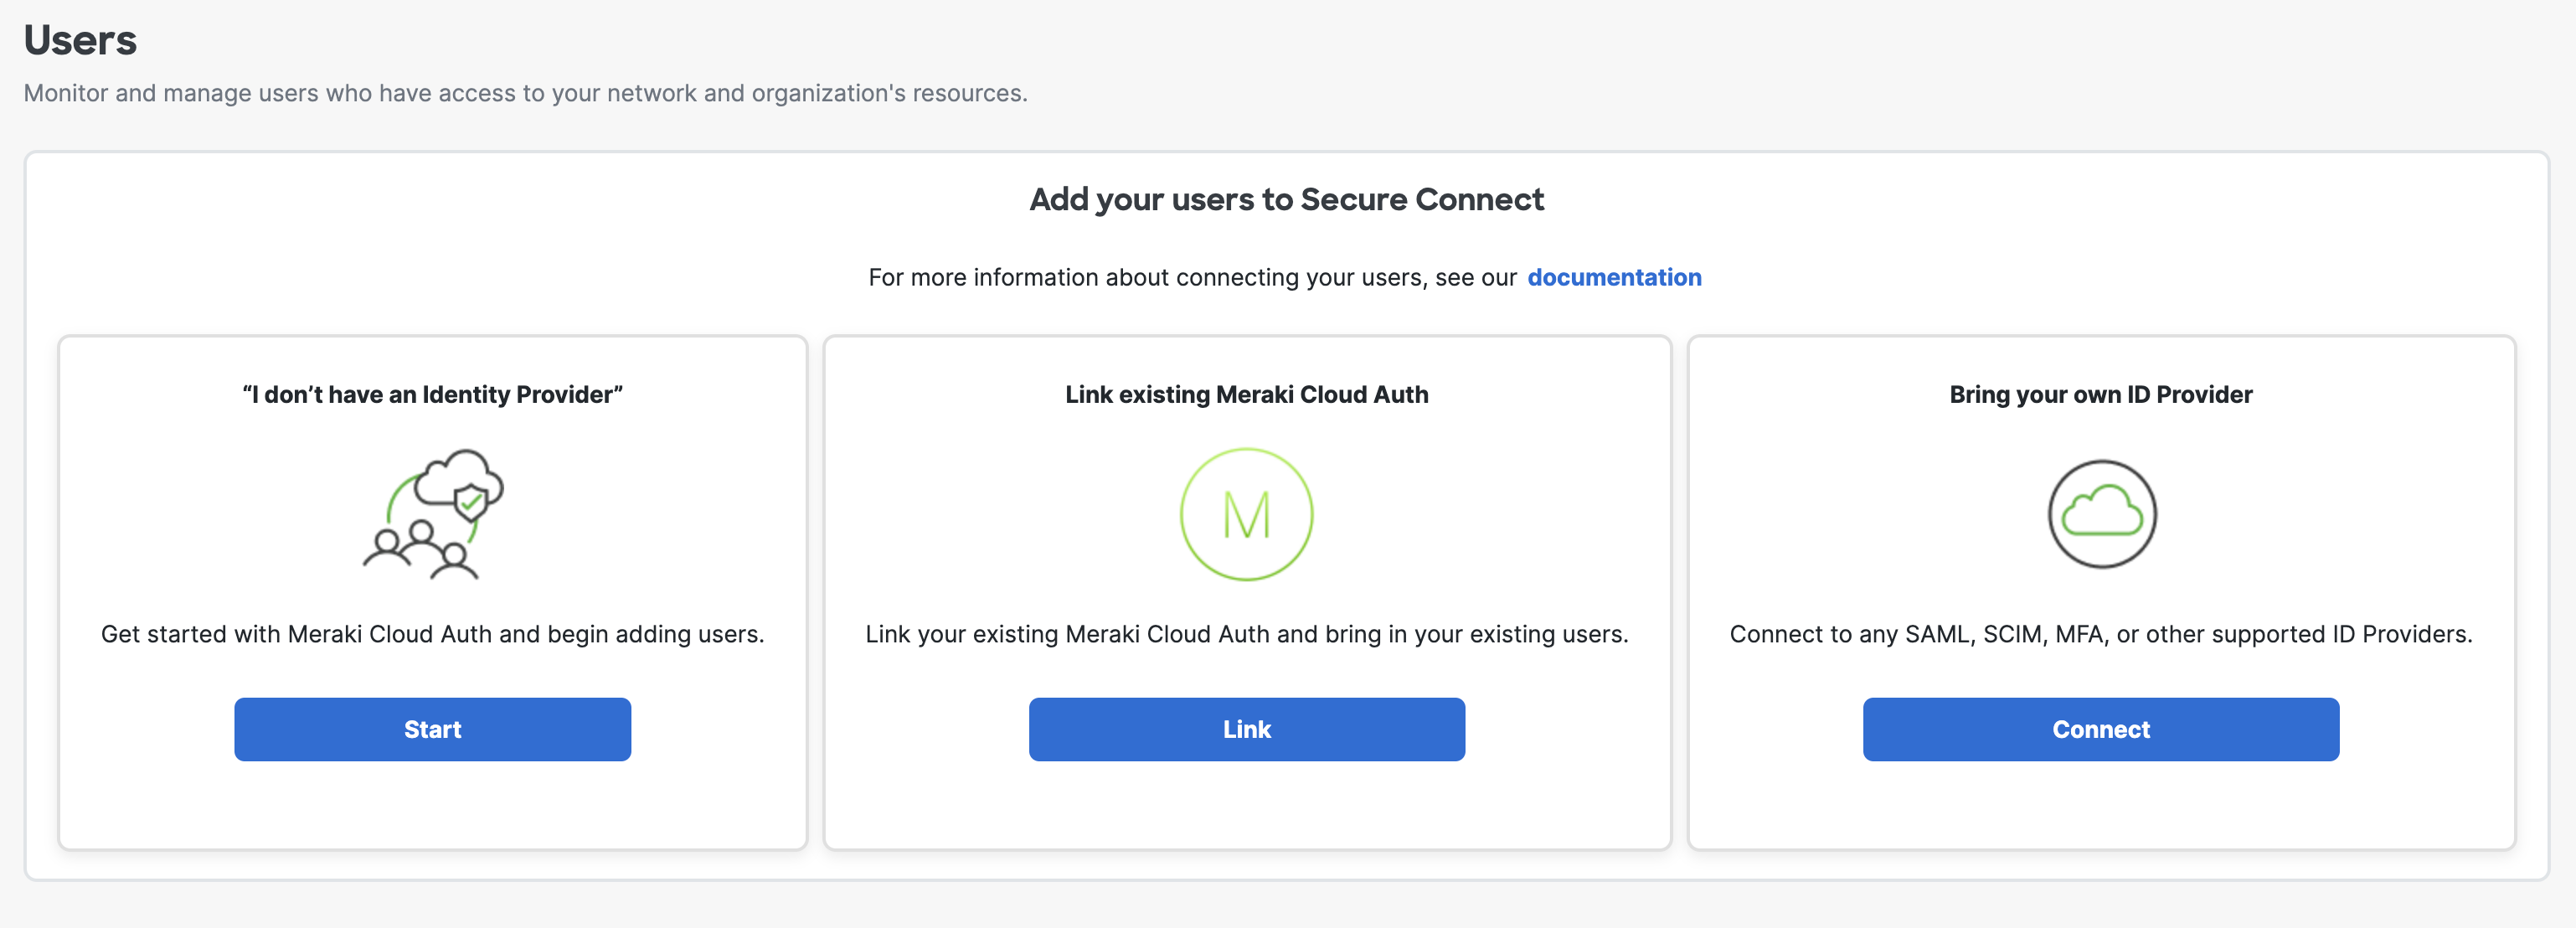
1. Go to Secure Connect -> Identities & Connections -> Users, select your identity provider, click Start under "I don't have an Identity Provider".
2. Then it will direct you to the SCIM Token page, click "Go to Umbrella and generate a SCIM Token" for the next step.
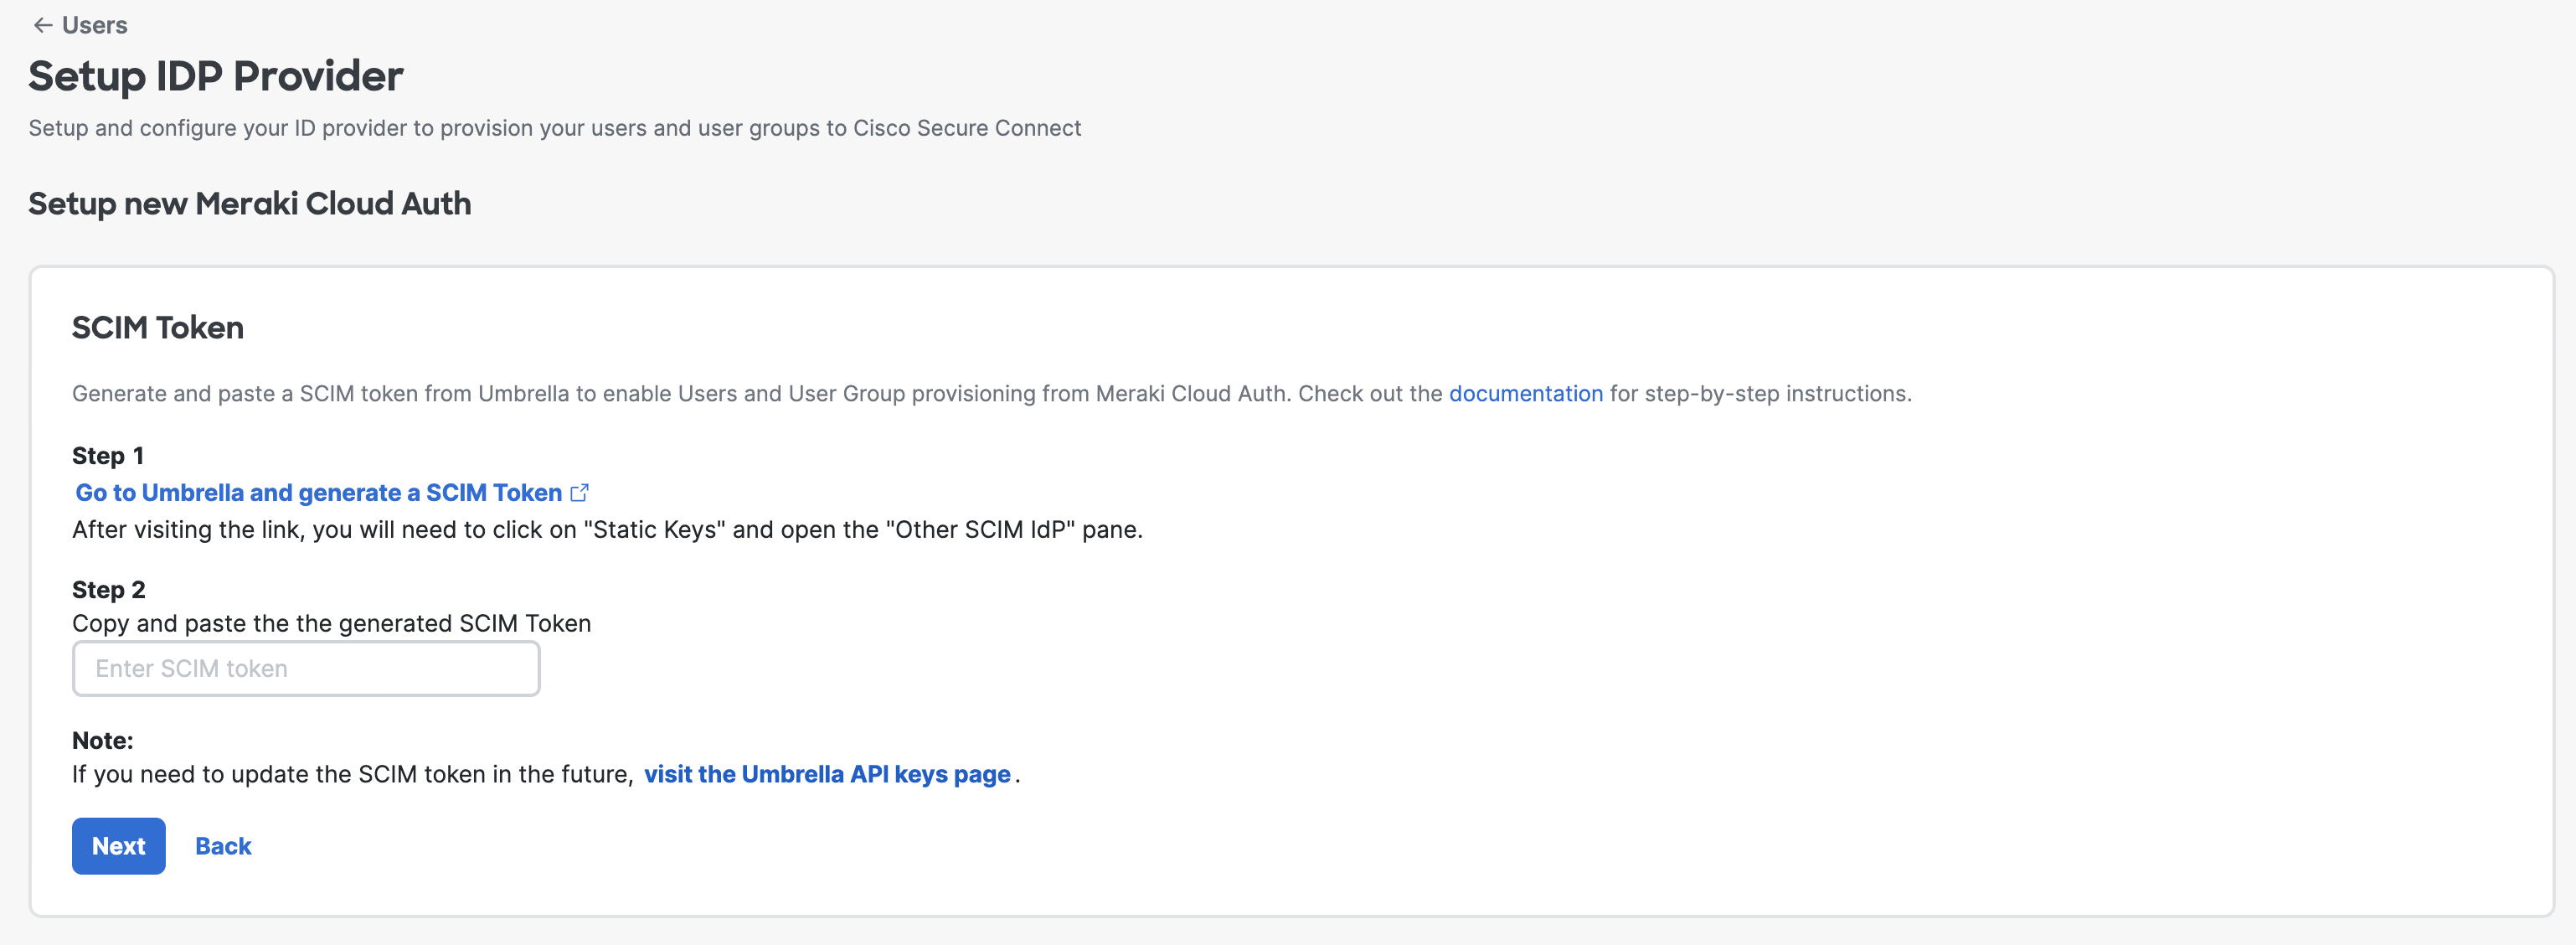
3. After step 2, you will be landing in Umbrella API Keys page under Admin -> API Keys.

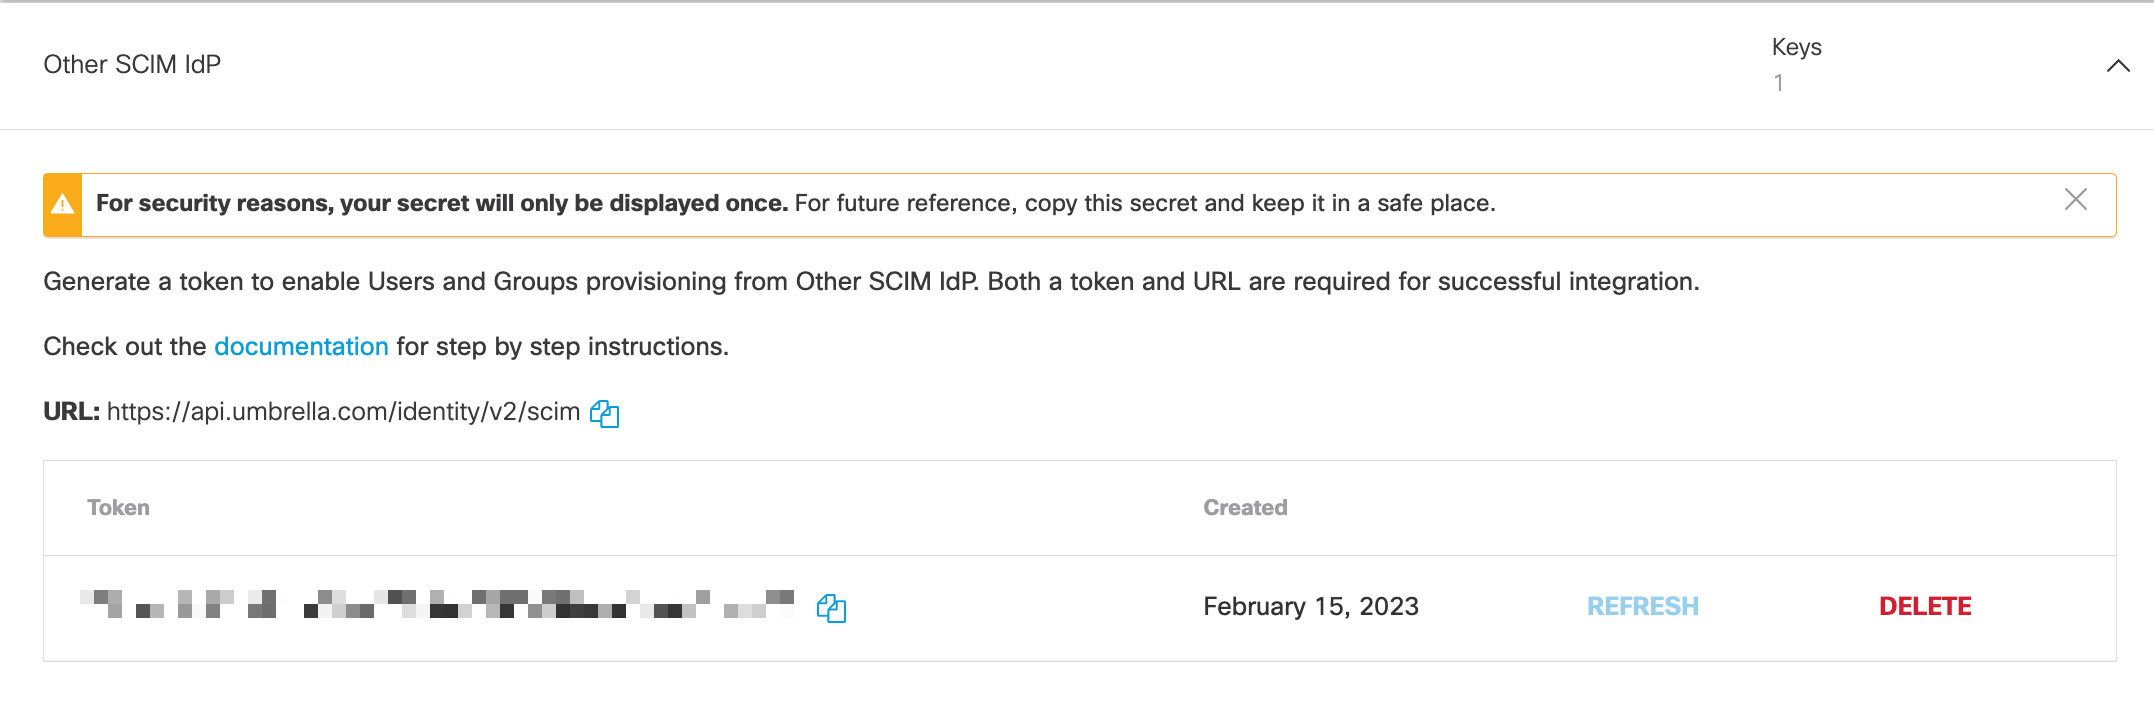
4. Choose Static Keys and expand Other SCIM IdP, then click Generate Token.

5. Copy the SCIM token and swivel back to Secure Connect SCIM token page.
Notice: Don't forget to save your SCIM token since the token will only shown once.
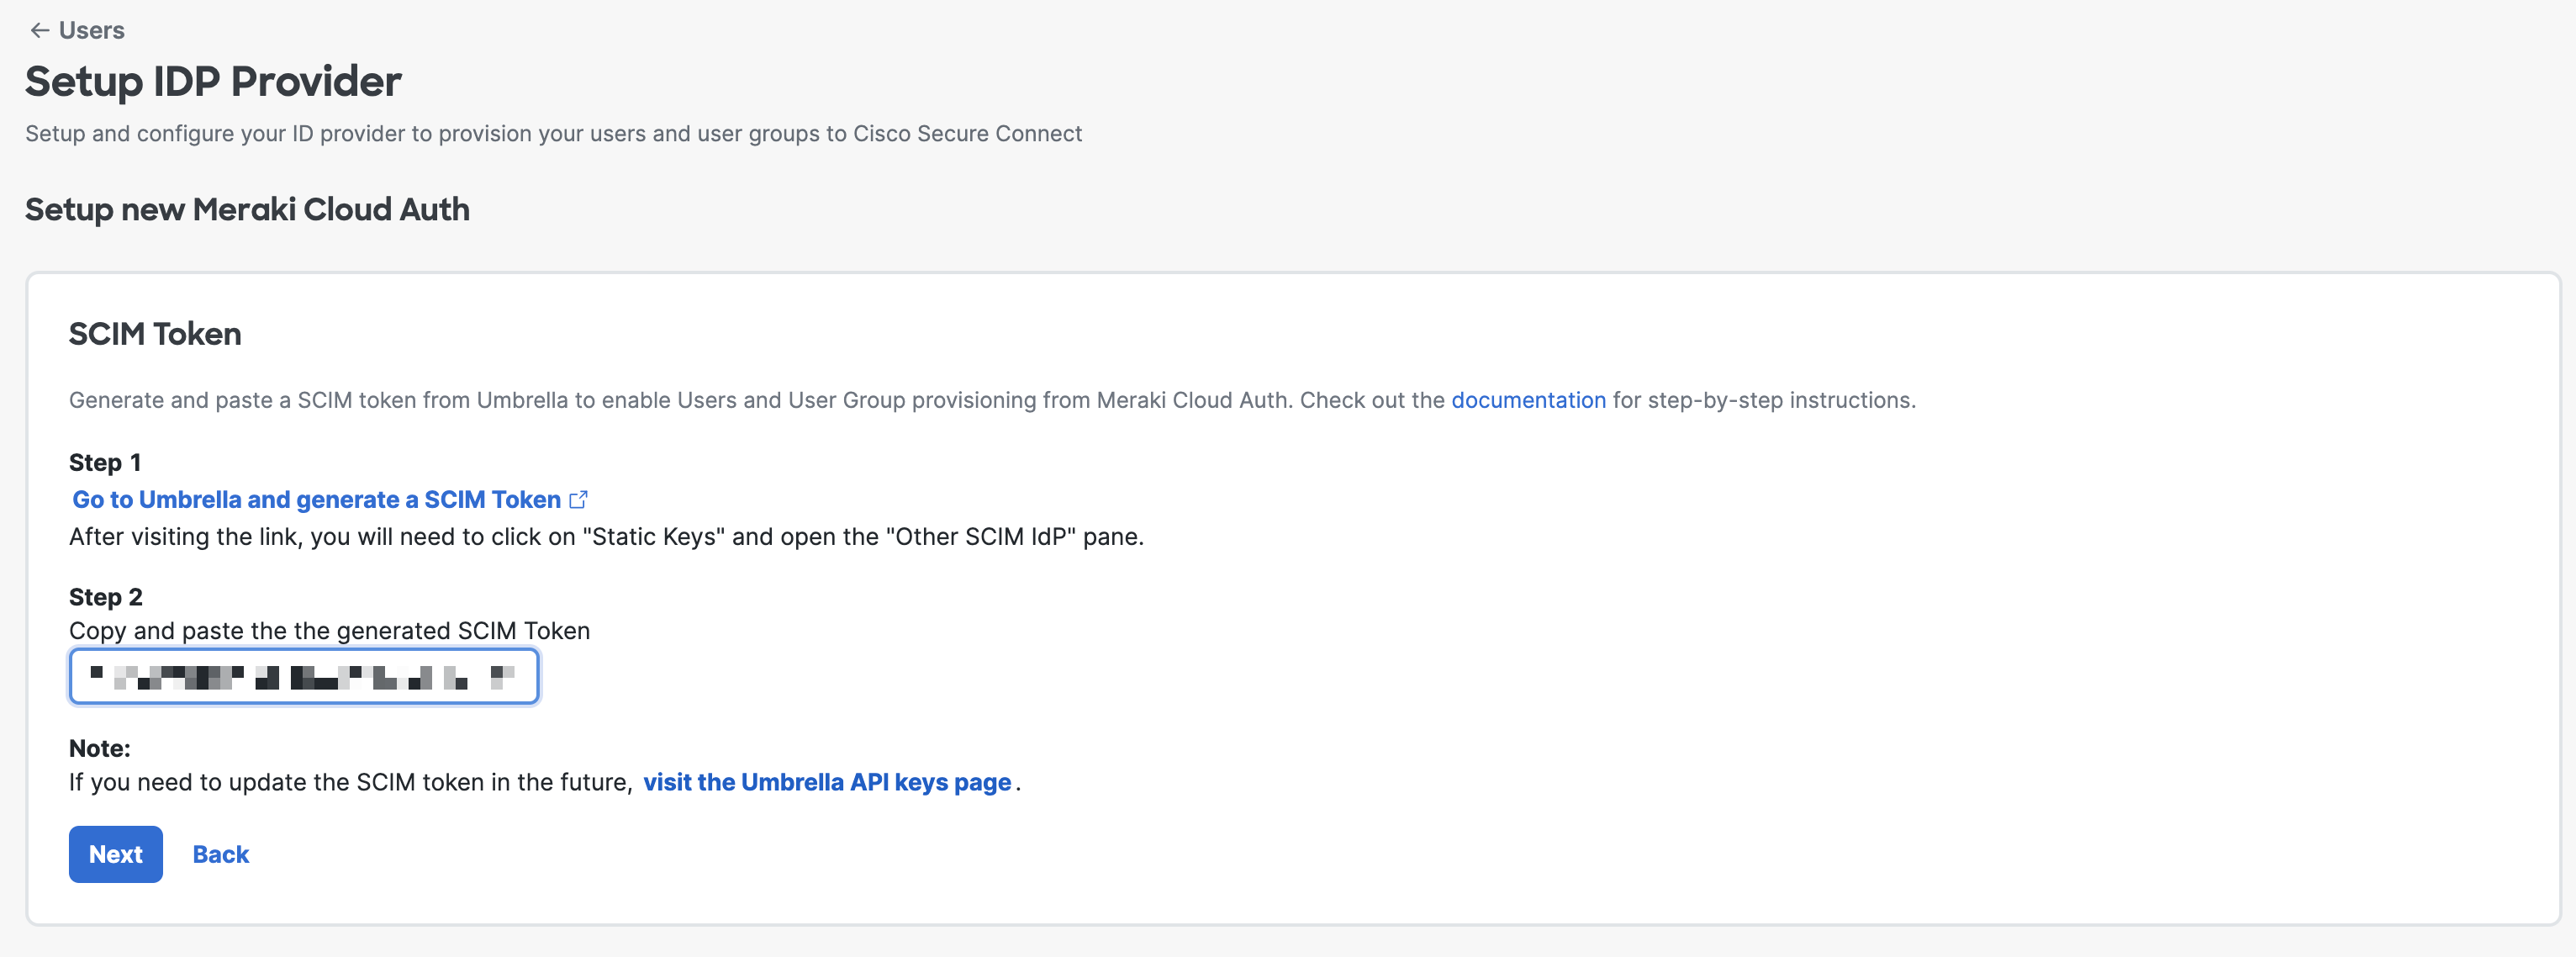
6. Paste the SCIM token and click Next.
7. Click + Add User to a add a new user to Meraki Cloud Auth.

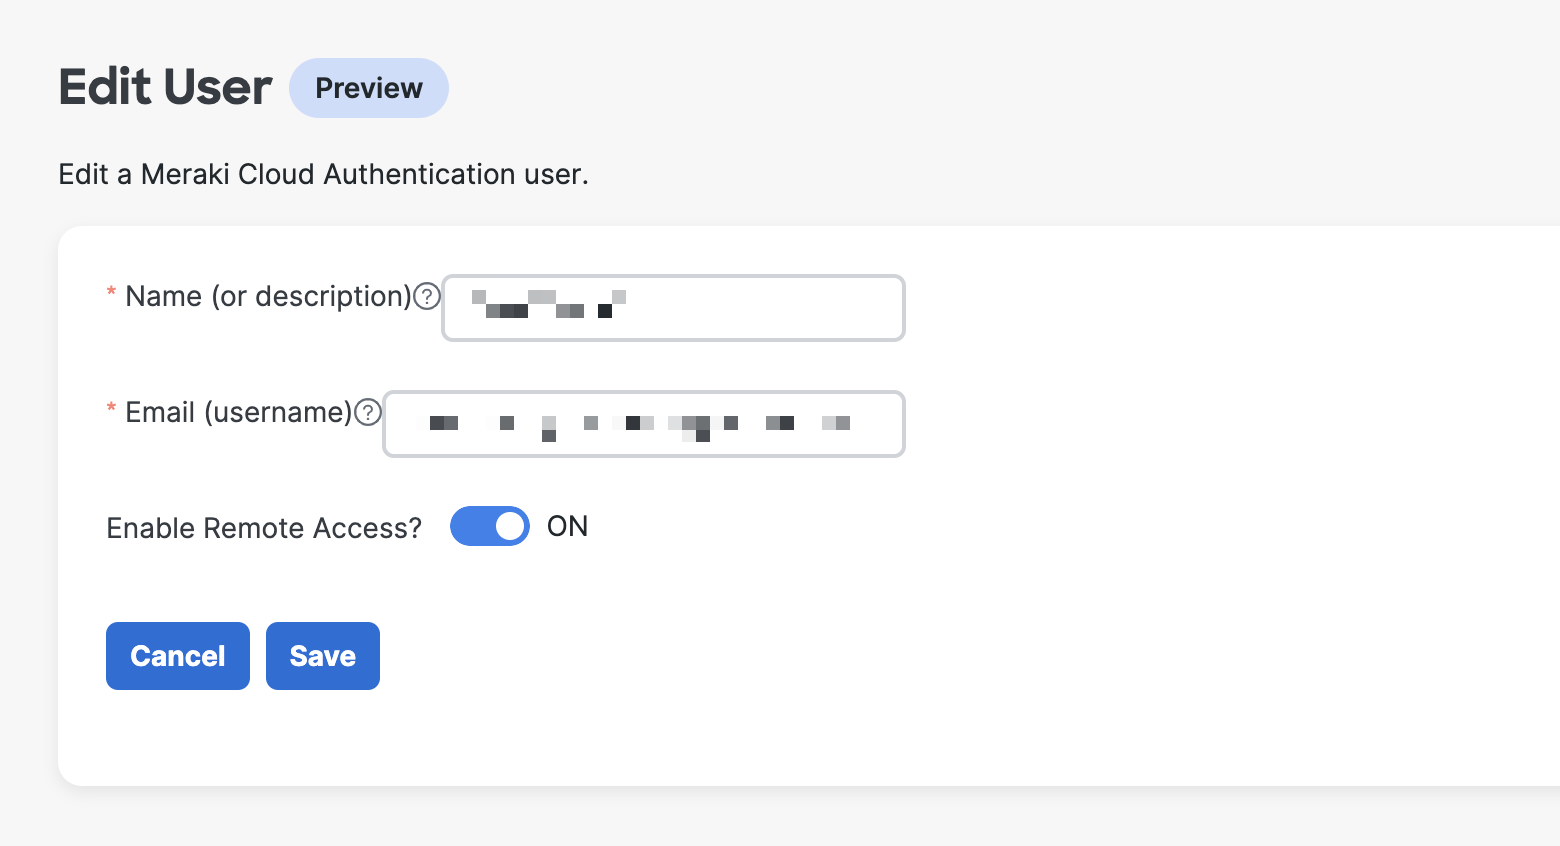
8. Provide a Name and an Email. Enable Remote Access "ON" will show if you have Remote Access enabled, otherwise will be grayed out. Click Save to move forward.

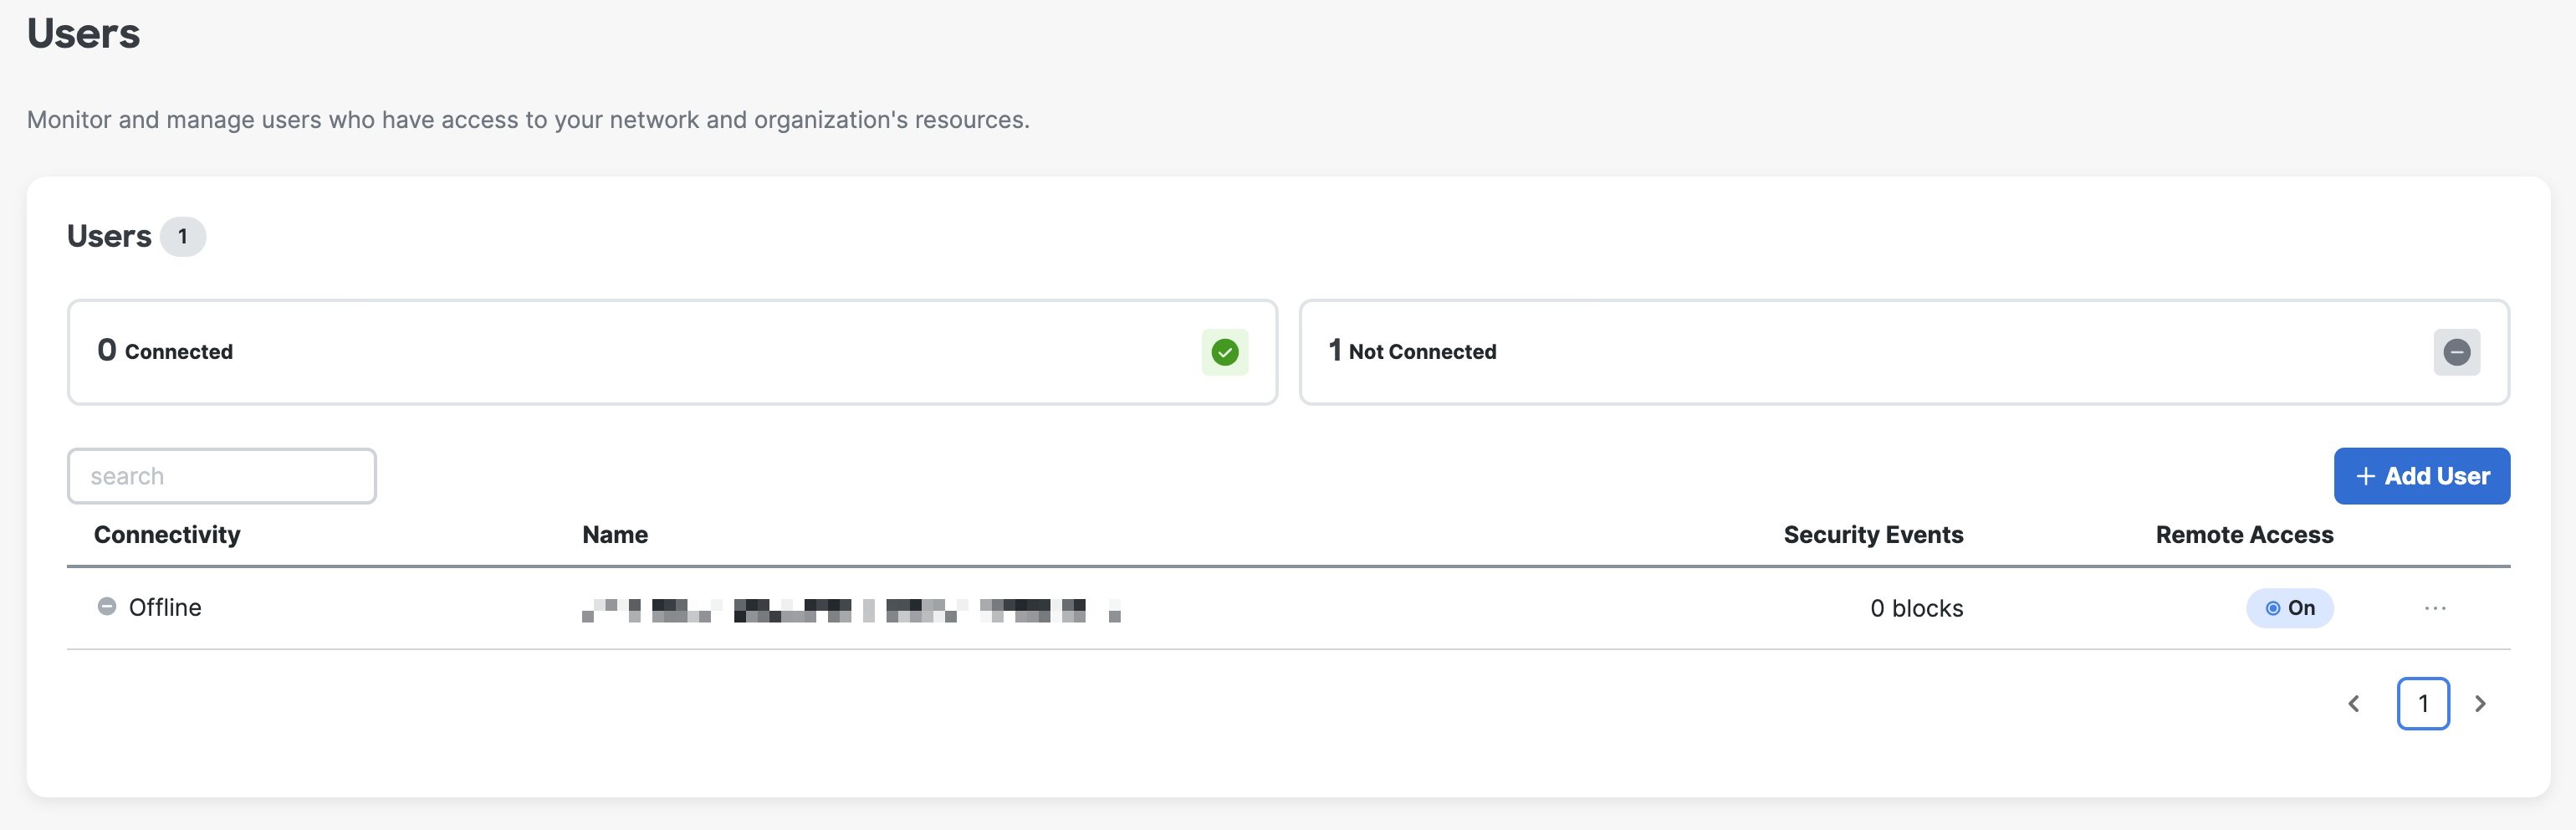
9. The user shown in the Users page accordingly.
10. Go to the User's inbox for remote access login information. There is a password and a FQDN for remote worker to login through Secure Client.
For more details on Remote Access use cases and deployment guide, please click here.

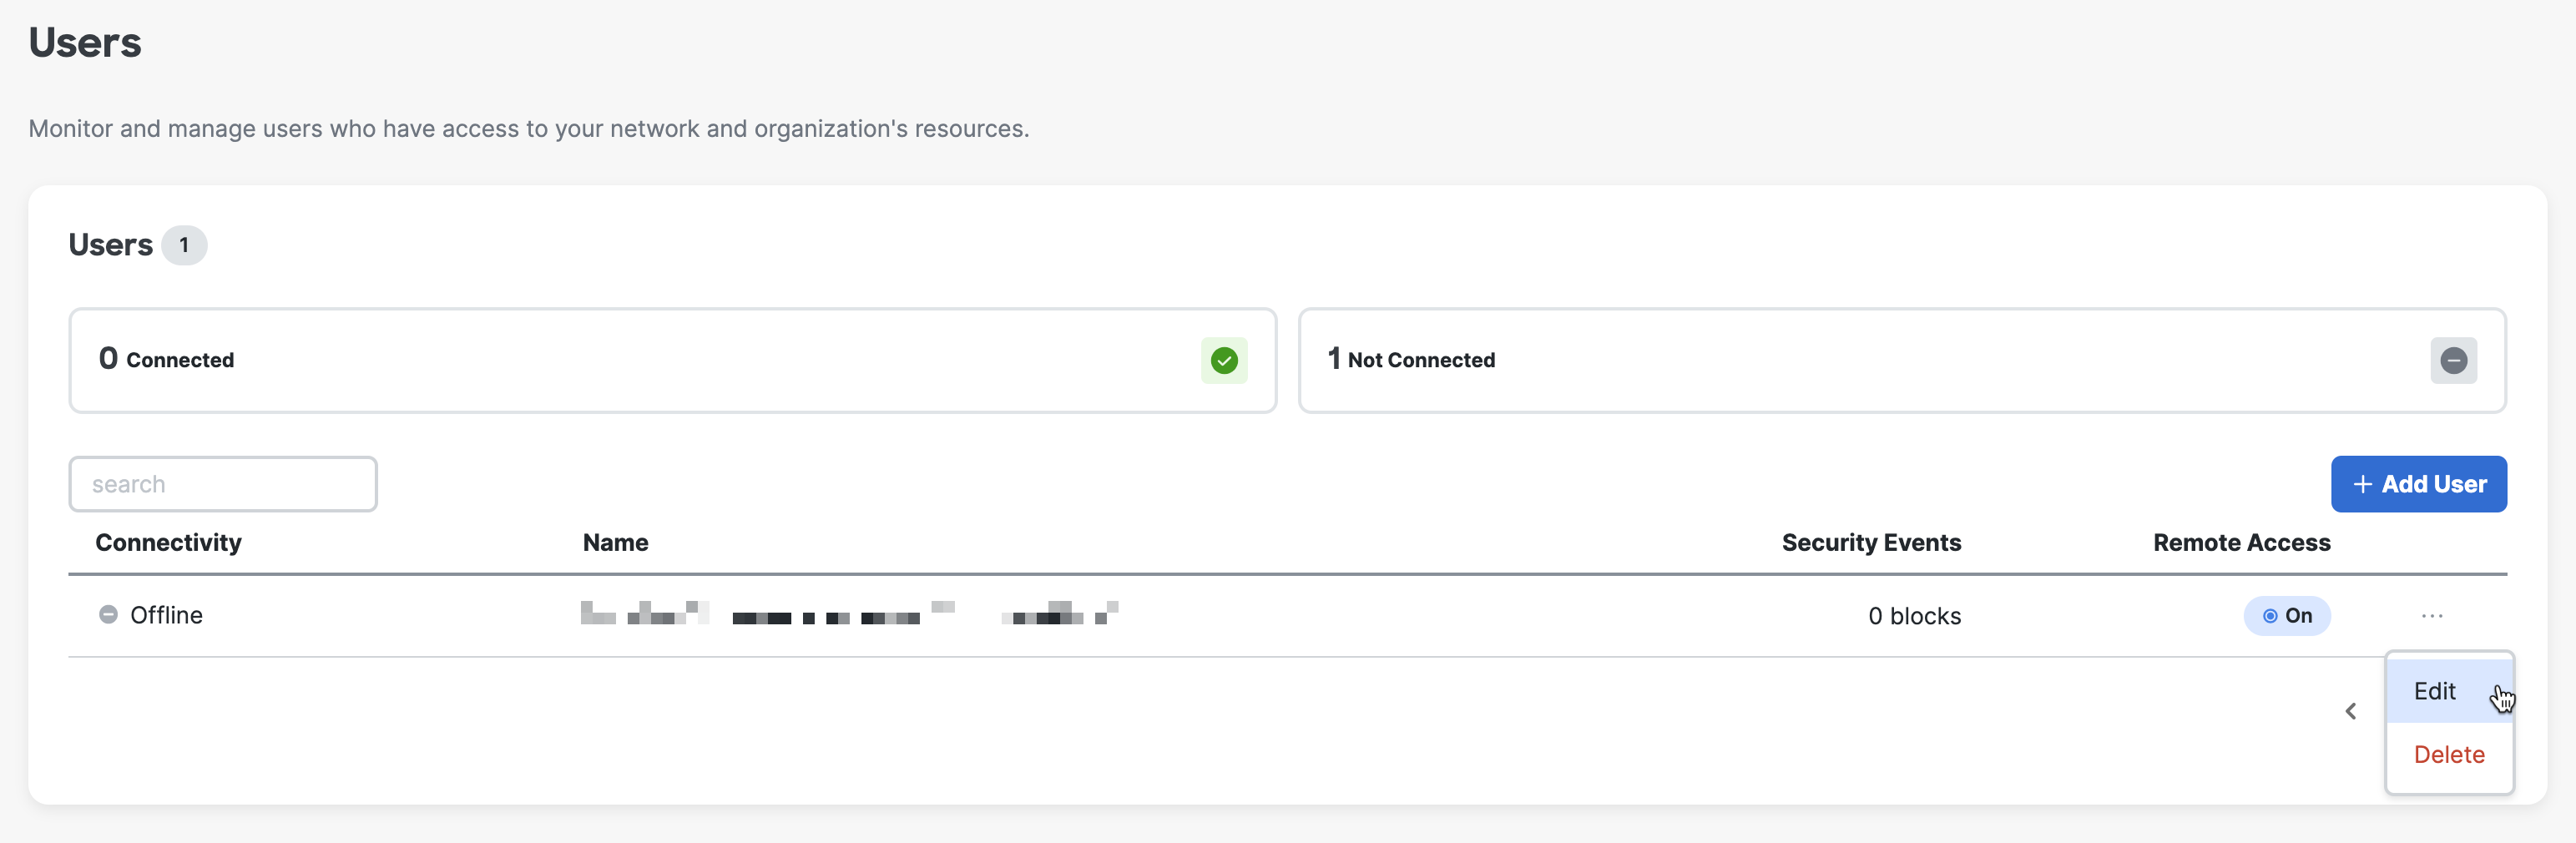
11. If you want to edit a user, click three dots to expand options and choose Edit. (optional)
11. From Edit User page, you can toggle Enable Remote Access ON and OFF based on your own design. (optional)
12. If you want to delete a user, click three dots to expand options and choose Delete. (optional)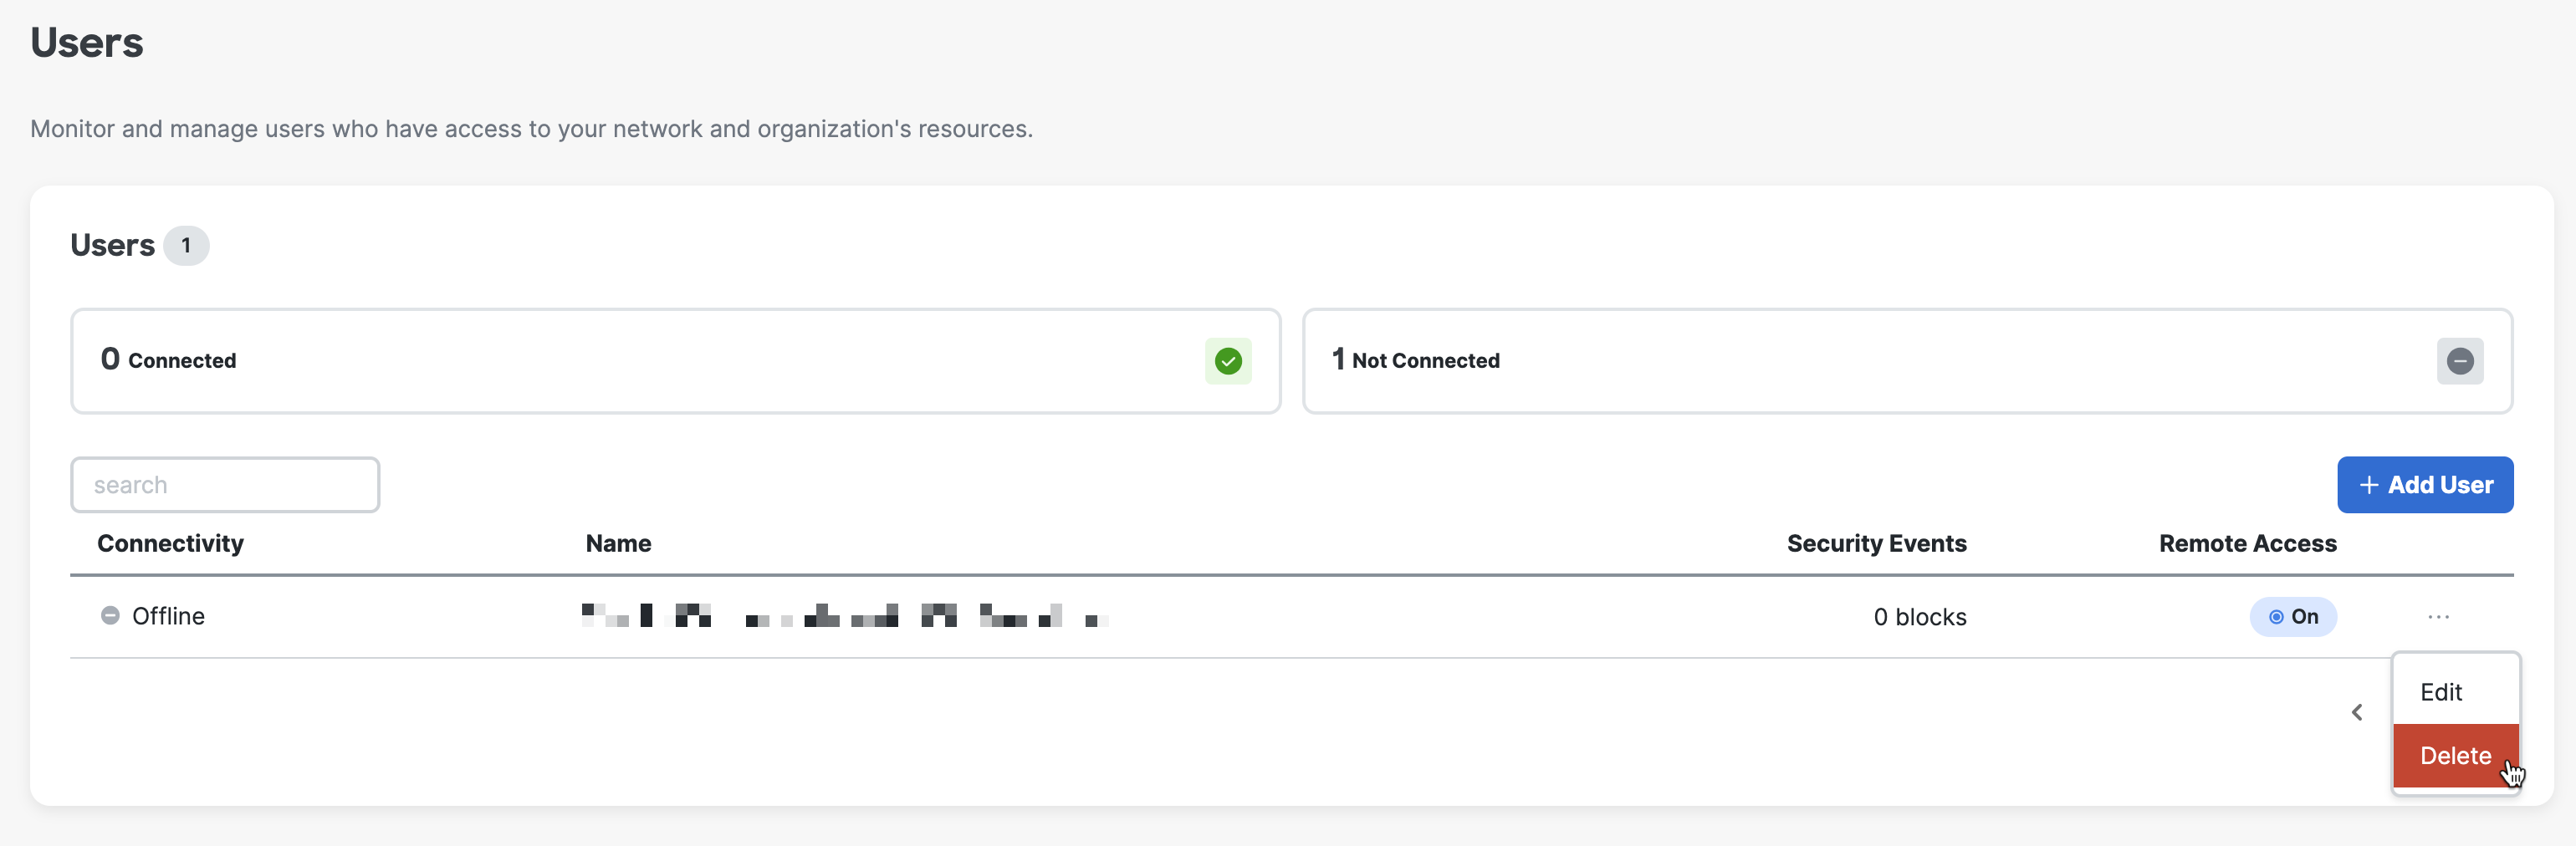
13. Confirm the user is the one that you want to delete, check the box of "Yes, delete user" and click Delete. (optional)
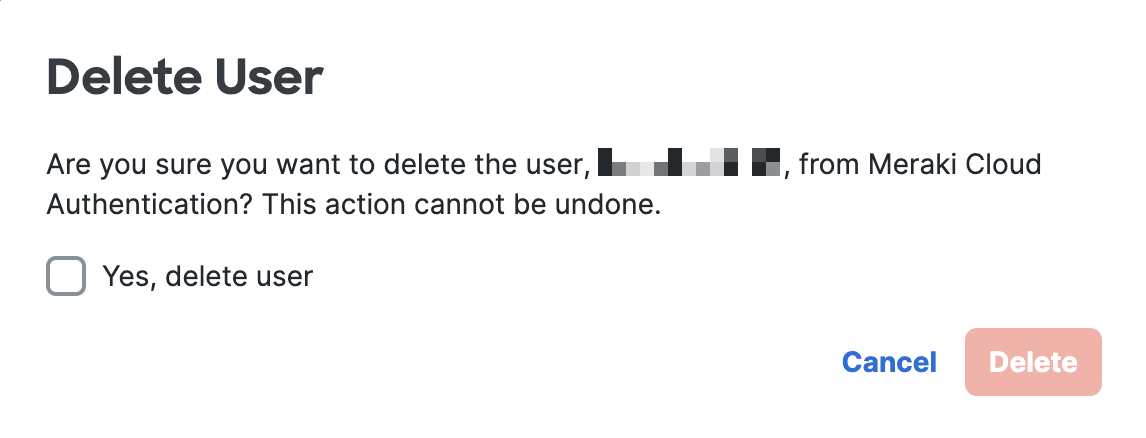
Deleting User will not disconnect any existing sessions. Session will disconnect based on the configured timeout window.
14. Once you have the user setup, you can click each user's name to check more details on the right-hand expanded drawer.


15. You can also click View all security events on the bottom of the drawer to be re-directed to Umbrella Activity Search page for log analysis.

