
Configuring SAML SSO with Microsoft Entra ID
This article provides a walkthrough of configuring Microsoft Entra ID (formerly known as Azure AD) as an identity provider (IdP) for the Cisco Meraki dashboard. This helps administrators who want to move their Active Directory on a cloud platform like Azure to integrate SAML SSO with the Meraki dashboard. It is recommended that administrators read the article on SAML integration for Dashboard before proceeding, which covers configurations for both of the SAML login types offered; IdP-Initiated SAML and SP-Initiated SAML.
Refer to the Microsoft Entra documentation for configuration advice on the Entra admin center side.
Installing the Meraki Dashboard Application in Azure
- On the Azure Portal home page, click or search for Microsoft Entra ID.
- On the left-hand side within Azure Active Directory, click Manage > Enterprise applications.

3. Click New application.

4. Search for “Meraki Dashboard”.

5. Select the application title named Meraki Dashboard with Cisco Systems, Inc. as the publisher and click Create.
6. Navigate back to Enterprise applications from step 2. Once the app has finished installing, you will see Meraki Dashboard in your application list.

Creating App Roles within Meraki Dashboard Application in Azure
There are two methods to declare app roles using the Azure Portal:
- App roles
- Uses UI to make changes
- App manifest editor
- Requires editing JSON by hand
Microsoft Azure explains both methods to declare app roles in their platform.
The Value of the role you configure in the Azure Portal must match the Role you configure in the Meraki dashboard.
Examples of the app role and app manifest editor are shown below to showcase the differences in management.
- App roles example:
1. Click on, "App registrations," under the, "Manage," option.
2. Within the search box, type the name of the Meraki application that you have created. If it does not appear, make sure that you have, "All applications," highlighted.
3. Select the Meraki App.

- App manifest editor example:

Adding User Roles to the Meraki Dashboard Application in Azure
- On the Azure Portal home page, click Azure Active Directory.
- On the left-hand side, click Manage > Enterprise applications.
e
3. Find and select Meraki Dashboard app from the application list.
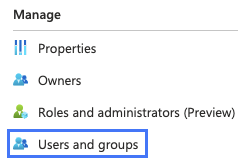
4. On the left-hand side, click Manage > Users and groups.
5. Click Add user/group

6. Select the users who can access your Meraki dashboard organization and assign a role.

7. Click Assign when done assigning permissions.
The list of users will be shown in the user list of the Meraki dashboard application in Azure.
Enabling SAML SSO in Azure Active Directory
- On the Azure Portal home page, click Azure Active Directory.
- Click Manage > Enterprise applications.
3. Find and click Meraki Dashboard app from the application list.
4. Select Single sign-on on the left under Manage and select SAML.

5. Within the Basic SAML Configuration section, click Edit and type https://n27.meraki.com/saml/login/ into the Reply URL text field.
This is a default reply URL used to generate the thumbprint in step 7.
The unique reply URL for your dashboard organization will be generated in the following section.
For Government cloud customers in this article you see x.meraki.com that it should be x.gov-meraki.com.

6. Click Save.
7. Copy the Thumbprint from the SAML Signing Certificate section and save it, this will be used for linking Azure with your Meraki Dashboard organization. This Thumbprint will be entered into the Dashboard for configuration.
Azure will show a default thumbprint value prior to completing step 5.

Enabling SAML SSO in Meraki Dashboard
1. Log in to your Meraki Dashboard and navigate to Organization > Configure > Settings.
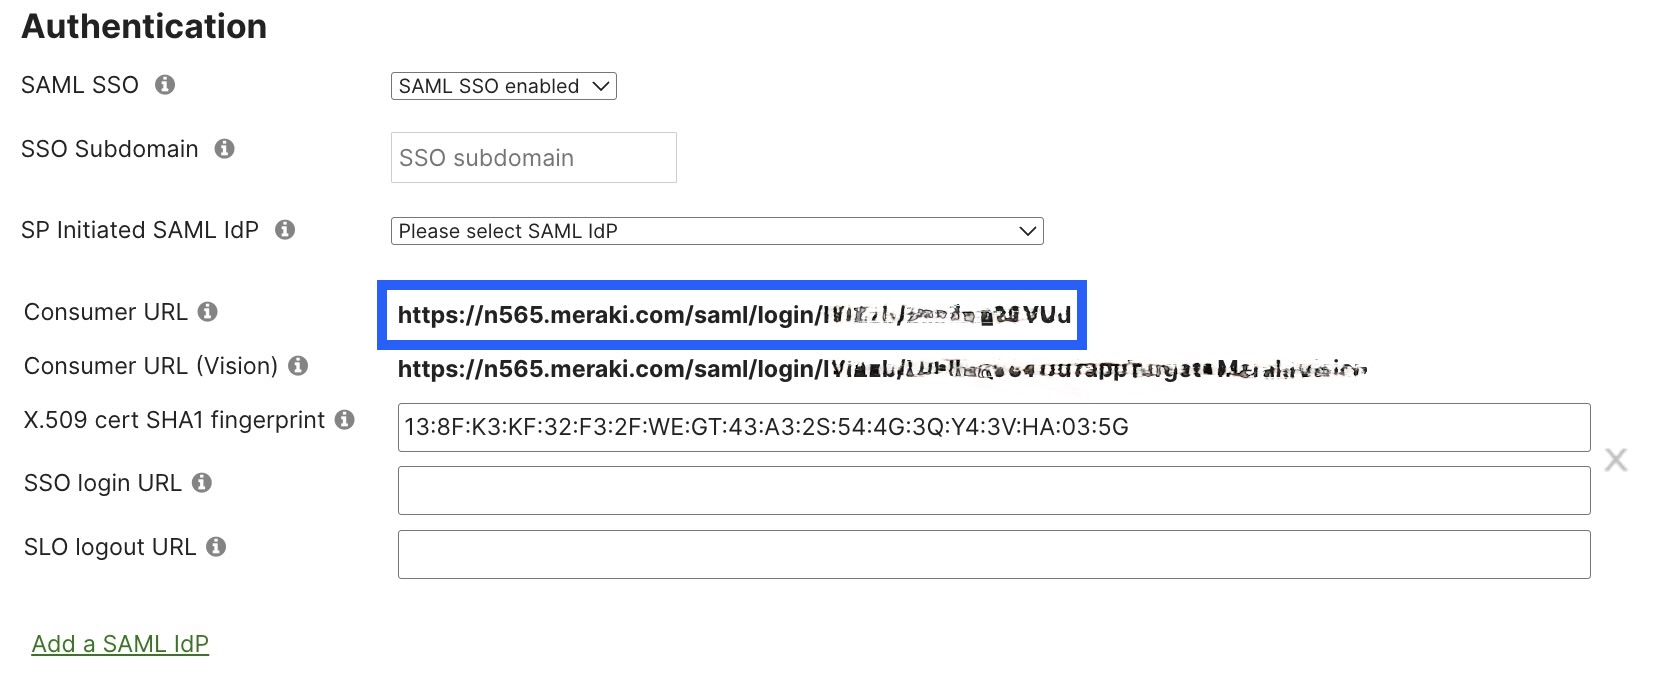
2. In the Authentication section, toggle SAML SSO to SAML SSO enabled and click Add a SAML IdP.

3. In the X.509 cert SHA1 fingerprint field, enter the certificate Thumbprint generated in the Enabling SAML SSO in Azure Active Directory section.
Azure generates the X.509 cert SHA1 fingerprint as single string and dashboard expects the X.509 cert SHA1 fingerprint to have a colon after every two characters.
- Azure-generated string > 138FK3KF32F32FWEGT43A32S544G3QY43VHA035G
- Meraki dashboard-formatted string > 13:8F:K3:KF:32:F3:2F:WE:GT:43:A3:2S:54:4G:3Q:Y4:3V:HA:03:5G
Note: SHA-256 certificates are supported for this purpose. When generating certificates, SHA-256 can be selected as the signing algorithm. This will result in a SHA-1 and a SHA-256 fingerprint. The SHA-1 fingerprint of the certificate will have to be provided on the dashboard.
When a X.509 certificate needs to be renewed this would be handled in the IdP environment. After a renewal, if the SHA 1 fingerprint has changed, this would need to be updated in dashboard. It would be advised to use non-SAML admin to perform the task should you encounter any issues to avoid locking yourself out of the Dashboard. Non-SAML admins can be added under Organization > Configure > Administrators.
The X.509 cert SHA1 fingerprint for an organization can be updated via the Update Organization Saml Idp API call.
4. The unique Consumer URL or Reply URL in Azure will populate, as shown below, once the changes are saved. Copy the Consumer URL and save it for later.
5. In Azure Portal, navigate to the Single sign-on SAML section.
6. Within the Basic SAML Configuration section, click Edit.
7. Overwrite the existing default Reply URL (Assertion Consumer Service URL) with the Consumer URL from step 4.
The Identifier (Entity ID) field should auto-populate. If it does not, enter https://dashboard.meraki.com into this field or if the configured SSO subdomain is 'example' then the entity ID that would need to be configured with the IdP would be 'https://example.sso.meraki.com.'

Creating SAML Administrator Roles in Meraki Dashboard
1. Log in to your Meraki Dashboard and navigate to Organization > Configure > Administrators and click Add SAML role.

2. Create a role and select the access you would like this role to grant the user.
The Role name must match the Value of the app role configured in Azure, otherwise users will not be able to log in through SAML to the configured organization.
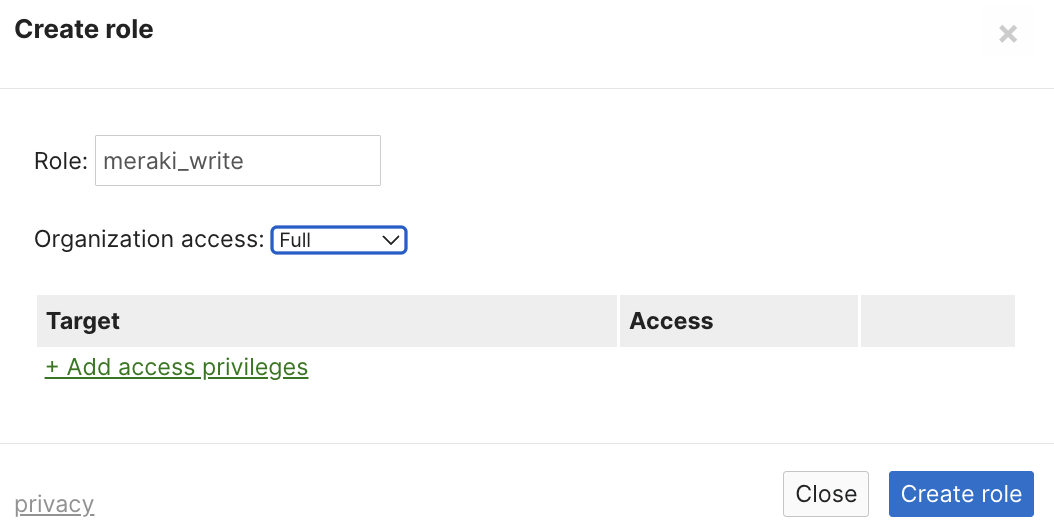
3. Click Create role.
4. Repeat steps 1-3 for each additional SAML role created in Azure.

Refer to Role-based Camera and Sensor Permissions for SAML/SSO to create camera and sensor role restrictions for SAML/SSO.
Testing the SSO Configuration
To test the SSO functionality, follow the steps as detailed under the "Test SSO" section of the documentation on Microsoft's website.
End users can login to the Microsoft Entra application portal to access the Meraki dashboard login application. The URL for this portal is https://myapps.microsoft.com.