Meraki Go - GS Switch Ports
Your Meraki Go GS Switches come in 3 flavors with regards to how many ports they have: 8, 24, and 48 port variants. The Meraki Go App gives you the ability to configure these switch ports to suit your needs.
Switch Ports
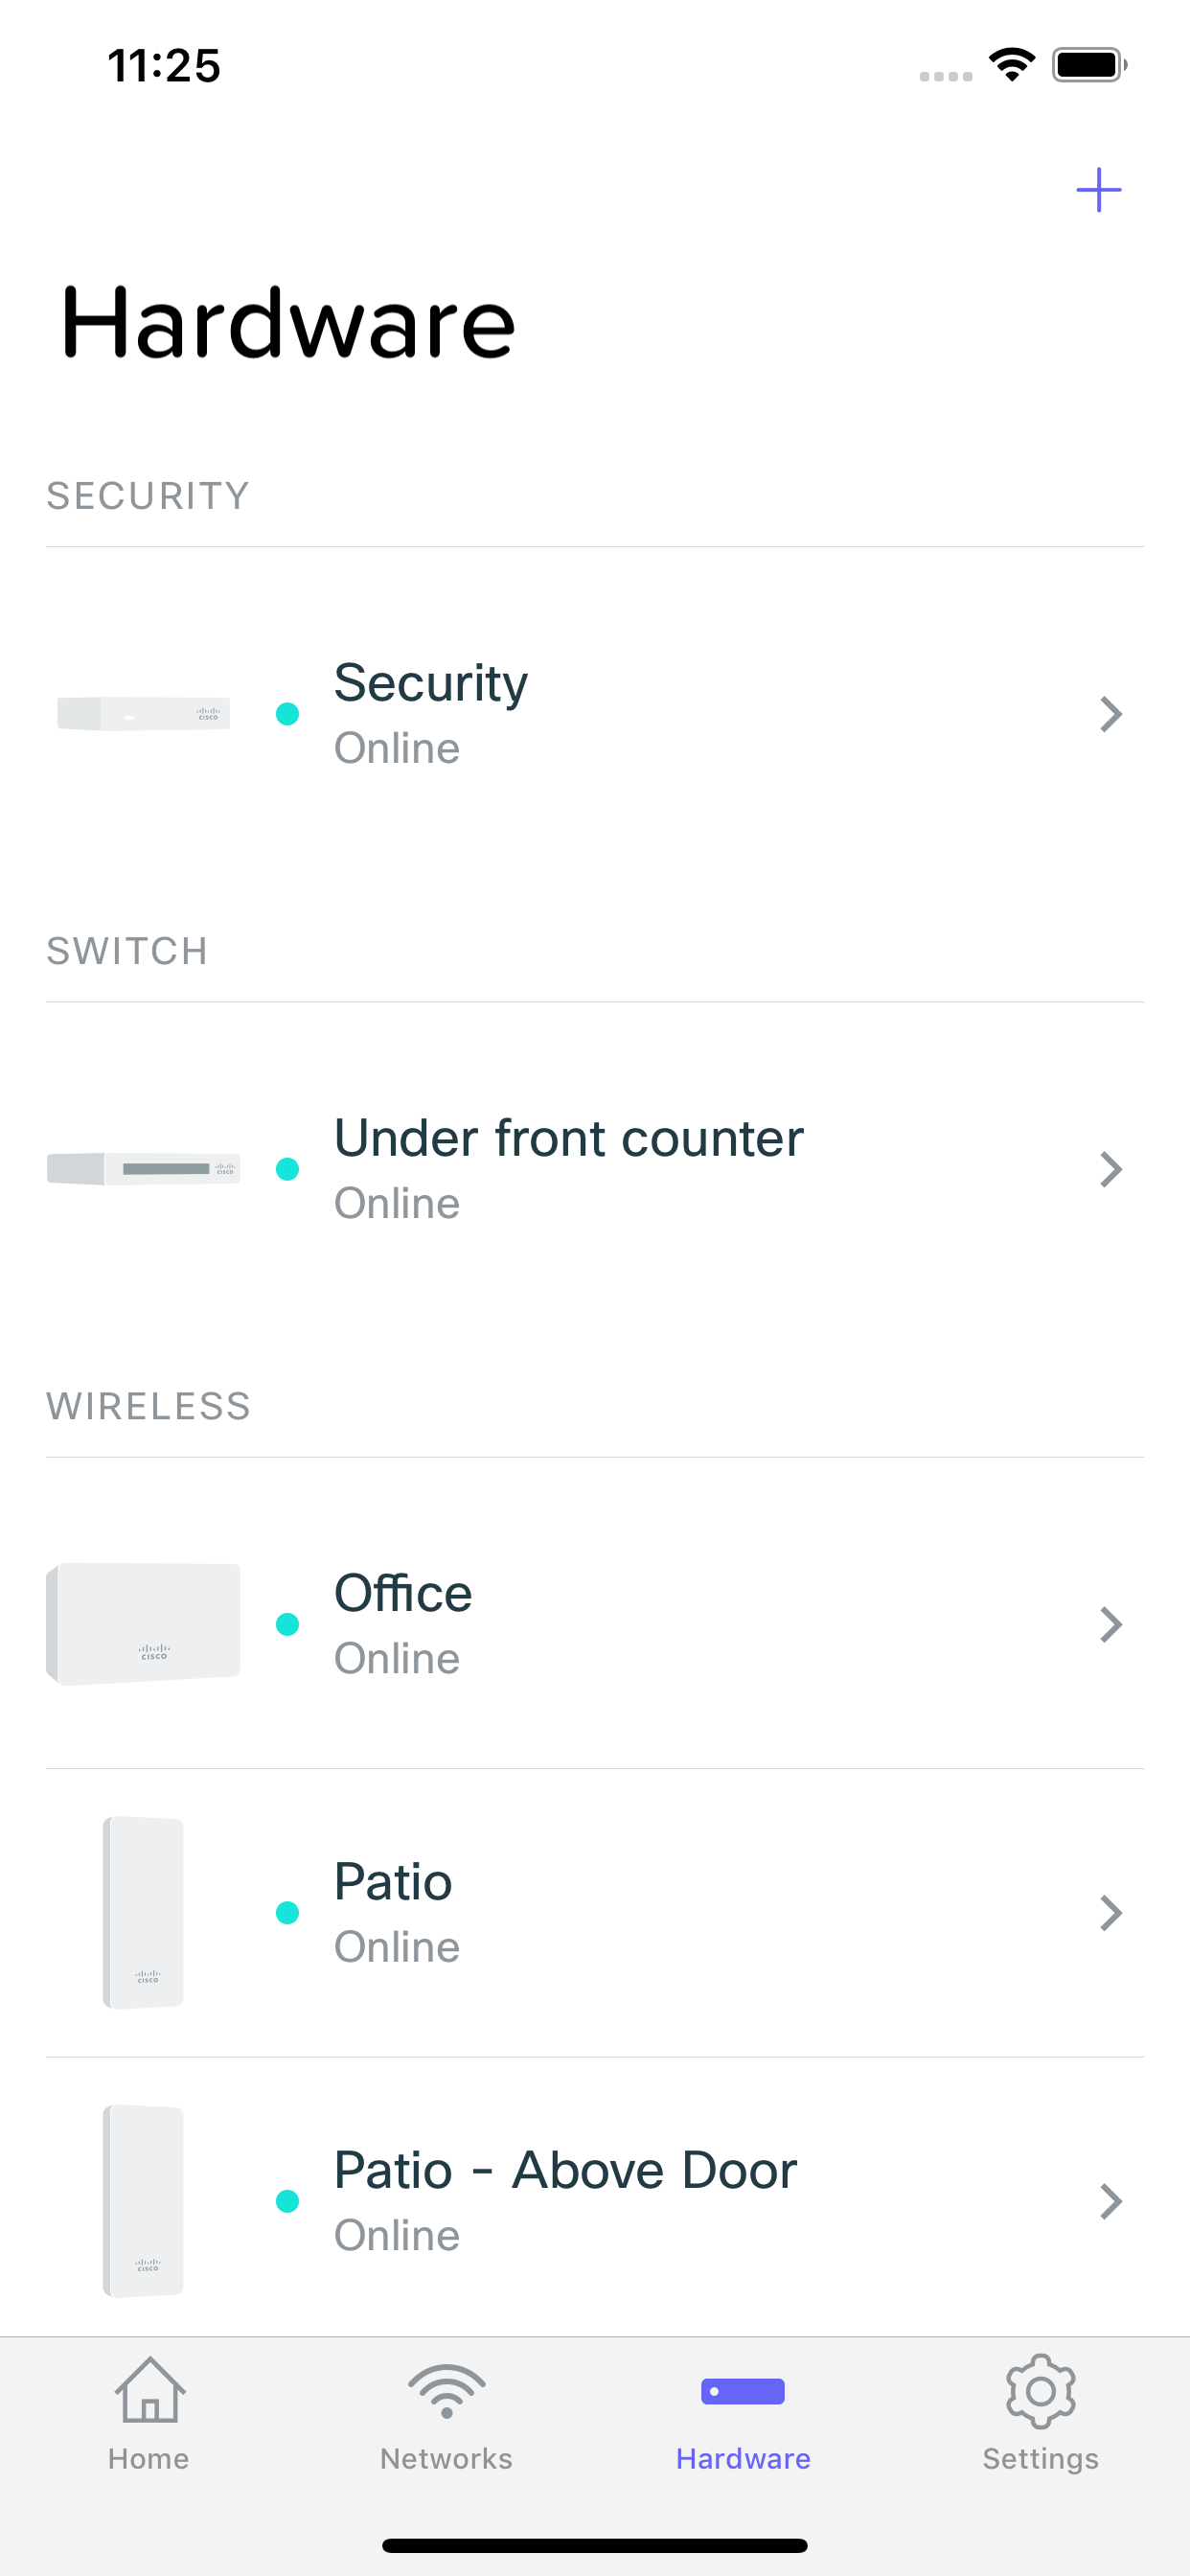
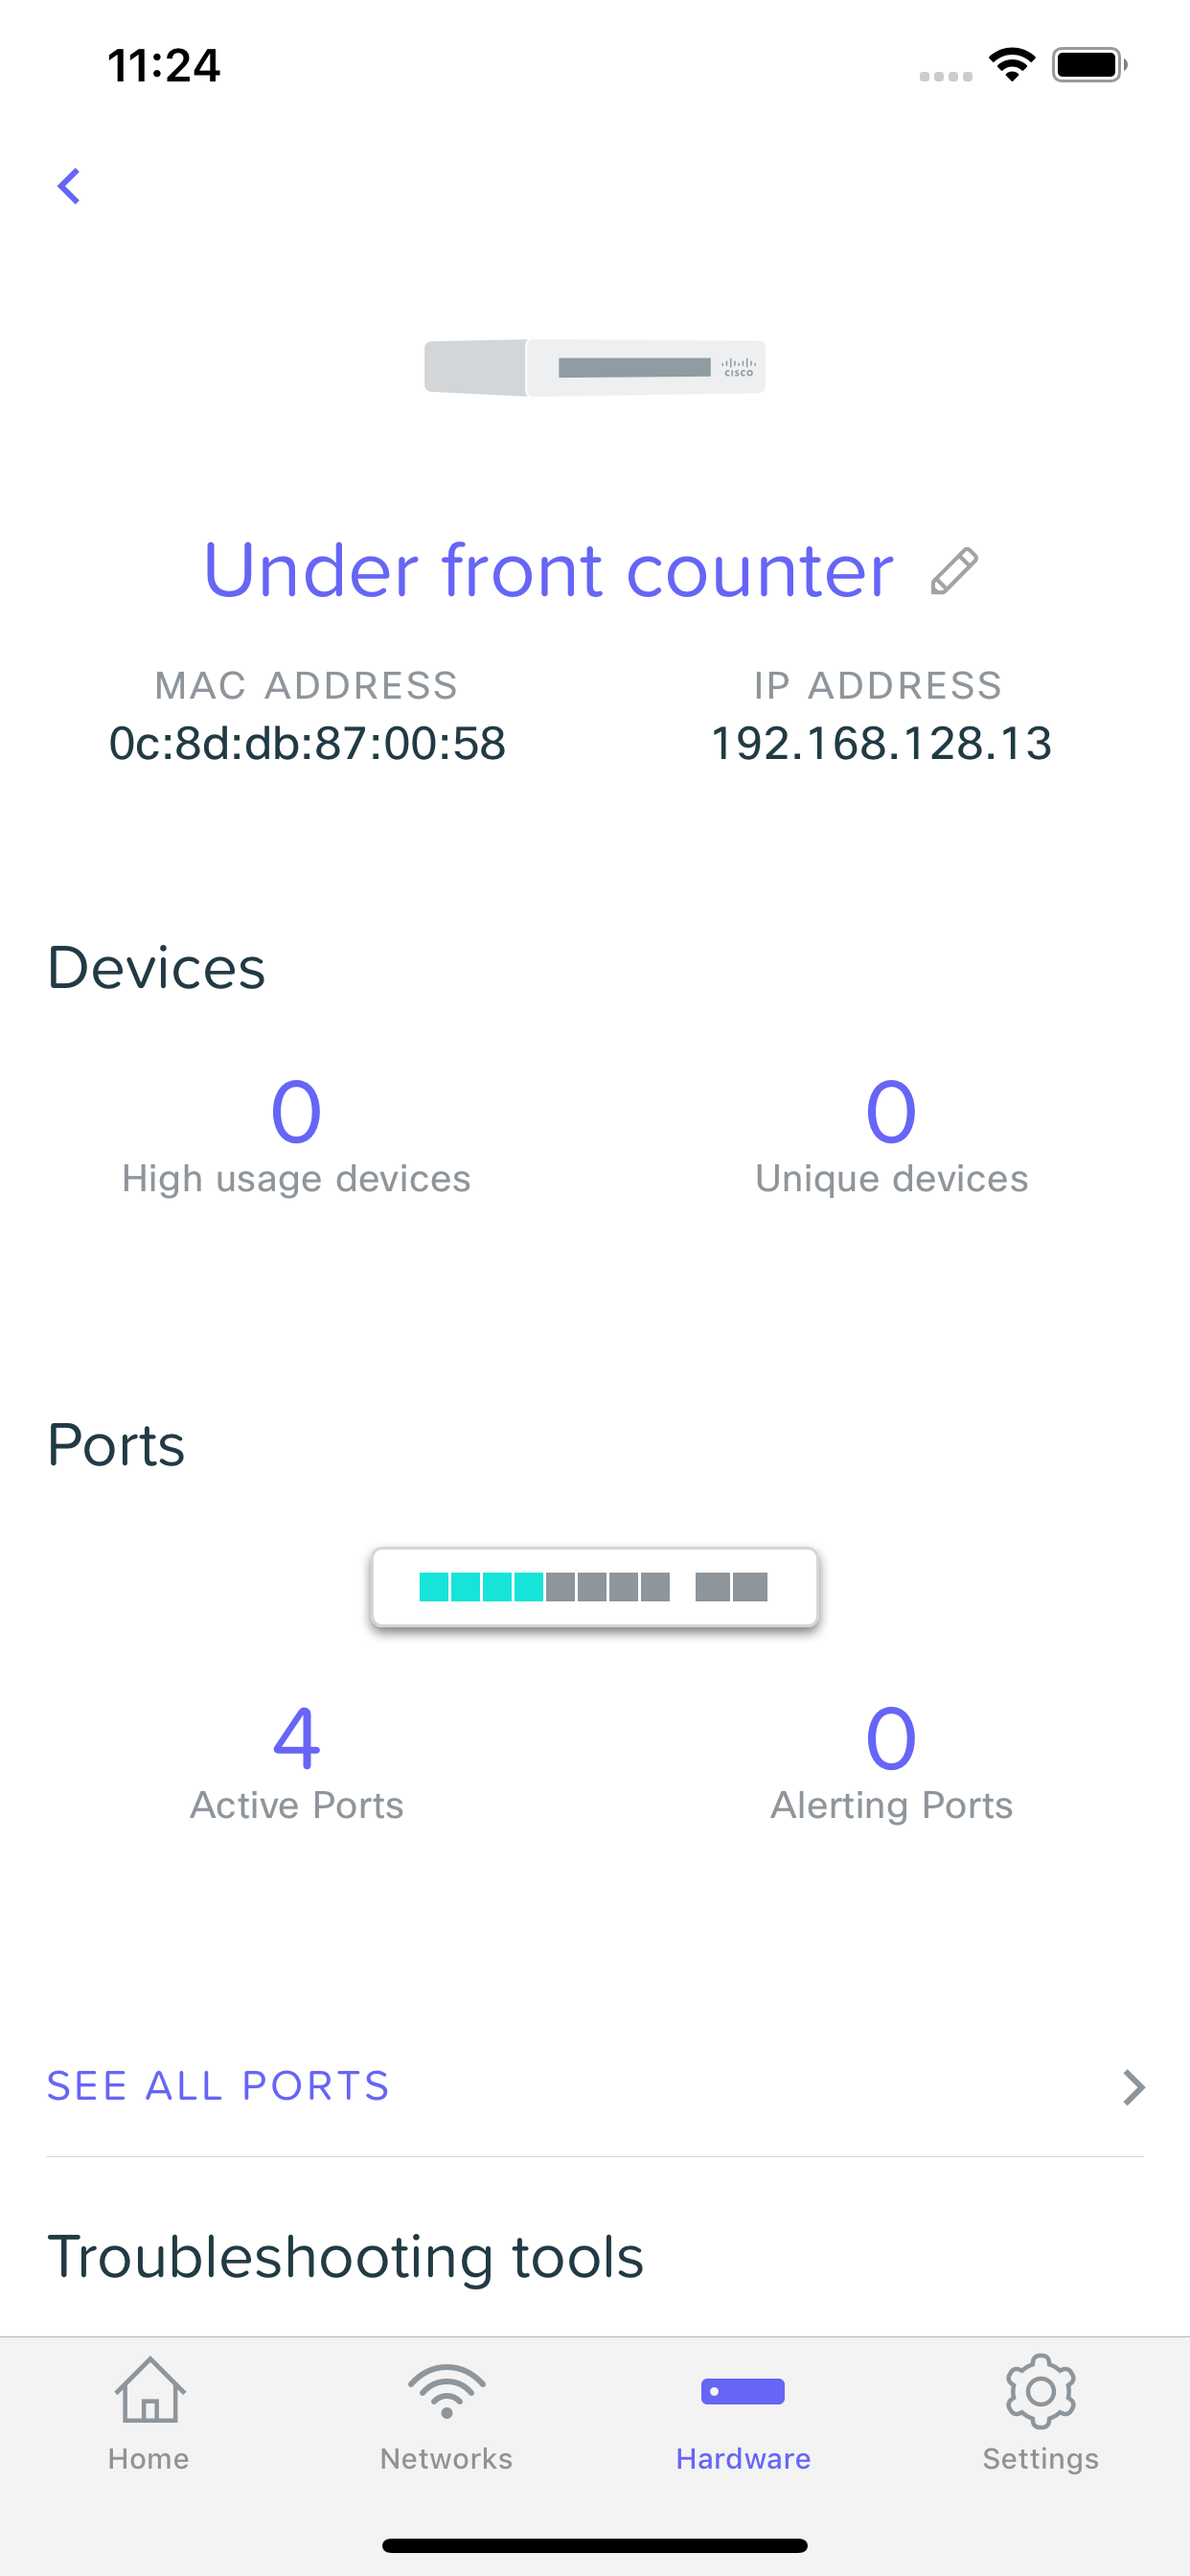
You can access a list of the ports on your Meraki Go Switch by opening the Meraki Go App, browsing to the Hardware Tab, and selecting a switch under the "Switch" section. From this page you can scroll down to "Ports".
Active Ports
Active ports shows you the number of ports that currently have something connected to it, and online. If a device is connected to a switch port, but not online (e.g a computer that is powered off), it will not show up as Active.
Alerting Ports
Alerting ports are ports that may need your attention. This can be due to a range of things, from a cable causing issues, to a mis-configured client.
See All Ports
This allows you to see a list of all ports, and access configuration options for each one.
Ports List
The ports list allows you to see a quick overview of all the ports on a given switch. It can tell you which port is the Internet Connection, which devices are connected to which port, and if the port is online or not.

Port Details
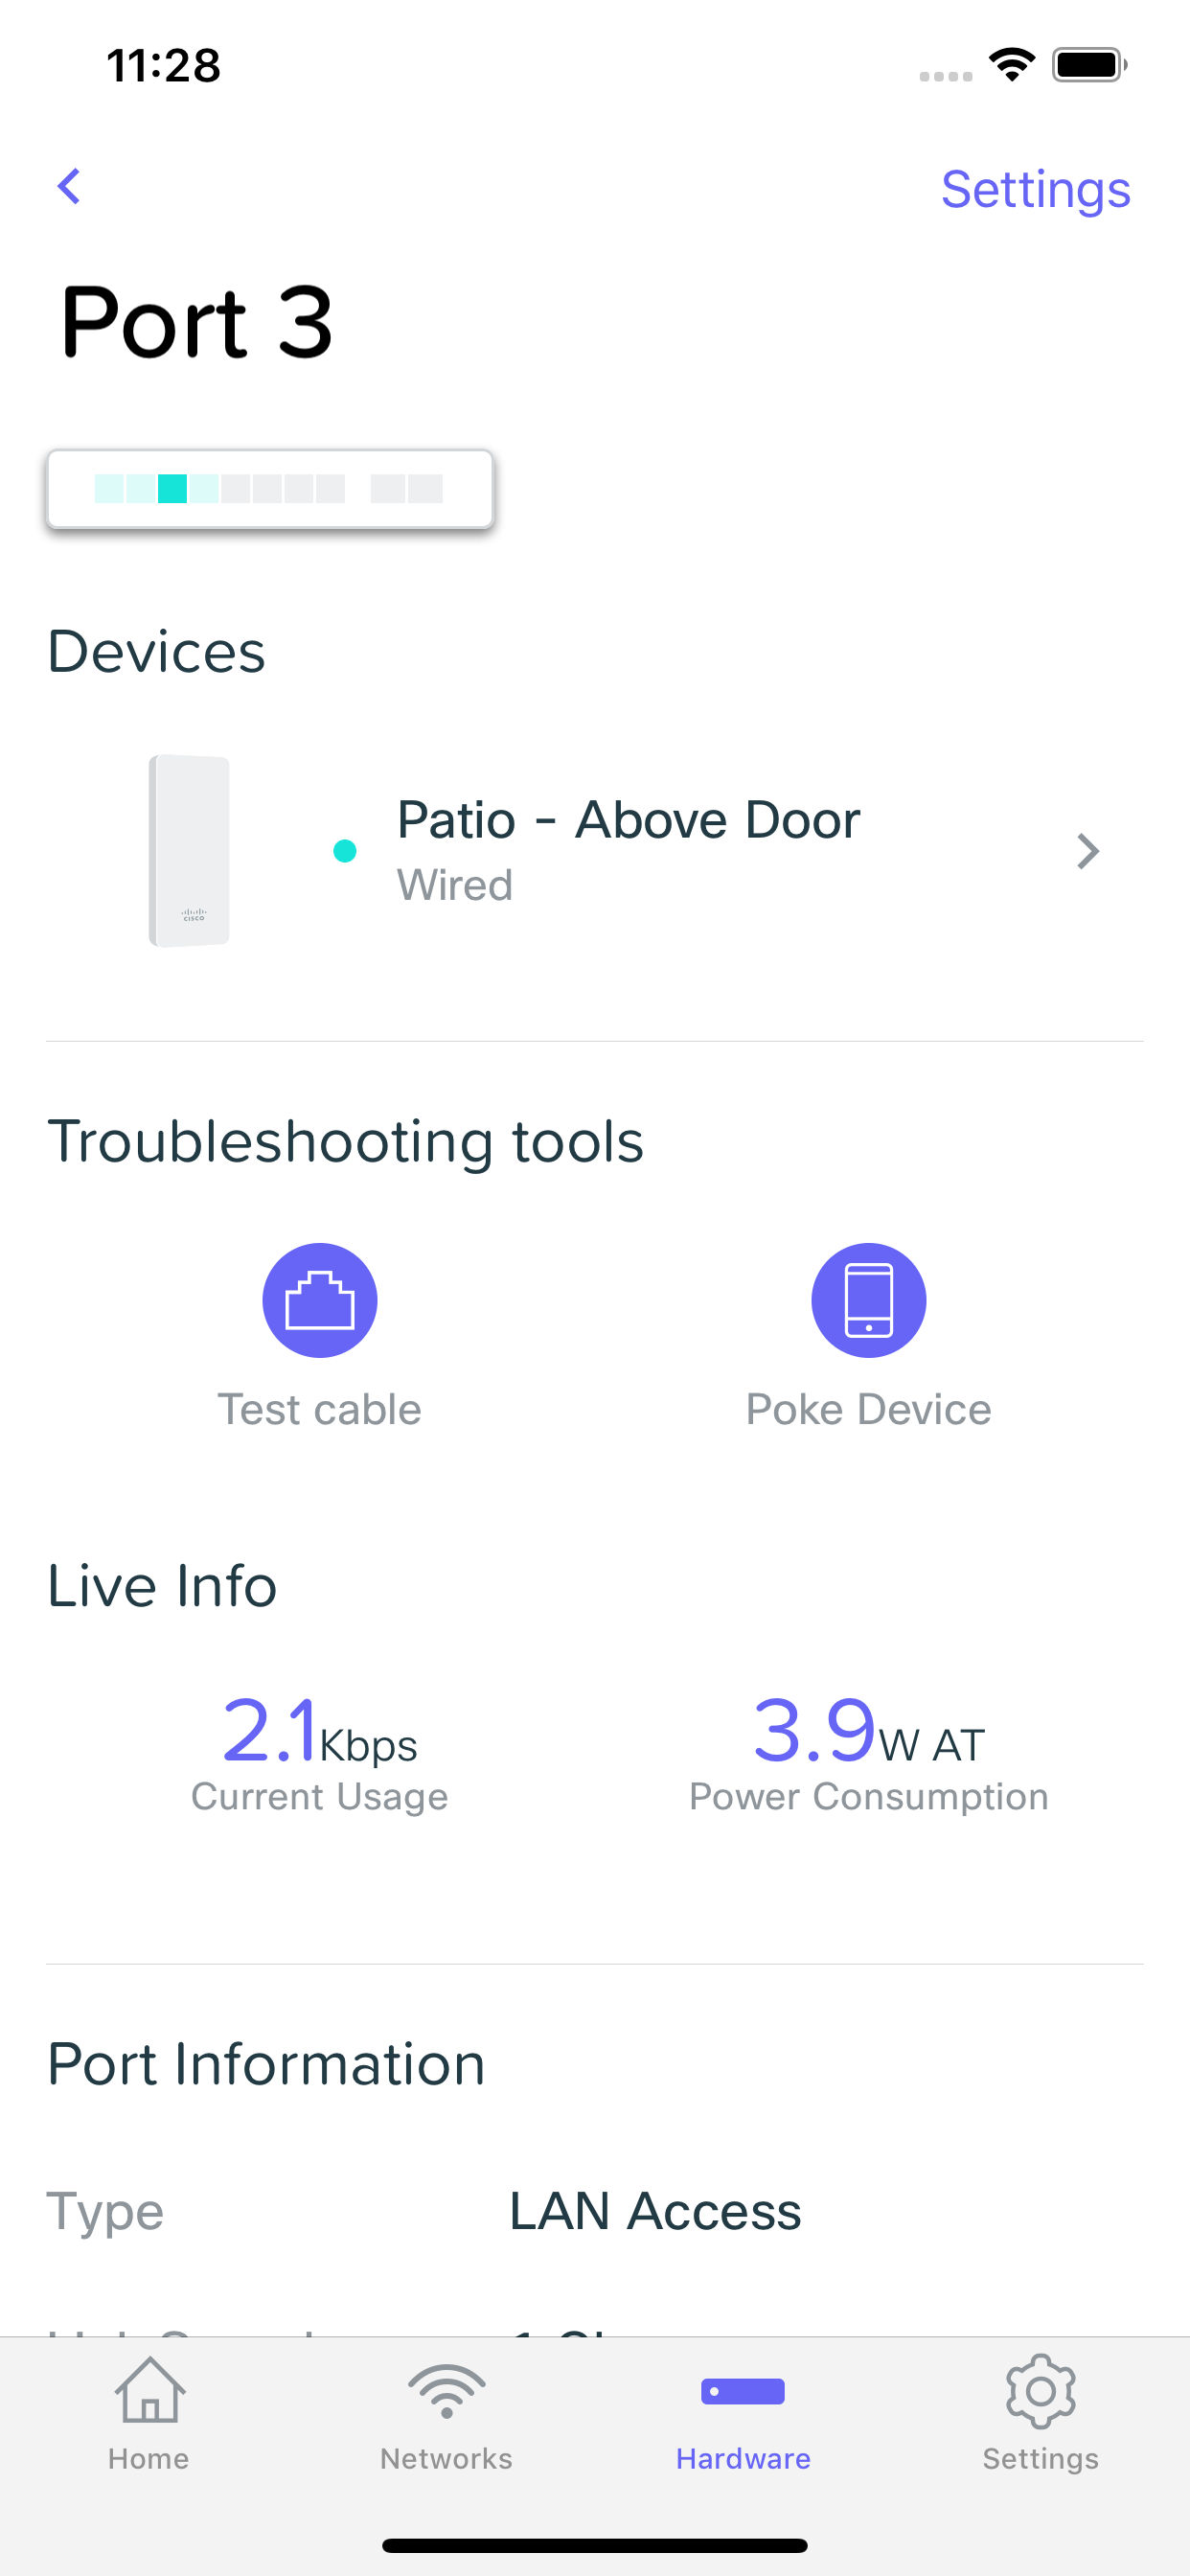
Selecting a port from the ports list will bring you to the Port Details screen. From here we can see details about the port, and change it's configuration.
Devices
The devices section of port details lets you quickly view and select the device that is connected to the port. Note: This is not available for all connected device types.
Troubleshooting Tools
The Meraki Go App provides multiple troubleshooting tools for when you may be running in to problems.
Test Cable
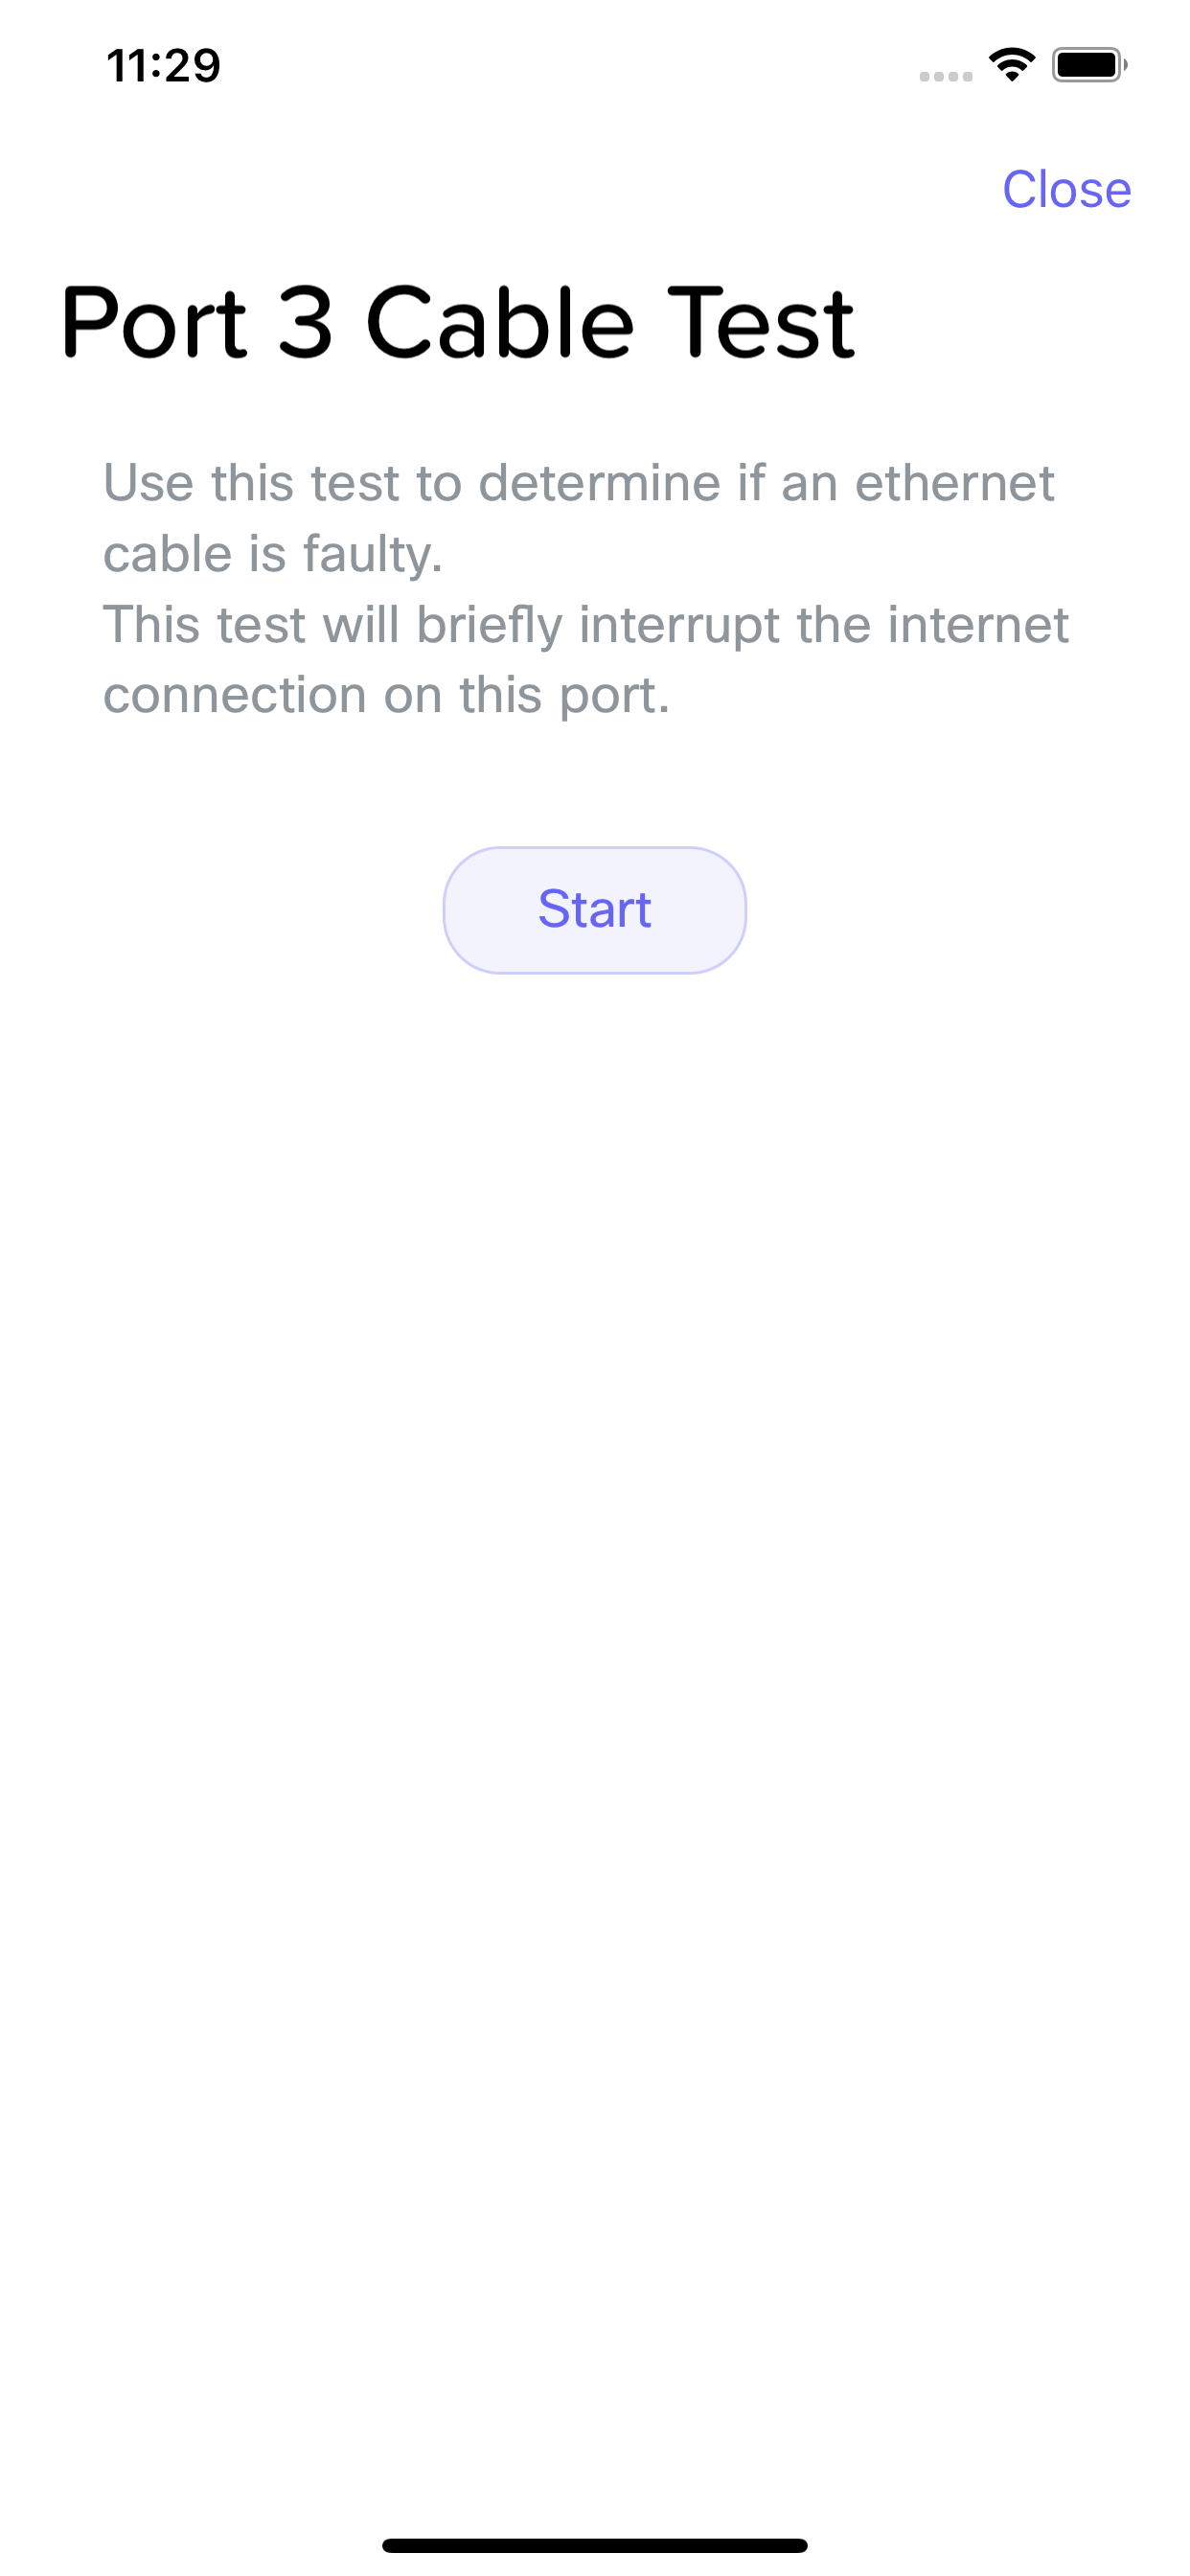
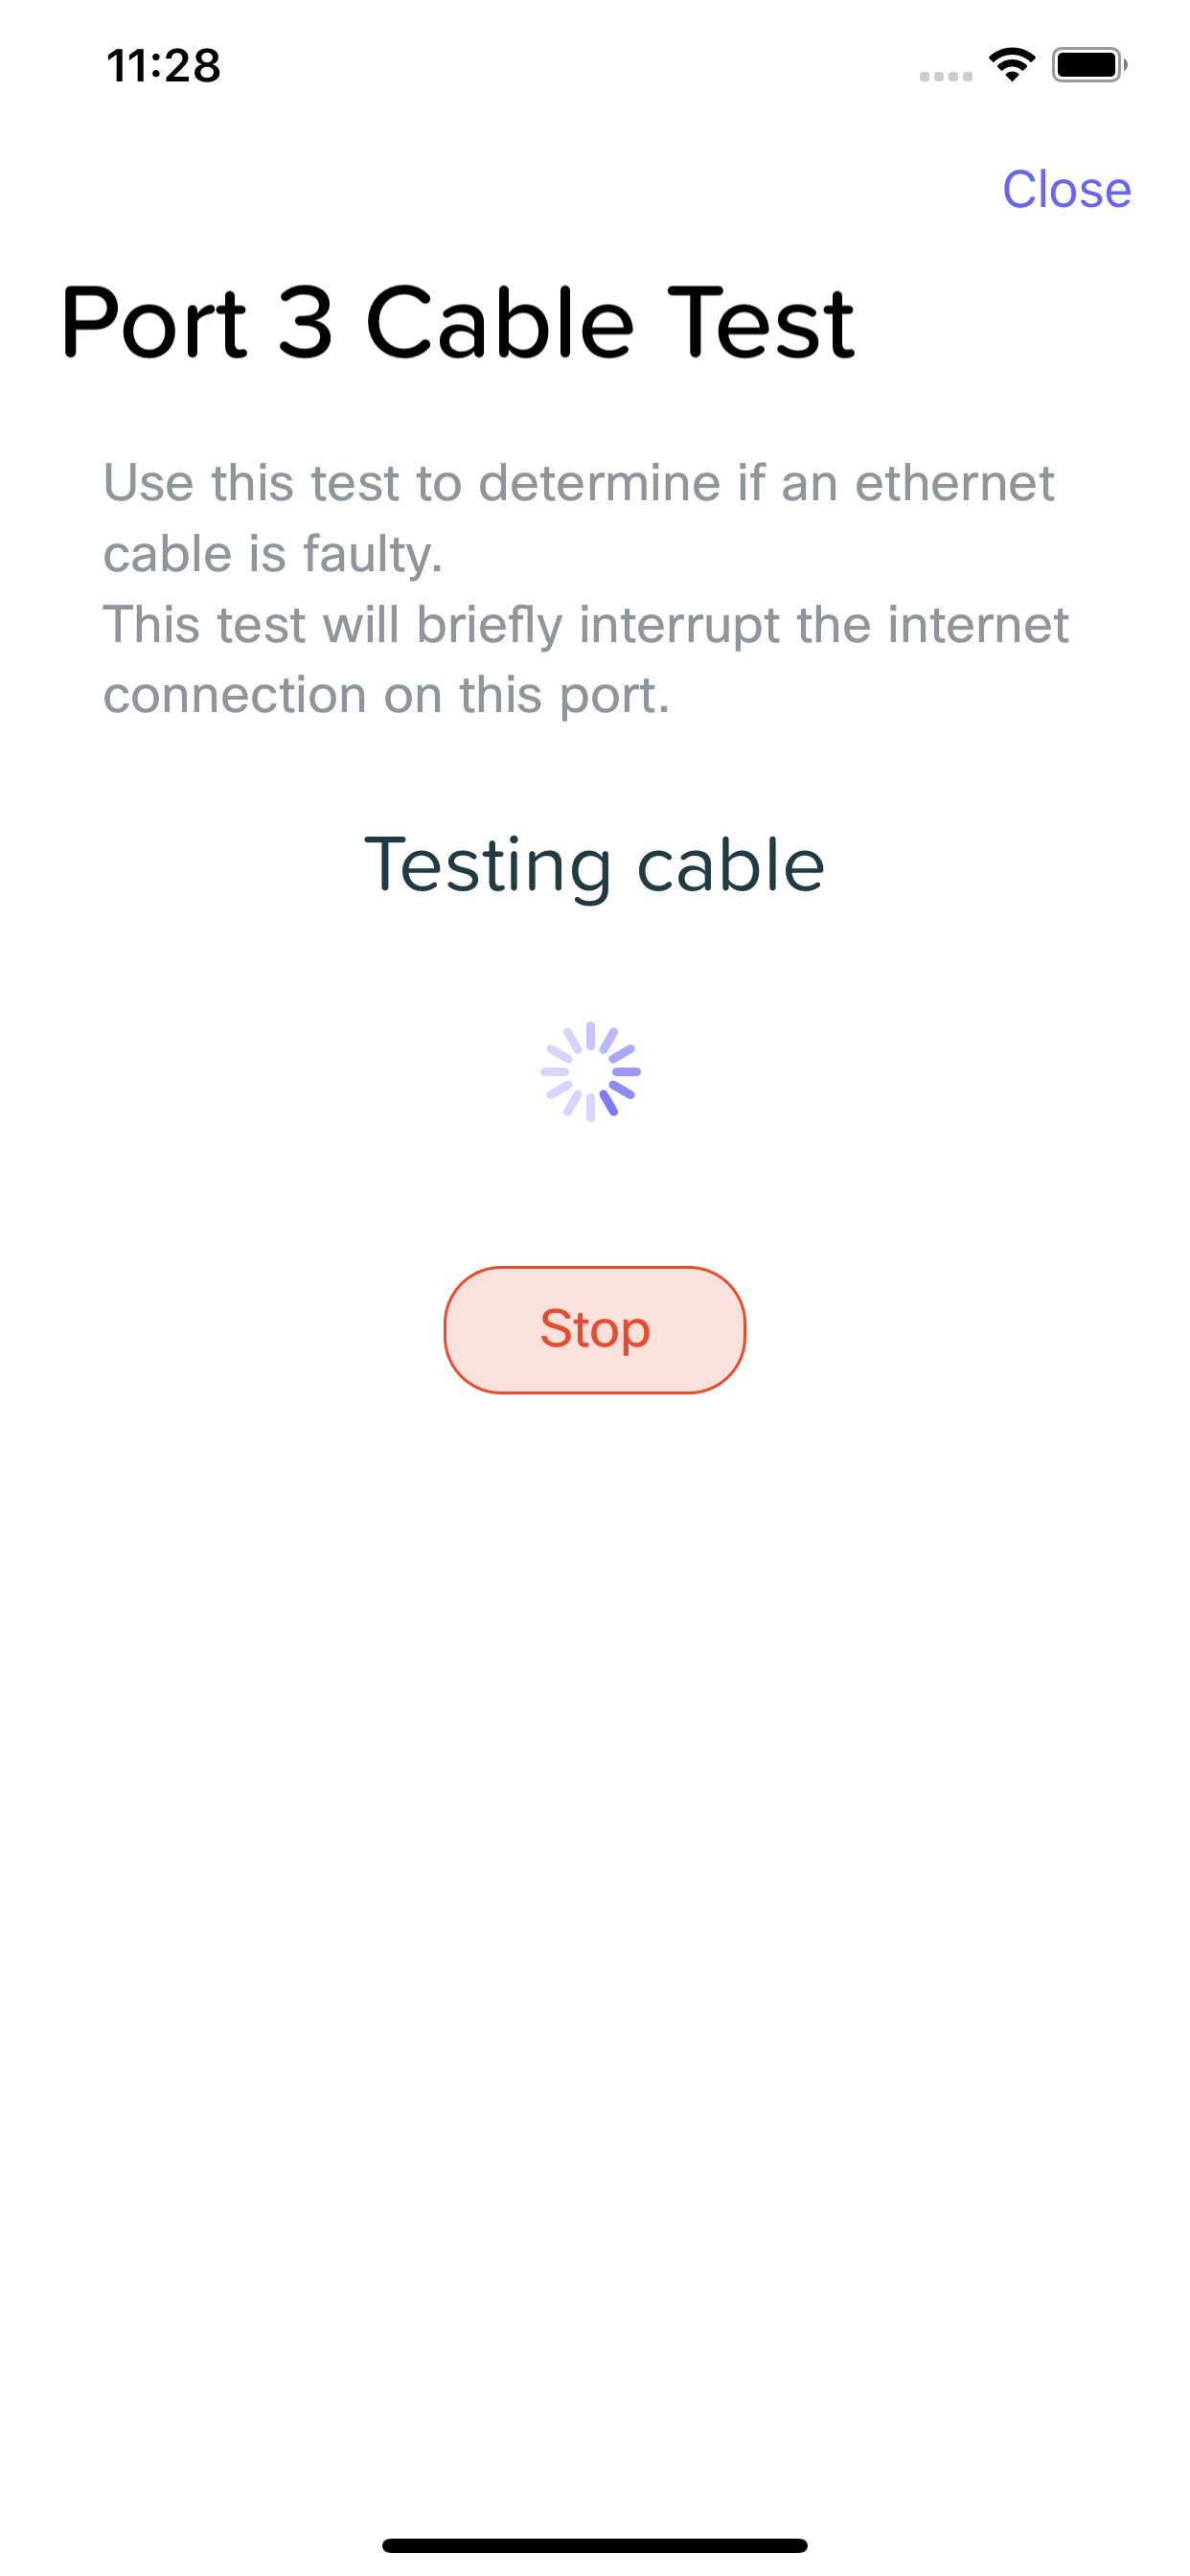
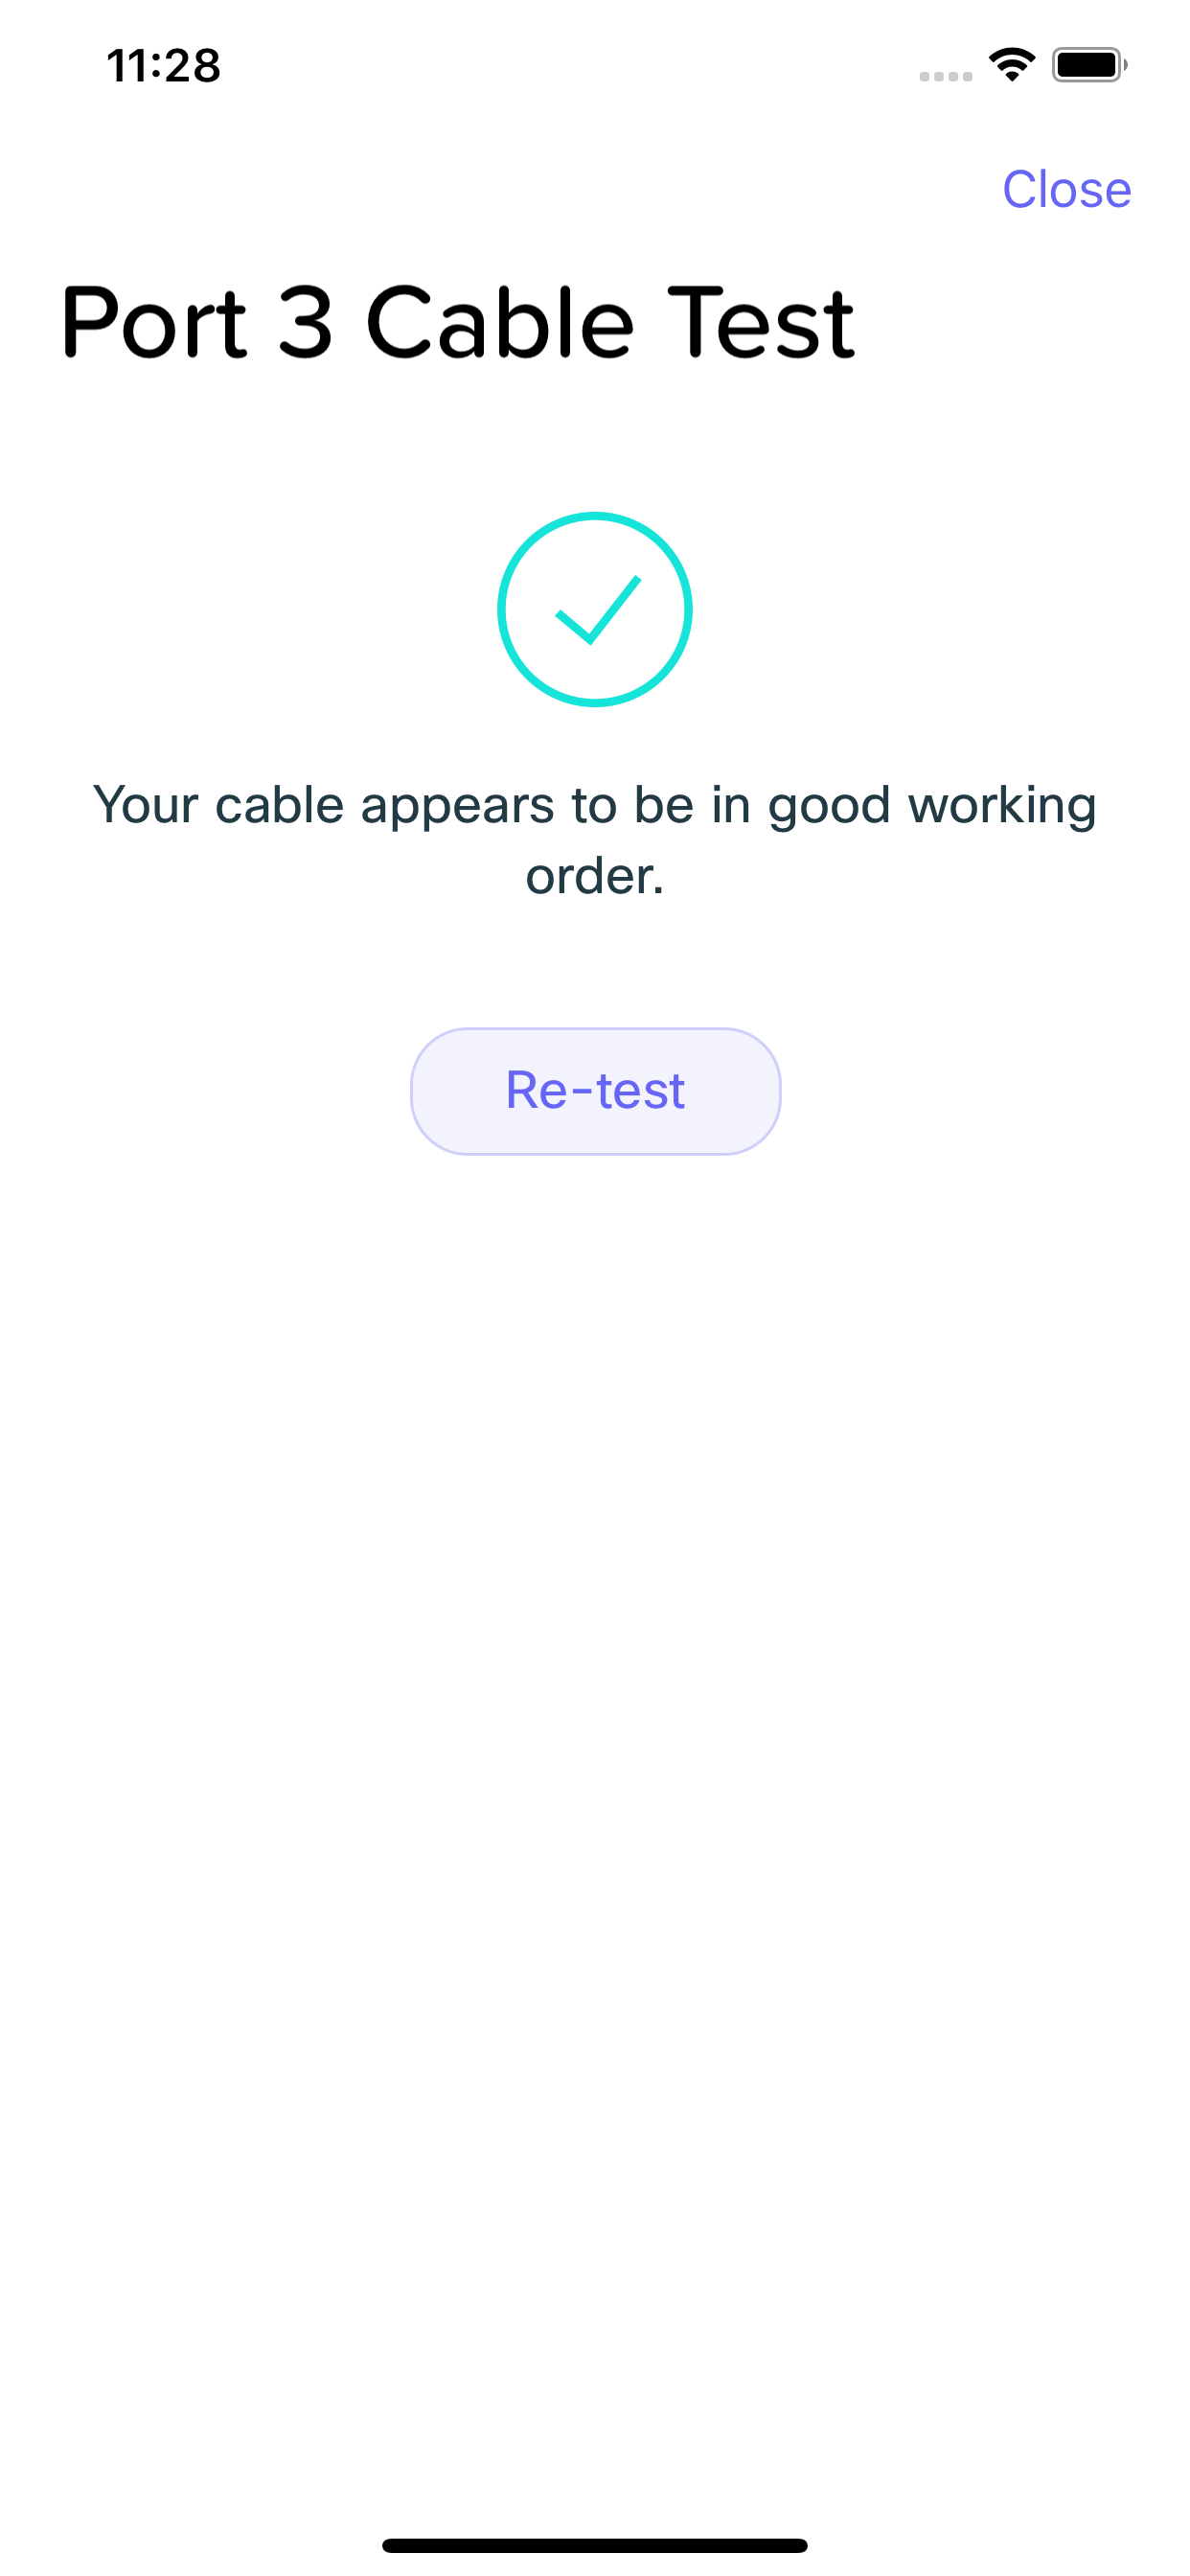
Test Cable allows you ensure that the cable you are using to connect the client to this port is not faulty. This can be useful to troubleshoot issues where the client may be having issues connecting to the internet.
Poke Device
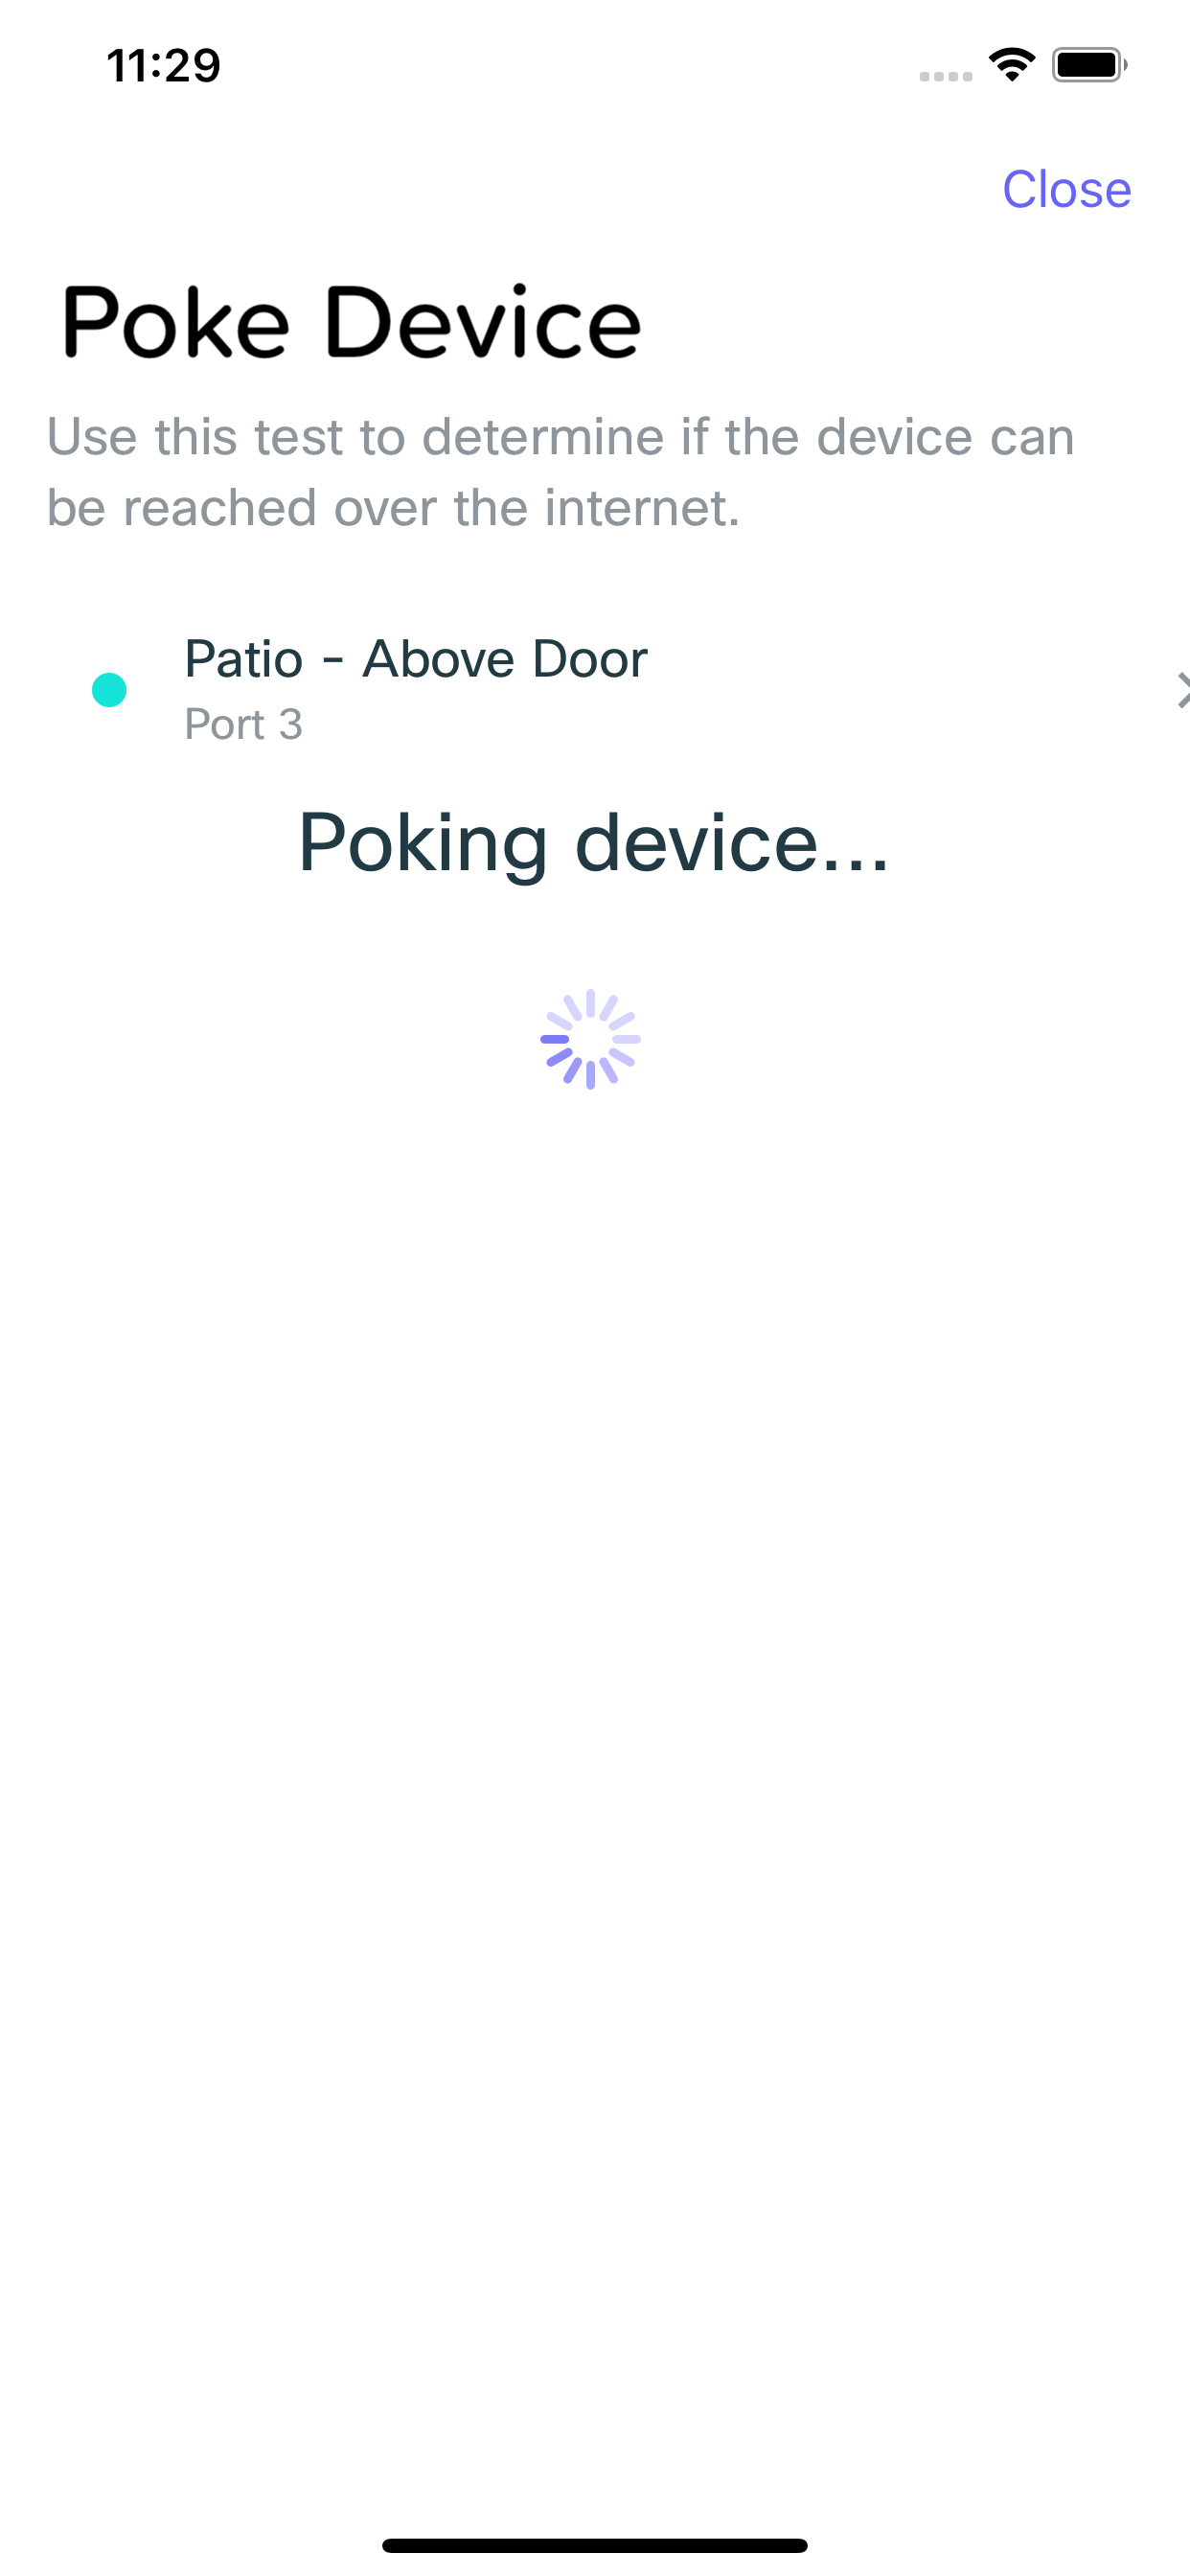
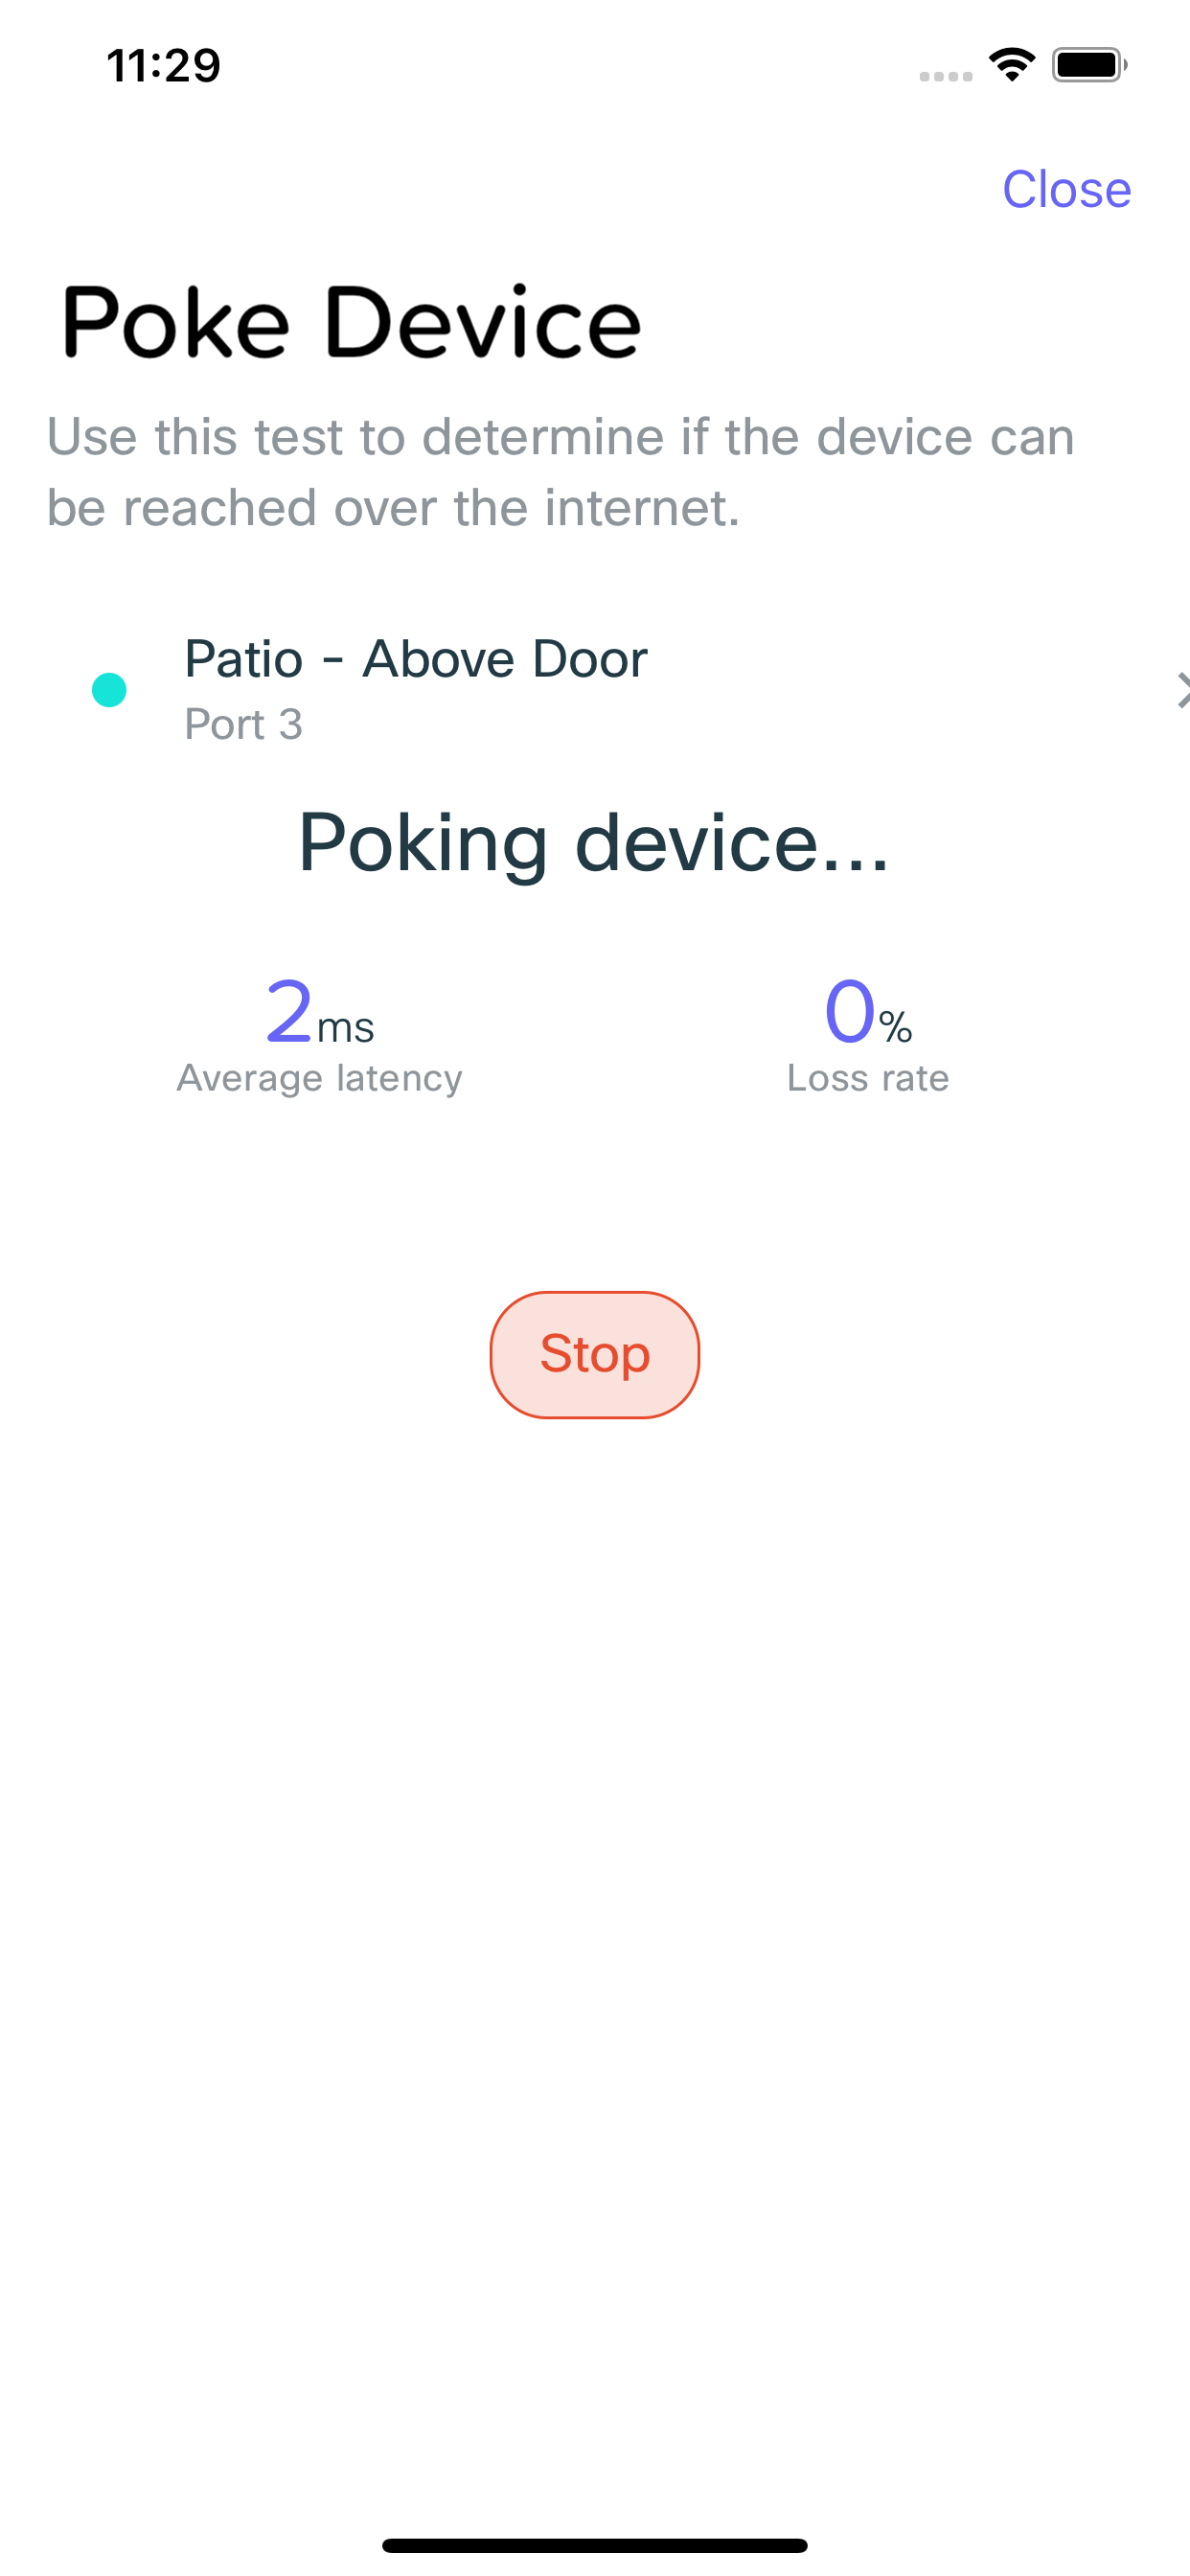
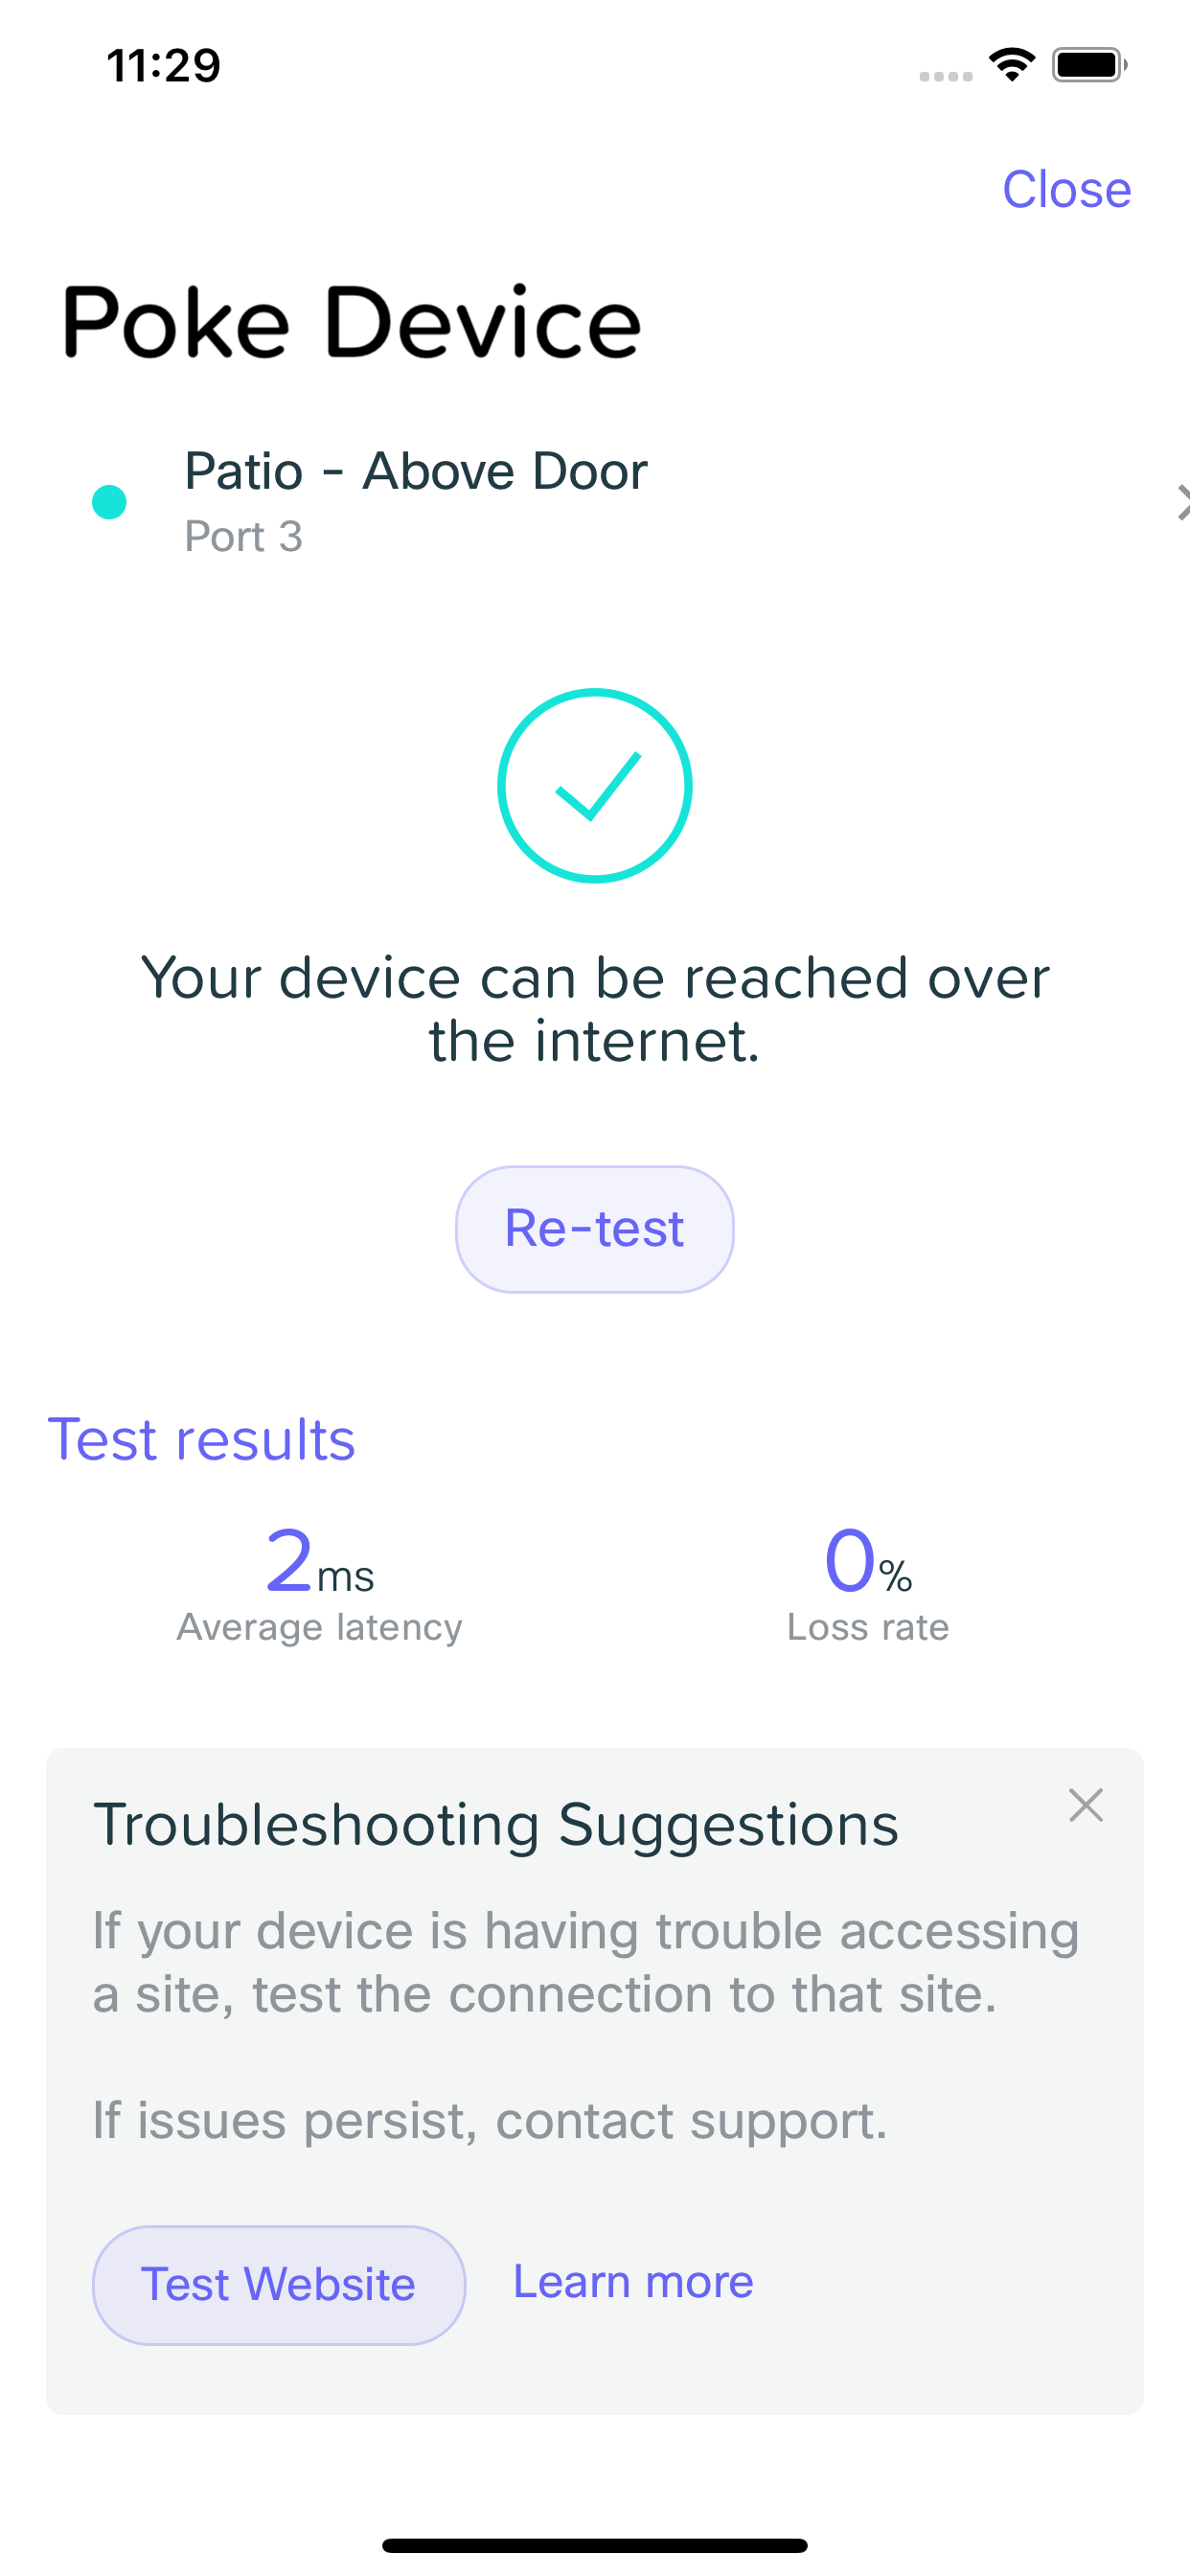
Poke Device lets you test for issues sending data to the client connected to the port in question. Similarly to the Test Cable tool, this can be used to troubleshoot issues such as when a client is having problems connecting to the internet.
Live Info
The Live Info section provides some details about what is currently happening on the switch port. This includes how much data usage is currently happening on the port, as well as how much power is being drawn if the client connected is a PoE powered device.
Port Information
Port Information lets you see some basic info about how the port is currently configured based on the client connected.
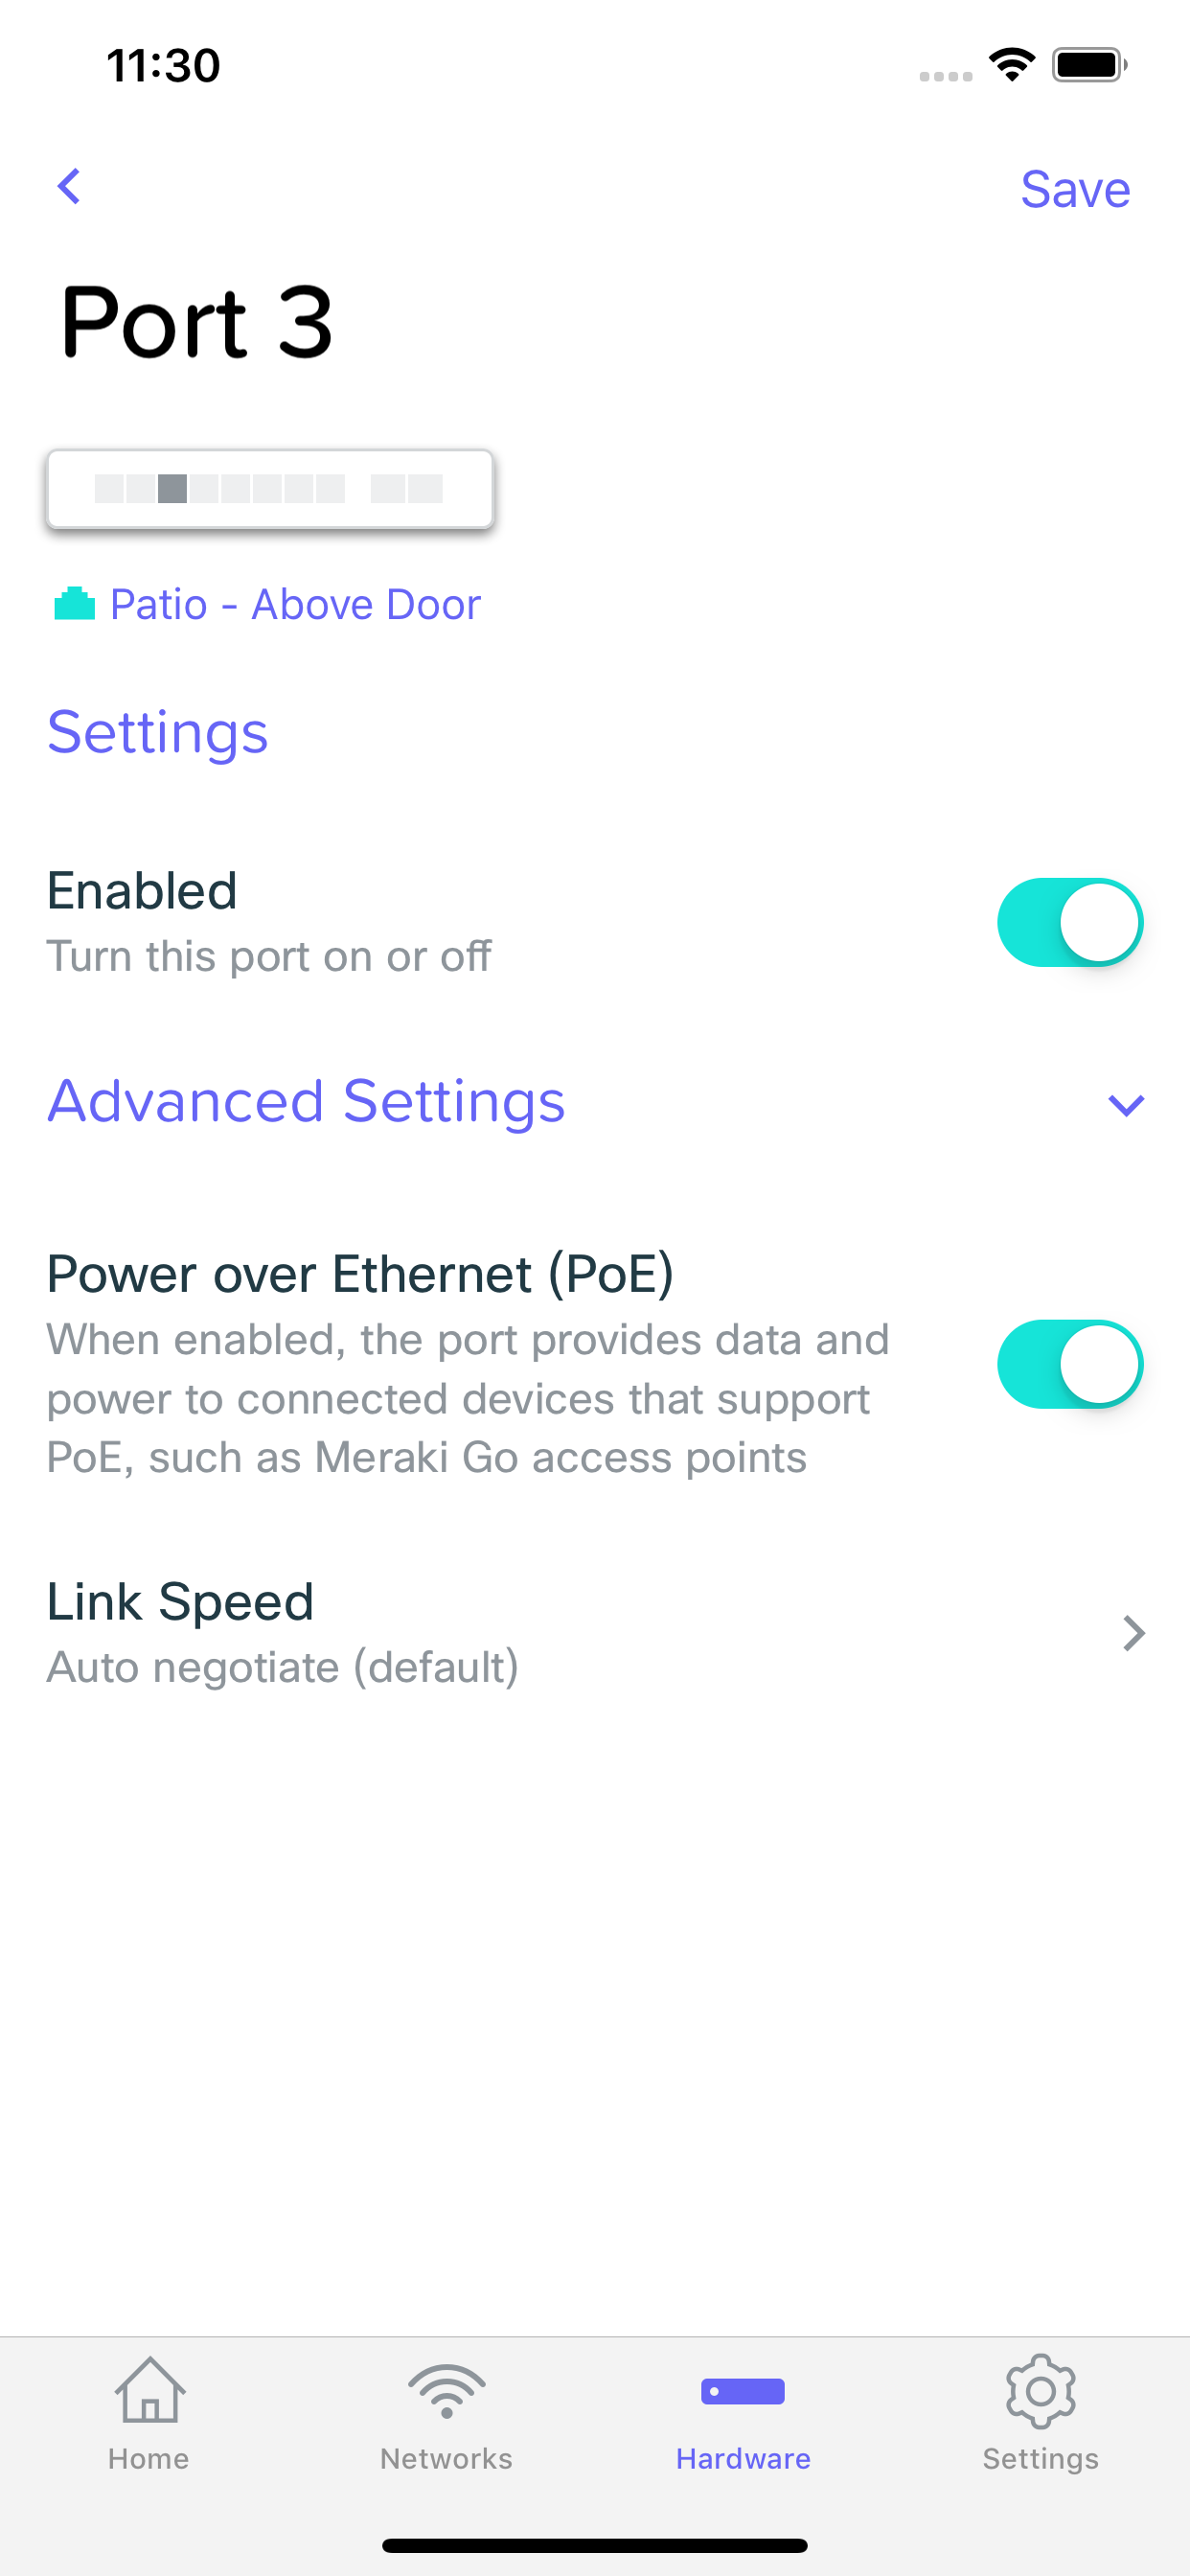
Settings
Enabled
This allows you to disable the port if necessary. This can be useful to ensure unexpected devices don't get connected to your switch without you first enabling the port.
Advanced Settings
Power over Ethernet (PoE)
Power over Ethernet is a way to provide power to certain kinds of devices (such as security cameras), directly over an ethernet cable, removing the need for both a power cable and ethernet cable. This option allows you to disable providing power on a port if necessary.
Link Speed
This is the speed at which the device plugged in to the port will connect at. In most situations, this can be left at the default "Auto negotiate", though the ability to set a specific speed is available if necessary for legacy devices.
VLAN Configuration
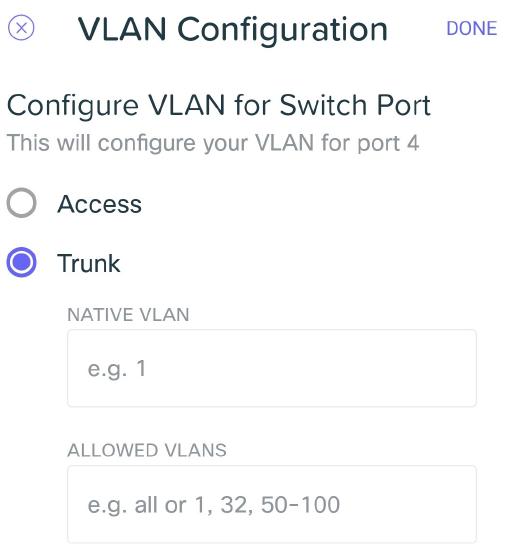
This section allows the configuration of Trunk or Access mode. A VLAN configuration is commonly used to segment network traffic and remain PCI compliant.
