
Introduction to Cross-Camera Tracking
Overview and Purpose
This article provides instructions to configure and use Cross-Camera Tracking to efficiently locate persons of interest across your camera deployment via the Meraki Vision portal.
Cross-Camera Tracking is a privacy-first, AI-powered feature available on the Cisco Meraki Vision portal. Instead of relying on biometric data, it analyzes the full-body appearance and unique traits of a person to locate them across your network. This technology helps reduce the manual effort and time required to piece together footage from different camera views, allowing for faster and more efficient incident resolution.
Main functionalities you will interact with:
- Centralized tracking and footage review via the Meraki Vision portal
- Privacy-first AI search using full-body appearance and unique traits
- Automated cross-camera tracking to reduce manual video review
- Streamlined timeline navigation for faster incident resolution
Prerequisites
Ensure your deployment meets the following requirements before configuring Cross-Camera Tracking.
Hardware Requirements
Cross-Camera Tracking is currently supported on select Cisco Meraki smart cameras.
-
Gen 3 Dome cameras (e.g., MVx3 series)
Software and Firmware Requirements
To utilize this feature, your network and devices must meet the following criteria:
-
Platform: Access to the Cisco Meraki Vision portal (this feature is not available via the Meraki Dashboard, or mobile app).
-
Firmware: Cameras must be running firmware version MV 7.2 or above.
-
Camera Configurations:
-
HDR must be disabled on the camera for Cross-camera Tracking to work.
-
If License Plate Recognition (LPR) is enabled, Cross-camera Tracking will not be available.
-
To learn more about feature compatibility please see more here.
-
Licensing Requirements
No additional feature license required: Cross-Camera Tracking is included at no extra cost.
Role-based Access Control (RBAC)
| Permission | Scope | Cross-camera Tracking Access |
| View and Export Any Footage | All Cameras | Can conduct a search across all the cameras in the network. |
| Individual Cameras | Can search across the cameras they have access to only. | |
| Cameras by Tag | Can search across the cameras they have access to only. | |
| View Any Footage | All Cameras | Can search across all cameras in the network. |
| Individual Cameras | Can search across the cameras they have access to only. | |
| Cameras by Tag | Can search across the cameras they have access to only. | |
| View Live Footage Only | All Cameras | Cannot use cross-camera tracking. |
| Individual Cameras | Cannot use cross-camera tracking. | |
| Cameras by Tag | Cannot use cross-camera tracking. |
How to Use Cross-camera Tracking
Step-by-Step Instructions
Getting started with Cross-Camera Tracking in the Meraki Vision portal is simple, depending on your workflow, there are two ways to initiate a search:
- The Single Camera View: Best when you are already reviewing historical footage from a specific camera and spot a person of interest.
- Event Search: Best when you want to use a dedicated search tool to find a person across your entire camera deployment.
Single Camera View
In the Vision Portal, selecting an individual camera opens the Single Camera View.
- Open the Single Camera View: Select the specific camera that captured the person of interest to open its video feed.
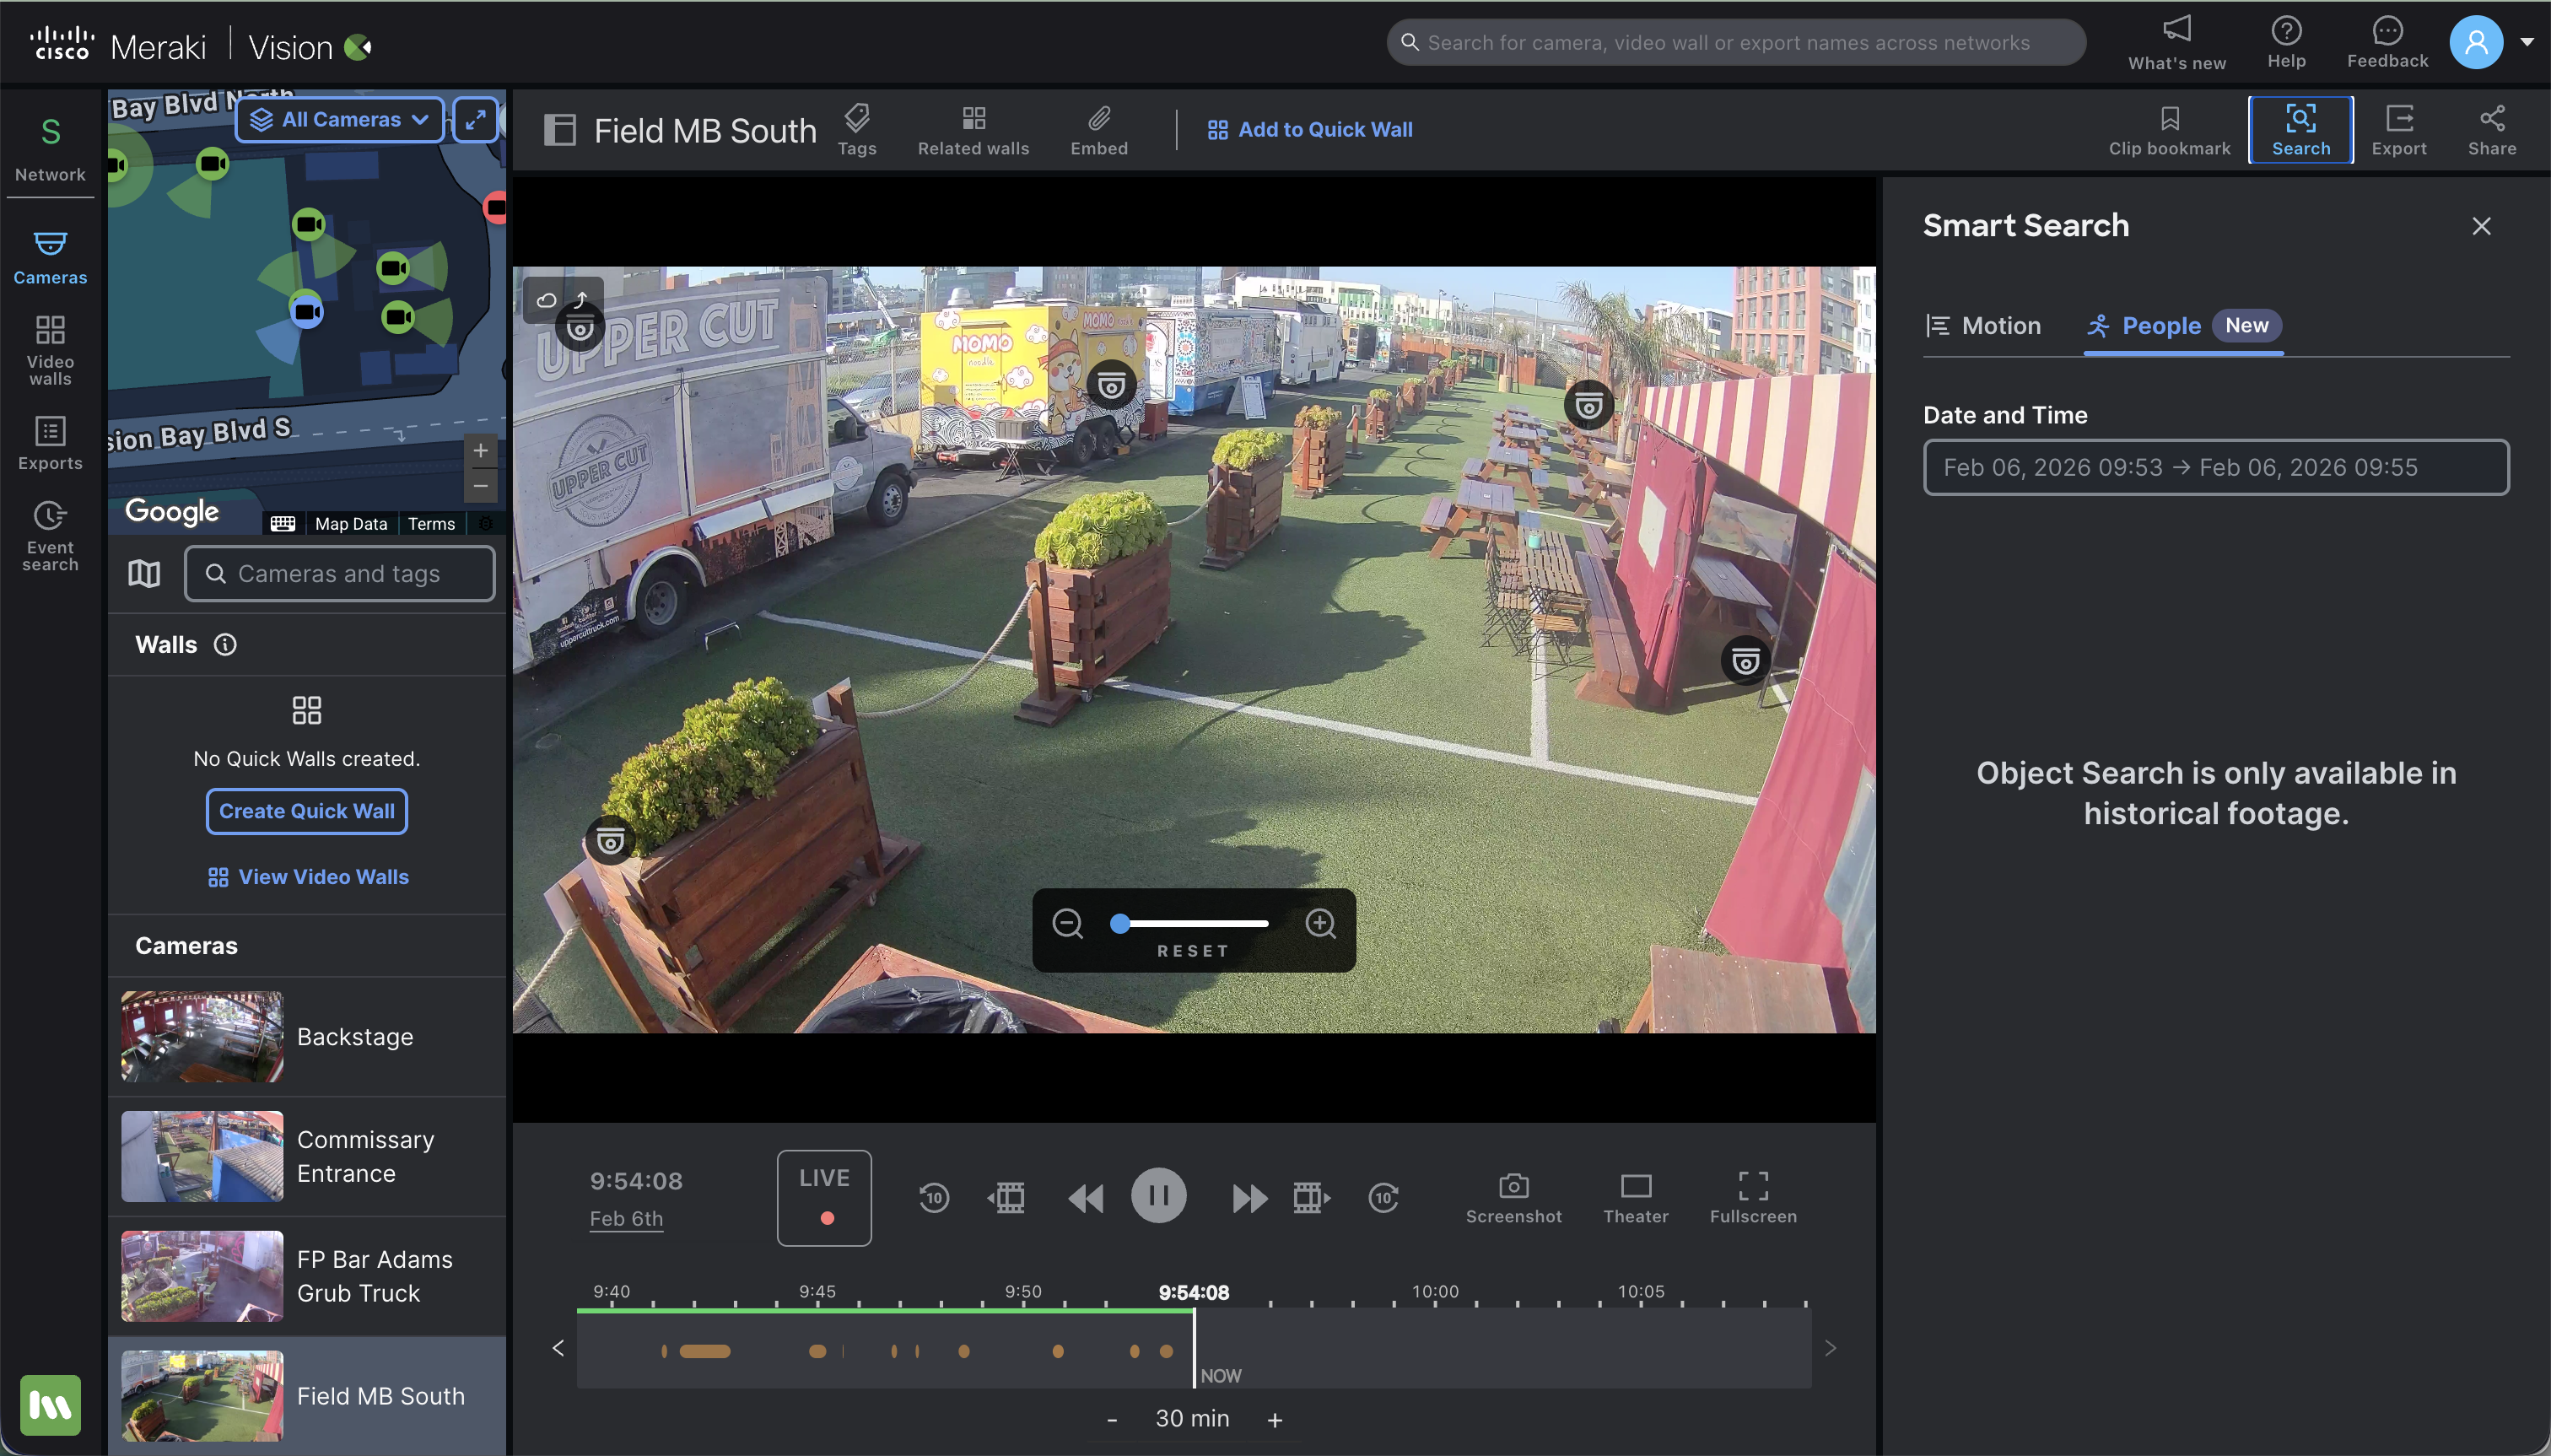
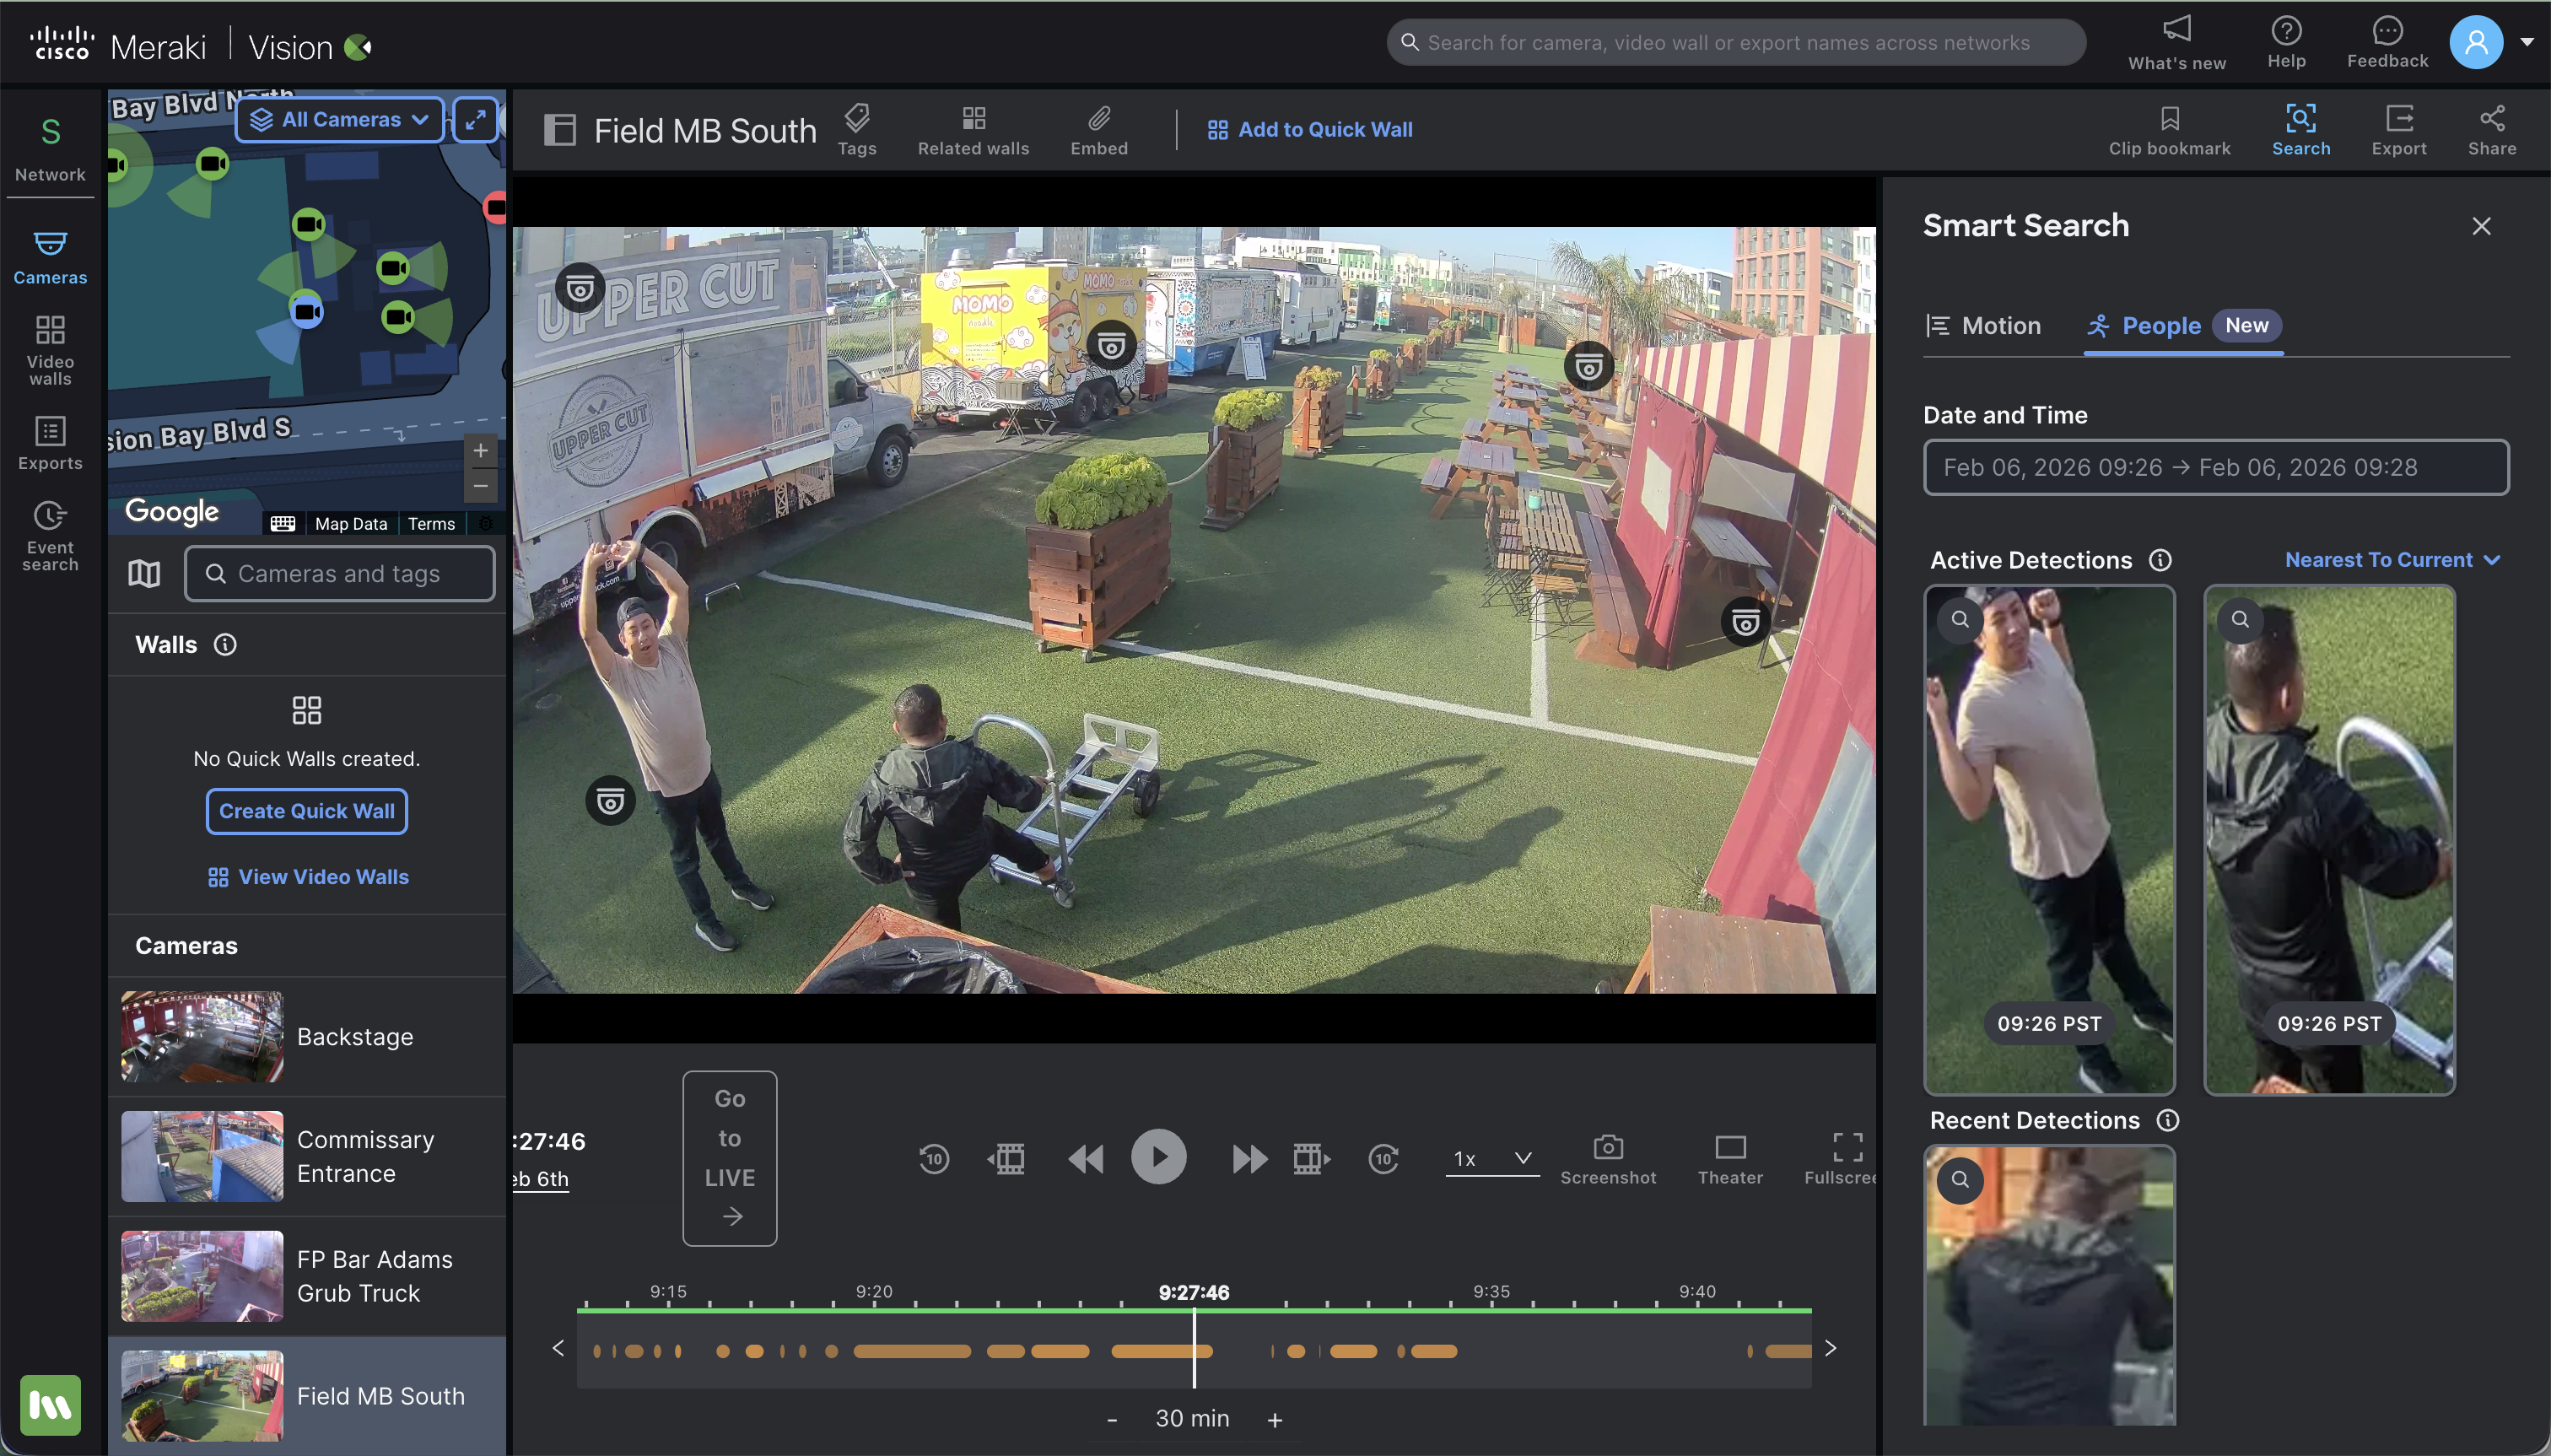
- Pause the Video (Important): Cross-Camera Tracking requires historical footage to analyze the image. You must pause the video on the frame showing the person of interest. Note: A search will not trigger on live video or video that is currently playing.
- Initiate the Search: Once the video is paused, select the Search button.
- Select a Result: Choose the relevant person from the populated results. Selecting a result will automatically navigate you to the Cross-Camera Tracking person of interest search page, where you can see their movement across the network. See below for more details.
Event Search
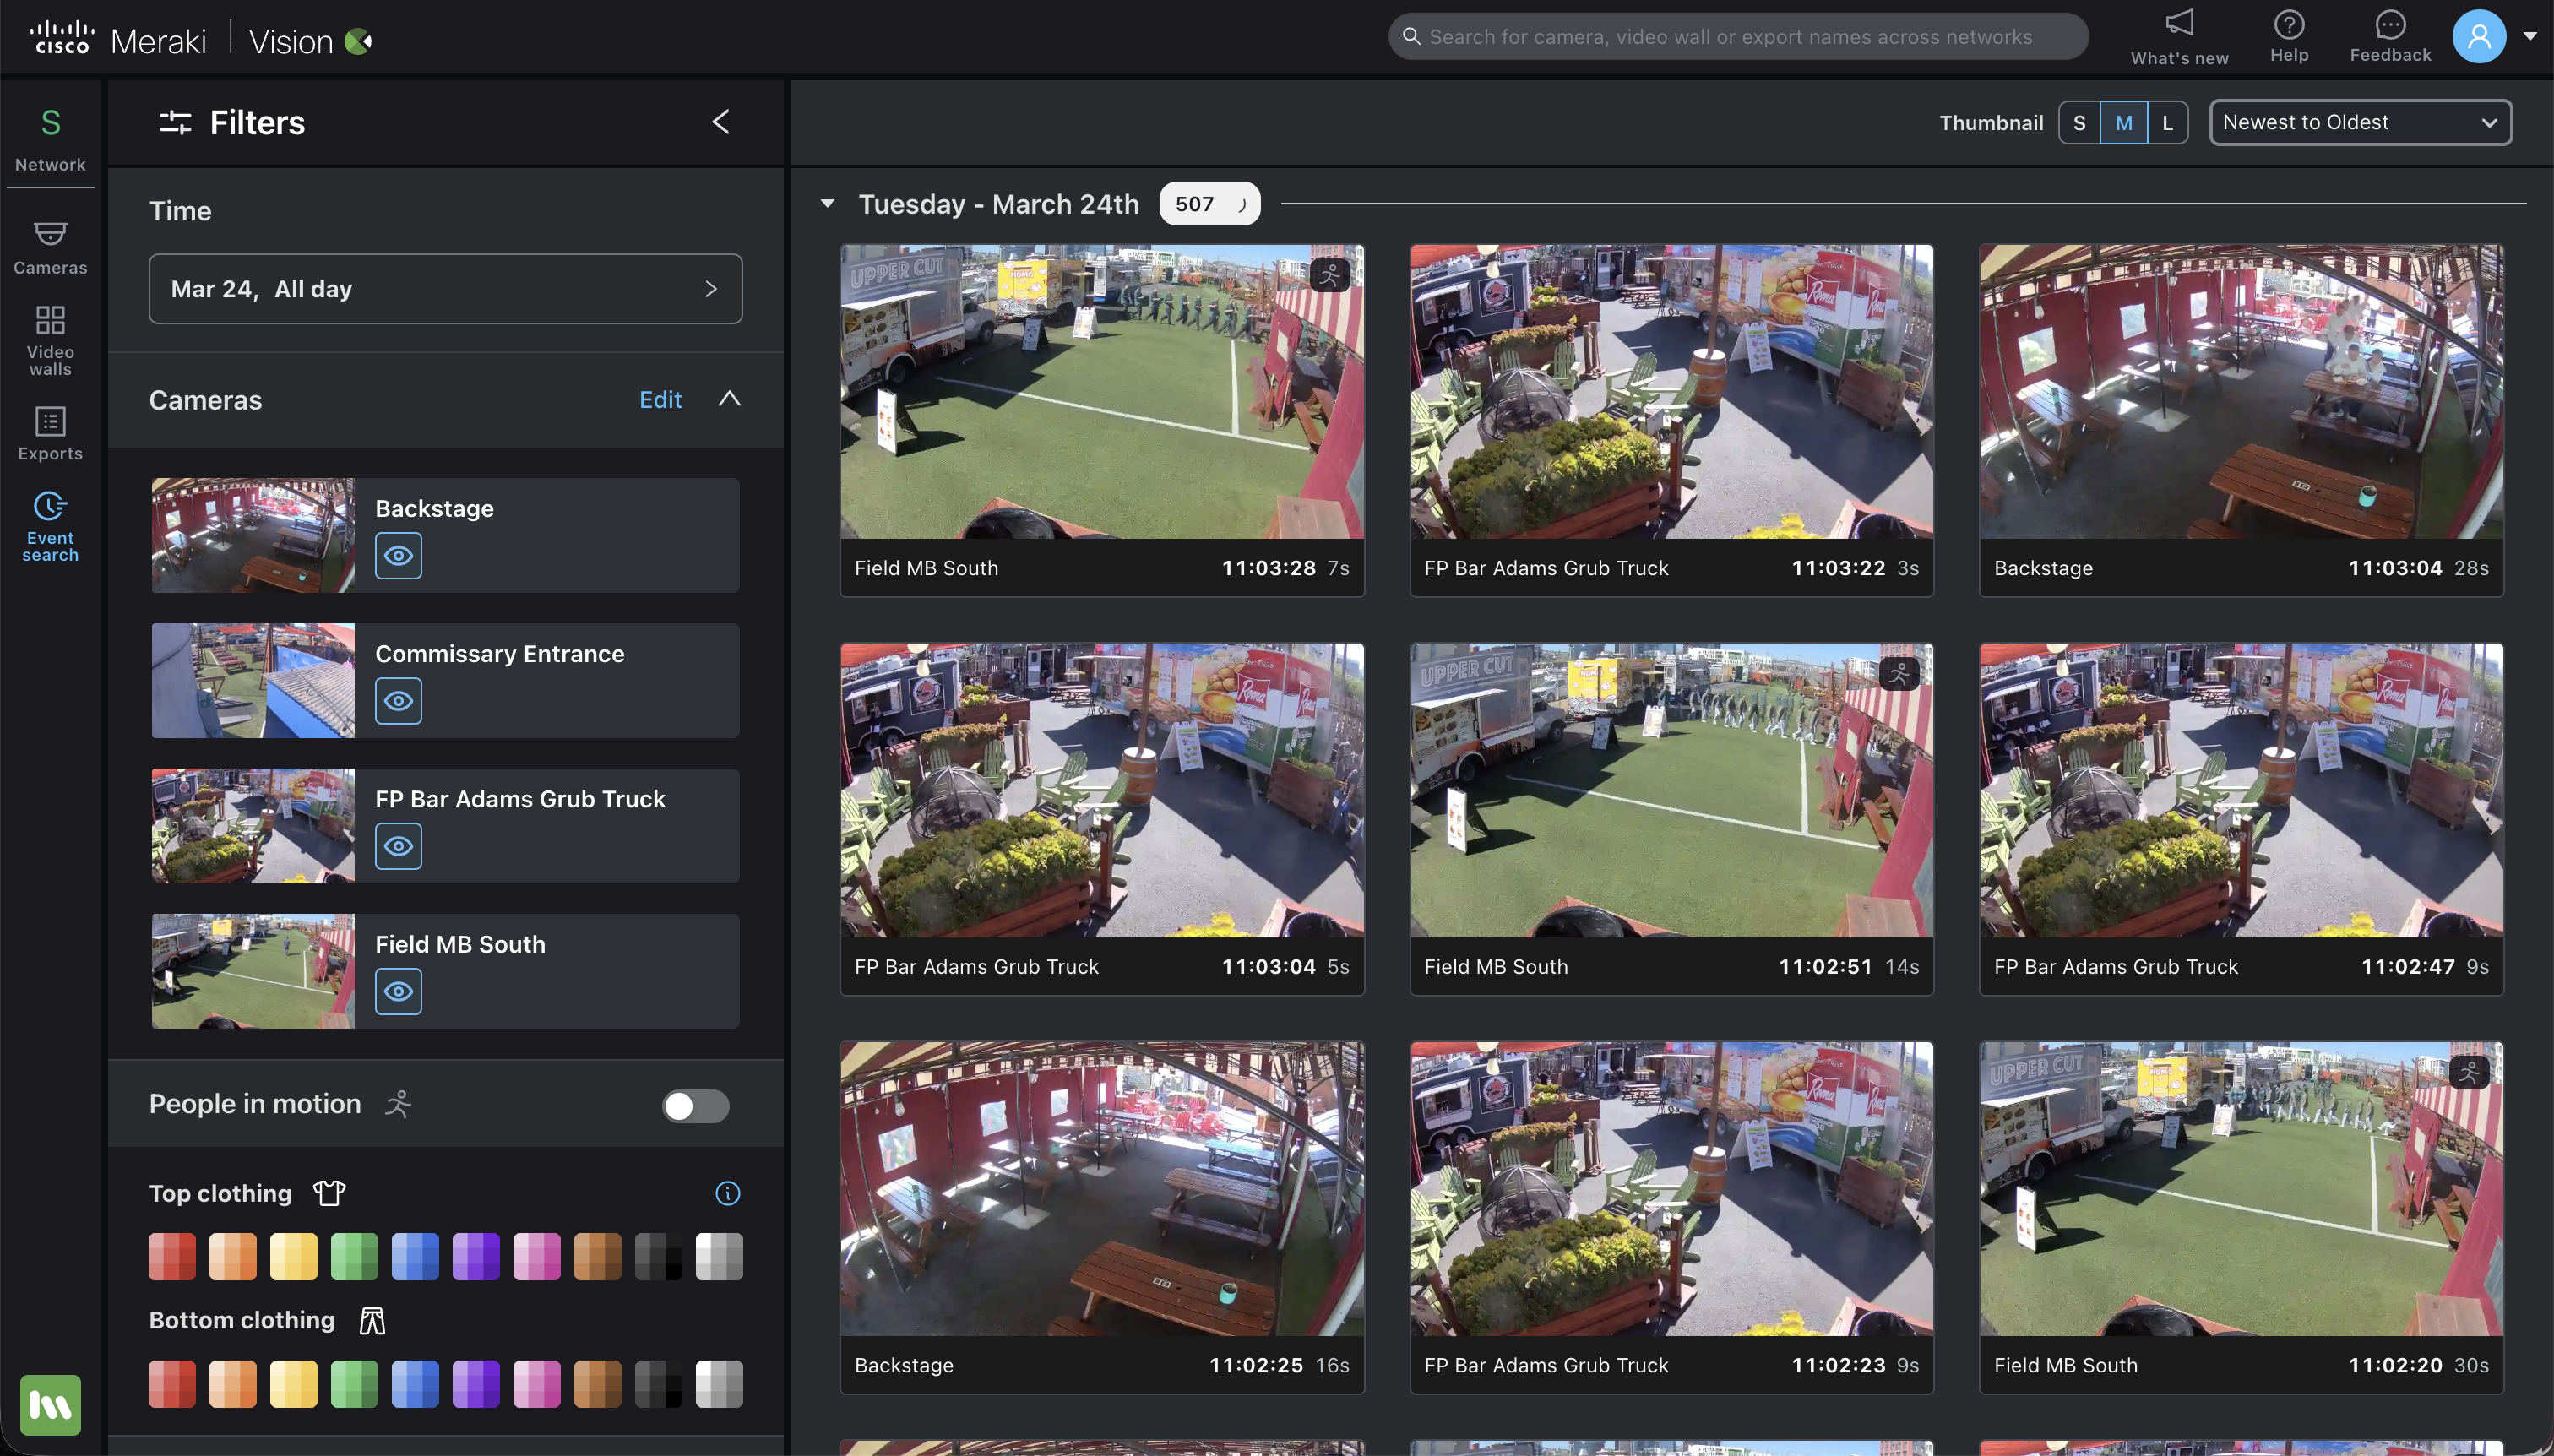
- Navigate to Event Search: Open the Event Search tab from the main menu.
- Perform a Standard Search: Enter your search parameters (such as date and time, and up to four cameras, and attributes if you have that information).
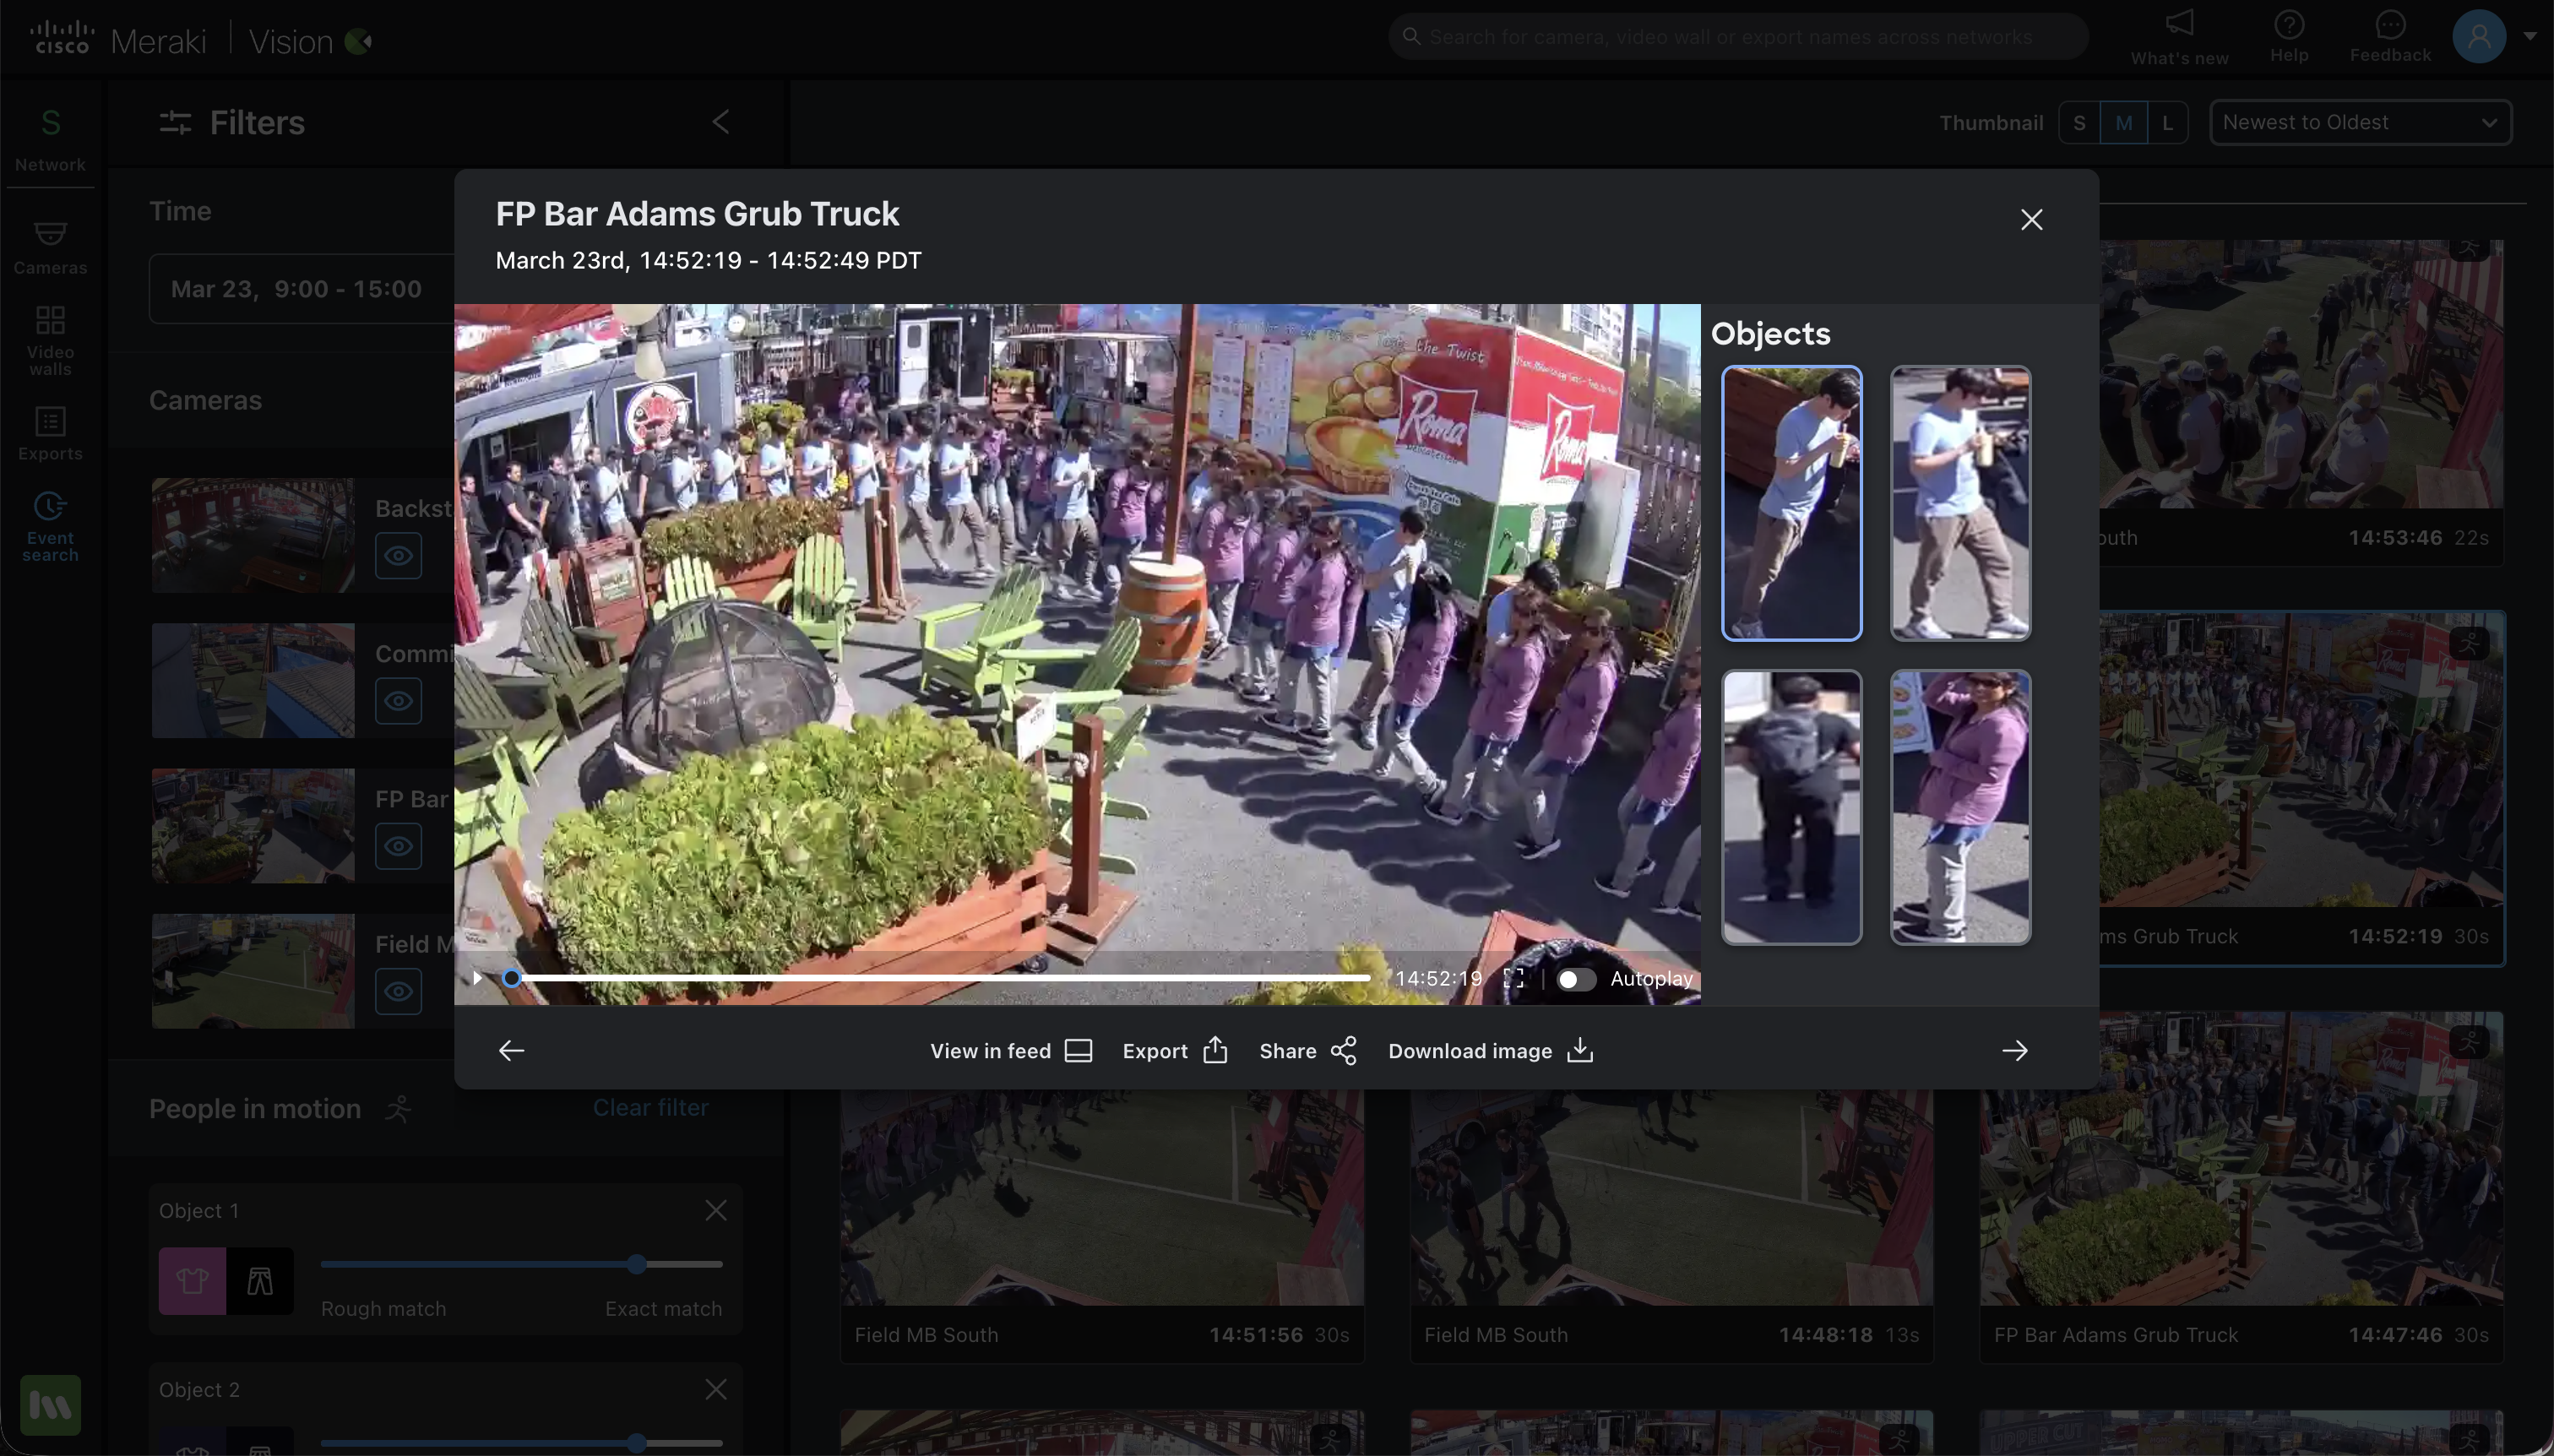
- Wait for Objects to Load: Once the initial video results are displayed, the system will automatically begin loading and highlighting all the objects detected in the frame.
- Select Your Subject: Click on the specific person of interest from the loaded results. This will navigate you to the Cross-Camera Tracking page to view their movement across your deployment.


Cross-camera Tracking Results
Once you select a person of interest from either the Single Camera View or Event Search, you will be taken to the dedicated Person of Interest (POI) search page.
On this page:
- Your selection drives the search: The person you clicked on in either the single camera view or event search becomes your visual search criteria.
- Results are compiled: The system displays a timeline of all detected clips of that person across your network grouped by Similarity.
- Similarity refers to how closely the AI believes a person in another video clip matches the visual characteristics of your original Person of Interest (POI).
- The results are displayed based on similarity by default, but the results can also be displayed by Newest to Oldest, and Oldest to Newest.
- Refine your results: If you do not see enough clips, adjust the similarity slider to broaden the search and generate more potential matches.
- By default the similarity is set to a 77% match, but if you do not get enough results you can adjust the similarity to a rough match to get more results, or an exact match to get results closer to your visual search criteria.

- The cameras with results section will display all the cameras in the network and show which cameras have results and which do not.
- You are able to filter the results out based off the camera, and show and hide camera results.


Common Alerts and Troubleshooting
- Cross-Camera Tracking is unavailable or cameras are missing
- Verify device connectivity to the internet.
- Ensure the camera is a supported Gen 3 Dome model running the required firmware.
- Search yields no results or fails to trigger
- If you are in the single camera view verify that you are initiating the search on paused, historical footage. The feature will not trigger on live video.
- If the search runs but returns zero clips, adjust the similarity slider to a lower threshold to broaden the search criteria.
- Receiving a generic error in the Vision portal
- Review dashboard alerts and logs for underlying camera or network issues.
- If the camera is healthy but the Vision portal continues to display a generic error during a search, please create a support ticket outlining your issue, and the impacted camera