
Device Posturing using Cisco ISE
Cisco Identity Services Engine (Cisco ISE) may be used for device posturing when paired with Meraki access points. Cisco ISE is another option for posturing devices that enable additional business use cases.
Meraki APs will pass necessary information to Cisco ISE using 802.1x RADIUS and honor a URL redirect that is received from the Cisco ISE server. Using CoA, the Cisco ISE server can instruct the device to reauthenticate if the status changes after device posturing is complete.
This posturing mechanism allows devices to be placed on a secure provisioning VLAN while they are postured. After the posturing is complete, the device can be reauthenticated and placed on the corporate network upon being profiled.
Configuration
The following sections of this guide will outline a configuration example using Cisco ISE as the posturing system, which is also hosting the captive portal for posturing.
Meraki Access Point Dashboard Configuration
The Meraki access point configuration is outlined below on the Access Control Page for a particular SSID (Wireless > Configure > Access Control).
- Select Enterprise with my Radius server.

Configure Enterprise Authentication
- Select either WPA2 or WPA3 Enterprise authentication from the drop-down menu in the encryption section of the Access Control Page.
Note: WPA3 encryption is required in wireless networks that implement Wi-Fi 6E.

2. Enter the details for the RADIUS server under the RADIUS section, including the Host IP or FQDN, Auth port, and Secret.
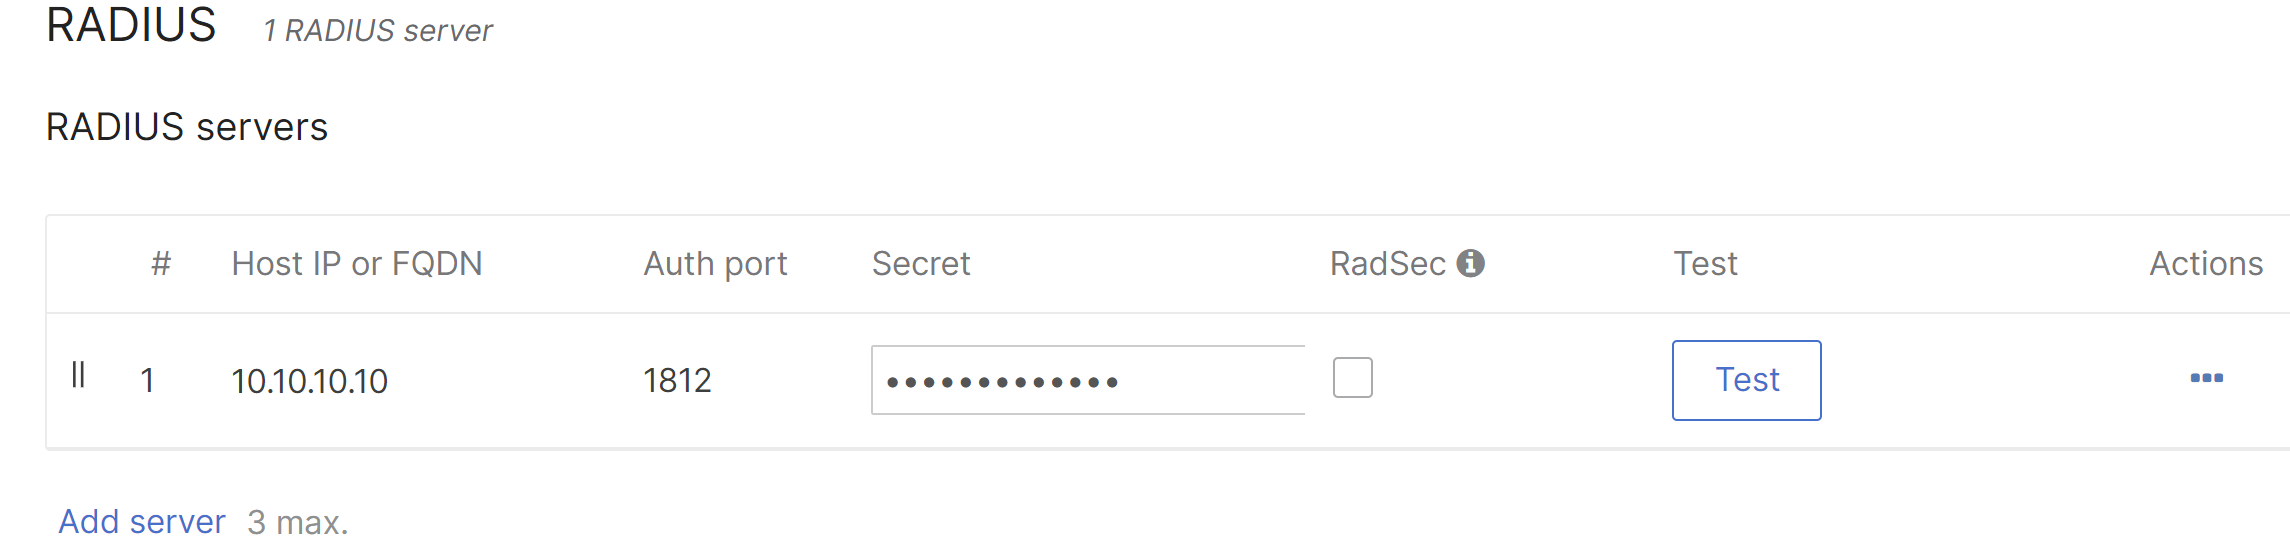
If using dynamic group policies, select Airspace-ACL-Name for the RADIUS attribute specifying the group policy name.

Configure Central Web Authentication for Splash Page
Select Cisco Identity Services Engine (ISE) Authentication in the "Splash page" section of the Access Control Page. This setting will honor the Cisco custom URL redirect attribute sent from Cisco ISE.

Configure the Walled Garden
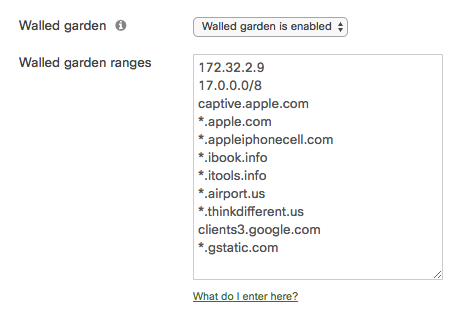
The IP address of the Cisco ISE server needs to be added to the walled garden to ensure that a client will be permitted through the walled garden before being authenticated by the Cisco ISE server.
DNS traffic is permitted by default through the walled garden.
Disable CNA
As of Cisco ISE 2.2, Apple CNA is supported for guest and BYOD. Beginning July 26, 2017, Apple CNA and Android captive portal detection are enabled by default on Cisco Meraki access points. On iOS 7+ and OS X, the client will automatically launch a mini-browser (CNA) that takes the user to the splash page to complete the authentication and gain access to the network. Android devices will display a notification on the device prompting the user to sign in to the Wi-Fi network. Tapping the notification will launch the device browser and direct the user to the splash page. To disable CNA and captive portal detection, append the following 17.0.0.0/8 IP range and domain names to the walled garden as shown below:
Disabling CNA will require that users manually open their web browser before being presented with the splash page. Applications on the user's device that require internet connectivity will not function as expected until the user has opened their web browser and completed authentication via the splash page.
Cisco ISE Configuration
Please refer to Cisco's Identity Service Engine Administrator Guide for proper configuration for the version of Cisco ISE that is being utilized. To get started, navigate to Cisco's Identity Services Engine portal to configure the version of Cisco ISE that is running.
Ensure that the individual Meraki access points are configured as network devices within ISE.
Ensure that the ISE accepts all of the 802.1X authentication from the Meraki AP, and make sure it will drop authentication even if the user is not found.
The ISE needs to be configured as a probe to effectively profile endpoints. In order to accomplish this, make sure that the Nodes Profiling Configuration is set up for the following:
-
DHCP: Enabled, All (or default)
-
DHCPSPAN: Enabled, All (or default)
-
HTTP: Enabled, All (or default)
-
RADIUS: Enabled, N/A
-
DNS: Enabled, N/A