
Motion Search and Motion Recap
Overview
This article explains how to find and view motion events on the Meraki dashboard. The Motion Search and Motion Recap functions help with incident reporting and quick video retrieval for events of interest. Motion Search uses background subtraction to isolate motion and provide searchable events containing motion. Motion Recap creates a composite image of motion that is overlaid on the background of the image to highlight the motion that has occurred.
Using Motion Search and Motion Recap
-
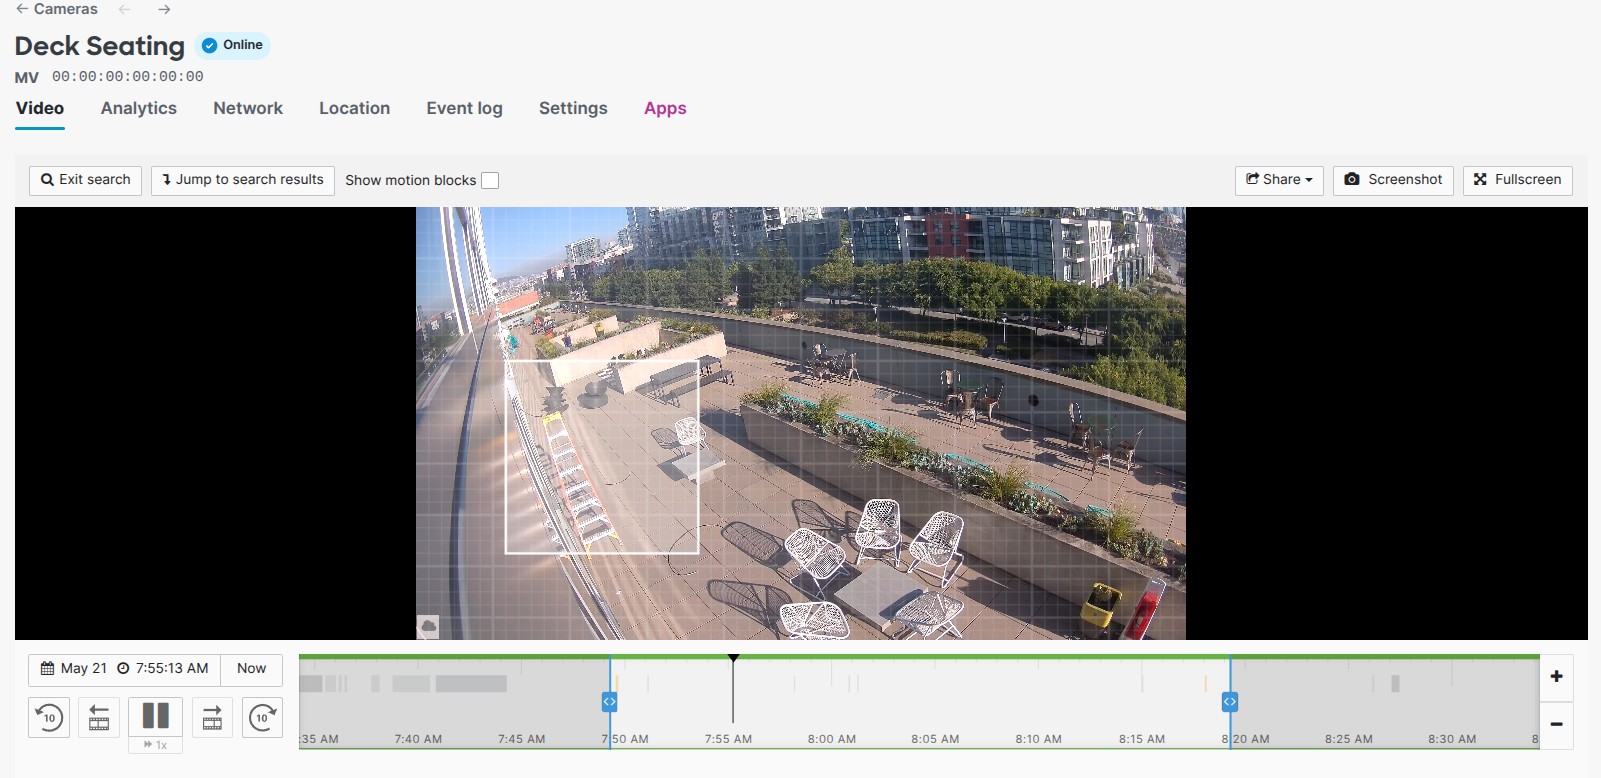
Navigate to Cameras > Monitor > Cameras. Select a camera from the network list.
-
On the Video tab, click Motion Search.

-
Draw your region of interest on the video feed and select the desired time frame using the sliding vertical bars on the timeline.
-
Motion events appear below in grid view or list view. Toggle between grid and list views using the Images and List buttons on the right-hand side. Change the time frame by selecting the Start and End calendar buttons, or by using the sliding vertical bars on the timeline. Use the + and - buttons to change the timeline range for larger or more precise adjustments.
The Images grid view and Motion Recap images are not available when restricted bandwidth mode is enabled. If an "Image Failed to Load" message appears, ensure SSL inspection is not present upstream of the Cisco Meraki MV smart camera, as SSL inspection can prevent Motion Recap images from loading.
-
Grid view

-
List view
-
Click on the column headers to sort by timestamp, duration of the event, how much of the frame the event covers, and how much of the region of interest the event covers.
-

-
All relevant results may not be displayed at once. Use the navigation buttons to view more results.

-
Refine your results further using the options for Motion sensitivity, Minimum event length, and Detected people only. The text below the options summarizes the number of results excluded due to the applied filters. To remove all filters, use the reset option provided below the text. Available filters are:
-
Motion sensitivity (0 to 100%): A slider represented as a percentage. This percentage is a weighted average of the frame percentage and region of interest percentage. A setting of 100% shows every detected motion event. A lower percentage shows fewer events by excluding those with smaller occurrences of motion.
-
Minimum event length (0 to 35 seconds): Excludes motion events shorter than the specified time in seconds.
-
Detected people only: Excludes motion events where people are not detected.

-
Show motion blocks: Overlays an outline on the displayed recap images where motion is detected. This filter does not exclude events.

-
-
Select a Motion Recap image to view it in detail. The image displays the event's date, time, and duration. You can also play the relevant video section, export the event, or download the Motion Recap image.

-
Use the buttons above the video window to exit back to the video view or jump to search results.

Motion Recap images
Motion Recap images are a composite of multiple images that summarize an entire motion event in a single screenshot. Foreground objects are tracked separately and then combined into a single image. Events with sporadic motion or lasting over 30 seconds may include multiple images.

It is expected behavior to see motion recap images past the retention capabilities of a camera, including when video footage has been deleted from the camera.
Factors affecting Motion Recap images
Motion Recap images work best in areas with even lighting, clear subjects, and clean motion paths. Avoid the scenarios listed below by changing the deployment or reducing the contributing factors.
Lighting changes
Motion Recap depends on distinguishing subjects in the foreground from the background. Significant changes in background lighting can prevent Motion Recap from creating a clear composite image with a distinct foreground. Examples include:
-
Outdoor cameras experiencing lighting changes in the scene due to passing clouds.

-
Cameras overlooking doors to the outside can experience frequent lighting changes in the scene, due to the door opening and closing.

Sporadic motion
When creating a composite image of subjects moving infrequently in a small space, the subjects in the Motion Recap image may appear ghost-like. Limited movement can cause Motion Recap to identify the subjects as part of the background instead of the foreground.

Significant motion
Motion Recap images with many subjects can provide valuable insights. However, overlapping subjects in the frame can make it difficult to track the movement of a single subject.

Subjects covering most of the camera's field of view (FoV)
When a subject covers a large portion of the camera's field of view (FoV), nearby light sources may be blocked. This can cause the camera sensor to adjust for the lighting change, leading to changes in background visibility. Although the light source itself remains unchanged, the amount of light reaching the sensor is altered. As a result, subjects that are too close to the camera, cameras zoomed in on a subject, or large subjects passing by the camera may produce distorted Motion Recap images.

Disabling Motion Recap images
Motion Recap assists in faster and more efficient event detection, but uses additional bandwidth and may cause traffic spikes of up to approximately 200 Kbps per camera.
You can disable Motion Recap images to save bandwidth by enabling restricted bandwidth mode through the Quality and Retention settings tab. Refer to Restricted Bandwidth Mode for MV for more information.
