Tags Management Page for Systems Manager
Tags are a critical component in Meraki Systems Manager, as they are used to logically group devices together and associate them with applications and profiles. The tags management page allows Dashboard admins to holistically create, manage, and delete all their Systems Manager tags on one page.
Note: For information related to different types of tags, refer to this article. For more information on scoping and configuration, refer to this article.
Adding New Tags
Manual Tags, Security Policy Tags, and Schedule Tags can all be created through Systems manager > Tags > + Add new. At the moment, Geofencing tags and Owner tags still need to be created and defined in Systems manager > Geofencing and Systems manager > Owners respectively.

Manual Tag
Simple admin-generated tags are applied statically to devices. They must be manually added/removed, and are always active.
To create a new manual tag:
- Navigate to Systems Manager> Tags > + Add new.
- Select Manual Tag.
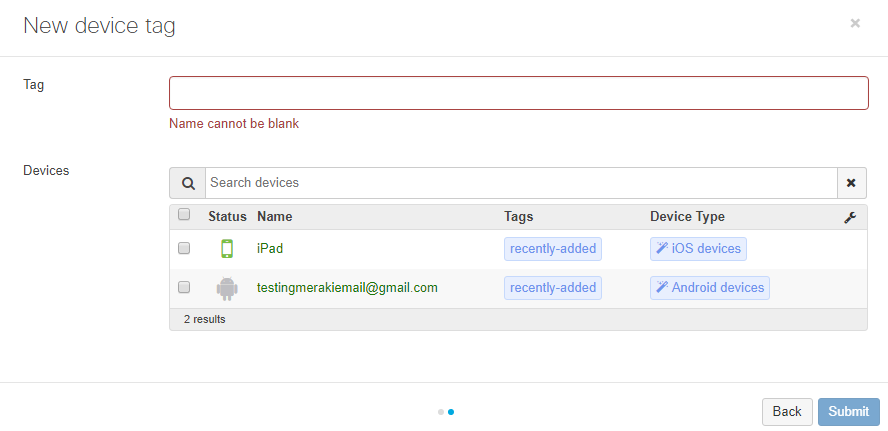
- Enter a tag name without spaces.
- Select devices to scope the tag.
Security Policy Tag
Security policies in Systems Manager (SM) networks can be used to monitor a number of security-related items on enrolled clients. When creating a security policy tag, there is the option to scope a policy for a specific platform or apply one to all devices.
To create a new security policy tag:
- Navigate to Systems Manager> Tags > + Add new.
- Select Security Policy Tag.
- Choose the corresponding platform settings.
- Selecting a platform will only display policies related that device type. See below screenshots for examples.
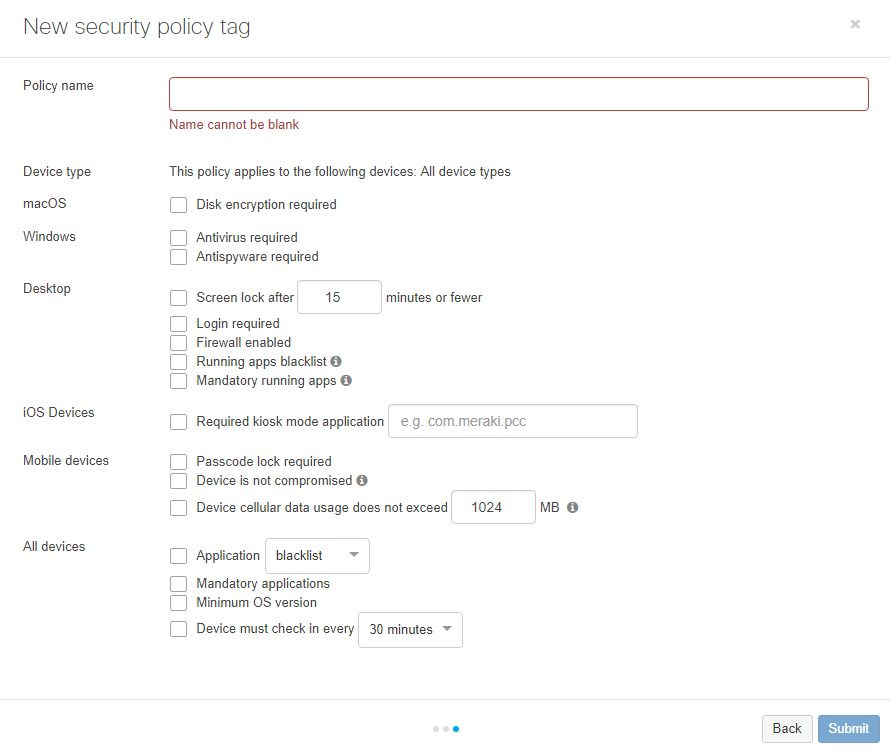
- Selecting Advanced will display all available security policy checks, and will generate security compliance tags for all devices. We recommend using platform-specific tags when possible, as compliance may be inconsistent if desktop policies are scoped for mobile devices, and vice versa.

The Advanced option, below, shows all available security policies, and will apply to all enrolled devices.
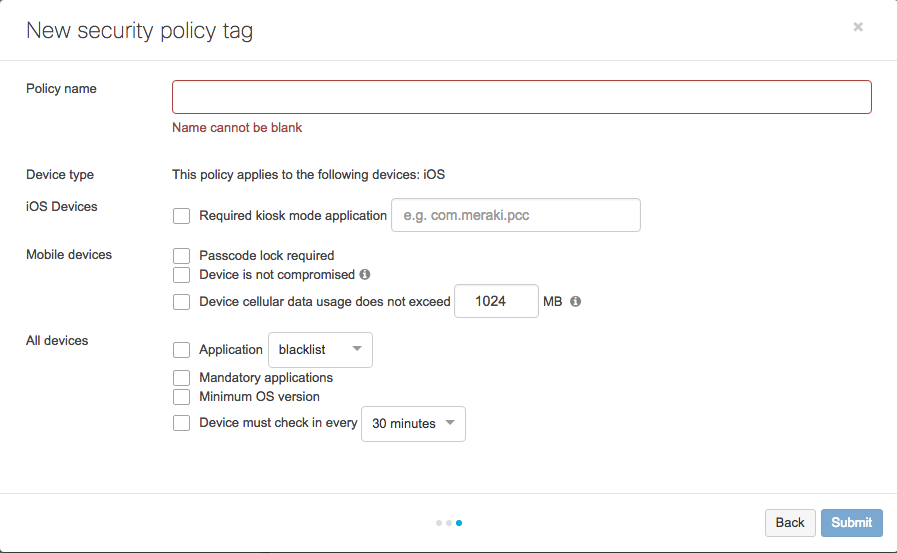
Below is an example of a platform-specific security policy tag. In this case, only iOS compatible settings are available, and the policy scopes only to iOS devices.
Schedule Tag
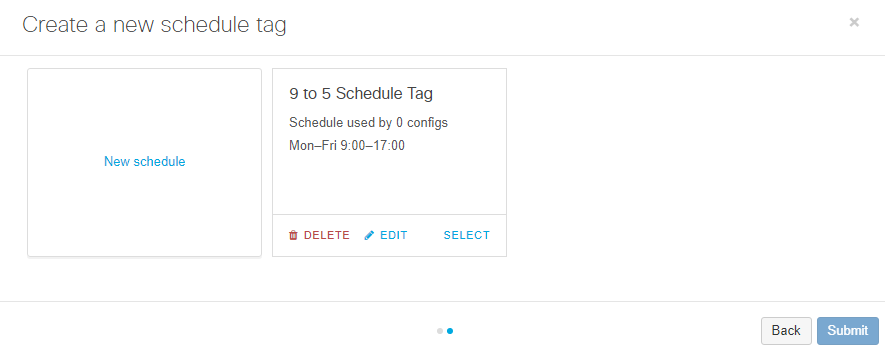
Tags can also be scheduled to give control of when profiles are applied or when applications need to be pushed down. To create a schedule tag:
- Navigate to Systems Manager> Tags > + Add new.
- Select Schedule Tag.
- Create New Schedule.
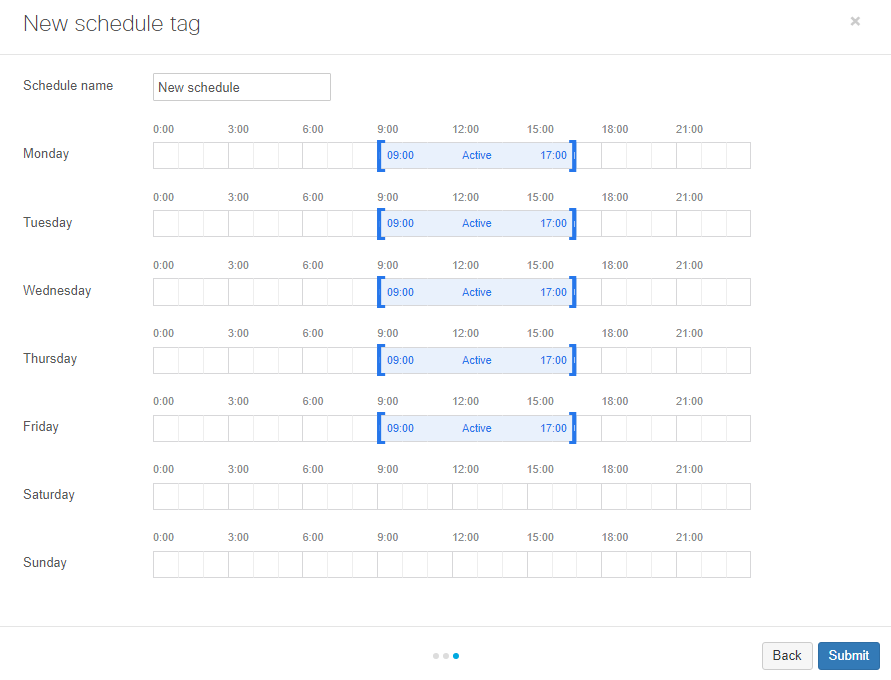
- Input Schedule name.
- Select a specific day to create/edit timeframes. Drag the slider to expand or decrease the time.
Managing and Deleting Tags
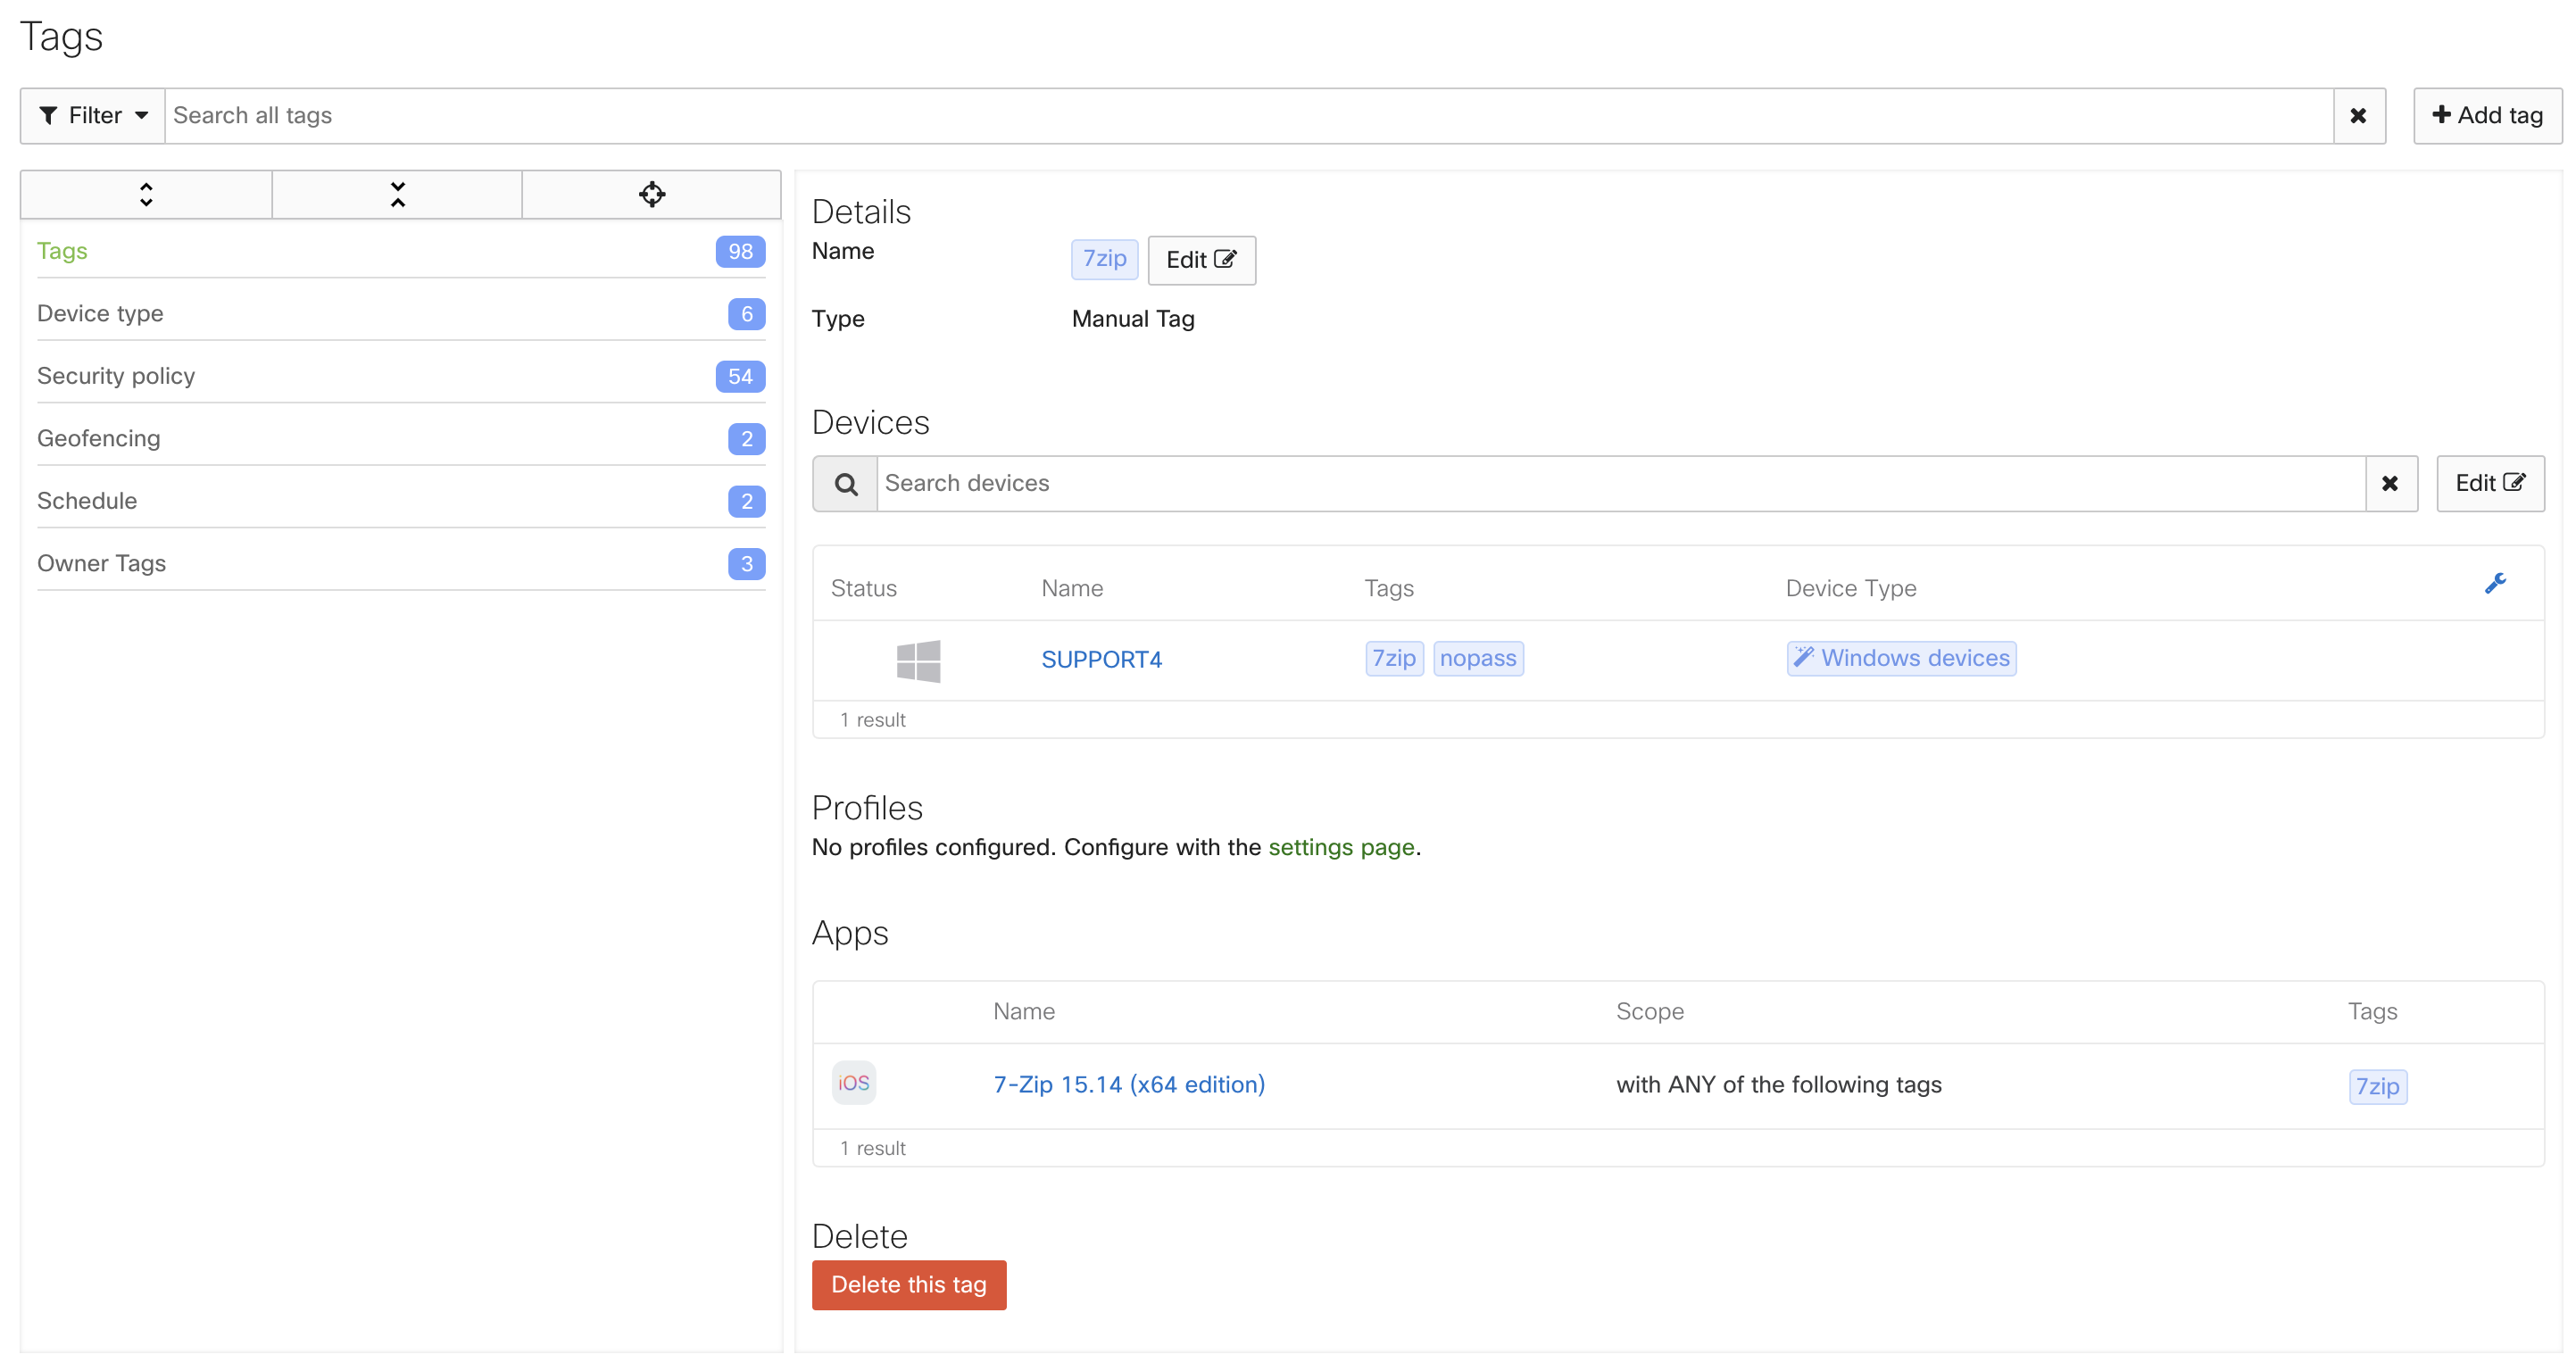
The tags management page allows Dashboard admins to view all tags in the organization, edit specific tags, scope devices with tags, and delete unwanted tags.
Please note Device Tags are Auto-Tags with device enrollment and have a magic wand icon that cannot be deleted from the dashboard.
example: 
Editing Tags
Manual, security policy and schedule tags can all be edited in the tags management page. Choose the tag from the list of tags and select Edit. Renaming tags will instantly modify the tag's name on all assigned devices.
Managing Tag Scope
For Manual and Device Type tags, scoping can be done on the tag management page.
- Navigate to Systems manager > Tags.
- Select Manual/Device tag.
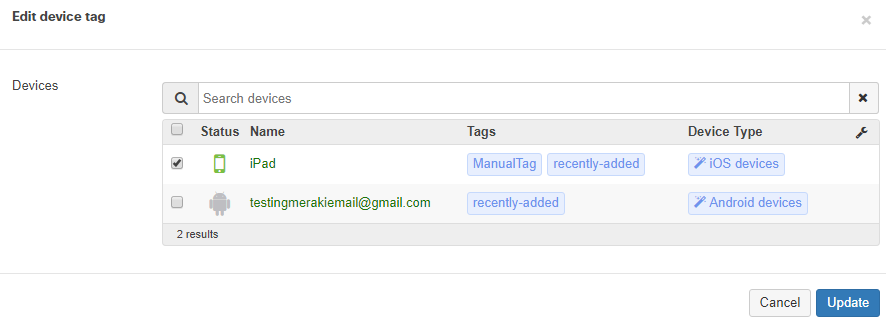
- Navigate to Devices > Edit.
- Scope tag to desired devices and hit Update.
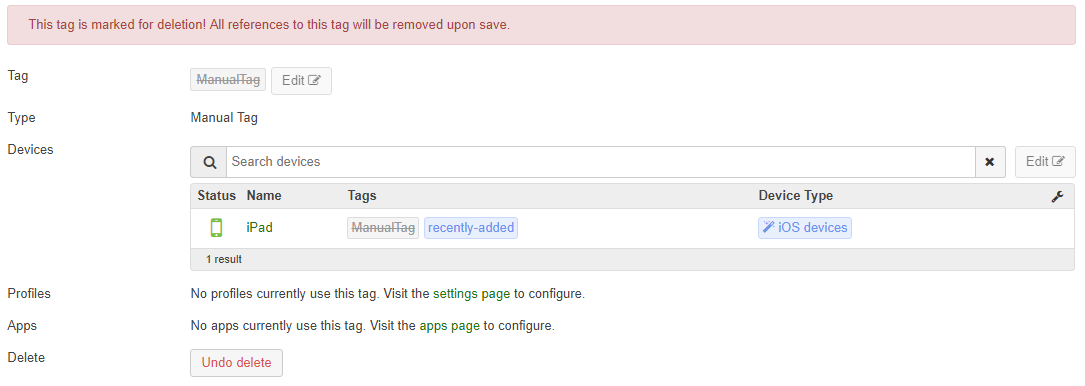
Deleting Tags
Deleting a tag will un-scope the tag from all the devices it is currently scoped to.
-
Navigate to Systems manager > Tags.
- Select the tag and navigate to Delete > Delete this tag.
- Once the tag has been marked for deletion, save changes.
Deleting Owner Tags: Owner Tags must be deleted from the specific Owner under Systems Manager > Owners
-
Navigate to Systems manager > Owners
- Select the owner to edit and in the owner pop-up, remove the tag by clicking the "x" next to it.
- Click save on the owner
- Click save to save the changes on the SM> Owners page.

Adding New Target Groups
Scope Systems Manager apps and settings to frequently used combinations of tags using named Target Groups.
To create a named Target Group:
- Navigate to Systems Manager > Tags
- On the Target groups tab, navigate to +Add target group
- Name a name for the Target Group
- Select a type of Target group
- Select Device Scoping to scope combinations of Manual Tags, Security Policy tags, Geofencing tags, Schedule tags or User tags.
- Select User Scoping to scope based on Owner tags
- Scope tags based on preference and save the configuration

Managing Target Group Scope
To scope an app or setting to a Target Group:
- Navigate to the Apps (Systems Manager > Apps) or Settings (Systems Manager > Settings) pages.
- Select the setting you would like to scope.
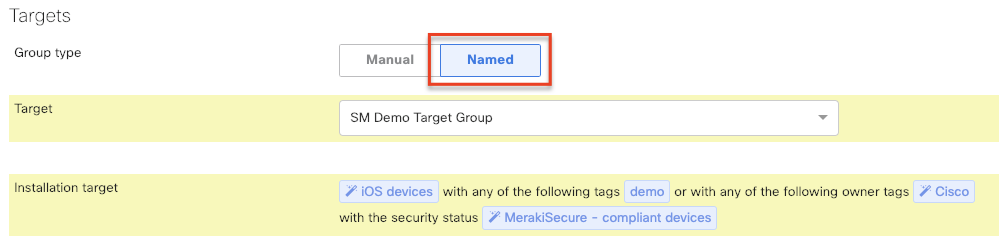
- Scroll to Targets and toggle the Group Type to "Named".
- Select the desired Target Group. Dashboard will display the individually scoped tags and devices.
- Save the configuration