
How to Add and Remove Devices from Dashboard Networks
Click 日本語 for Japanese
Overview
Before Cisco Meraki devices can be monitored and configured, you must add them to a network in the Meraki dashboard. This article explains how to add devices to dashboard networks and how to remove them when needed.
For information on claiming and unclaiming devices, see Using the Organization Inventory.
Step-by-step instructions
Adding devices to networks
This section describes the simplest method for adding devices to a network, which applies to all device types and network types. The steps below begin from a network's configuration in the dashboard.
For steps on adding devices from the inventory page, see Adding Devices from the Inventory page (Organization > Configure > Inventory).
Learn more with these free online training courses on the Meraki Learning Hub:
Note: Only one MX or Z-series security appliance can be in a network unless two MXs are used in an HA pair. Adding more than one device type to a network will automatically convert that network to a combined network.
The process below works for organizations using both Co-termination and Per-Device Licensing models. Before beginning, create a network if one doesn't already exist. (Organization > Configure > 'Create Network')
To add devices to a network:
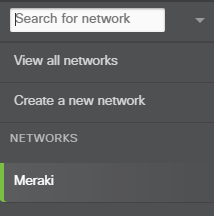
- Select the network to which the devices should be added.
Note: Only administrators with multiple organizations will see the organization drop-down. - Navigate to Network-wide > Configure > Add devices.
- Use the Search inventory box to search for a device or group of devices by any of the following:
- MAC address
- Serial number
- Network name
- Model number
- Order number
- Country code
- Select the checkbox next to each device to add. If the desired devices are not listed, they may need to be claimed first.
Note: Only devices matching the current network type will appear on this page. If you need to add devices of a different type and the network is not already a combined network, use the Organization > Inventory page, which is only accessible by Organization Admins.

- Click Add to this network
- The devices are added to the network and become available for monitoring and configuration.
Adding a second MX to form a warm spare configuration
Note: This section applies only to networks configured with, or to be configured with, an HA pair ( master & Spare )
To add a second MX WAN appliance as a warm spare:
- Select the network containing the primary MX appliance.
- Navigate to Security & SD-WAN > Monitor > Appliance Status.
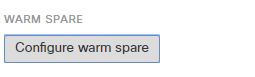
- Click Configure Warm Spare, located below the MX location address on the left.
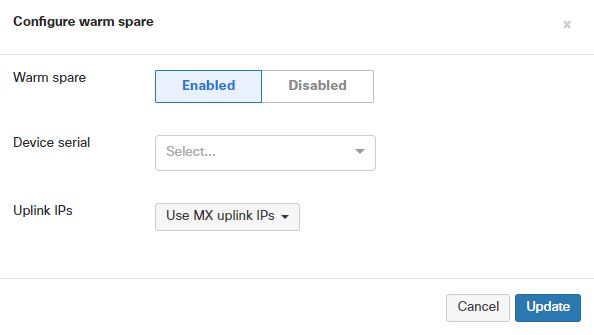
- Set Warm spare to Enabled.
5. Select the Warm spare device serial number.
6. Select Use virtual uplink IPs or Use MX uplink IPs.
7. Click Update.
Removing devices from networks
You may need to remove devices from a network as part of a replacement, a move to a different organization, or for other operational reasons. The removal process varies by device type
Removing MR, MS, MC, MV, MT, and/or MG series devices and legacy products
- Select the network containing the device.
- Navigate to the device list page.
- Wireless > Monitor > Access points for wireless networks.
- Switching > Monitor > Switches for switch networks.
- Cameras > Monitor > Cameras for camera networks.
- Sensors > Monitor > Sensors for sensor networks.
- Cellular gateway > Monitor > Cellular Gateways for gateway networks.
Removing a camera from a network will remove all of the video.
- Select the checkbox next to each device to remove.
- Click Remove.

- A prompt will appear when removing MV device(s) requiring confirmation to Remove and delete all footage.
.png?revision=1&size=bestfit&width=445&height=297)
Selecting Remove and delete all footage will mark all footage to be deleted. It may take up to 2 minutes for the footage to be deleted.
5. Click Remove and delete all footage
6. The devices disappear from the list after removal.
Removing MX series or Z-series devices
- Select the network containing the device.

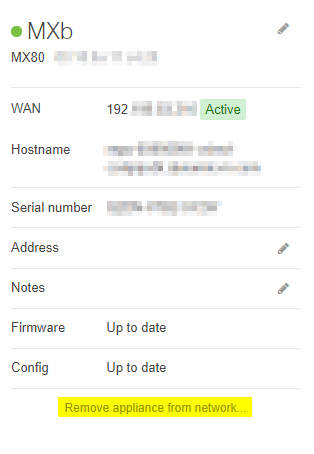
- Navigate to the Security & SD-WAN > Monitor > Appliance status page.
If you are swapping an MX WAN appliance that uses a static WAN IP address, record the uplink configuration before proceeding to the next step. Navigate to Appliance Status > Uplink and record the IP address, default gateway, subnet mask, and DNS servers. This configuration is not saved automatically when the appliance is removed.
- Click Remove appliance from network.
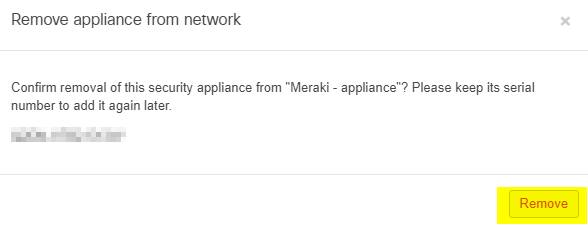
- Verify the serial number matches the device to be removed, then click Remove.
- The device is removed from the network.
Removing MX in a warm spare configuration
- Select the network containing the device.
- Navigate to Security & SD-WAN > Monitor > Appliance Status.
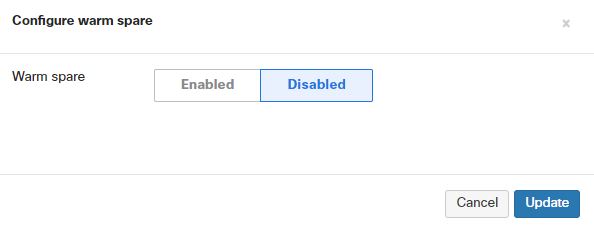
- Click Warm spare, located below the MX location address on the left.
- Set Warm spare to Disabled.
- Click Update.