Meraki Go - Local Network Addressing
Each Meraki Go Security Gateway comes preconfigured ready to run your network out of the box. This document explains how to modify the local address space the Security Gateway uses if that is a configuration change that is needed.
Local Network Addressing
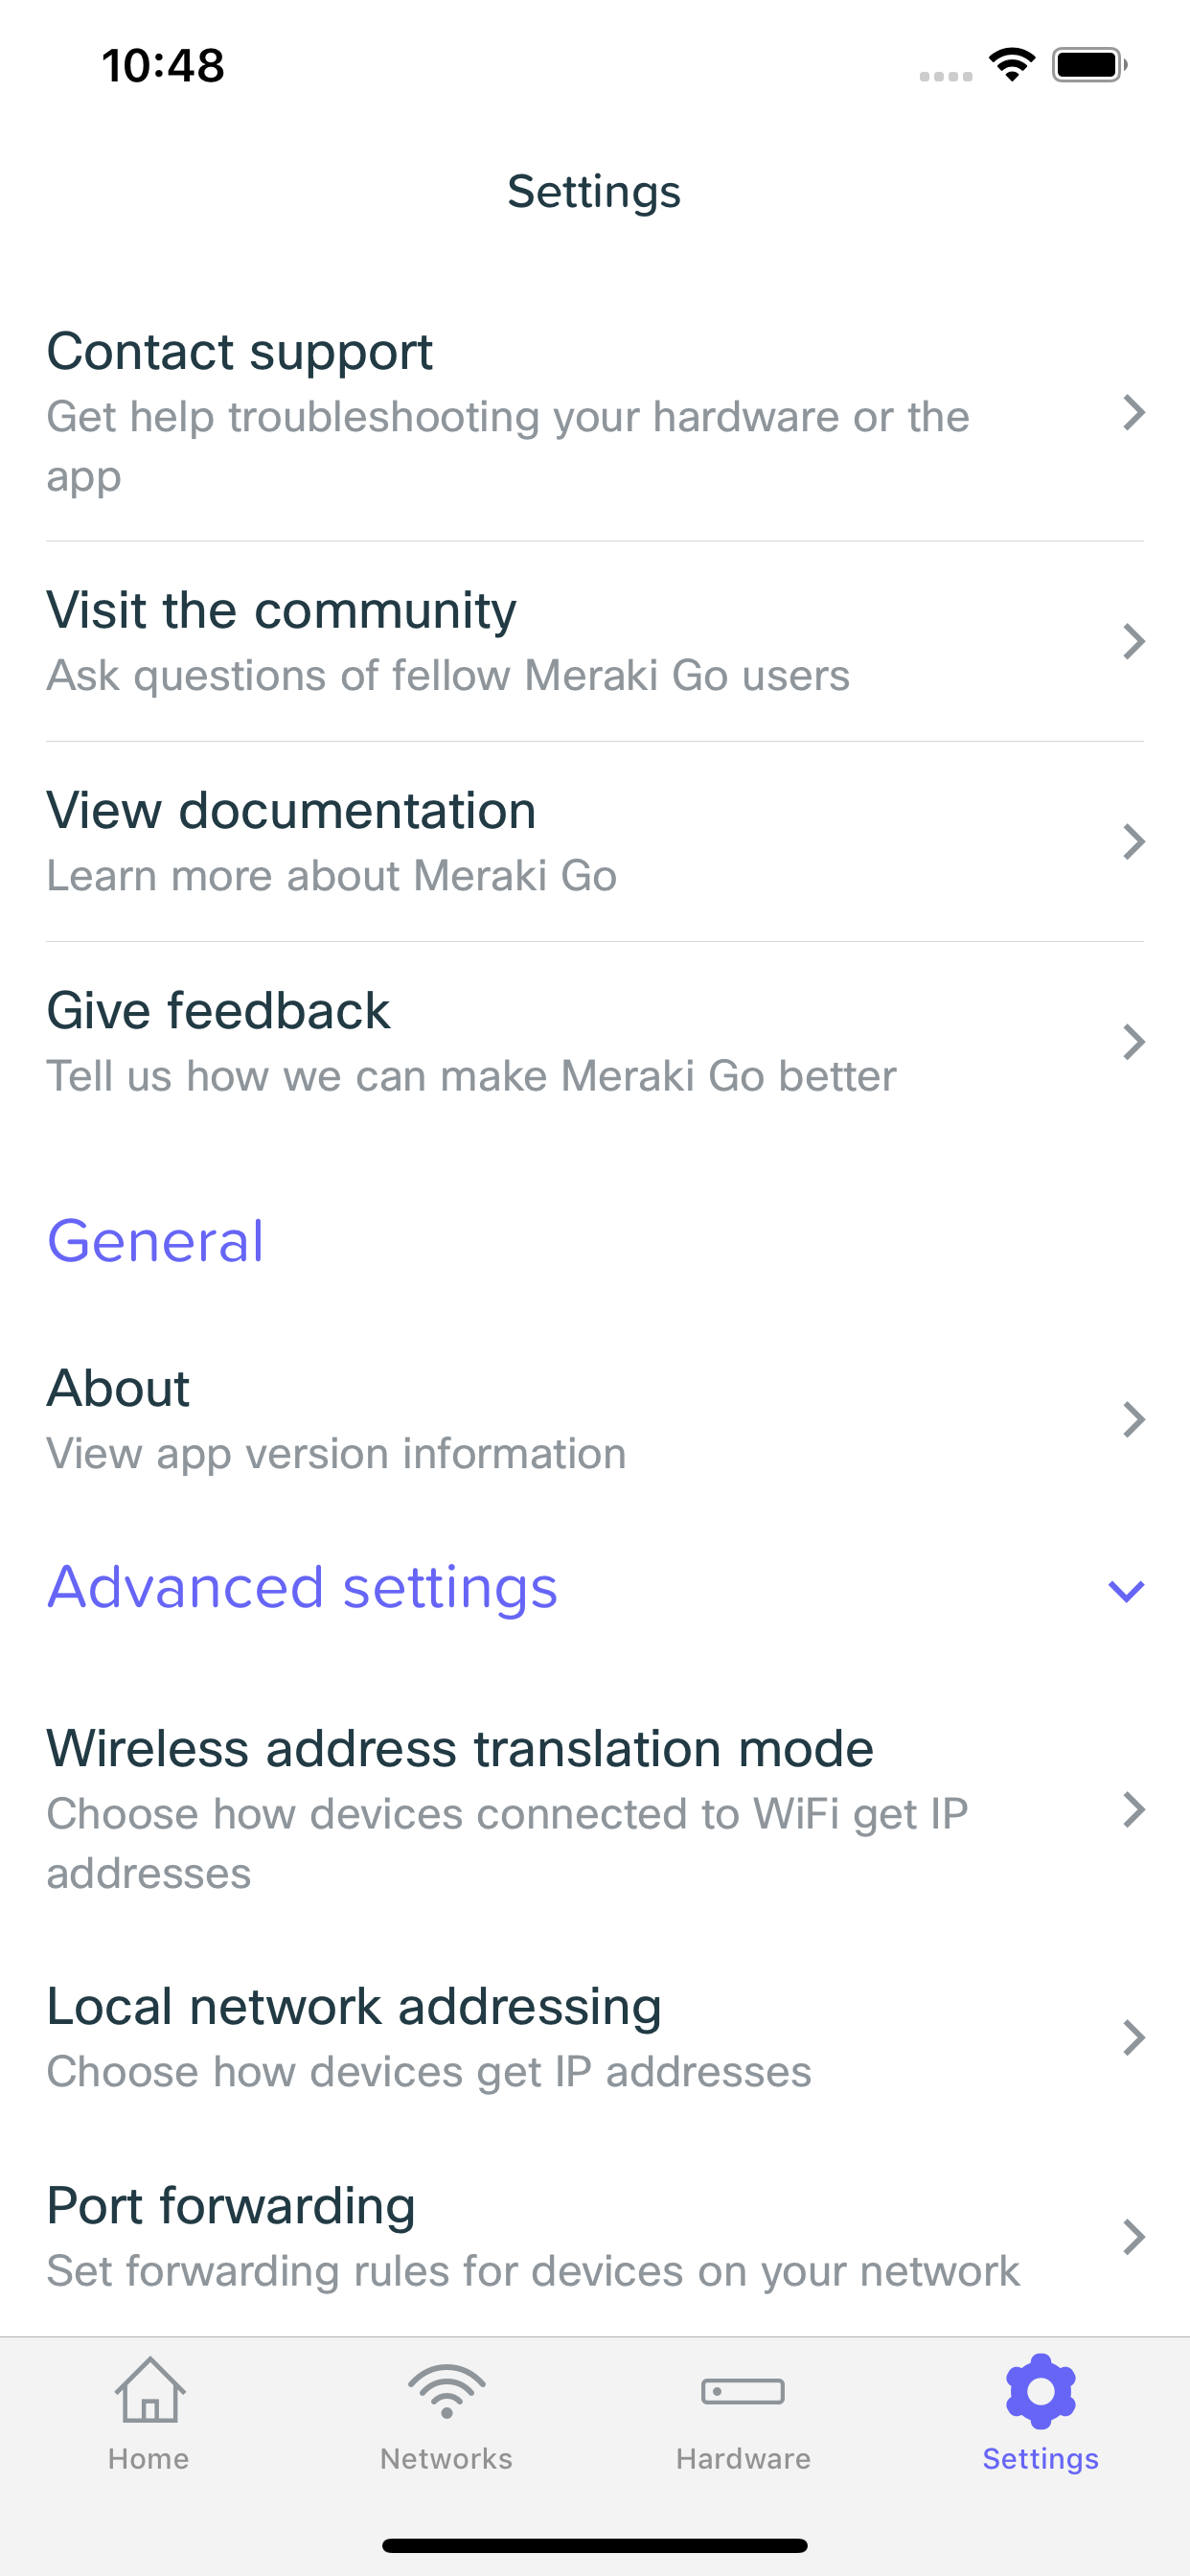
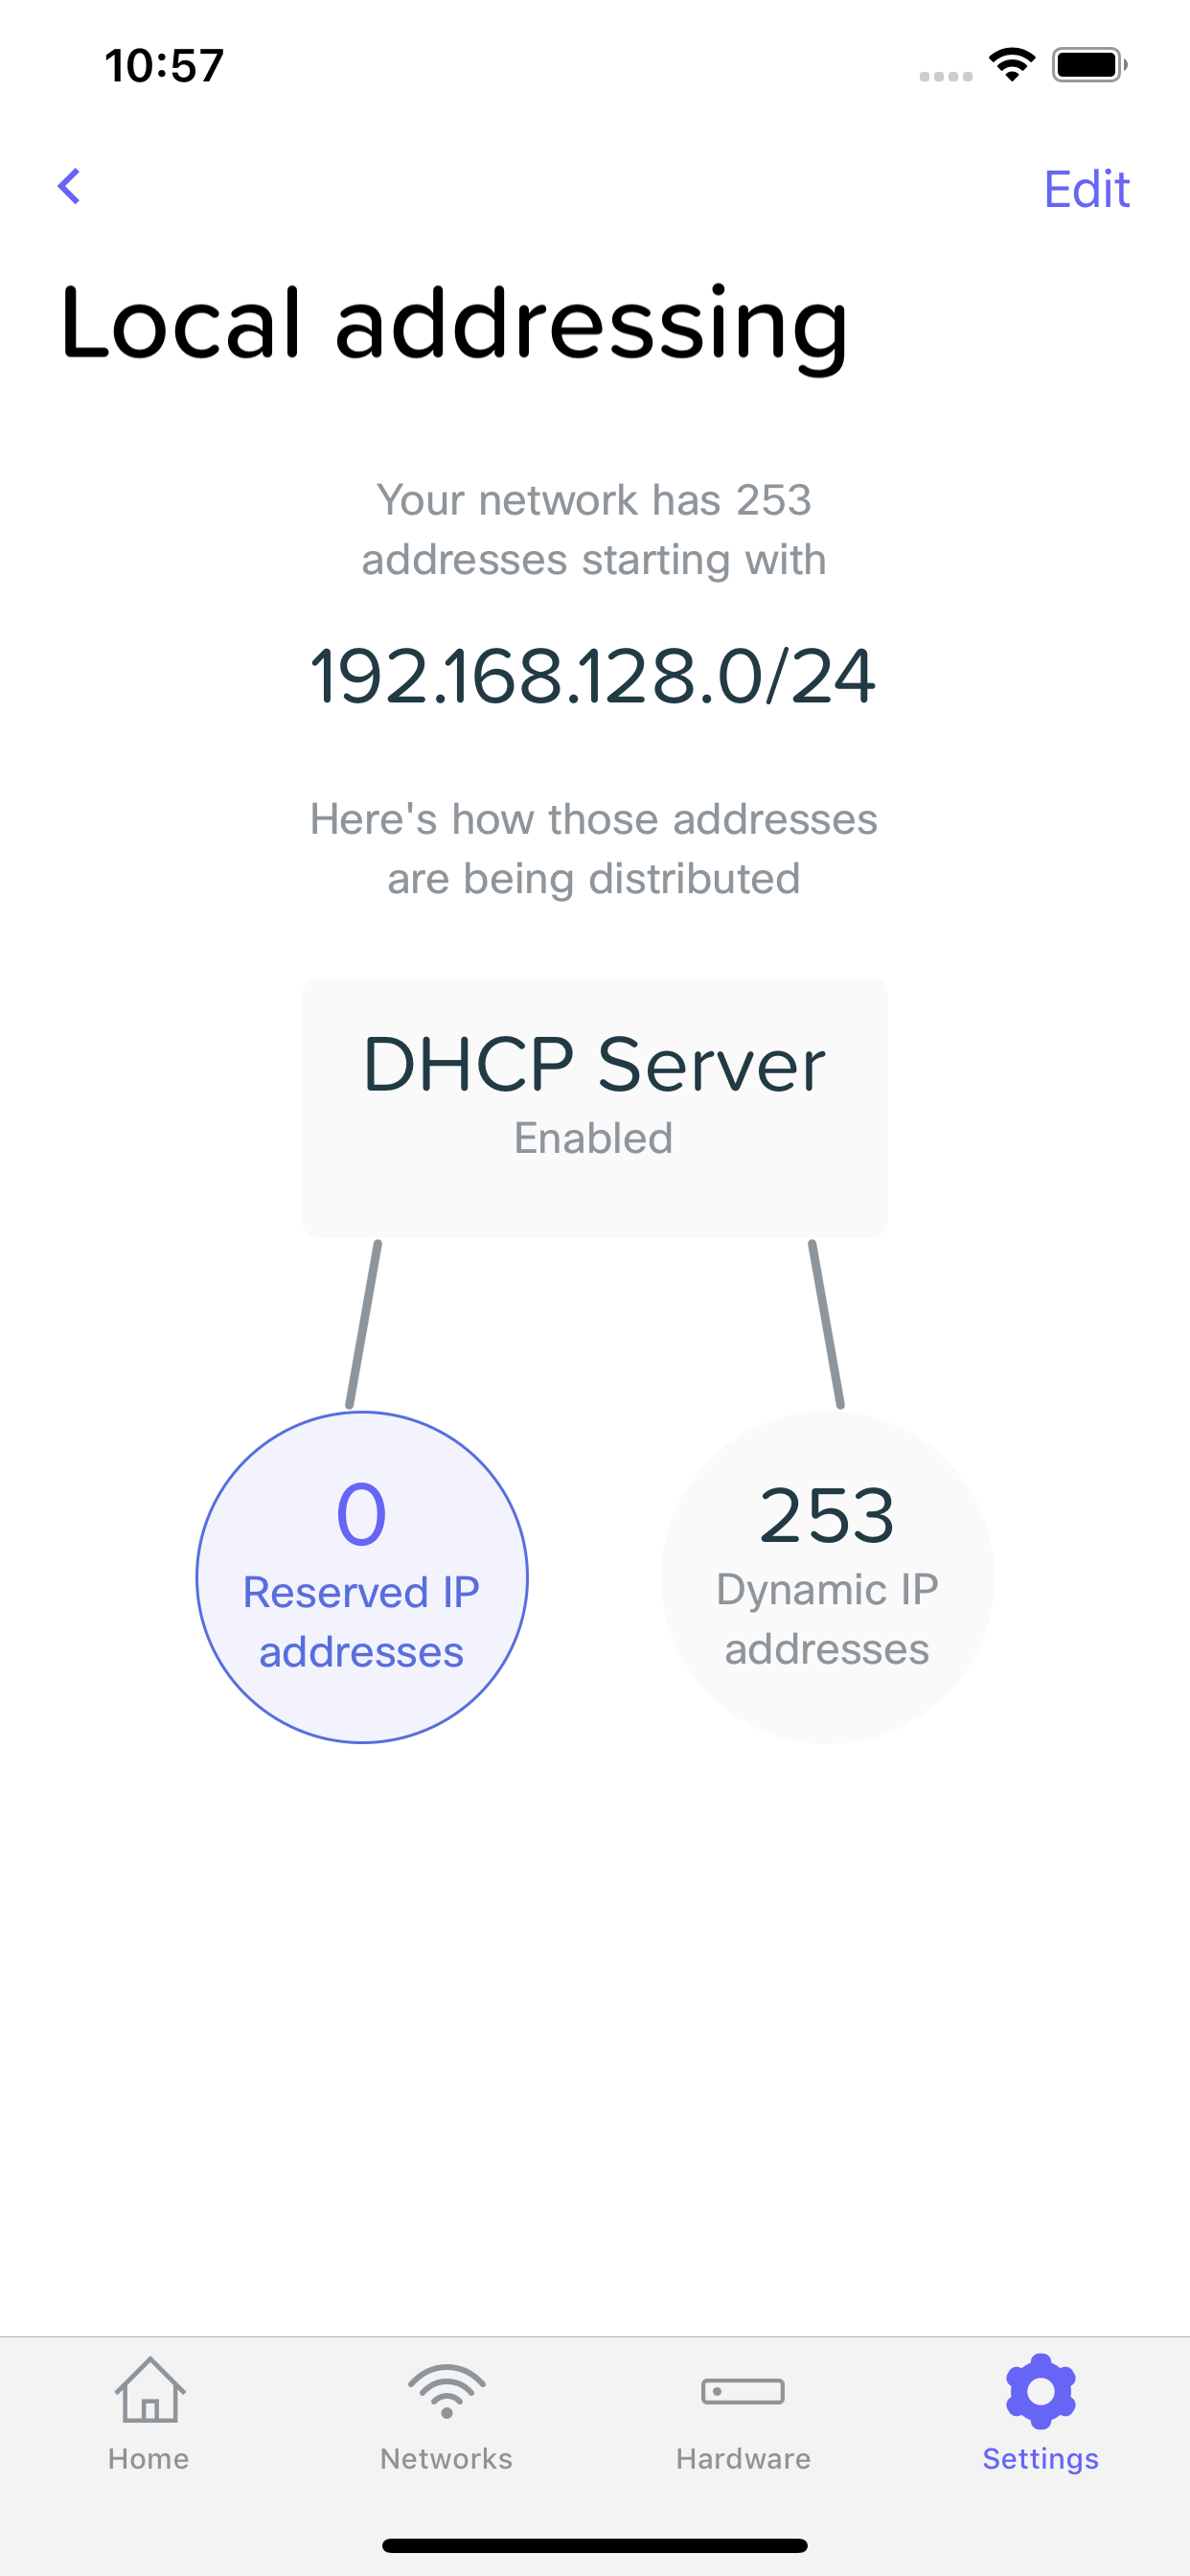
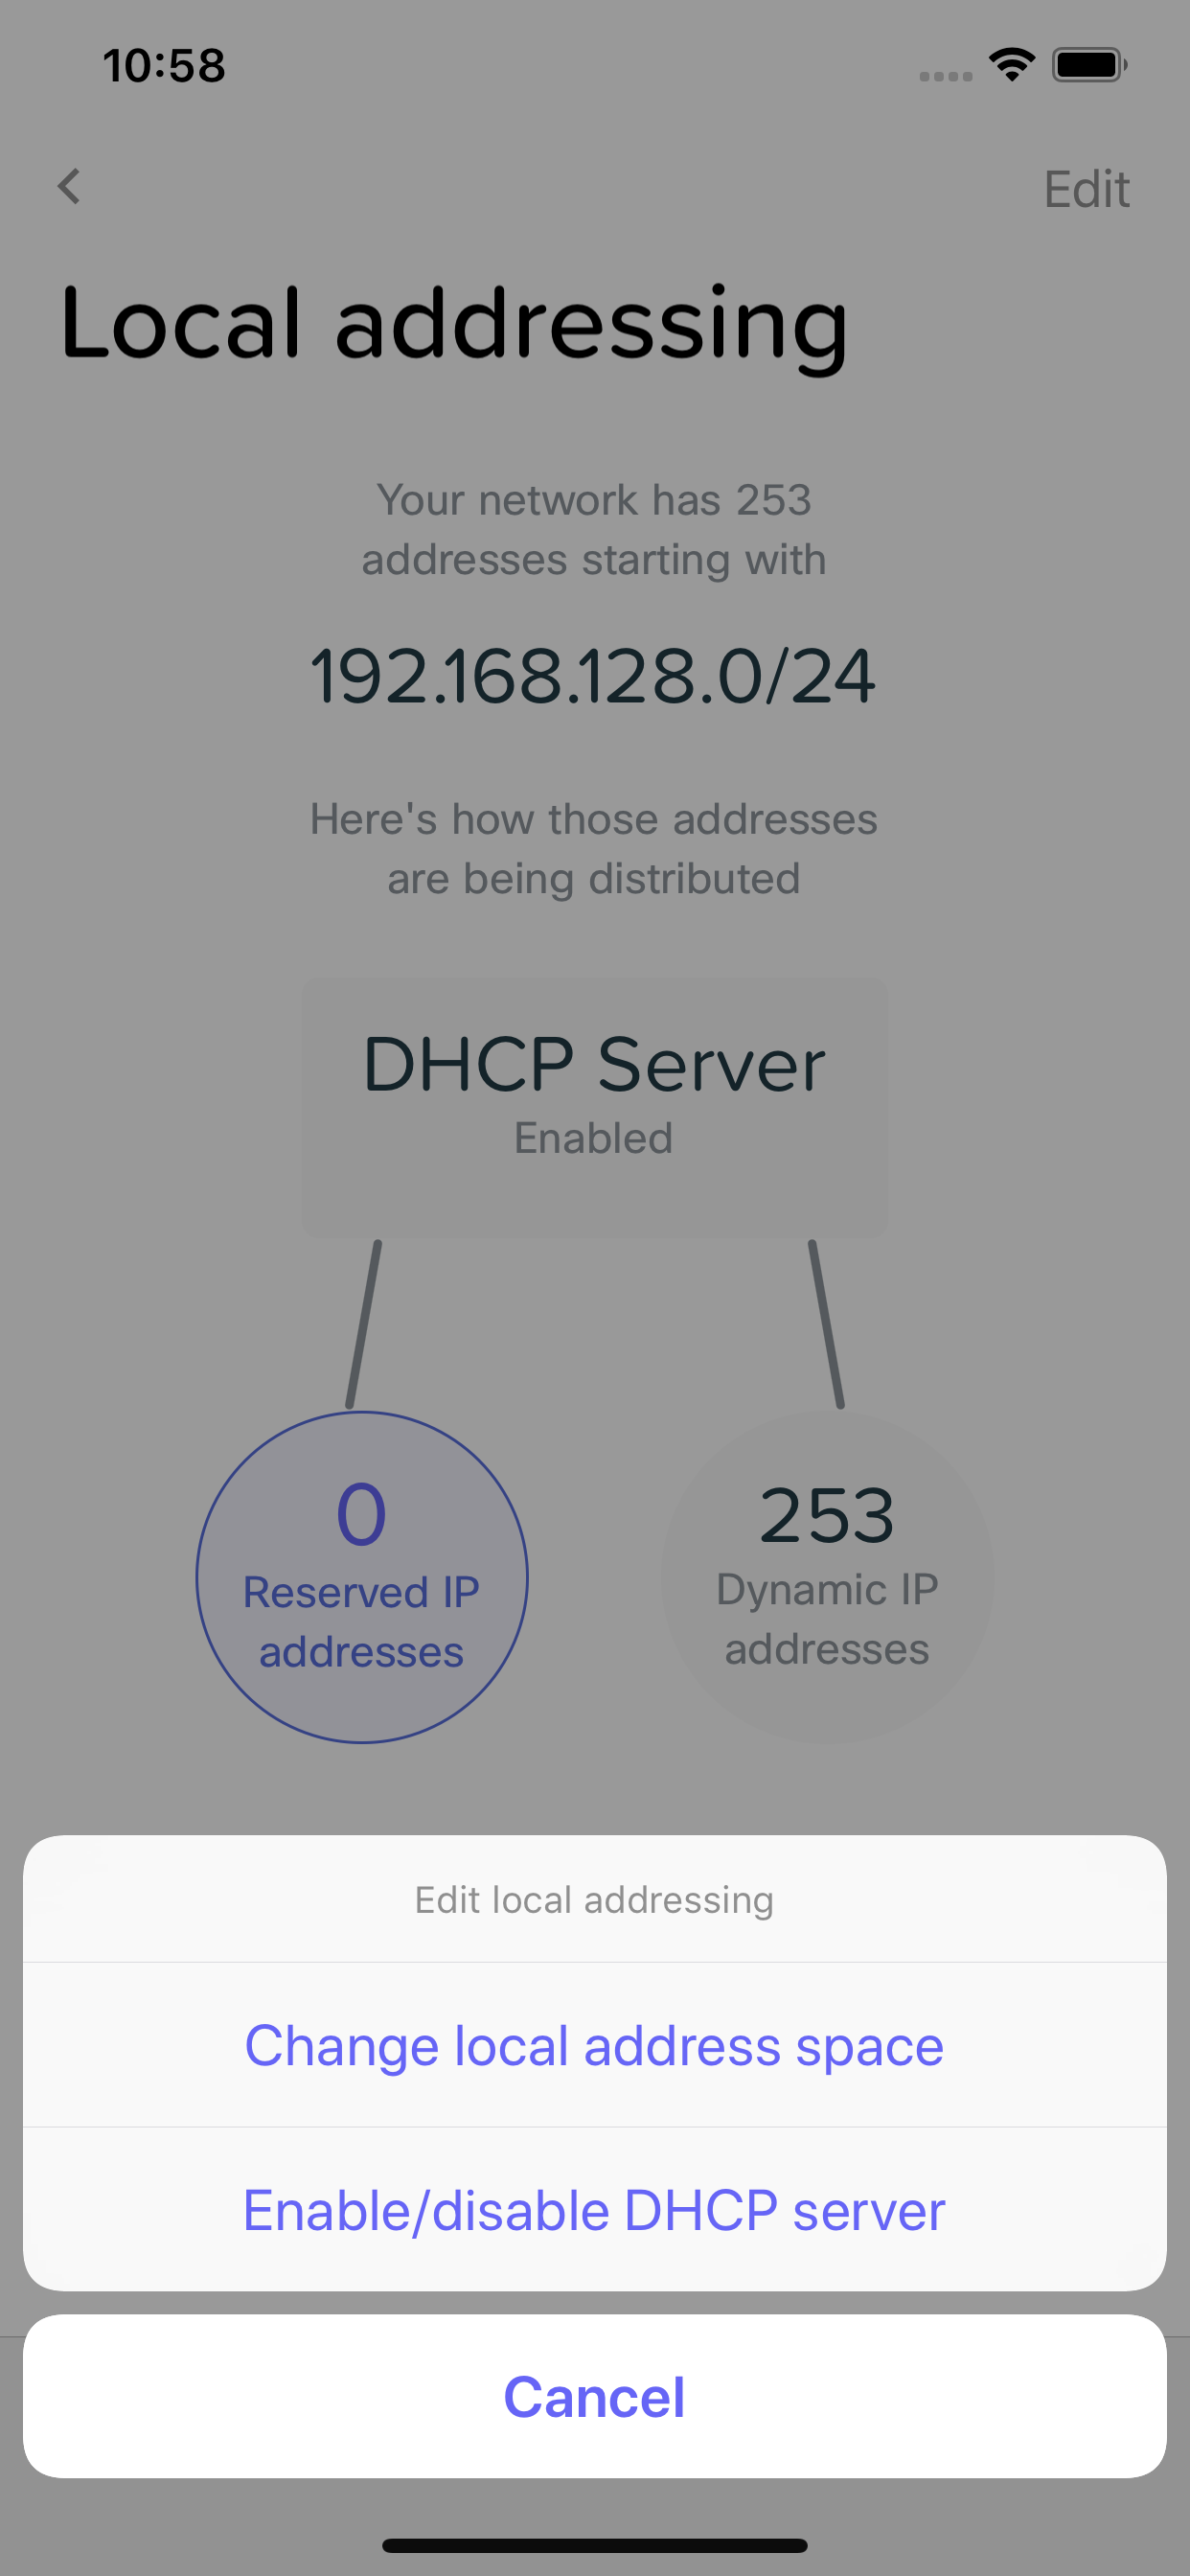
You can access the local network addressing features by browsing to Settings -> Advanced Settings -> Local Network Addressing. From here, you can see what subnet your network is currently configured for, if DHCP is enabled, if any Reserved IP addresses are set up, and how many IP addresses you have left available.
Change local address space
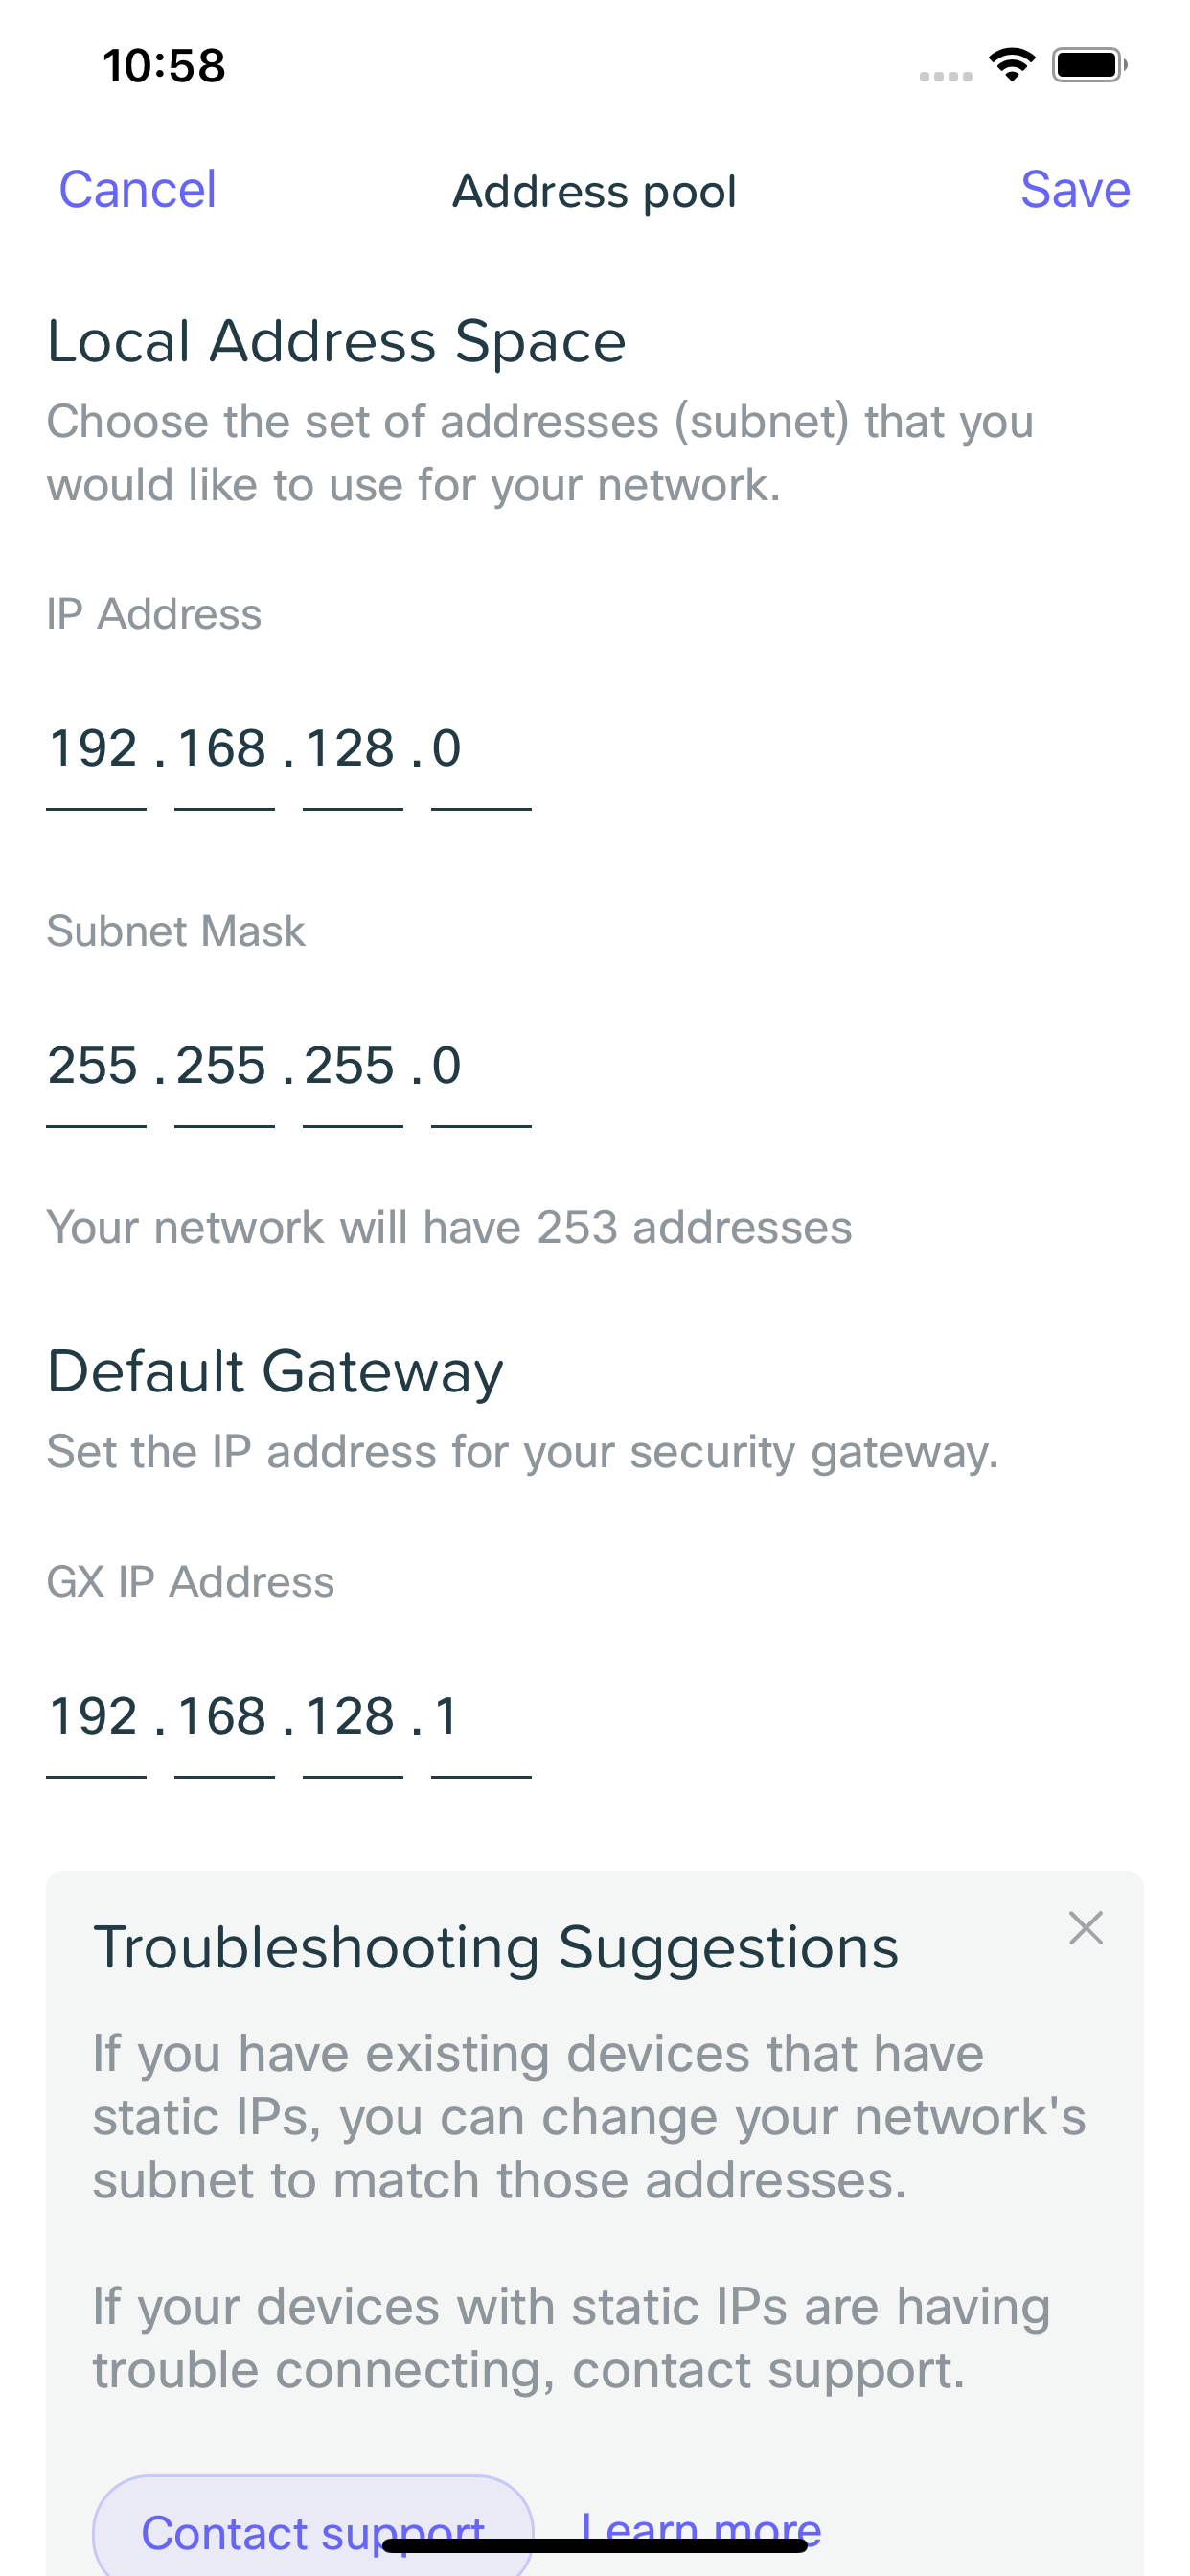
You can update the local address space by clicking Edit in the top right, and then selecting Change local address space. This will allow you to update the IP address the IP network and subnet to use and the IP address Security Gateway has for itself. Modifying the IP network and subnet will change the IP addresses that the Security Router's DHCP server will hand out to clients.
Changing DHCP Settings
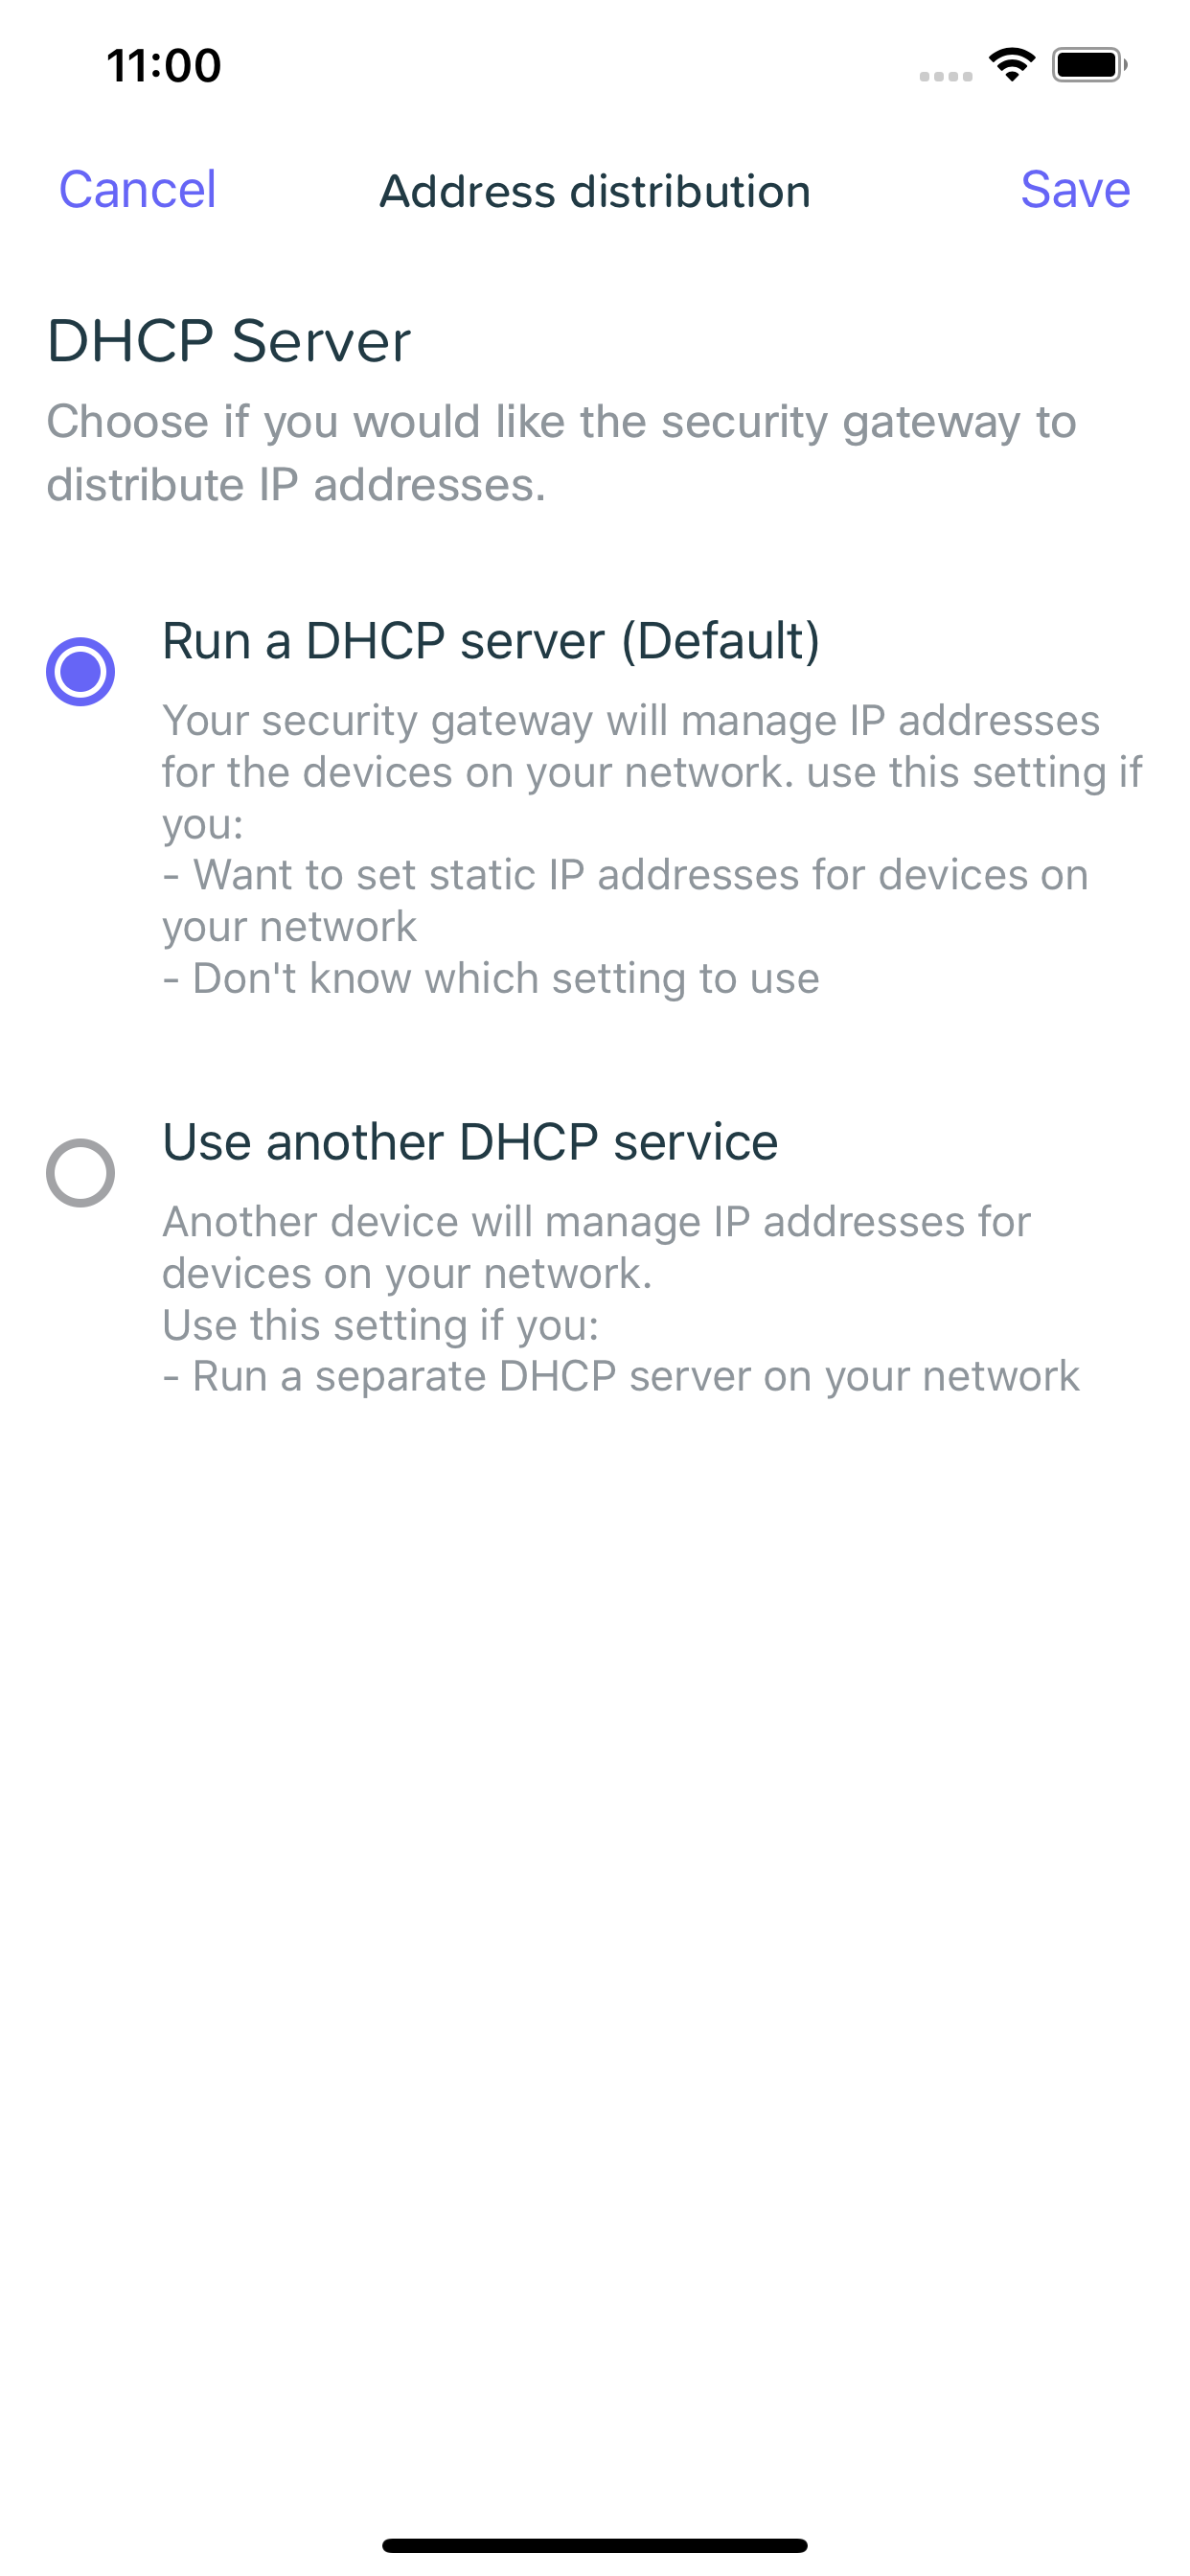
The Security Gateway comes with DHCP enabled by default, to allow clients to automatically get IP addresses when they connect to your network. If you already have a DHCP server running on your network, or want to disable the Security Gateway's DHCP server, you can do so by clicking Edit in the top right, and then selecting Enable/disable DHCP server.
. 
Reserved IP addresses
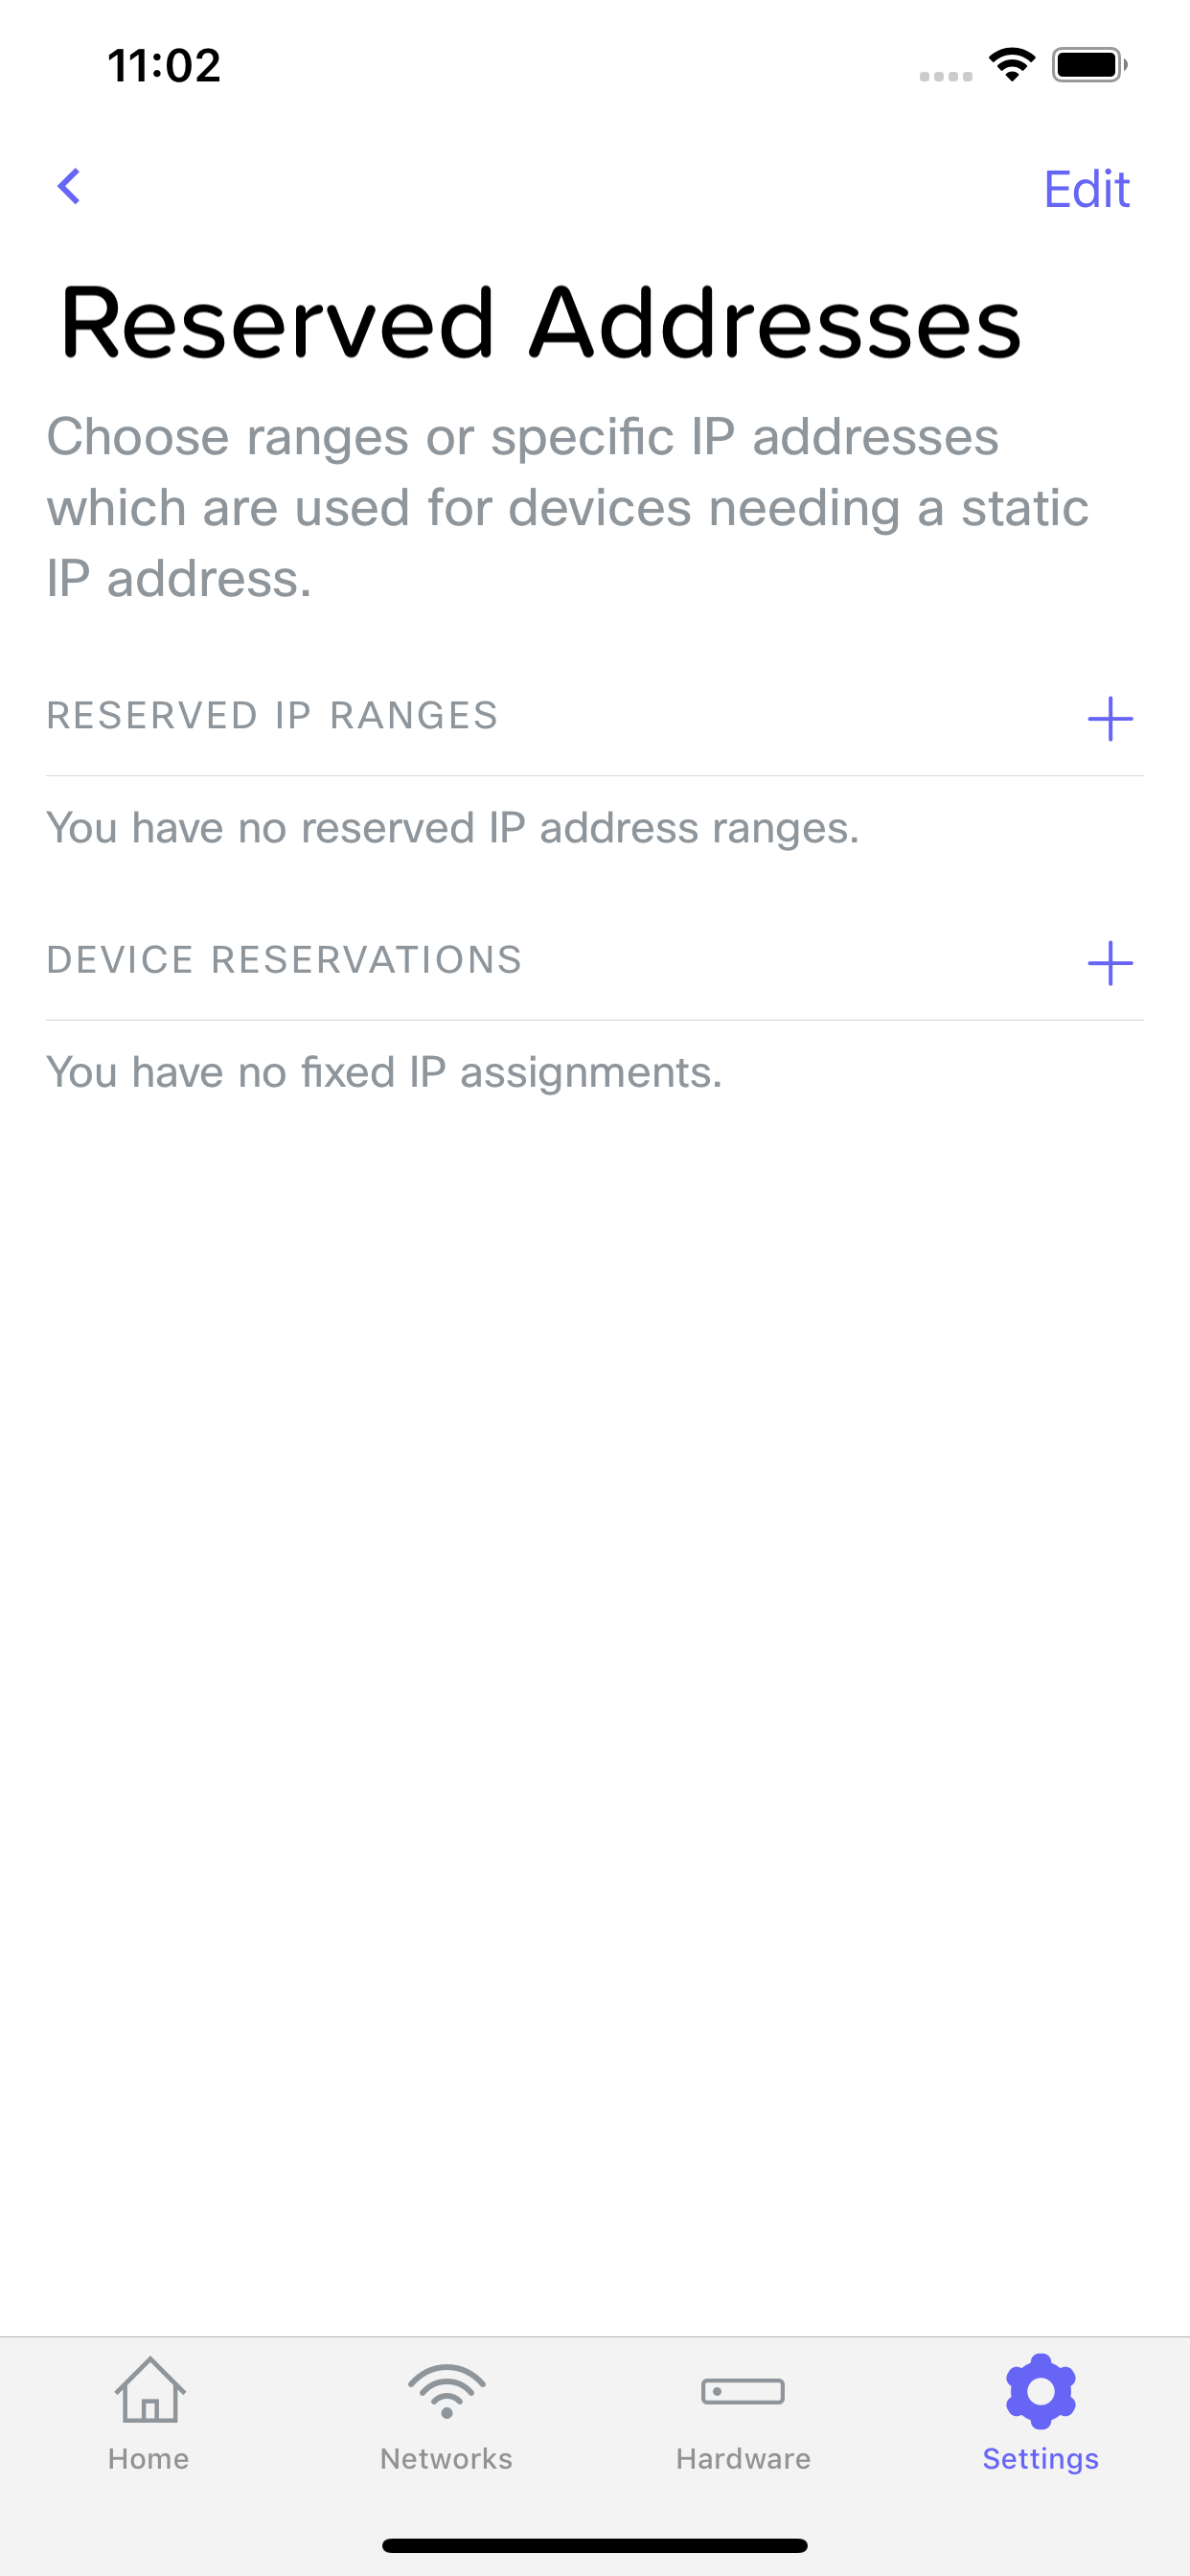
If you have devices running static IPs and need to remove them from the DHCP pool, or want to ensure a specific device always gets the same IP address, you can do so from the Reserved IP addresses page. You can access this by clicking the purple circle labeled Reserved IP addresses.
Note: The Reserved IP addresses value will include those IP addresses provided automatically via DHCP.
Take for example the following: There is a reserved IP range of 192.168.128.20-29 (10 IP's), and there are 5 clients on the network using DHCP. The resulting Reserved IP addresses will result in 15, the total number of IP addresses that have been excluded from use.
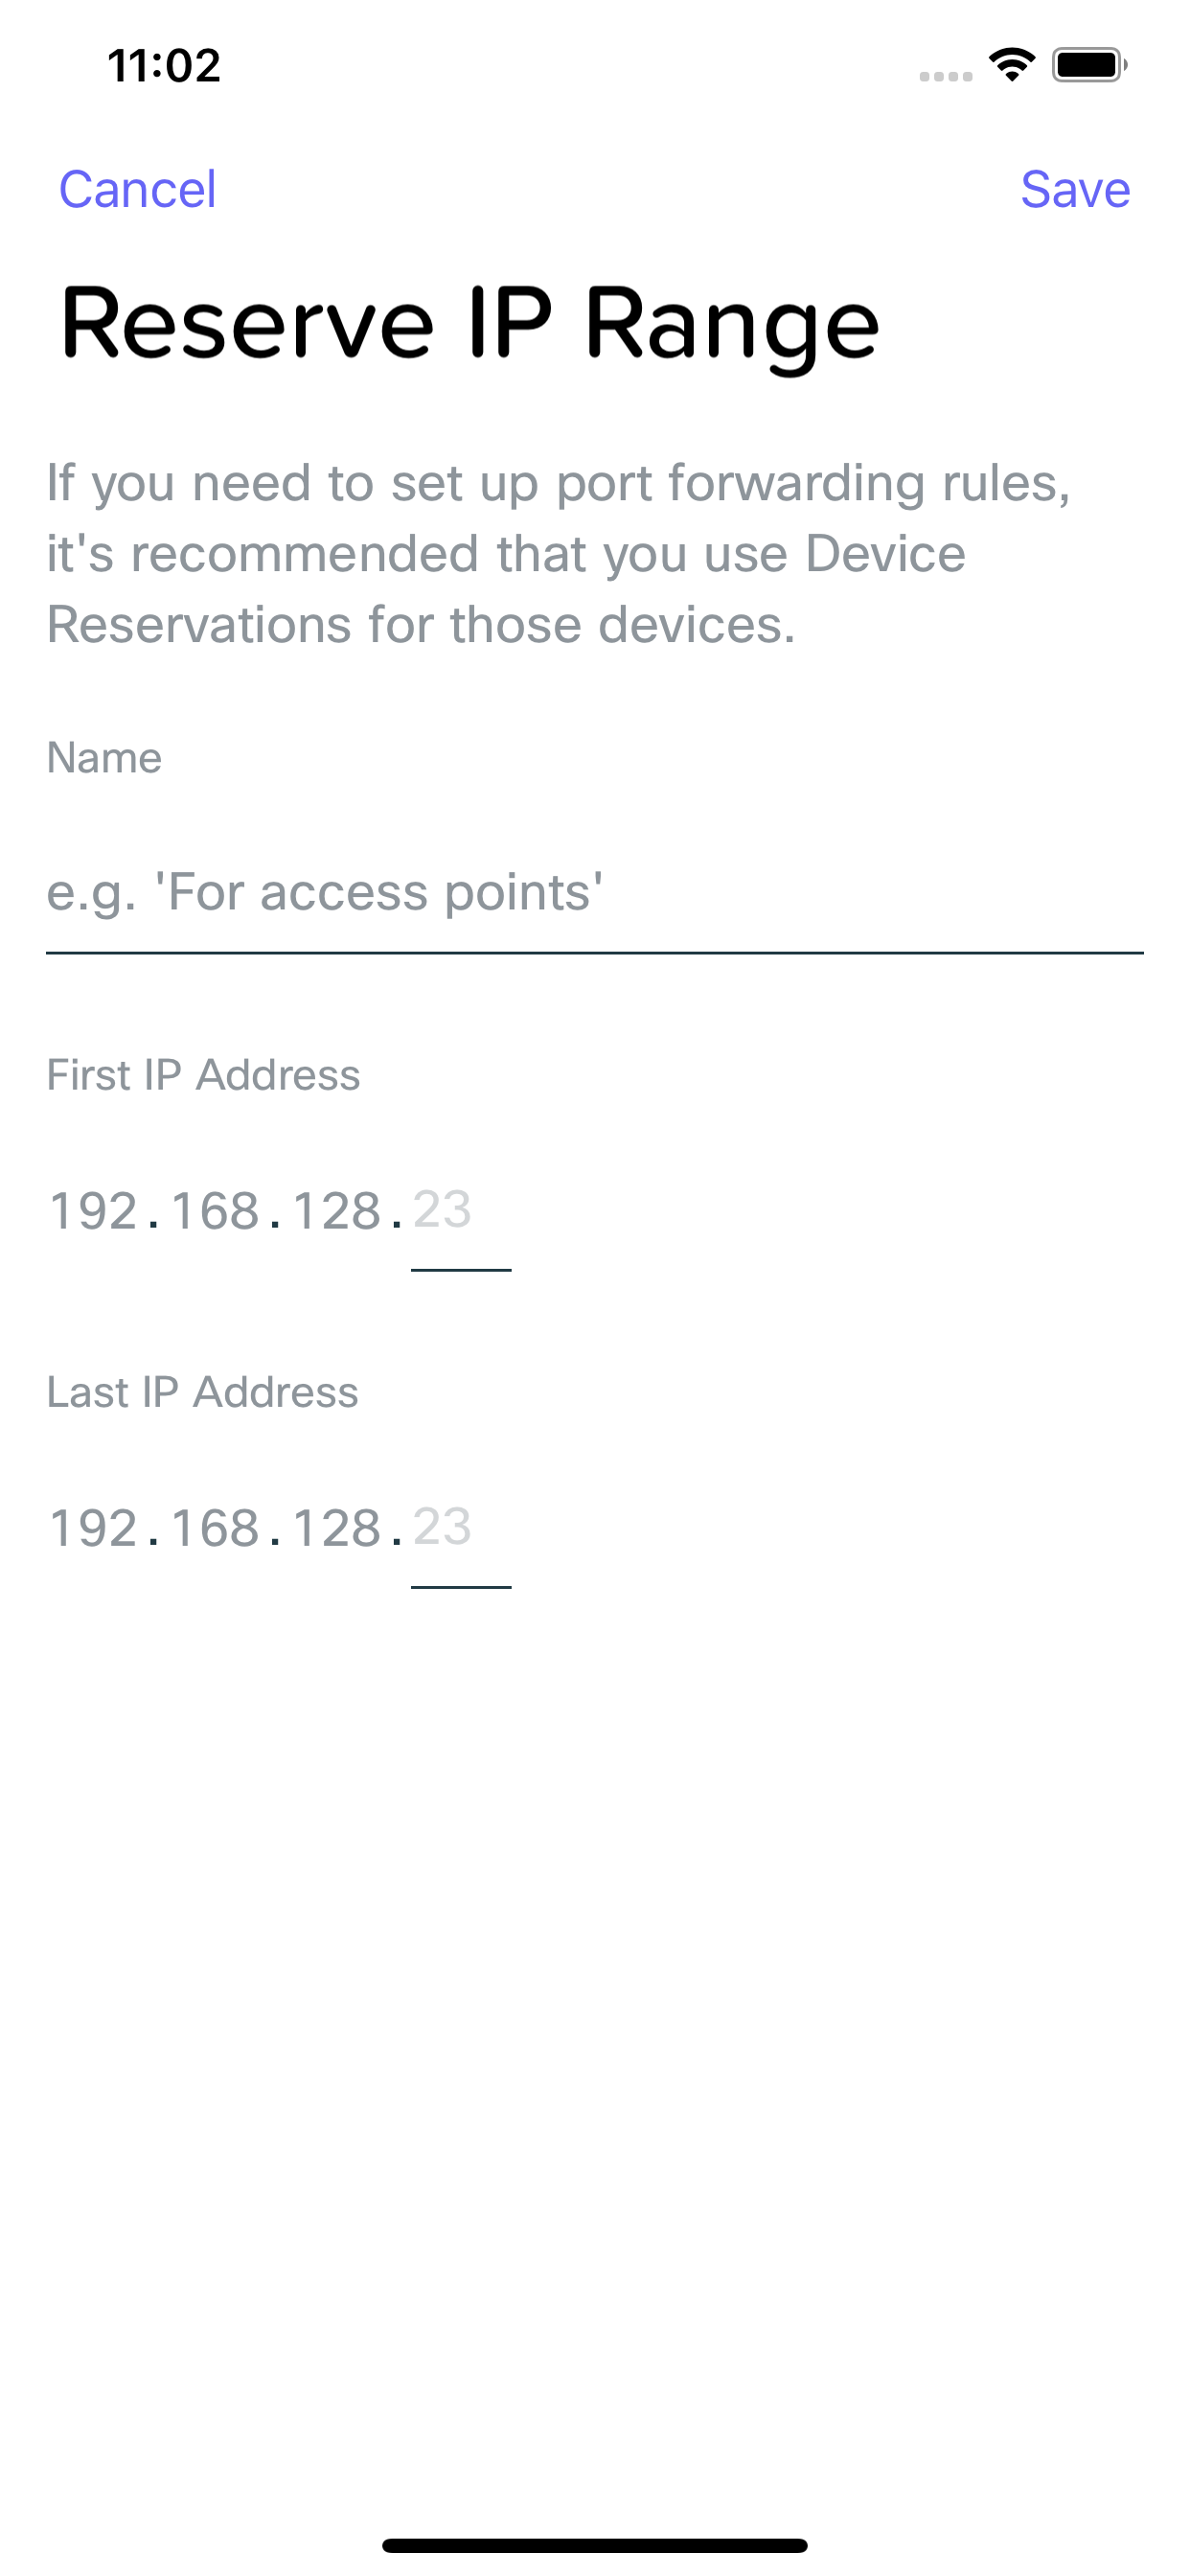
Reserved IP Ranges
The Security Gateway allows you to configure multiple ranges of IP addresses to remove from the DHCP pool. If you wish to only remove 1, use the same IP for both the first and last ip address fields. You can configure a Reserved IP range by clicking the "+" icon on the Reserved IP Range section.
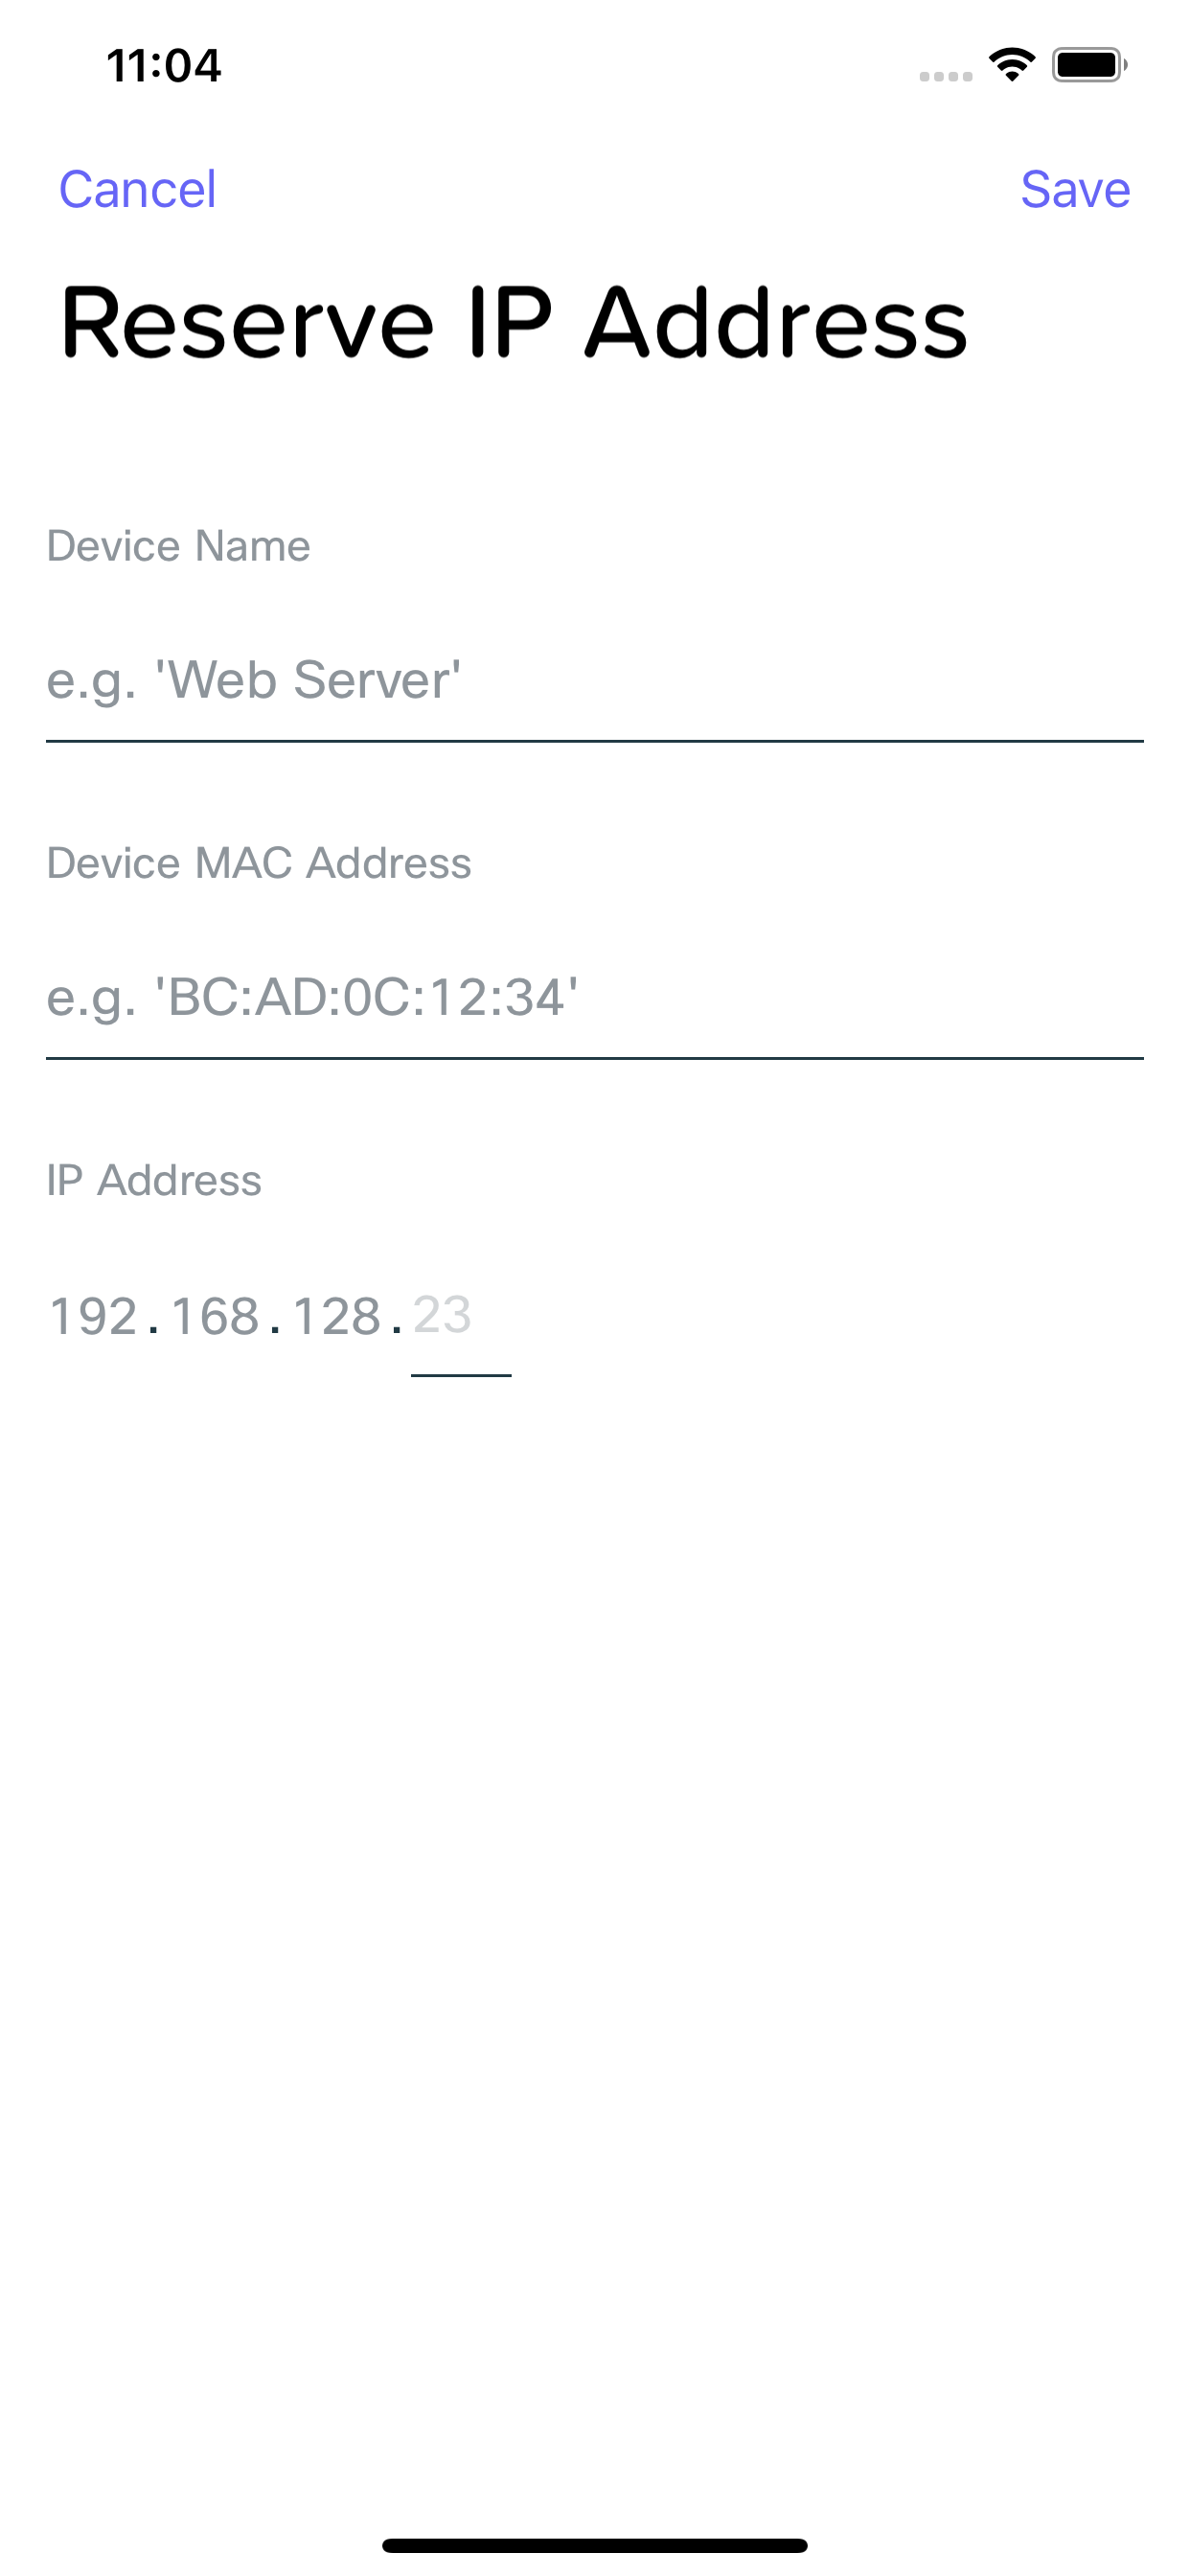
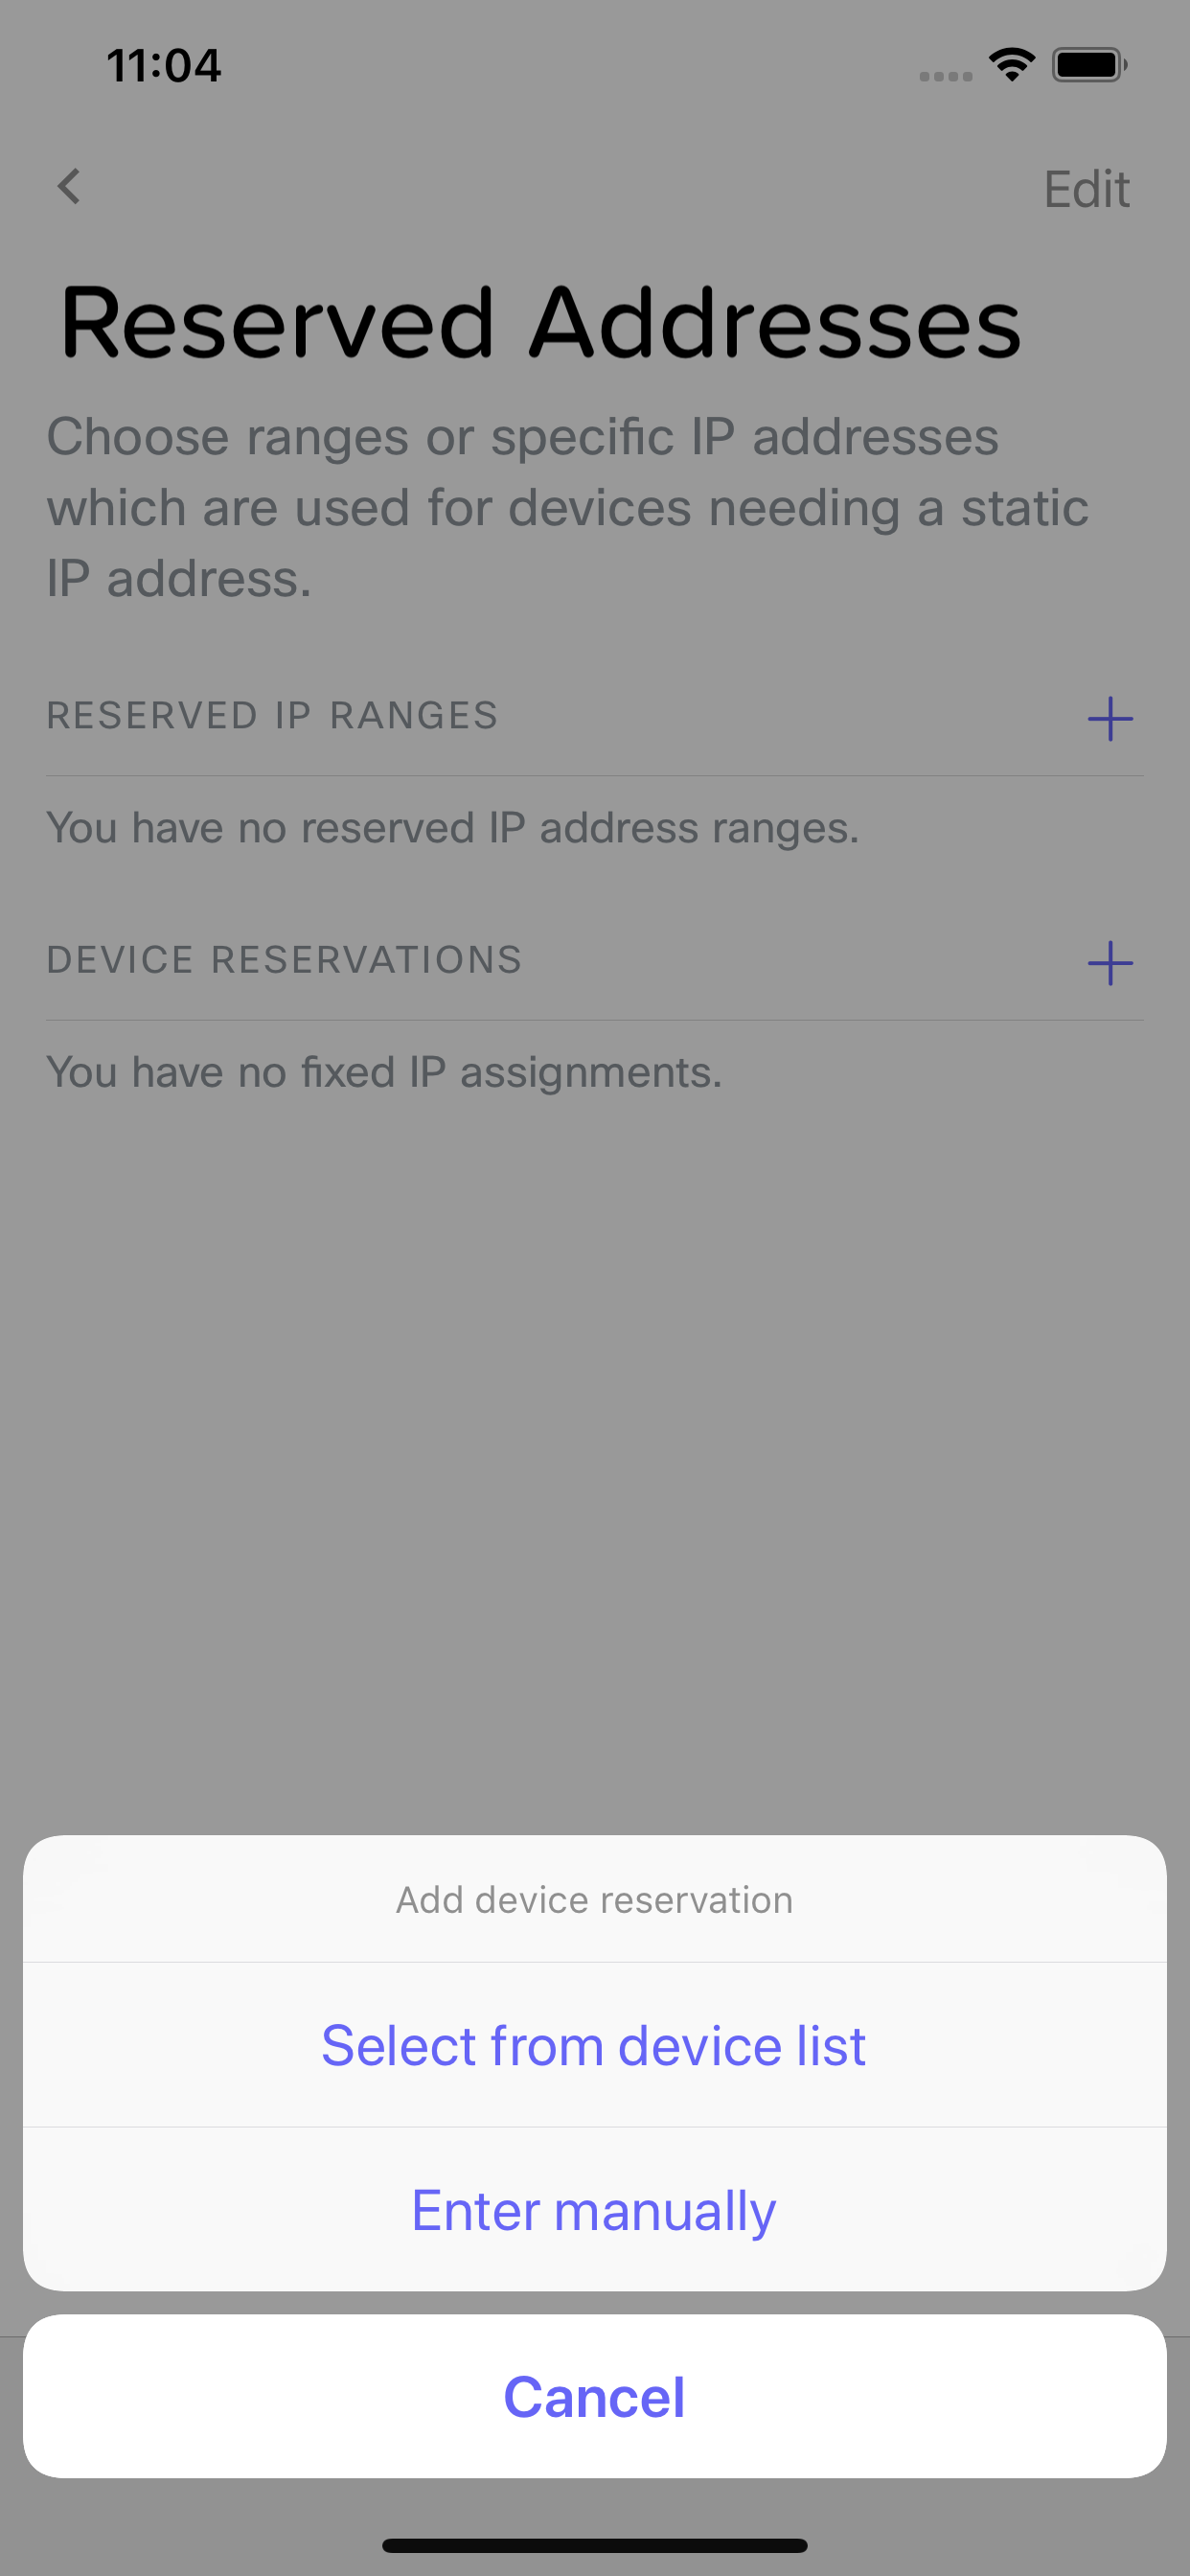
Device Reservations
If you want to ensure that a device gets the same IP address every time it comes on to your network, you can set up a Device Reservation. You can do so by clicking the "+" icon on the Device Reservation section. You can either select a device from a list of previously seen devices, or manually enter the information as necessary.