Troubleshooting MV Image Quality
Overview
Review the following articles to get the best image quality:
- For any MV camera deployment:
- To get the best field of view: Adjusting the Field of View of MV22 and MV72 Cameras
- To focus: Focusing MV22/72 and MV21/71 Cameras
- If you are using an MV32: Understanding Image Quality on the MV32
If you have followed all the best practices above and are still see blurry images or artifacts, you are likely facing one of the issues below. This article goes over the different possible causes and how to mitigate them.
Causes of Other Image Quality Issues
It is recommended to clean all the dome cameras every six months to avoid IR reflection.
A lightly damp microfiber cloth is recommended for cleaning the domes. Harsh chemicals should be avoided as they can potentially damage the camera dome and void the cameras warranty
Many of these issues are mostly seen when using IR illumination in night mode, though some issues can affect footage during the day as well.
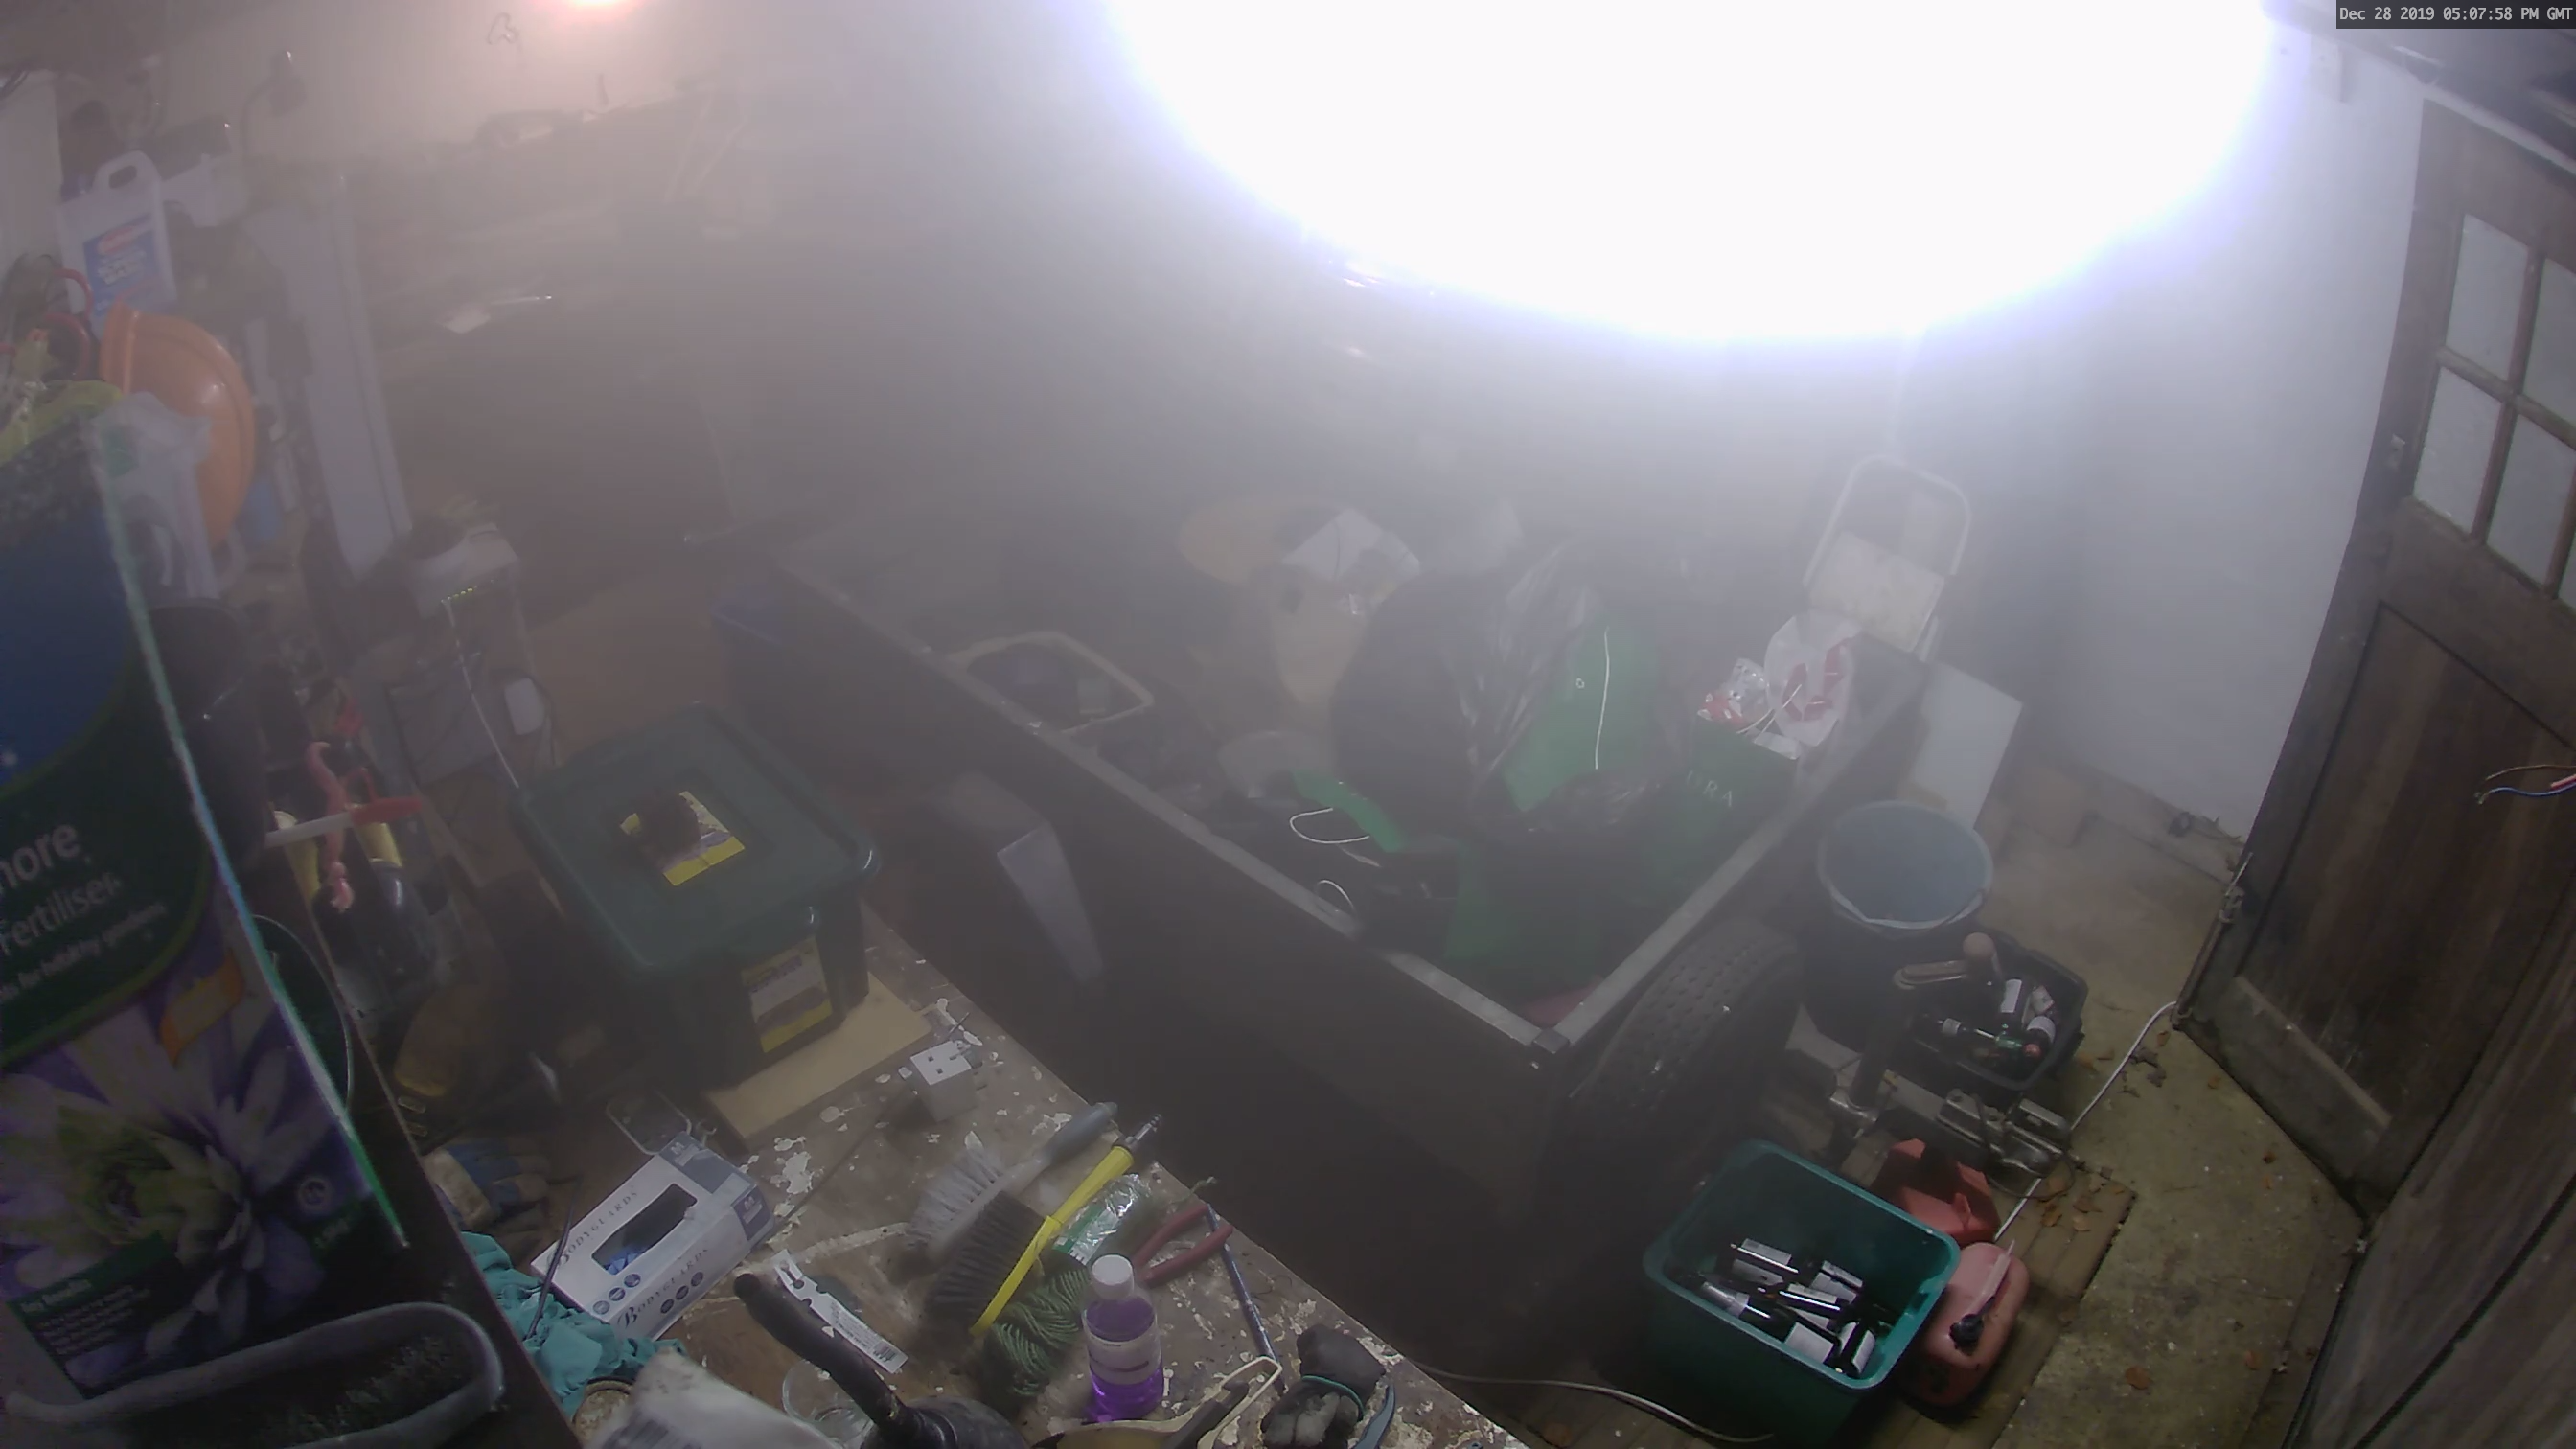
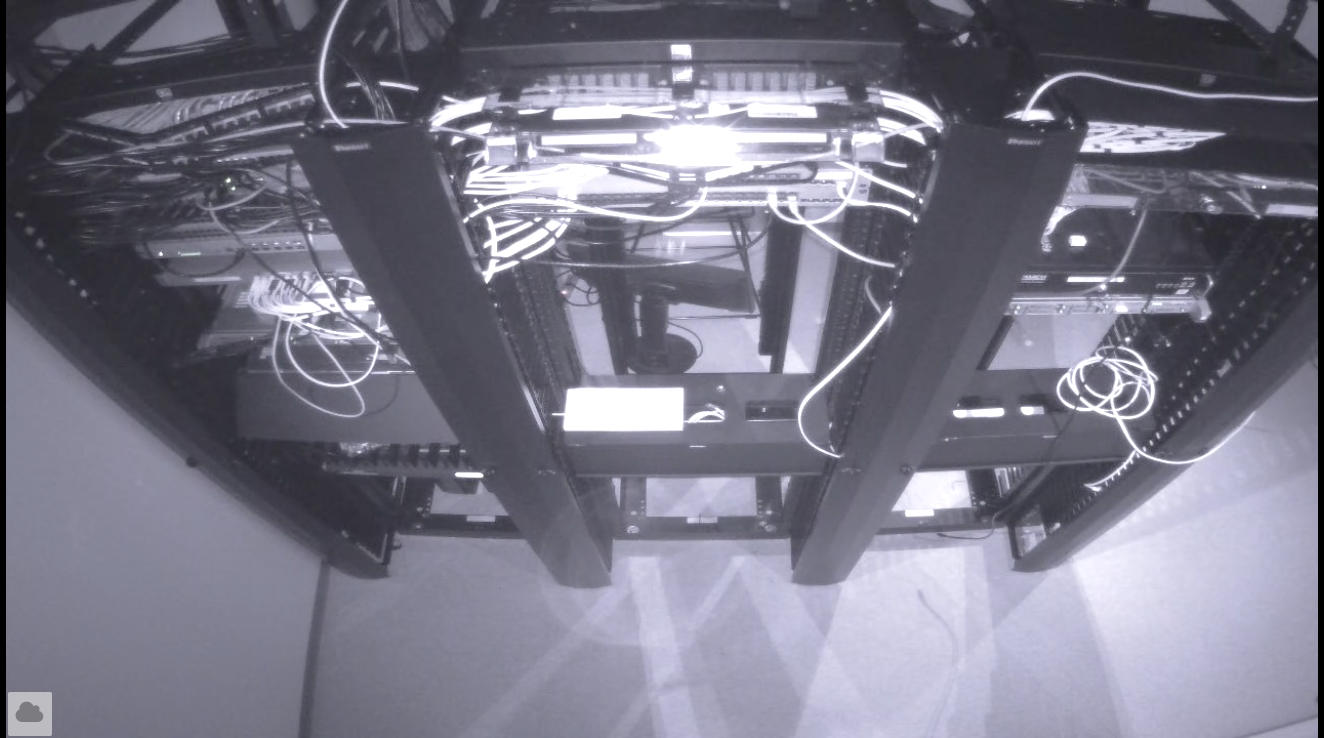
- The camera is deployed directly underneath a surface and at an angle with which the IR is reflected back onto the camera lens.
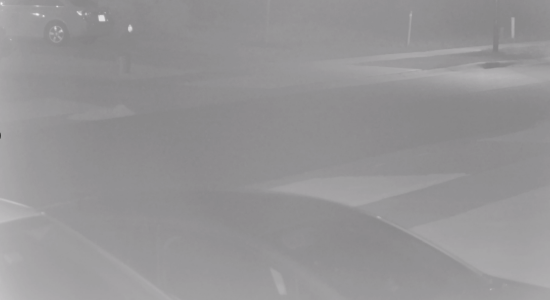
- Dust or dirt on the dome.
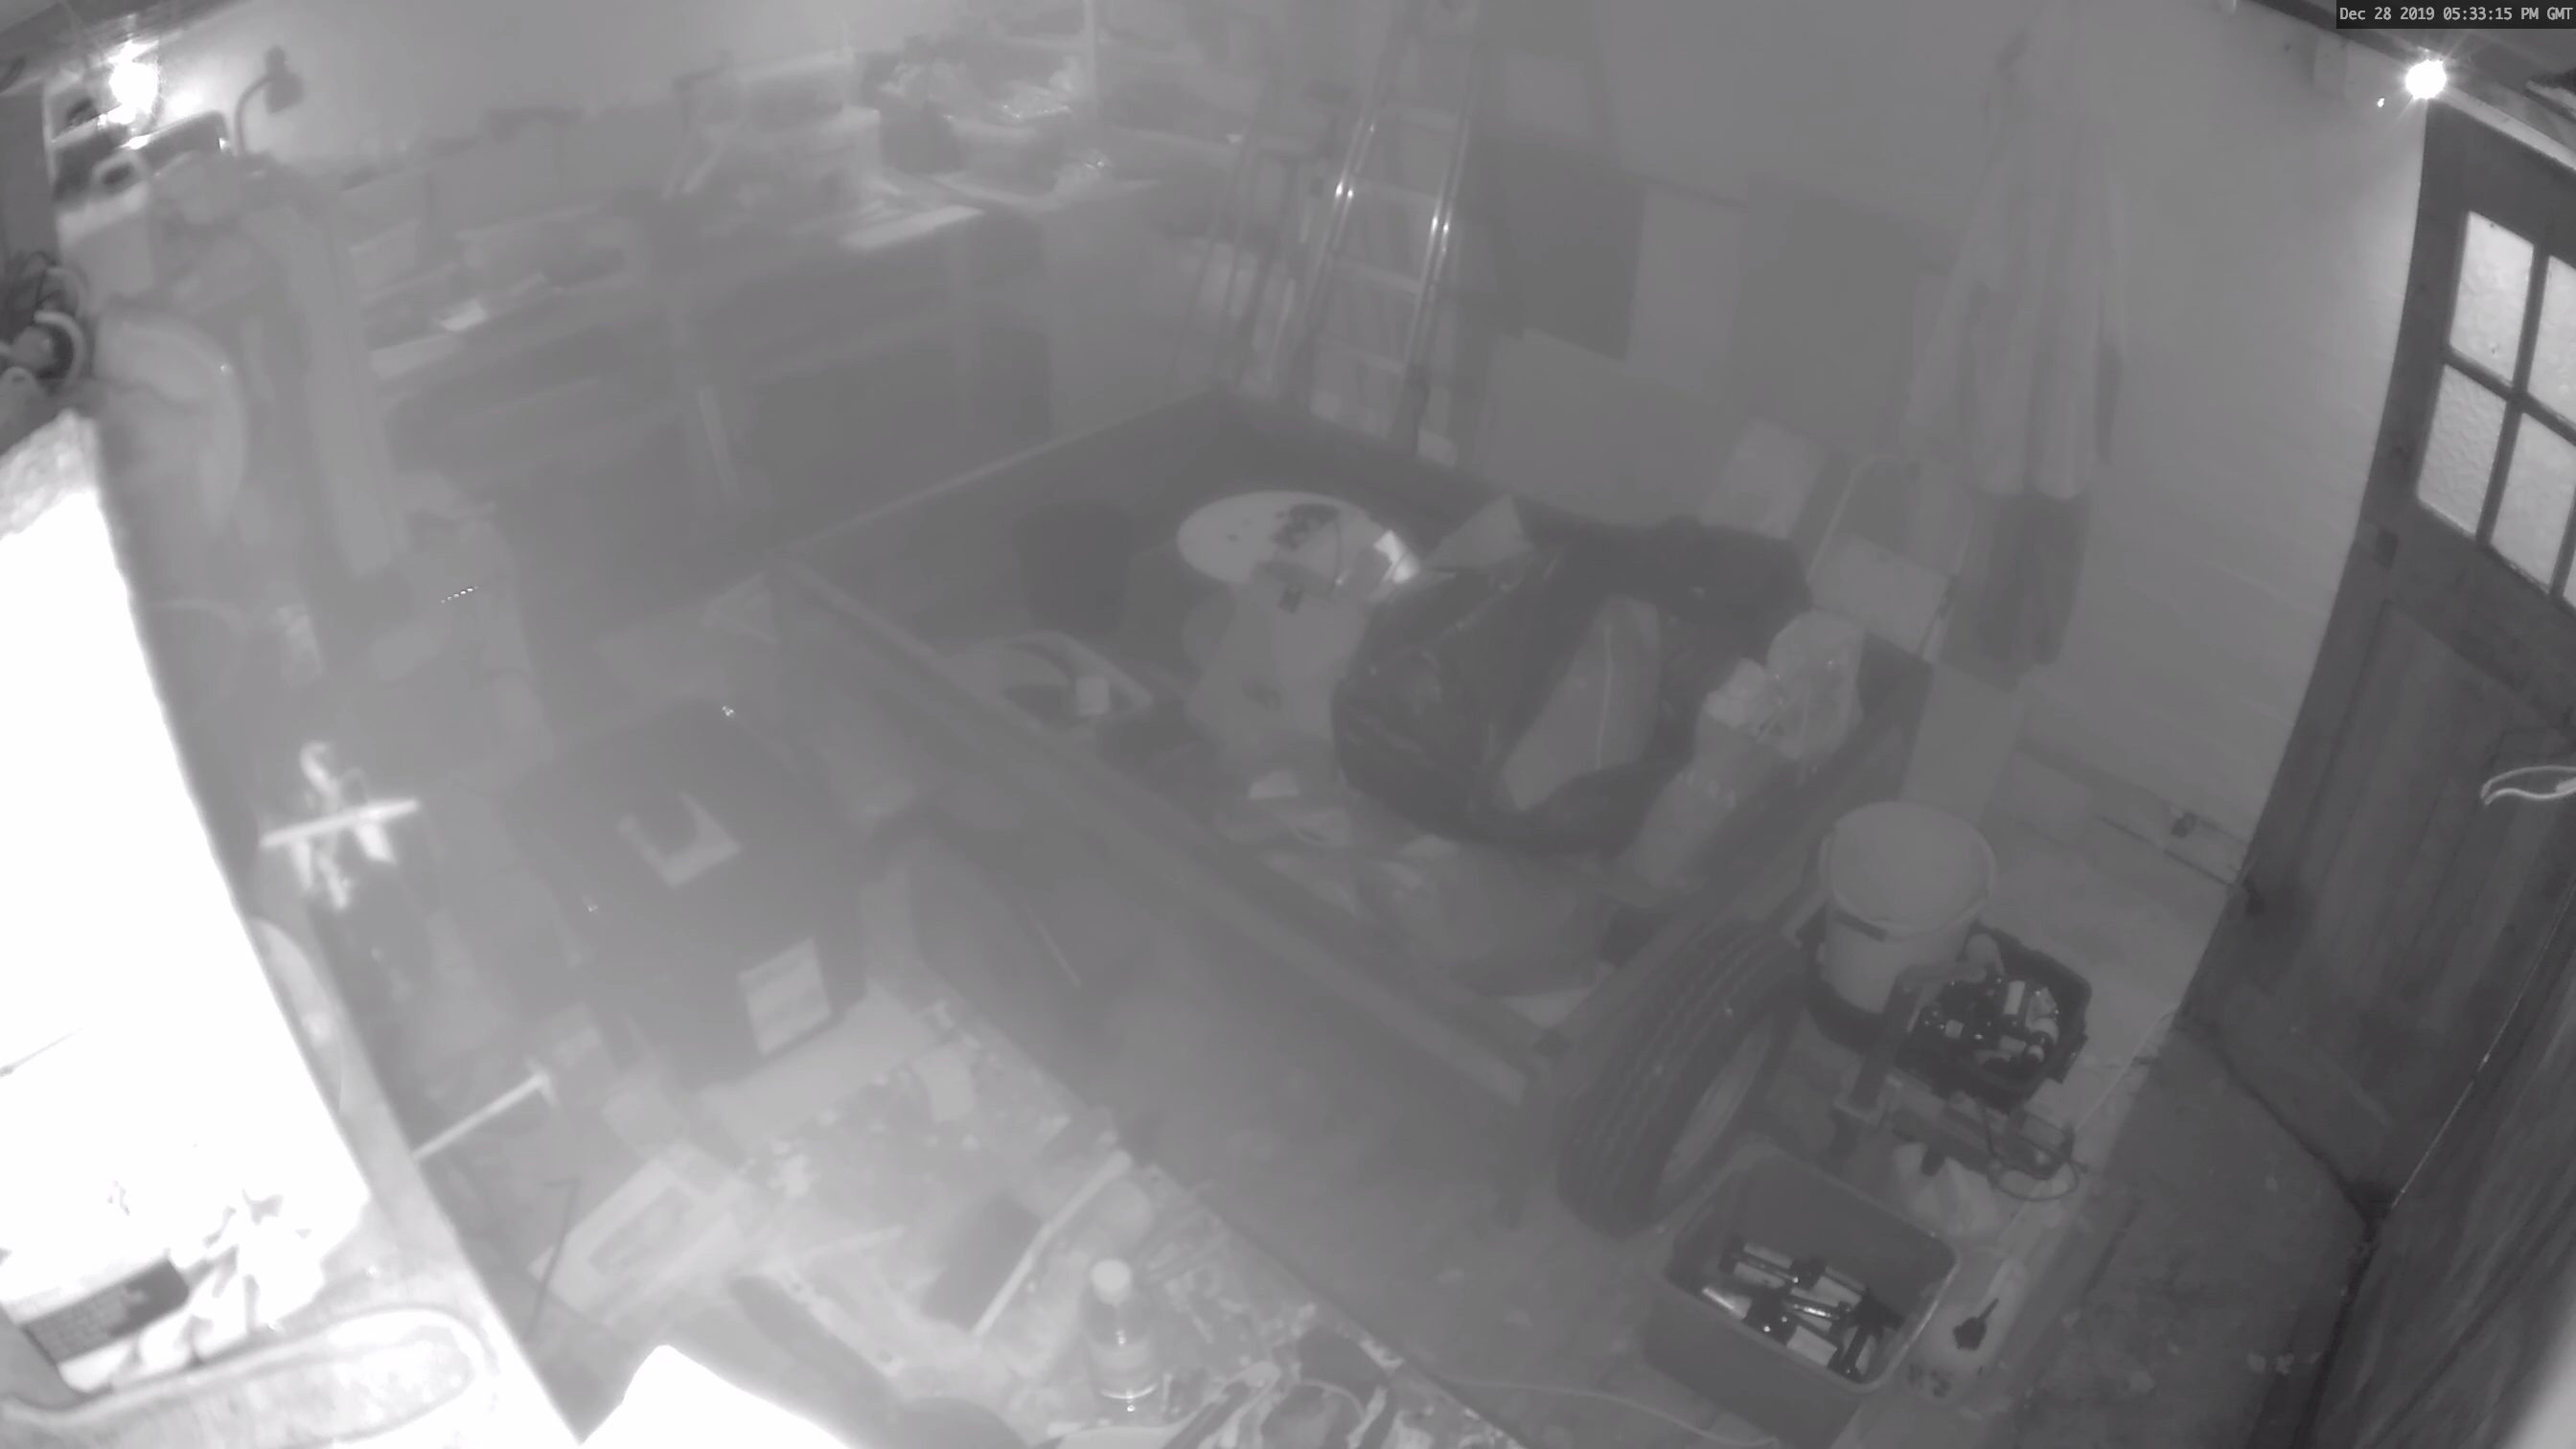
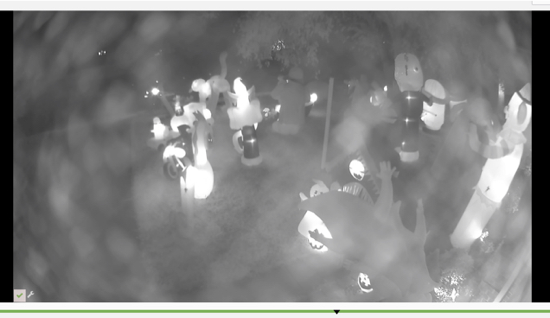
- The following are an example of night mode images you could get with a dirty dome.
.png?revision=1&size=bestfit&width=384&height=218)
.png?revision=1&size=bestfit&width=379&height=215) .
. 
- The following are an example of night mode images when the domes of the above cameras are cleaned.
.png?revision=1&size=bestfit&width=407&height=227) .
. .png?revision=1&size=bestfit&width=398&height=228)
.png?revision=1&size=bestfit&width=417&height=235)
- The following are an example of night mode images you could get with a dirty dome.
- Camera is deployed behind a glass window.
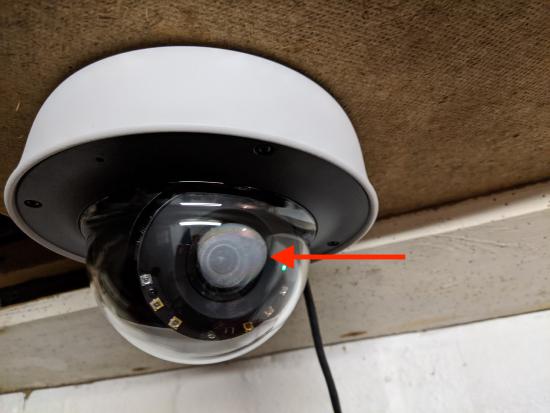
- Condensation within the dome or on the outside, like shown in the photo below. Condensation can form due to a poor seal from improper camera installation as well as failure to replace desiccant pack during first time installation. Note: The desiccant pack is a small, rectangular, white packet that is used to absorb moisture.
Solving the Problem
Cleaning
Proper camera deployment can help mitigate most of the IR reflection causes. In the case of a dirty dome, a can of compressed air and a microfiber cloth can easily remove dust and other debris.
Proper Gasket Installation
The most common cause of IR reflection is the lens gasket not being sealed against the dome optic and the IR is reflecting off the interior. This is typically caused by the rubber lens gasket being removed during the camera install. To fix this, make sure the gasket is well seated when putting the dome cover back on. It may be required to take off the gasket and only lightly put it back on the lens. Allow the gasket to compress against the dome when it is closed up.
The following image shows an MV21 with the gasket seated correctly.
The following image shows an MV21 with an improper gasket placement.
The following image shows an MV21 with no gasket on.


