
AnyConnect Client Download and Deployment
For additional information, refer to the AnyConnect configuration guide.
Client Download
Unlike the ASA, the MX does not support web deploy or web launch, a feature that allows end users to access a web page on the AnyConnect server to download the AnyConnect client. With the MX, there are download links to the client software available under the Security & SD-WAN > Client VPN > Cisco Secure Client Settings page on the dashboard, however, the download links are only available to the Meraki dashboard admin and not the end user. We do not recommend sharing the download link with users as the link expires after every five minutes after loading the AnyConnect settings page.

In the Meraki Dashboards for India and China regions, it is expected that Cisco Secure client direct download links for the software are no longer visible and accessible.

We recommend downloading the AnyConnect client directly from Cisco.com as there may be an updated version in the Cisco repository. Refer to the doc for the AnyConnect client release notes. We also recommend using either Meraki Systems Manager, an equivalent MDM solution, or Active Directory to seamlessly push the AnyConnect software client to the end user's device.
AnyConnect requires a VPN client to be installed on a client device. The AnyConnect client for Windows, MacOS, and Linux is available on the Client Connection section of the AnyConnect configuration page on the dashboard and can be downloaded by a Meraki dashboard administrator. Please note, the download links on the Meraki dashboard expire after five minutes. The AnyConnect client for mobile devices can be downloaded via the respective mobile stores with one exception*. You can also download other versions (must be version 4.8 or higher) of the AnyConnect client from Cisco.com if you have an existing AnyConnect license. AnyConnect web deploy is not supported on the MX at this time.
*The AnyConnect app for ChromeOS is still listed on the Chrome Web Store, however it is no longer maintained nor supported. Chromebook users should install the Android version of the app instead where possible.
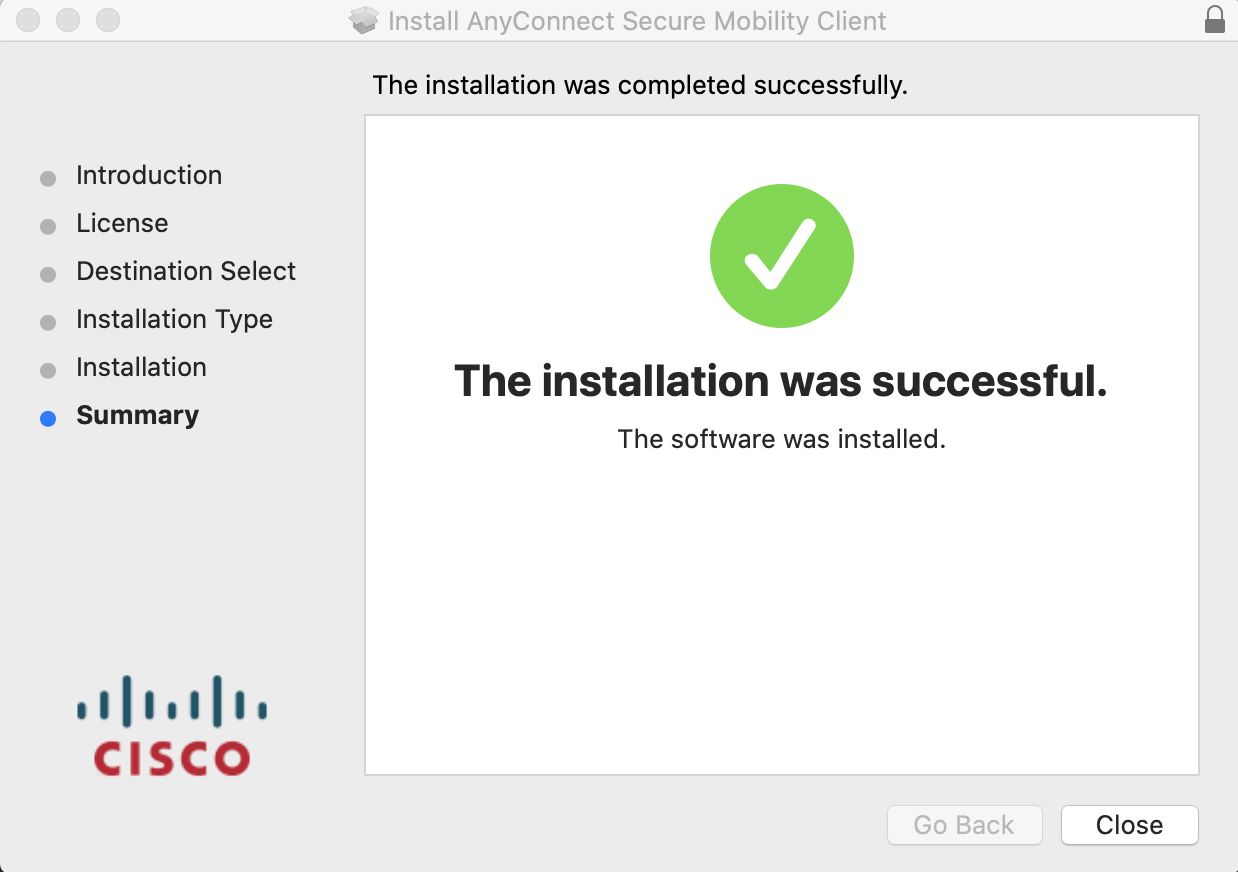
- Installing the AnyConnect client
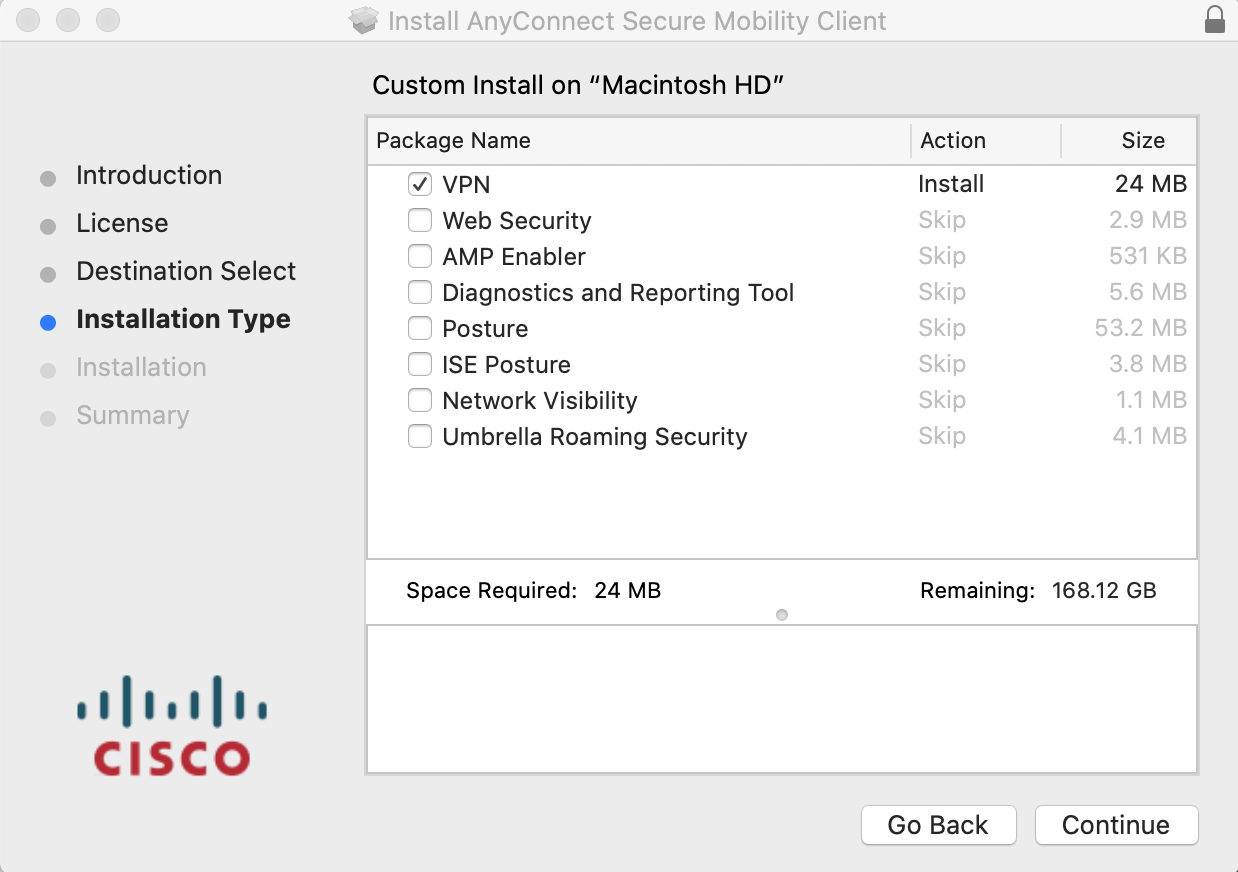
- You only need the VPN box checked. Once the client has been installed on the device, open the AnyConnect application and specify the hostname or IP address of the MX (AnyConnect server) you need to connect to.
AnyConnect Profiles
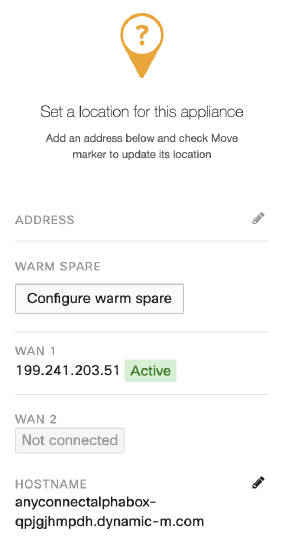
An AnyConnect profile is a crucial piece for ensuring easy configuration of the AnyConnect client software once installed. With the Meraki DDNS hostname (e.g. mx450-xyuhsygsvge.dynamic-m.com) not as simple as a custom hostname, the need for AnyConnect profiles cannot be overemphasized. Profiles can be used to create hostname aliases, thereby masking the Meraki DDNS with a friendly name for the end user. Even if the hostname was easy to remember, selecting from a list of servers from the AnyConnect drop-down is more convenient than typing in a hostname.
Cisco AnyConnect client features are enabled in AnyConnect profiles. These profiles can contain configuration settings like server list, backup server list, authentication time out, etc., for client VPN functionality, in addition to other optional client modules like Network Access Manager, ISE posture, customer experience feedback, and web security. It is important to note that at this time, the Meraki MX does not support other optional client modules that require AnyConnect head-end support. For more details, see AnyConnect profiles.
When a profile is created, it needs to get pushed to the end user's device. There are three ways to do this.
1. Through the AnyConnect server (MX): If profiles are configured on the dashboard, the MX will push the configured profile to the user's device after successful authentication.
2. Through an MDM solution: Systems Manager, an equivalent MDM solution, or Active Directory can be used push files to specific destinations on the end user's device. Profiles can also be pushed to the following paths:
Windows
%ProgramData%\Cisco\Cisco AnyConnect Secure Mobility Client\Profile
OR
%ProgramData%\Cisco\Cisco Secure Client\VPN\Profile
Mac OS X
/opt/cisco/secureclient/vpn/profile
Linux
/opt/cisco/anyconnect/profile
3. Manually: Profiles can also be preloaded manually to the same paths as listed above.
How to Create a Profile
Profiles can be created using the AnyConnect VPN profile editor. The profile editor can be downloaded from the AnyConnect Settings page on dashboard or on cisco.com. Refer to this link for more details on AnyConnect profiles.
Using the profile editor: The VPN profile editor can be downloaded from the AnyConnect Settings page on dashboard or on Cisco.com. The profile editor only runs on Windows operating systems. The screenshot below shows a configured server with the Server List Entry option.
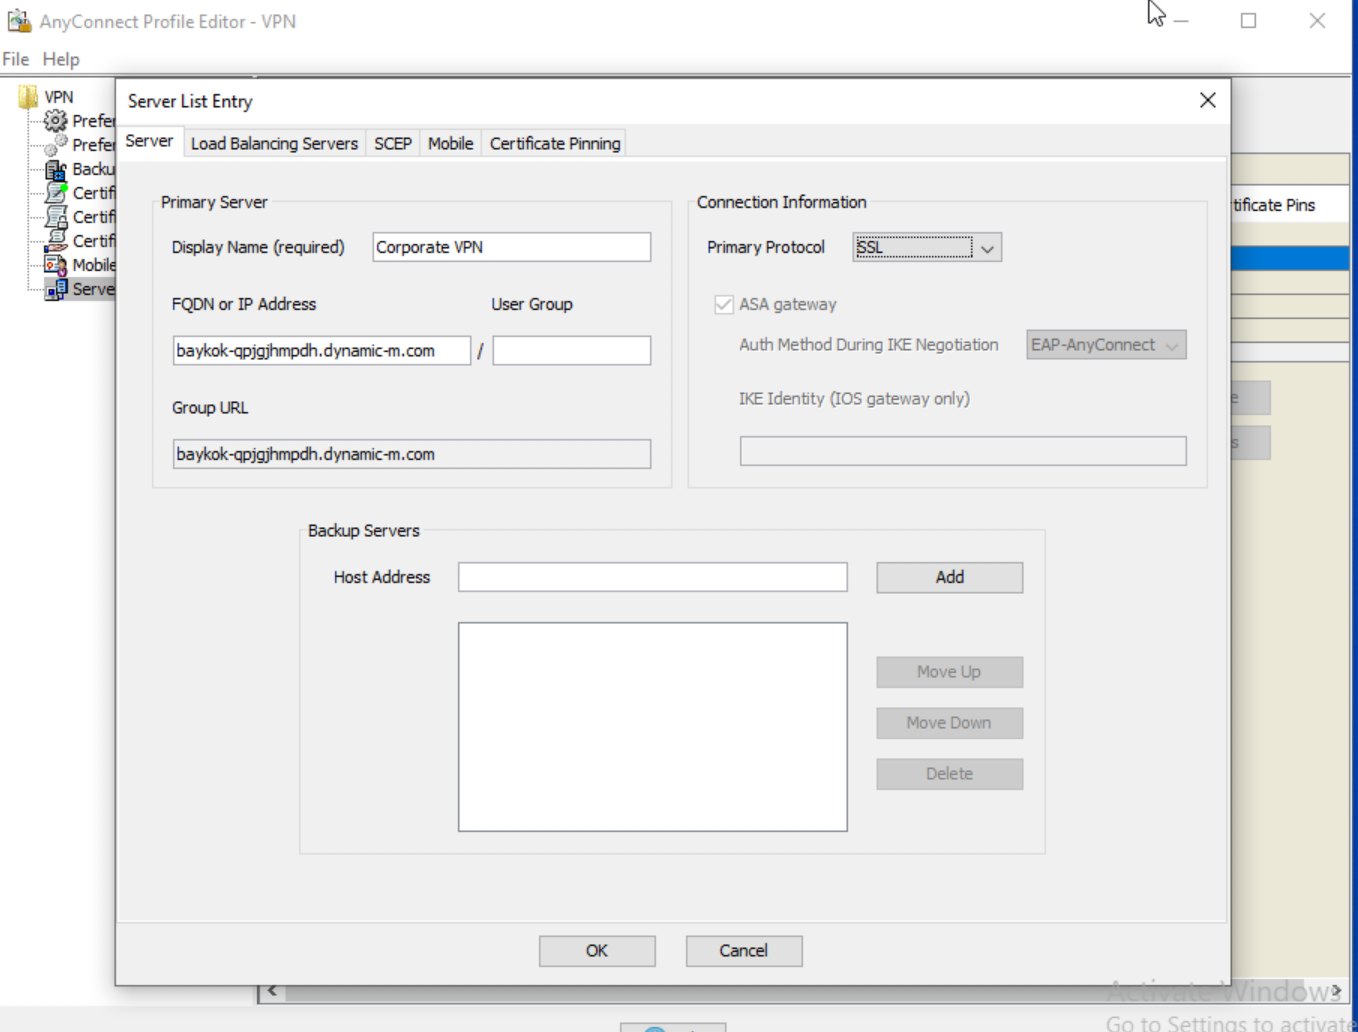
When configuration is complete, save the xml profile. It is recommended to use a unique file name to avoid profile overrides by other AnyConnect servers, then you can upload the file to the profile update section on the AnyConnect settings page.
Please note that only VPN profiles are supported on the MX at this time. This means you cannot push NVM, NAM, or Umbrella profiles via the MX.
- Select enable profiles, upload your xml file, and save your configuration
- After a user successfully authenticates, the configured profile gets pushed to the user's device automatically
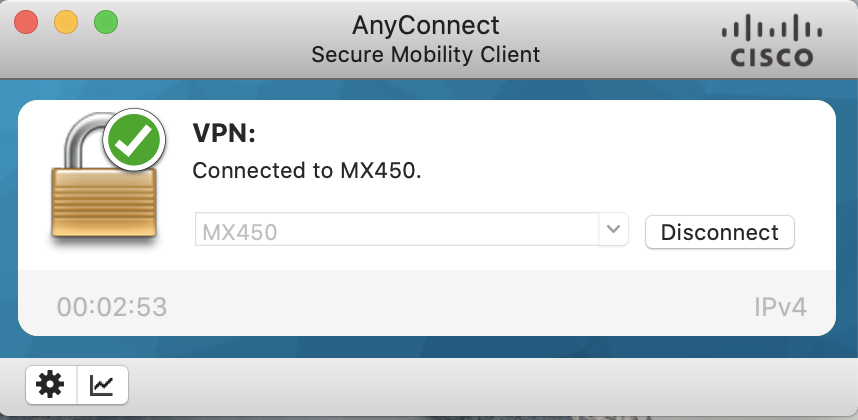
- The result of the .xml can be seen below, after successful authentication to the AnyConnect server; this gives users the ease of selecting VPN servers on the AnyConnect client
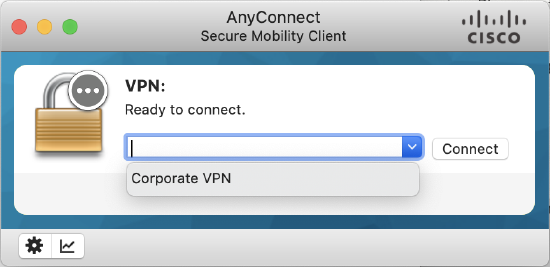
The Meraki DDNS hostname is not easy to remember, therefore end users are not expected to use it directly. Profiles should be used to make connecting to the AnyConnect server easy for end users.
Always On VPN
Always-On operation prevents access to Internet resources when the computer is not on a trusted network, unless a VPN session is active. Enforcing the VPN to always be on in this situation protects the computer from security threats. This is a client-side configuration that can be enabled via the AnyConnect profile. For more details see Always-On
Configuration
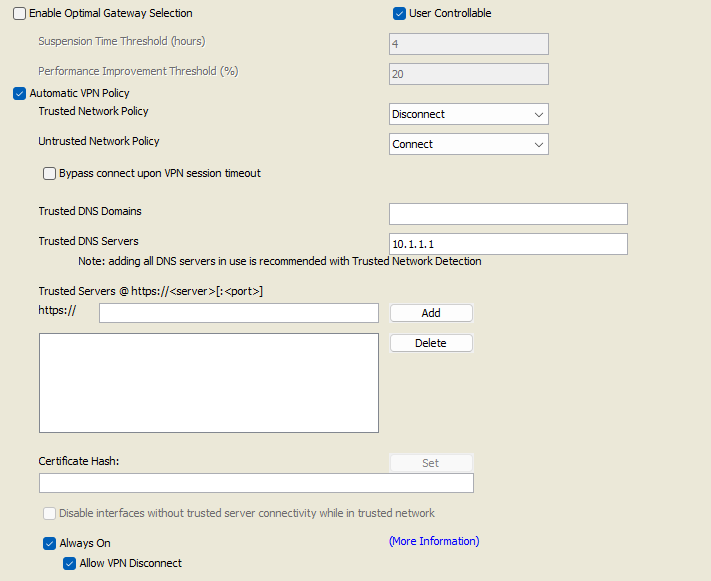
1. Open the VPN Profile Editor and choose Preferences (Part 2) from the navigation pane.
2. Select Automatic VPN Policy.
3. Configure Trusted Network Detection for Trusted and Untrusted Network.
4. Select Always On.
5. At least 1 Trusted DNS Domain or 1 Trusted DNS server is required when configuring Always-On VPN (More information regarding these Trusted DNS settings can be found on the Cisco AnyConnect Secure Mobility Client Administrator Guide).
6. (Optional) Select or un-select Allow VPN Disconnect. This will determine if the user can disconnect from the VPN.
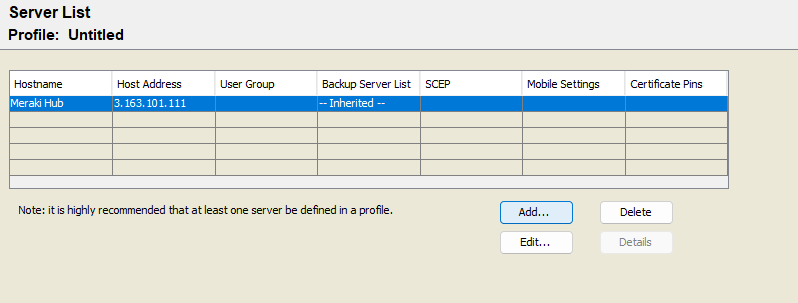
7. If you have not yet, ensure that a VPN server has been configured in the Server List.
8. Click File, Save the profile, then upload it on the Dashboard > Security & SD-WAN > Client VPN > Cisco Secure Client Settings > "Profile update" toggle and save your configuration. Profiles can also be pushed to users via other methods e.g. via Systems Manager.

The profile will get updated on the client after successfully connecting to the VPN or if manually updated on the client.
Please note that profiles get overridden on the client if the new profile and the old one on the client share the same file name.
Start Before Logon
This feature called Start Before Logon (SBL) allows users to establish their VPN connection to the enterprise infrastructure before logging onto Windows. This is a client-side configuration that can be enabled via the AnyConnect profile.
When SBL is installed and enabled, AnyConnect starts before the Windows logon dialog box appears, ensuring users are connected to their corporate infrastructure before logging on. After VPN authentication, the Windows logon dialog appears, and the user logs in as usual.
For more details see Start Before Logon
Note: Currently Start Before Logon (SBL) is not supported with SAML Authentication.
Configuration
1. Install the AnyConnect Start Before Logon Module. There is a separate executable called "sbl-predeploy" file in the AnyConnect for Windows installation folder as shown below.
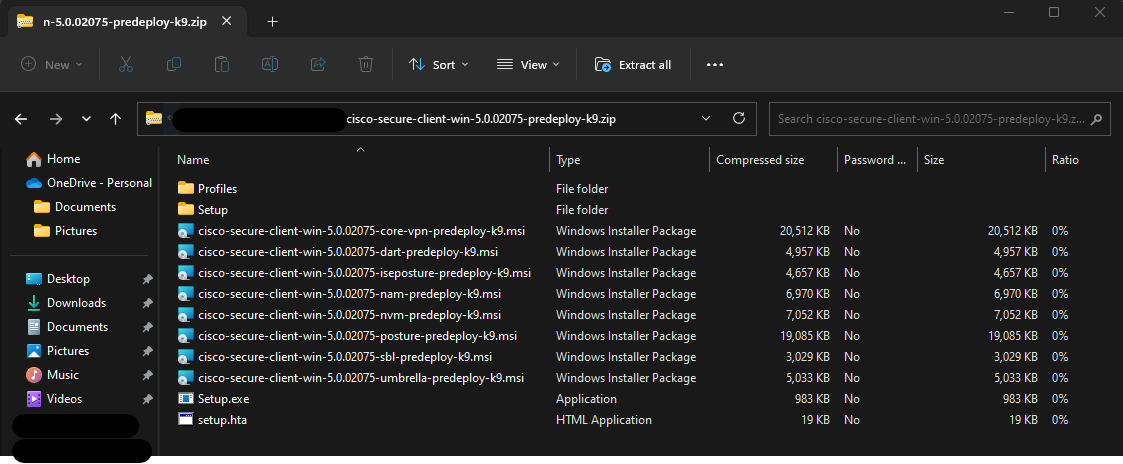
2. Once the SBL installation is complete, enable Start Before Logon (SBL) in the AnyConnect Profile and push profile to client.
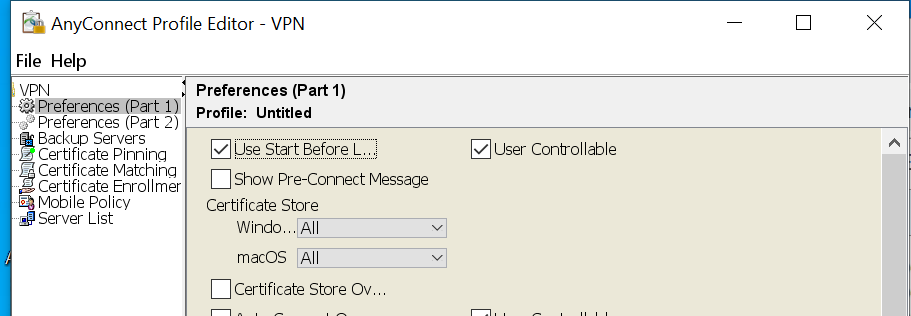
- Open the VPN Profile Editor and choose Preferences (Part 1) from the navigation pane.
- Select Use Start Before Logon.
- (Optional) To give the remote user control over SBL, select User Controllable.
-
Click File, Save the profile, then upload it on the Dashboard > Security & SD-WAN > Client VPN > Cisco Secure Client Settings > "Profile update" toggle and save your configuration. Profiles can also be pushed to users via other methods e.g. via Systems Manager.
The profile will get updated on the client after successfully connecting to the VPN or if manually updated on the client. Please note that profiles get overridden on the client if the new profile and the old one on the client share the same file name. Please note, the user must reboot the remote computer before SBL takes effect. After a reboot, users can use the network sign-in option to launch and connect to AnyConnect VPN.
 .
. 


Android
This is an example of installing the AnyConnect Client and configuring it on an Android device
Install
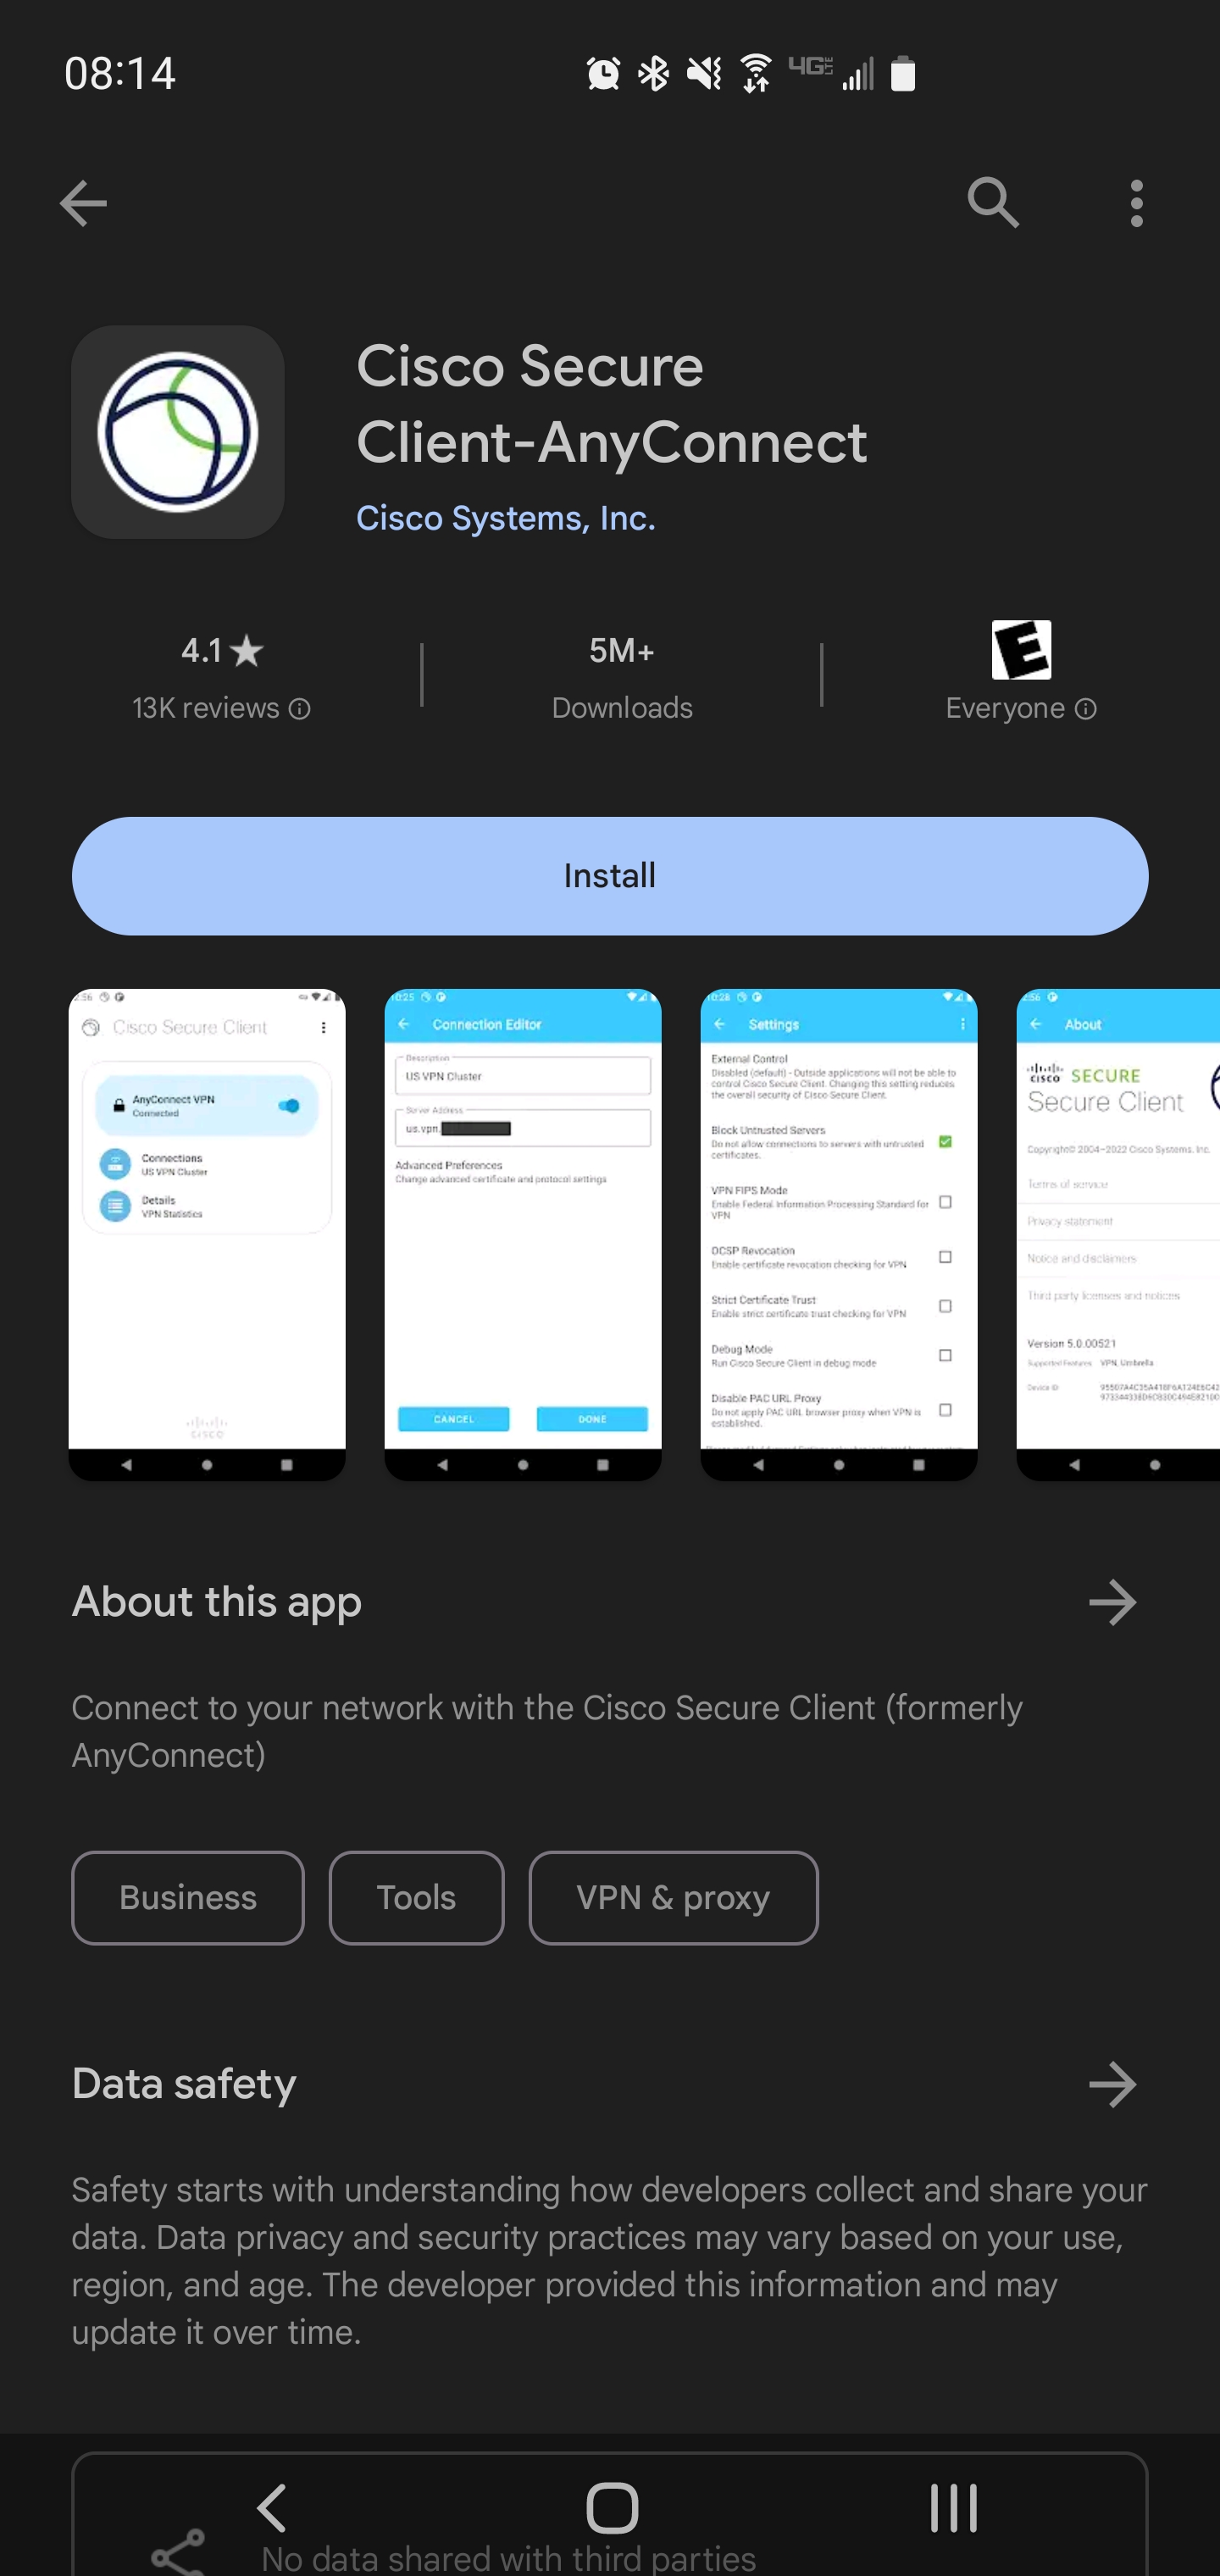
AnyConnect VPN can be found in the Google Play Store
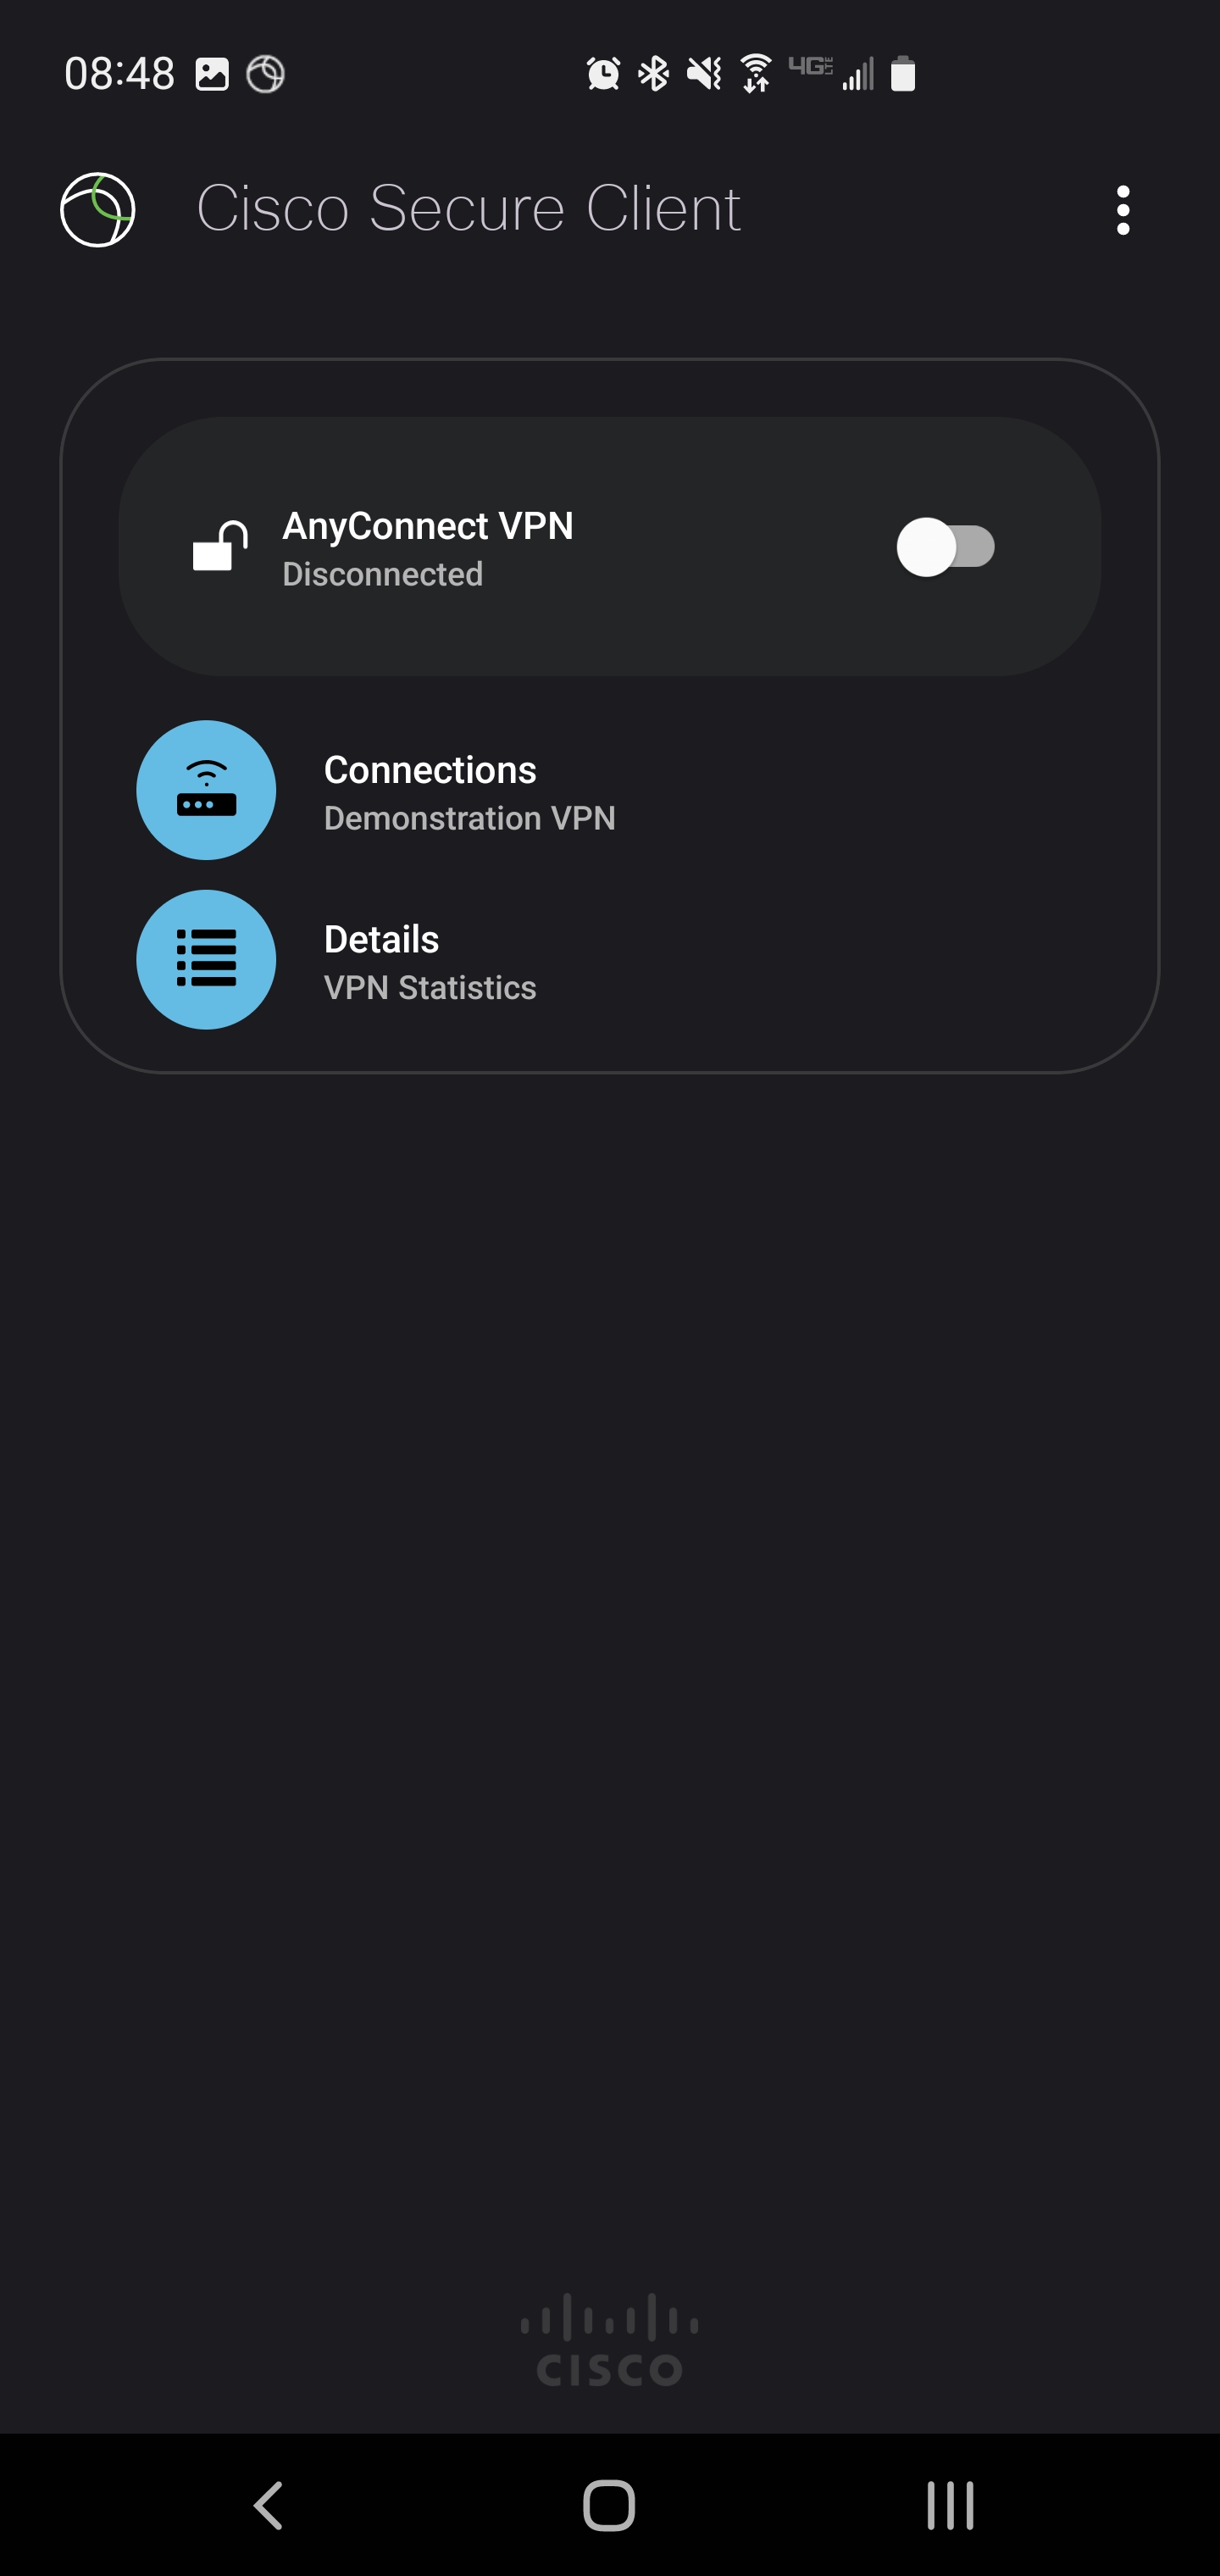
Run Cisco Secure Client-AnyConnect

Click on Connections to open the Connection Selector
Create New Connection

Use the + symbol to open the Connection Editor
Create New Connection

Enter the Description and Server Address
Connecting
Once the connection is created connect by toggling the connection in the AnyConnect app
Login Prompt
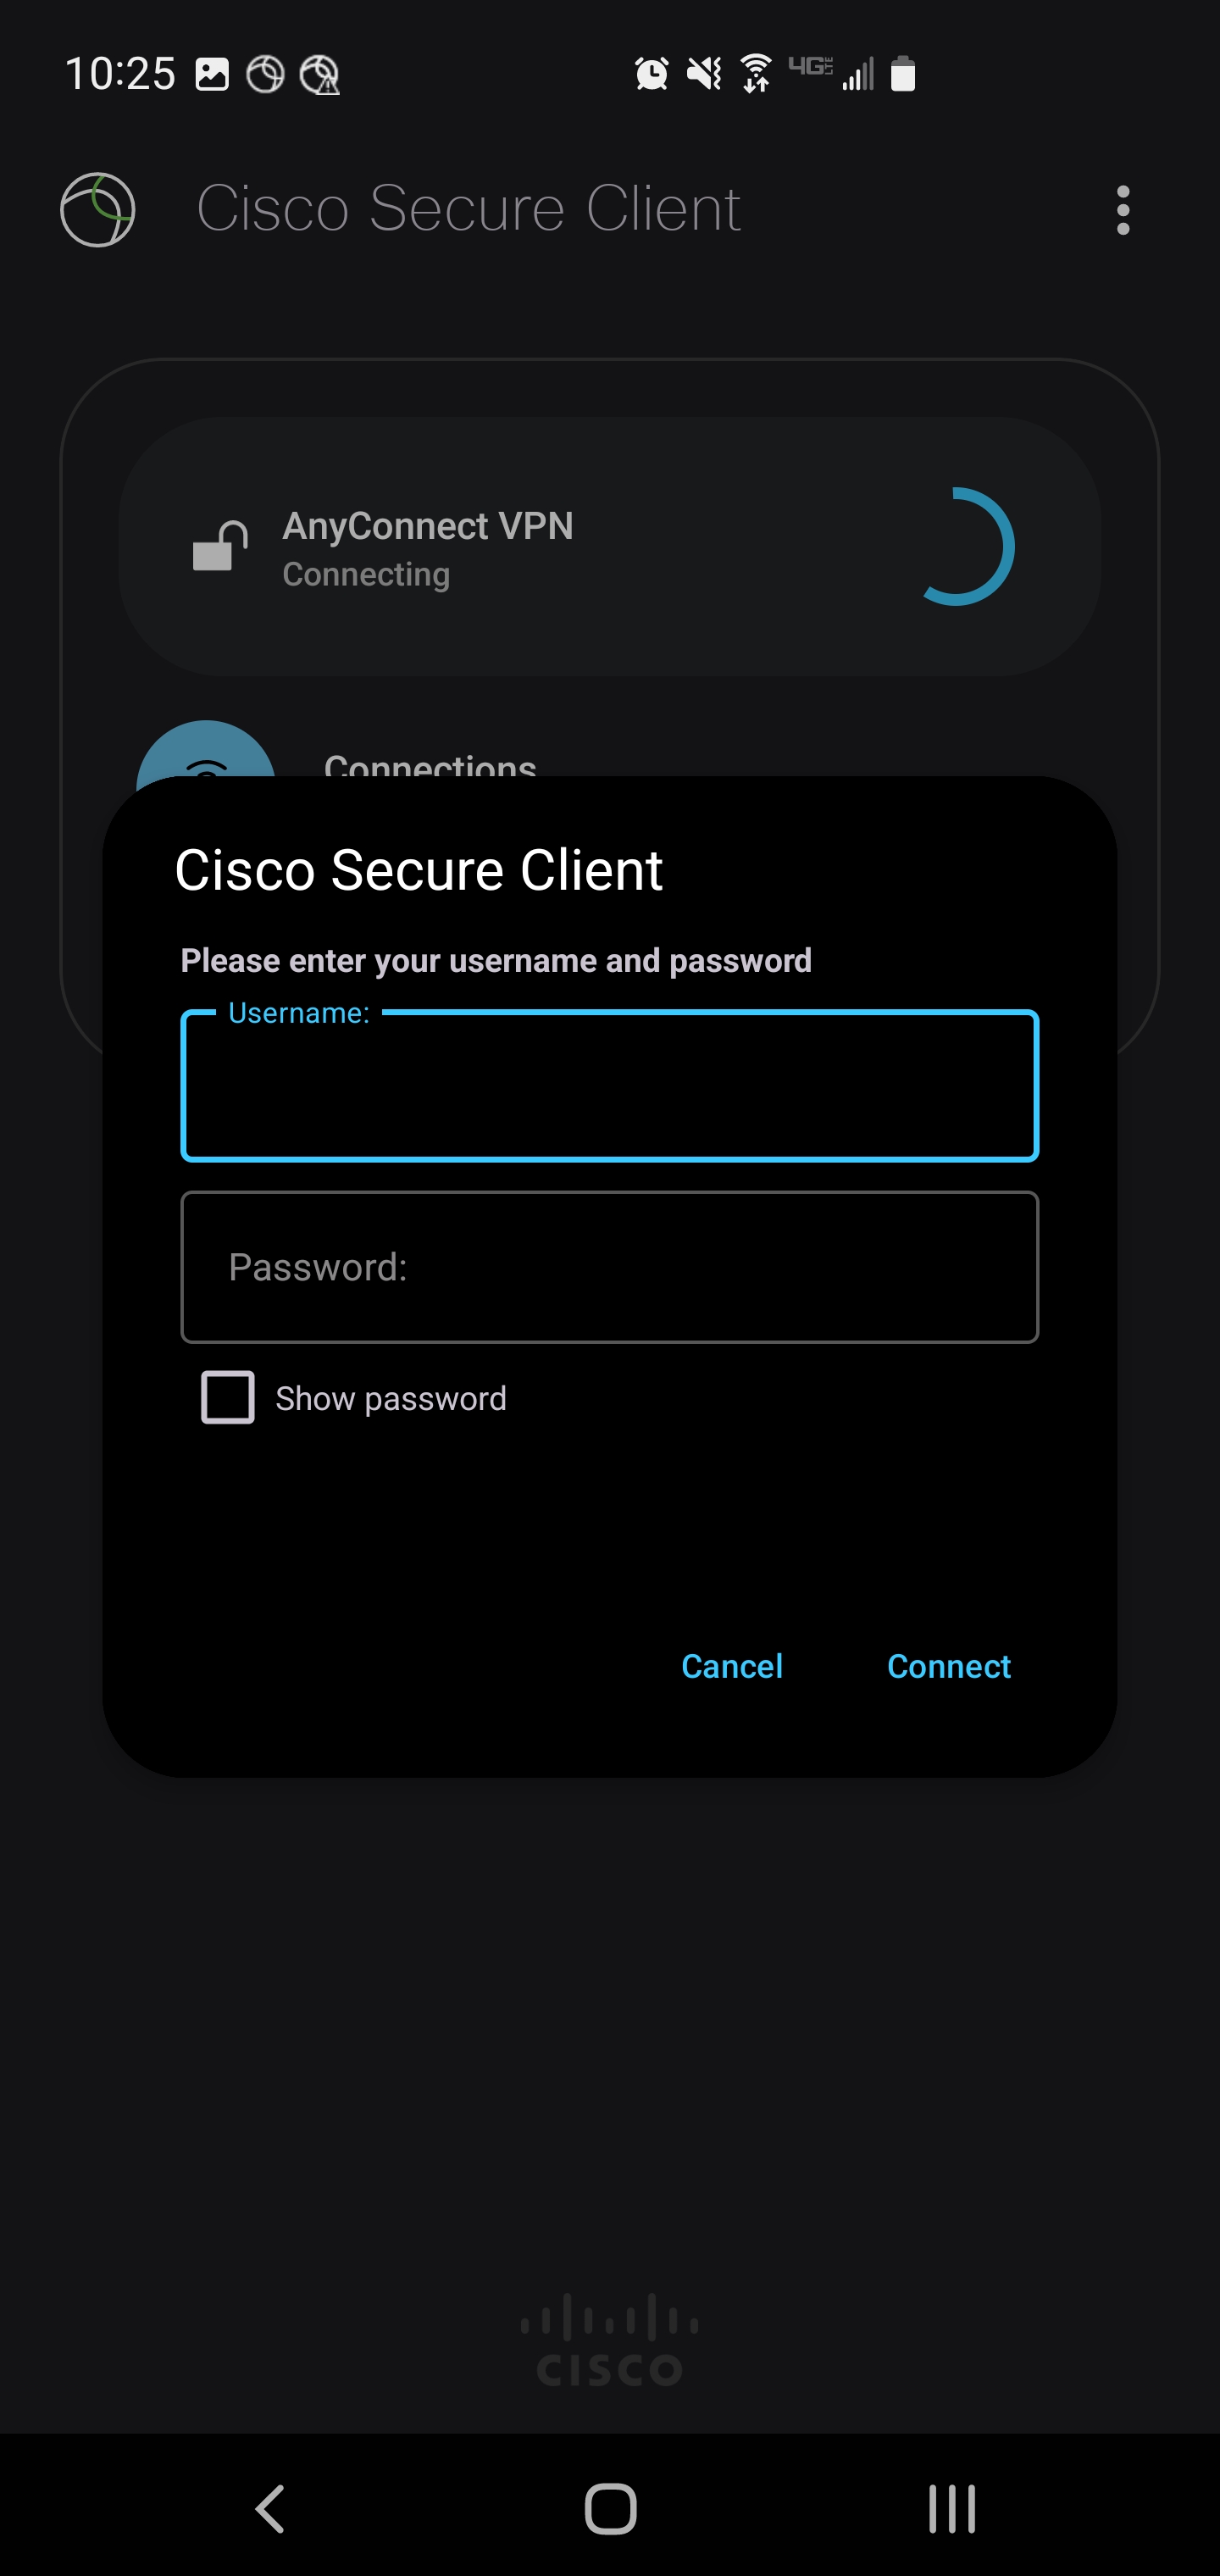
Enter the credentials to authorize the connection
Connected

You should now be connected
iOS
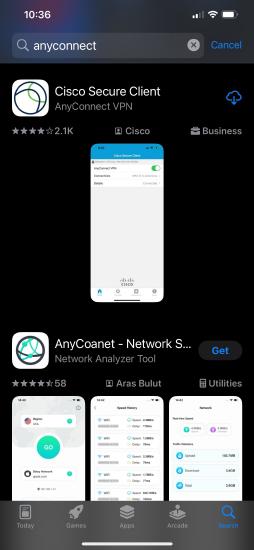
Open the App Store and in the Search Box, enter Cisco Secure Client or AnyConnect
Tap on Cisco Secure Client
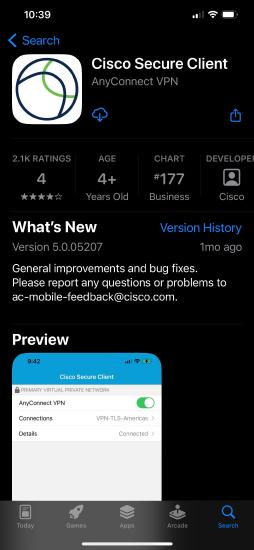
Tap Get, then install the application
The Cloud Icon in the image below indicates the app was installed previously, on first install the "Get" icon will be present.
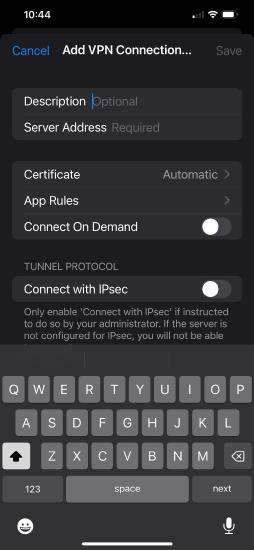
Open the application and tap Connections > Add VPN Connection ...
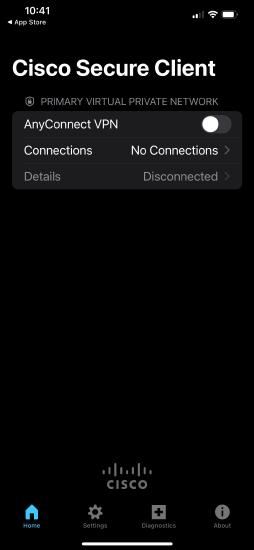
Enter a friendly Description/Name for the connection, enter the Server address, and save changes
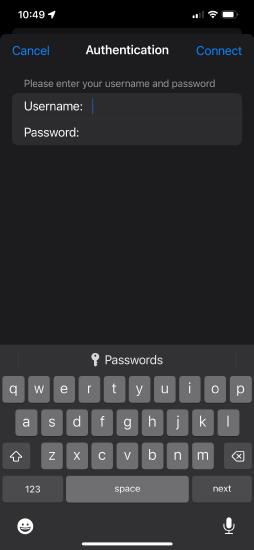
On the application home page toggle the AnyConnect VPN with the slider icon to enable the VPN and Login with your credentials
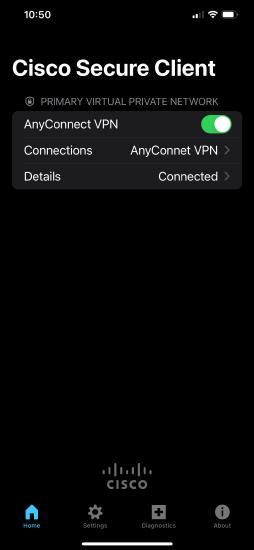
If successful we'll observe the connected status on the Details section of the home page
Further details regarding iOS setup and use for Secure Connect can be found here.