
vMX Setup Guide for ESXI
Overview
This document is a walkthrough for setting up a virtual MX (vMX) appliance ESXI/VMware After completing the steps outlined in this document, you will have a virtual MX appliance running on ESXI that serves as a Secure Gateway and Auto VPN termination point for your physical MX devices.
Meraki Dashboard Configuration
Begin by creating a new Security Appliance network in your organization. If needed, please refer to the guide on creating a new network in the Meraki dashboard.
1. Add license(s) to the Meraki dashboard
To complete the vMX Meraki dashboard configuration, a vMX license must be available for use in your organization.
If your organization has already reached its vMX license limit, you will be unable to create new vMX networks until a vMX network is deleted, or additional vMX licensing added.
If you do not have access to a vMX license or require additional vMX licenses, please reach out to your Meraki reseller or sales representative.
2. Create a "Security appliance" network type:

3. Assign vMX type to network
Once you have created the "Security appliance" network and added the appropriate license you will be able to deploy a new vMX to your network by clicking on the 'Add vMX' button.

4. Generate the authentication token
Before generating the token, please verify the firmware is configured for MX 26.1.2 or higher. If the vMX network firmware is set to anything below that, the upgrade will not occur.
After you add the new vMX to your network, navigate to Security & SD-WAN > Monitor > Appliance status and select “Generate authentication token” to generate the token to be entered on VMware ESXI as a CD-ROM in later steps
NOTE: Generate Authentication Token button on the left pane, under CONFIG and above "Remove Appliance From Network"

5. Copy the newly generated token and save it for later.
The newly generated token will be provided as a CD-ROM when deploying an instance.
The authentication token must be entered into the instance and used to connect to the Dashboard within one hour of generating it, otherwise a new token must be generated.
Obtaining the image
The vMX image for ESXI can be obtained via the Cisco Downloads site. You can search for vMX on the Downloads site. The link below will take you there:
https://software.cisco.com/download/home/286328351/type/286328355/release/26.1.4?catid=268437899
Once the VMDK file has been uploaded to the datastore and unzipped, you will see that there are two files:
- meraki_efi_conv.vmdk
- meraki_efi_conv-flat.vmdk
The meraki_efi_conv.vmdk file will act as the hard disk for the vMX. The "-flat" file works in tandem to store the raw, actual data of vMX. If you are going to move the vMX in the future, be sure to keep these files together in the same location on the datastore.
Recommended vMX Sizing
Below are the recommended resource allocations for each vMX:
|
|
Cores |
Memory |
|
VMX-S |
2 |
4 GB |
|
VMX-M |
4 |
4 GB |
|
VMX-L |
4+ |
8+ GB |
NOTE: When the image is imported as a disk in the ESXi environment, the command will auto-allocate the storage as follows:
- EFI: 6 GB
The above allocation is fixed and cannot be changed
ESXi Pre-Requisites
Before deploying, ensure that you are running ESXi 6.7 or higher.
ESXI Deployment
This section will walk you through configuring the necessary requirements within an ESXi Hypervisor and adding a vMX instance to your server. For a guide on setting up ESXi itself we recommend their documentation on how to do so.
Create ISO file with vmx_authentication_token
1. Using the Authentication token you generated for your vMX in the previous section, create a user-data file on your local machine.
echo "token <token value>" > user-data
2. Create an ISO file with the user-data file.
mkisofs -output <ISO file name>.iso -volid cidata -joliet -rock user-data
NOTE: The vmx-authentication-token expires within an hour of generation. Please deploy the vmx within that time.

3. Then upload the ISO and the VMDK file for the vMX to the ESXI Server Datastore.

Create the VM
Step 1: Click the button to create a VM.

Select "Create a new VM" and configure the following:
- Name for the VM
- Guest OS Family: Other
- Guest OS Version: Other (64-bit)

Step 2: Select the desired datastore and click next

Step 3: Perform the following operations:
- Select the CPU and Memory based on the recommended sizes from earlier in this document (The settings shown in the screenshot are for a vMX-L)
- Remove the default Hard Disk
- Select the desired network adapter. If you intend to run the vMX in Routed Mode, we recommend adding an additional Network Adapter for the LAN interface.
- CD/DVD Drive: Attach the ISO you created previously and change the controller location to SATA Controller 0 if it is not already set by default

Caution: Do not put the LAN and WAN port on the same network.
Step 4: Go to the VM Options tab and expand the Boot Options section. The Firmware option should be changed to EFI if it is not already selected. Once complete, go back to the Virtual Hardware tab.
NOTE: If Secure Boot is desired and your server has Secure Boot capabilities, check the box for "Enable UEFI secure boot".

Step 5: Click the button to add a Hard Disk
- Select the "Existing Hard Disk" option
- Select the converted VMDK from your Datastore
- Set the Hard Disk Controller type to SATA controler 0 if it is not already by default

Step 6: Click Next and Finish. On a successful boot without secure boot, the VM Console show the vMX Boot Splash similar to what is shown below.
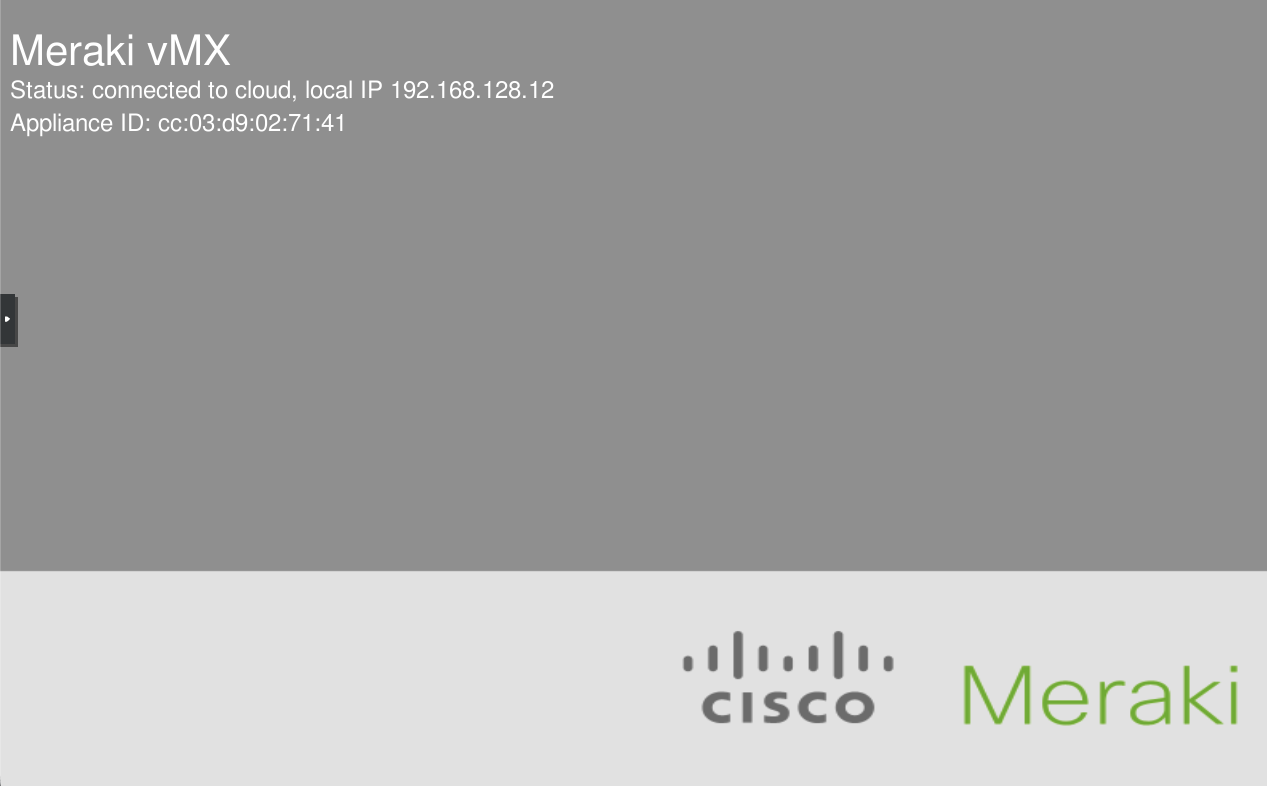
The vMX should then receive an IP address on its WAN interface via DHCP, and reach out to Dashboard. The vMX should show as online within around 5 minutes after the boot is complete.