Customers without Meraki and Umbrella deployments
Setting up Cisco Meraki and Umbrella Accounts
Cisco Secure Connect Welcome Email
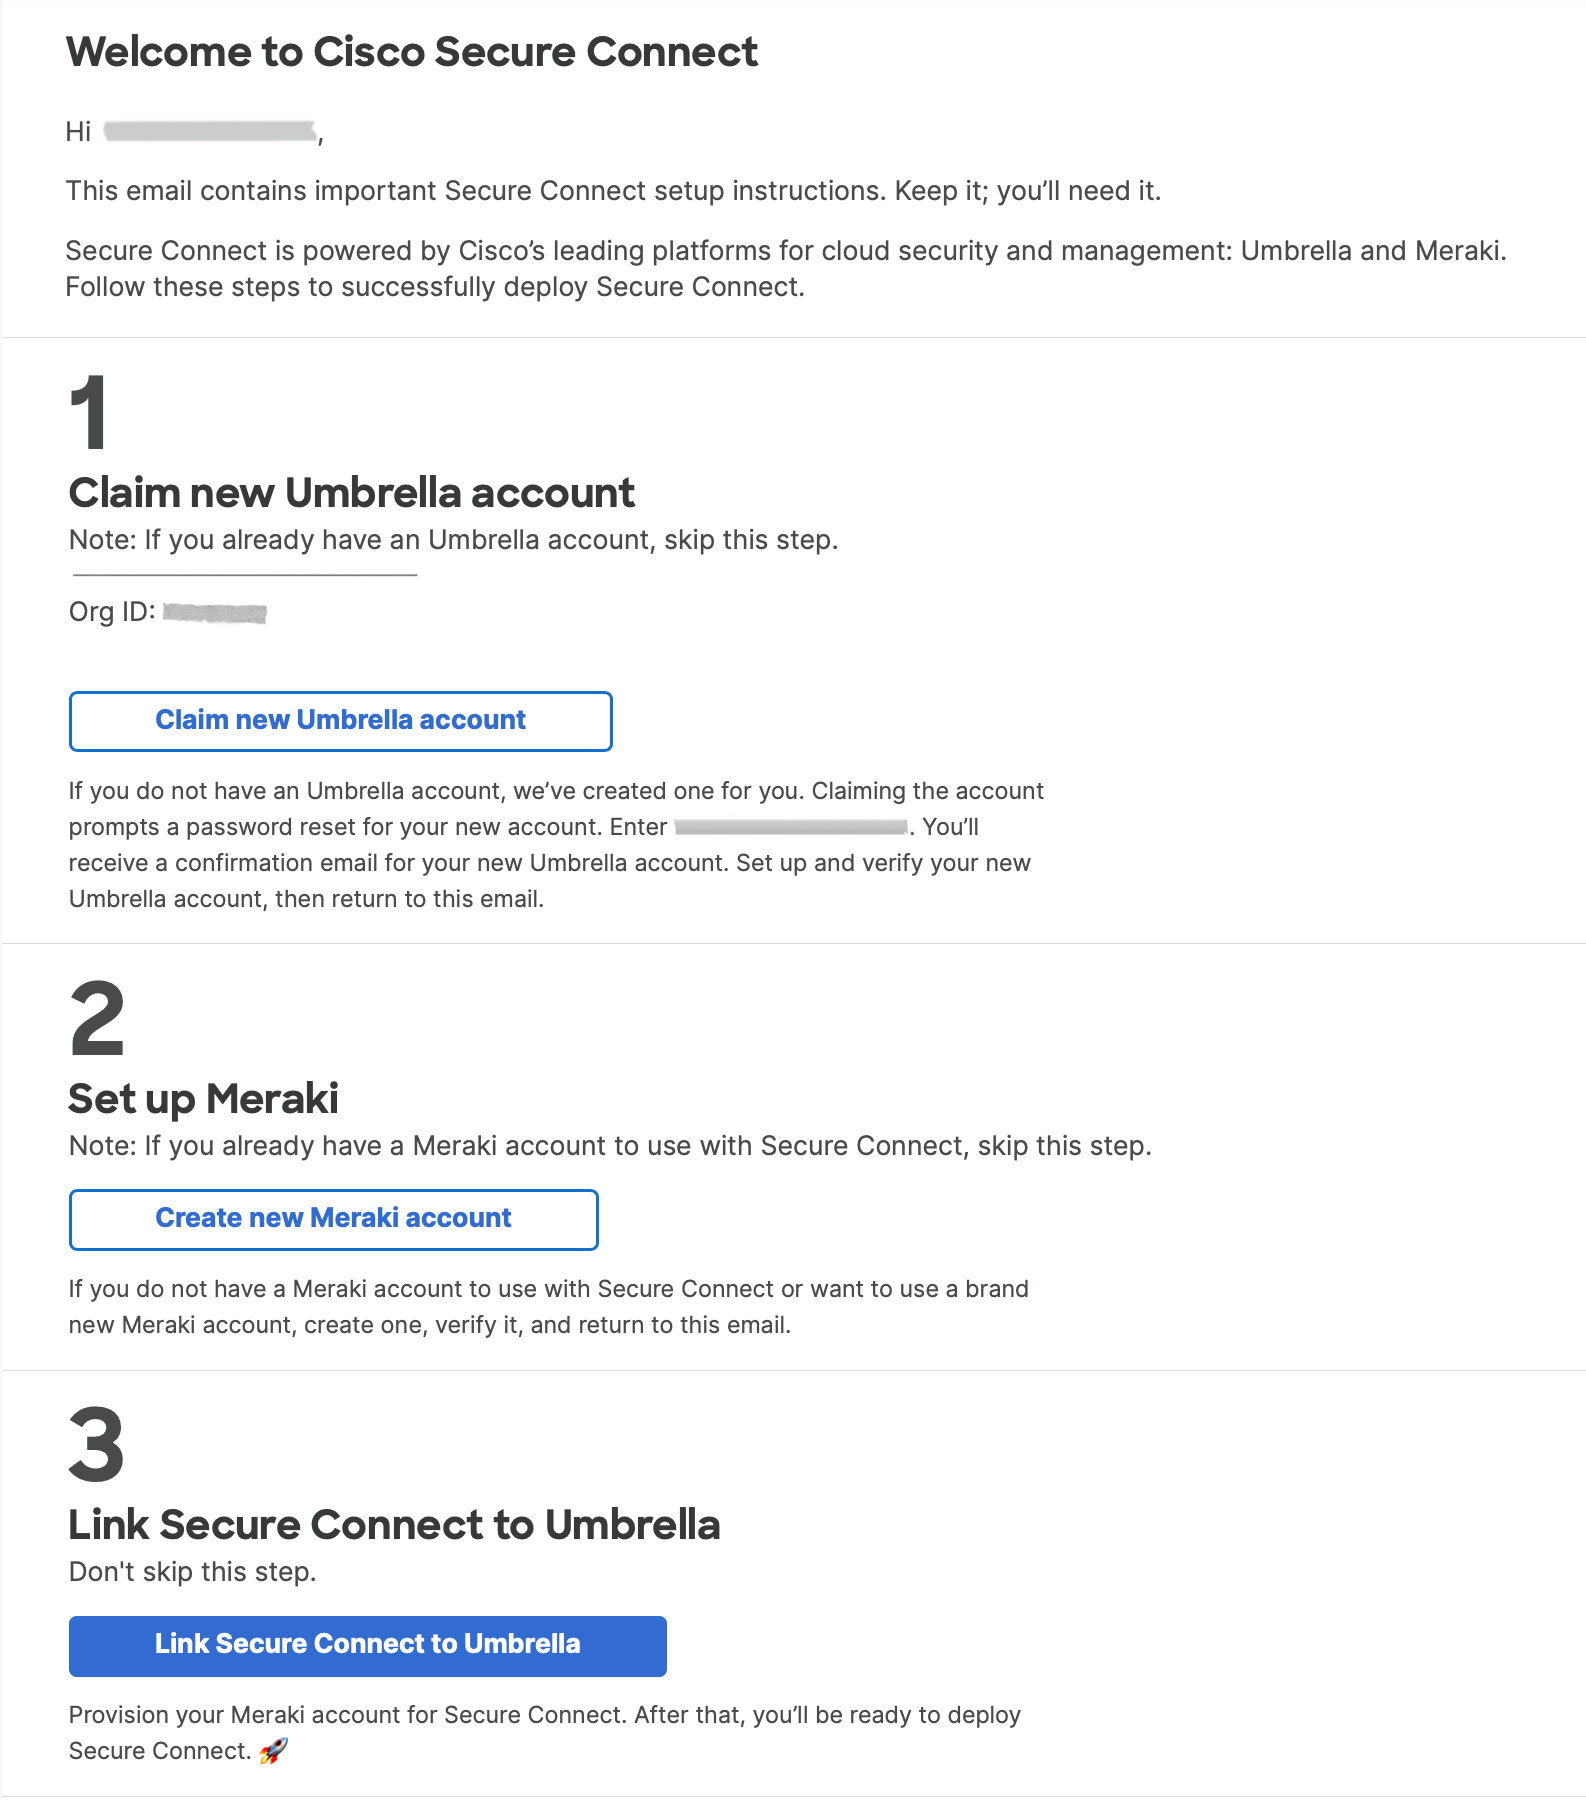
After Cisco provisions your Cisco Secure Connect account, you will receive a welcome email from Cisco like the one shown below. You will go through steps 1 through 3 to setup and connect your Meraki and Umbrella accounts.
Setup Your Umbrella Account
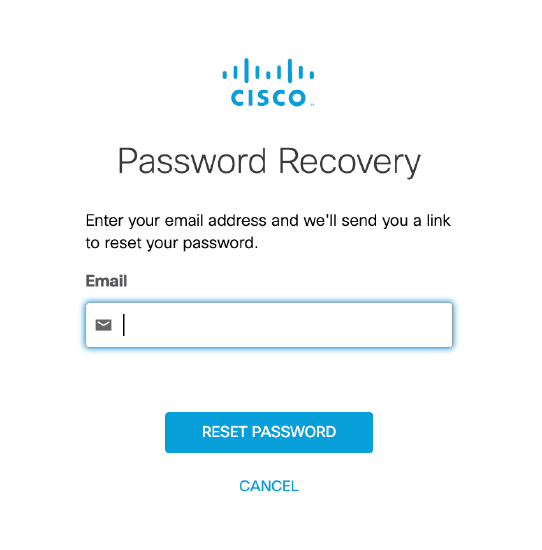
Click Claim new Umbrella account shown in the welcome email. You will see the screen below. Enter the admin email, and click RESET PASSWORD.

Reset Password
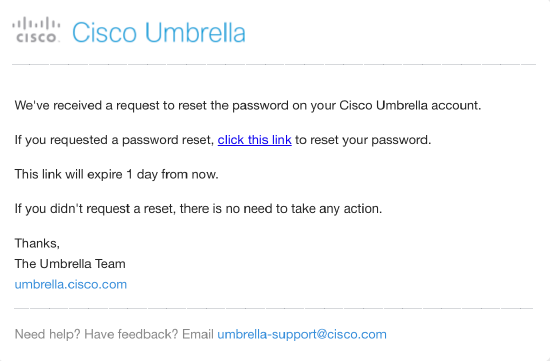
Check your inbox for an email from Cisco. In the email (shown below) click on click this link to reset your password.
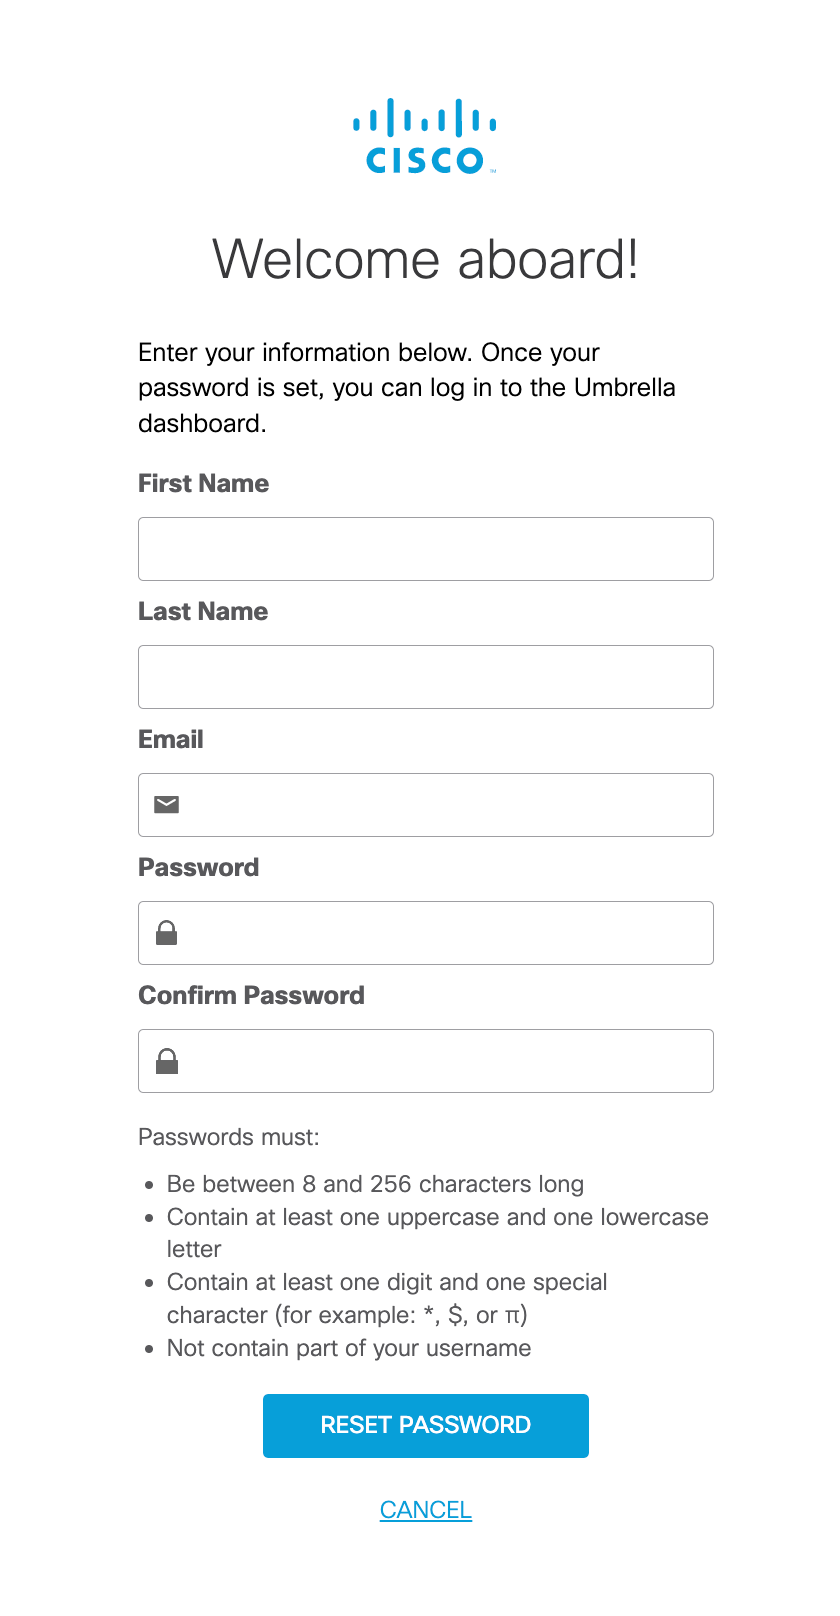
Set up Your Umbrella Dashboard Account
Enter your information to setup the Umbrella account.
Setup Your Meraki Account
Create a New Meraki Account
Now that you have successfully setup the Umbrella account, go to step 2 in the Welcome email to set up your Meraki by clicking on Create New Meraki Account.
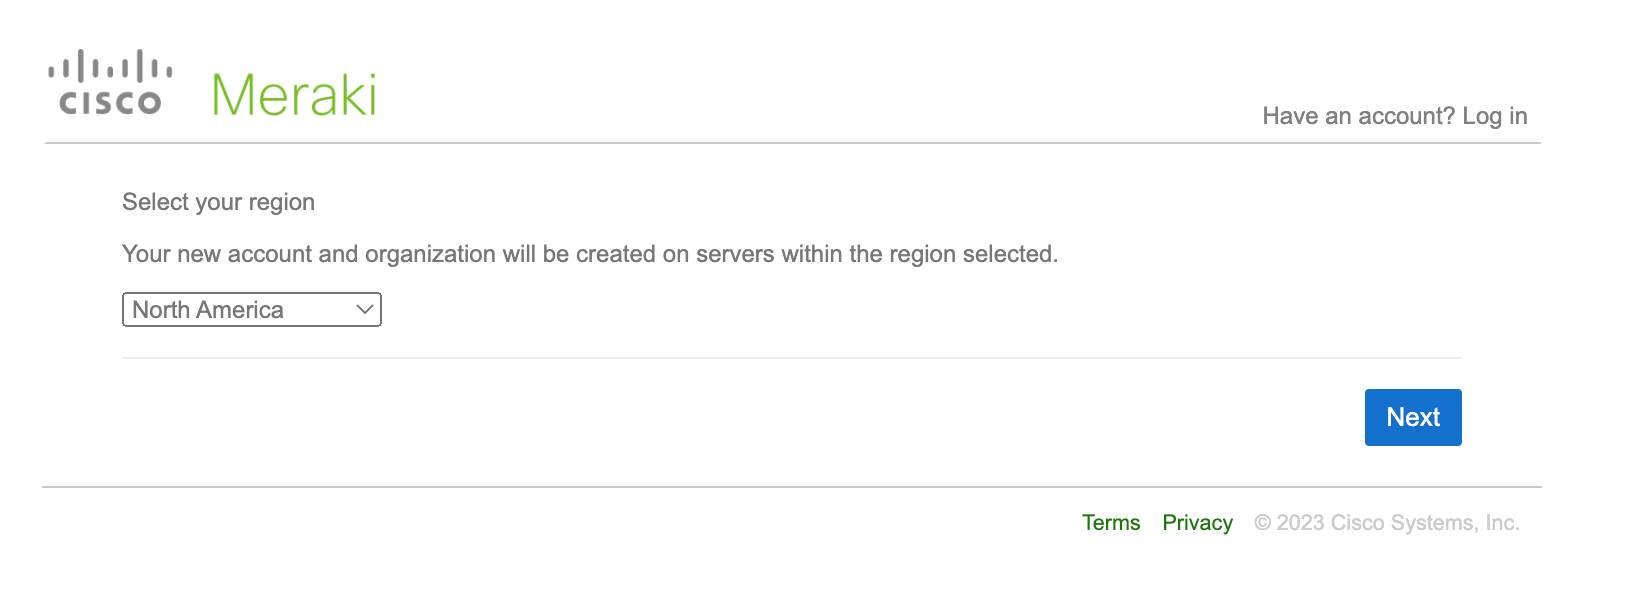
Select Your Region
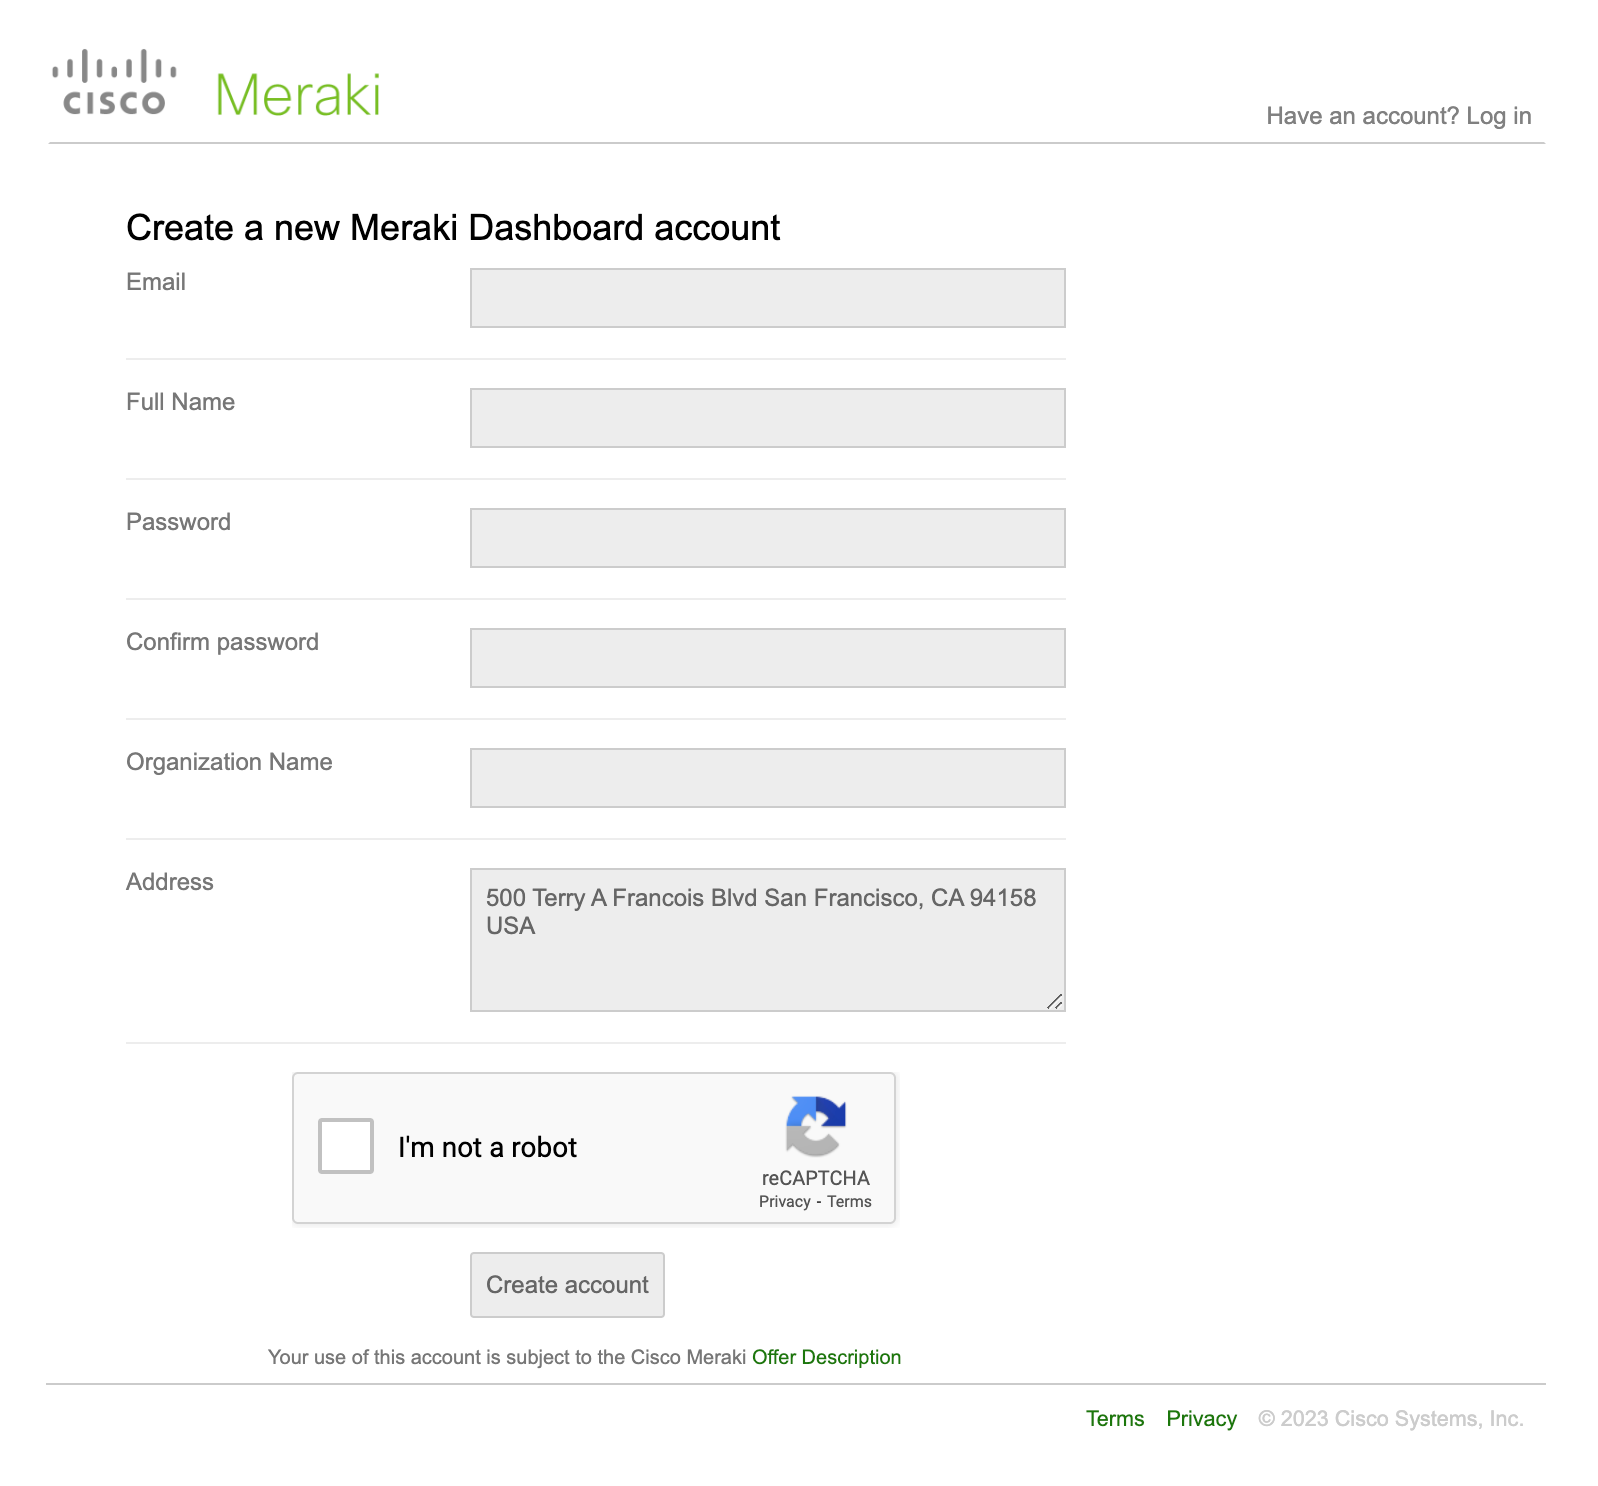
Create Your Meraki Dashboard Account
Provide necessary information listed below and click Create account.
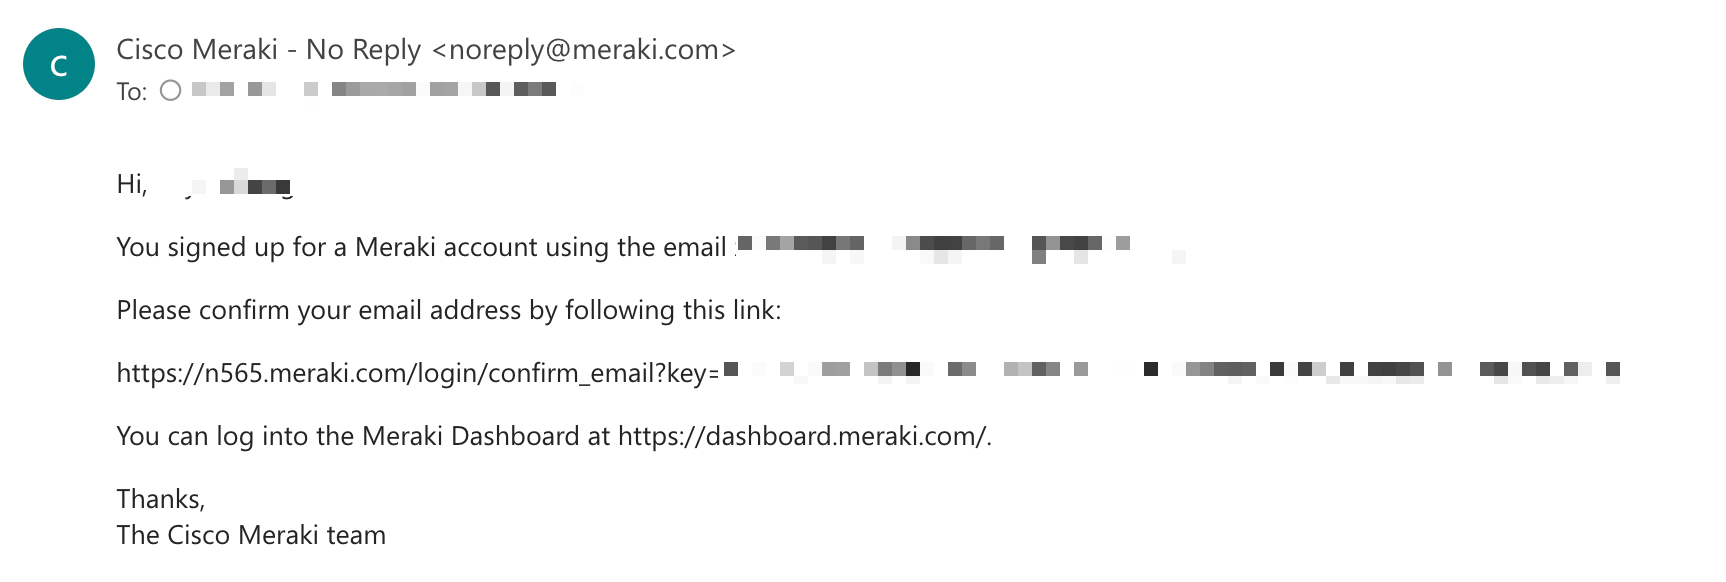
Confirm Email Address
Go to your inbox and confirm the email address.
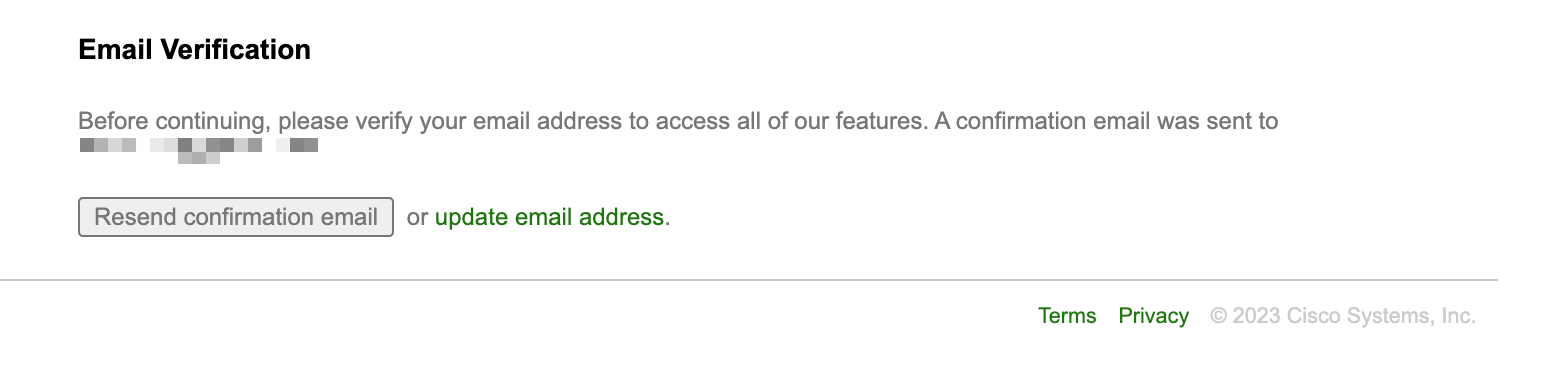
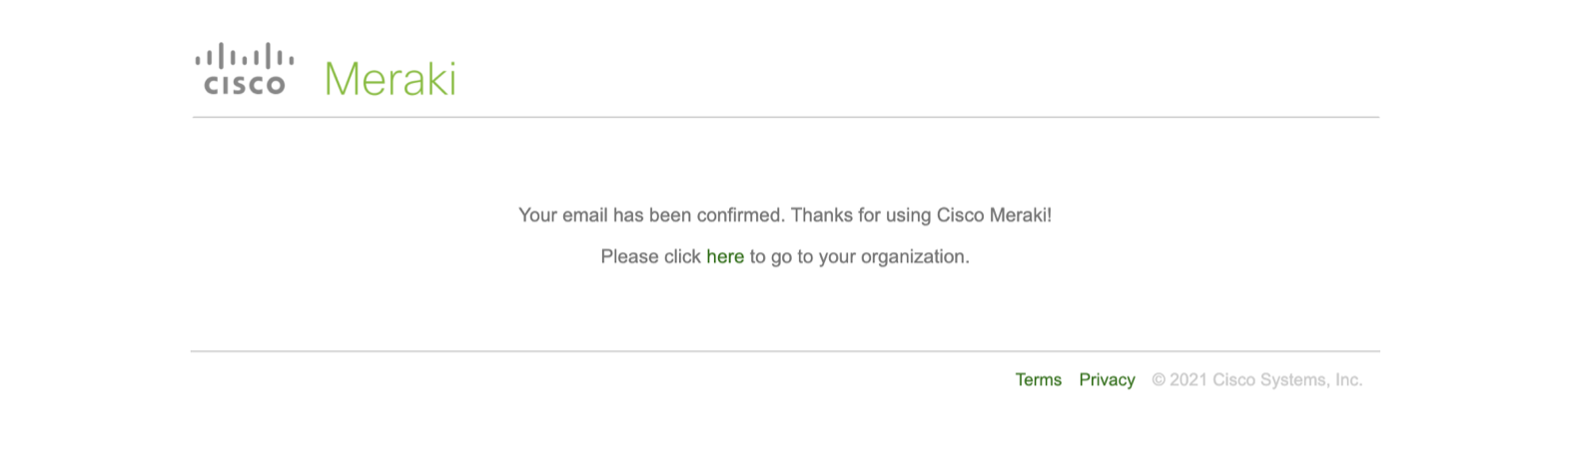
Once you confirm the email, you will see below page. Go back to your inbox and open the Welcome email.
Link Your Meraki and Umbrella Accounts
Now you have successfully setup both your Umbrella and Meraki account, you will need to need to link the accounts. Linking the accounts enables Single Sign-on and simplifies the navigation between the Secure Connect and Umbrella dashboards.
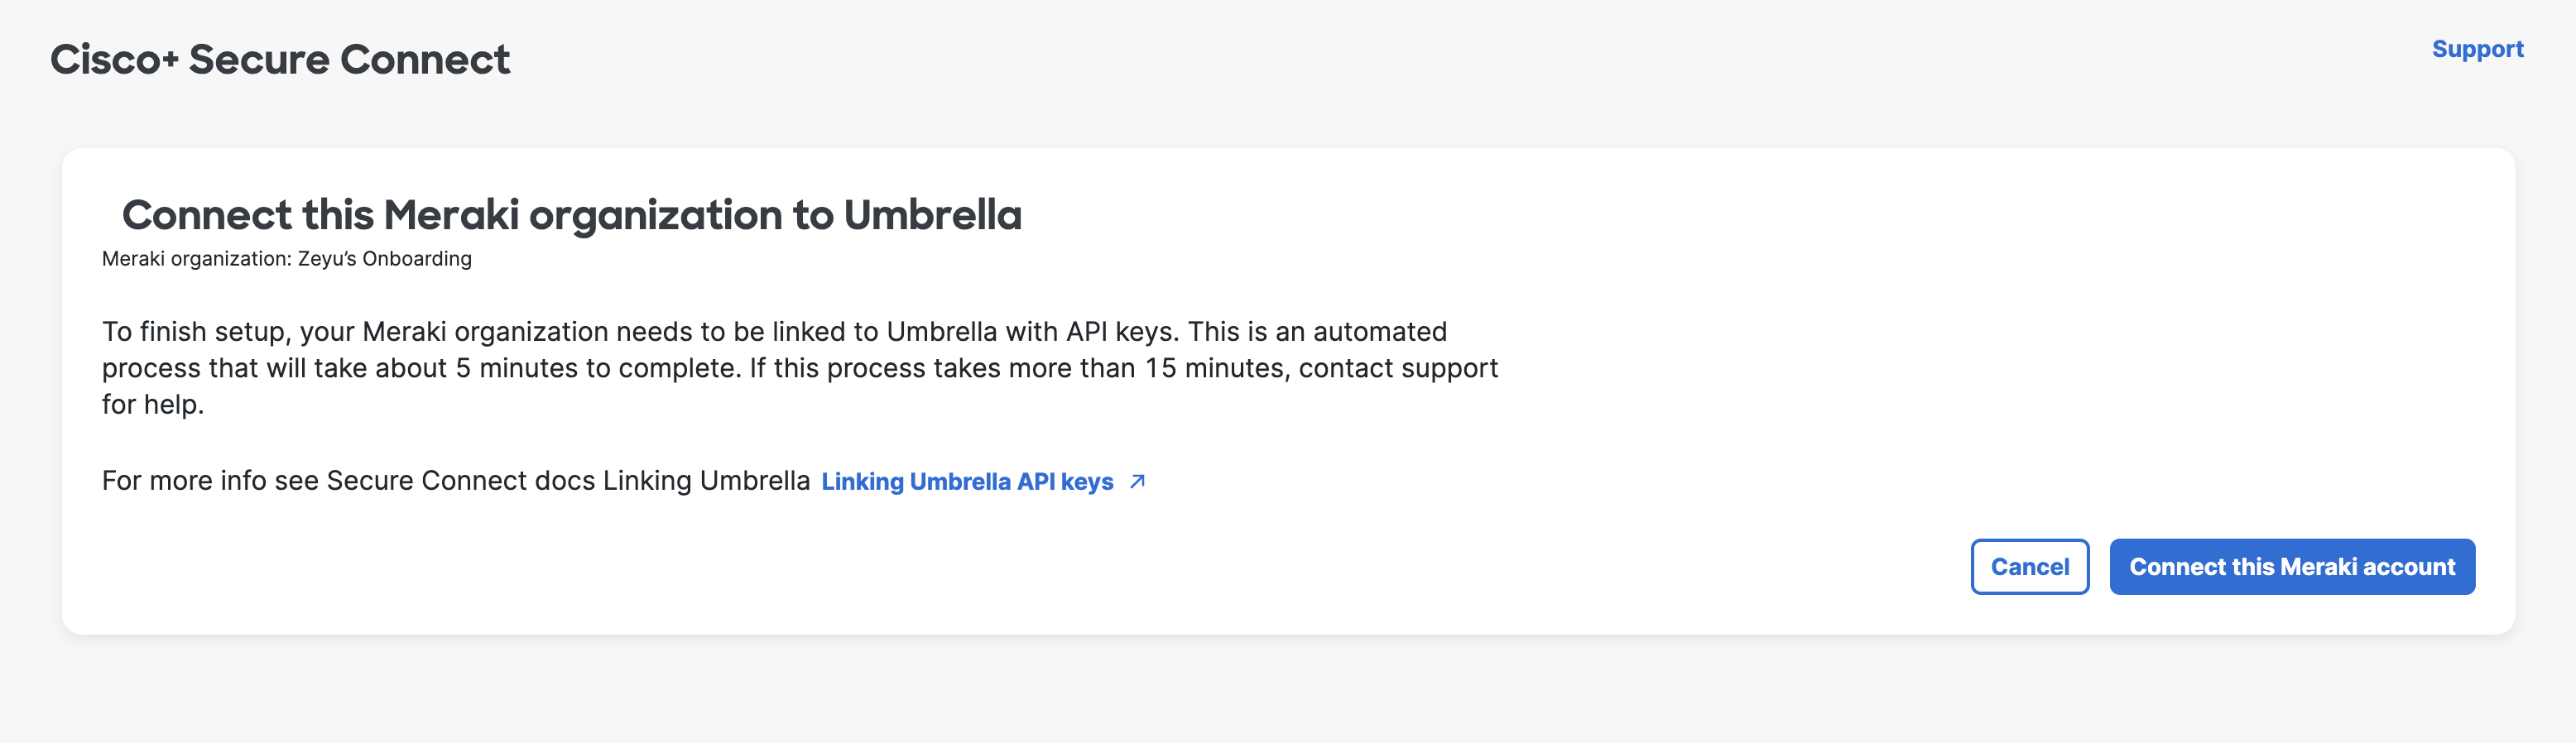
The first step is to open to the welcome email, go to step 3 and click on Link Secure Connect to Umbrella. That will bring up the screen below.
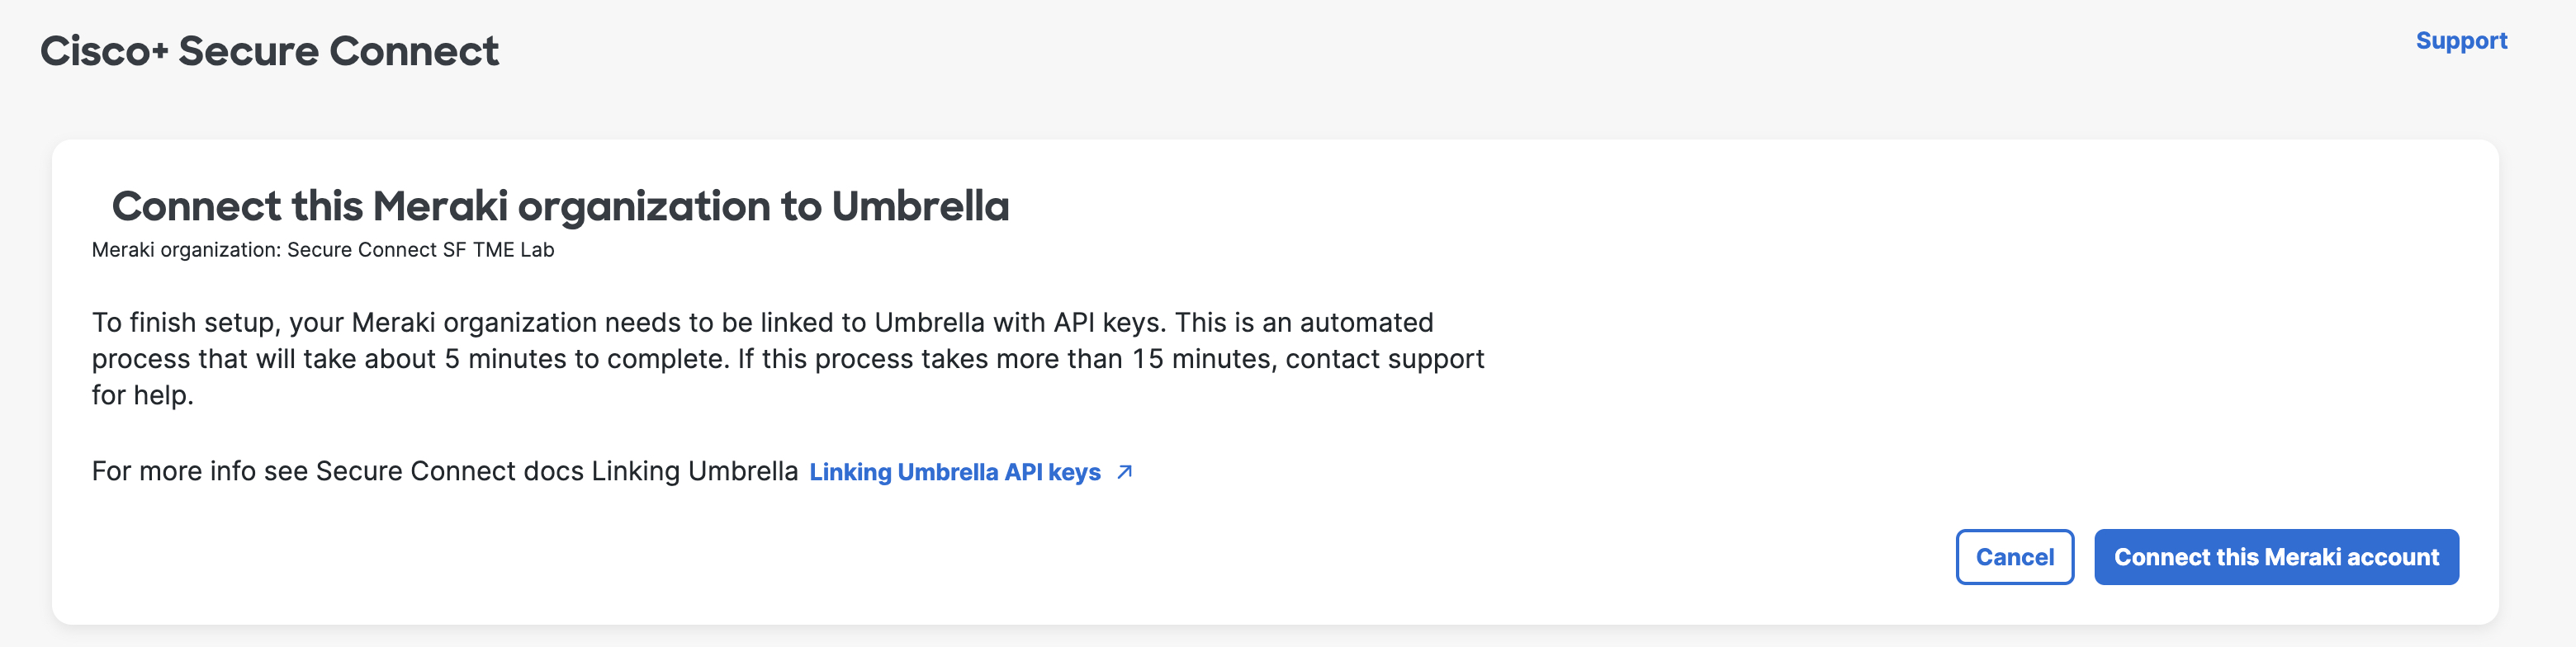
Using Automatic Key Exchange to Link Accounts
There are two ways to link accounts. The first way is to click on Connect this Meraki Account. This will initate an automatic API key exchange between the Meraki and the Umbrella API pages, saving you the time to generate, copy and paste three sets of keys and secrets from the Umbrella API Key page to the Secure Connect page. One thing to note that if you use the automatic key exchange process, you will not have the chance to save a copy of the API Secrets which may be needed to integrate with other services, or in the rare event that you need to re-link your Umbrella and Meraki accounts.
Manually Linking Accounts
The second way is to manually generate, copy and paste API keys and secrets between the sites. Manually connecting the sites will give you the opportunity to save the API keys and secrets. You may also need to use the manual process if you receive an error message during the automatic key exchange process.
To initiate a manual key exchange from the screen above click Cancel and follow the steps below. In the event you receive an error message while attempting to do the automatic key exchange, click on the manually link Umbrella API keys text in the error message and follow the steps below.
Go to the Connect Page
In the Welcome email, go to step 3 and click Link Secure Connect to Umbrella.
Use your Meraki credentials to login. You will be directed to Secure Connect account linking page.
Click on Connect this Meraki account.
Create Umbrella API Keys
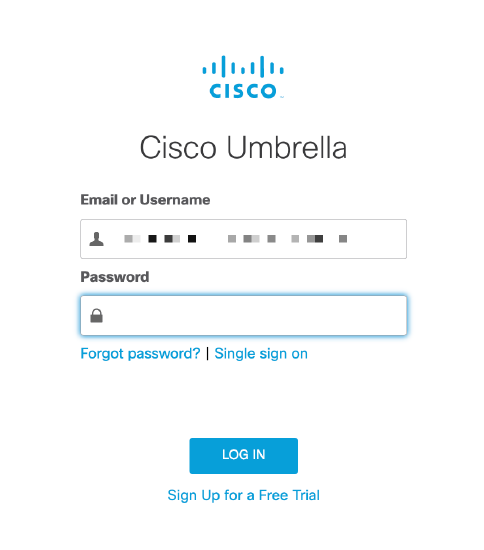
Click create Umbrella API keys, it will open a new tab and direct you to the Umbrella API Keys page. (It is important that you open a new tab or window because you will need to copy and paste API keys and secrets from the Umbrella page to the Secure Connect page.)

Login using your Cisco Umbrella credentials.
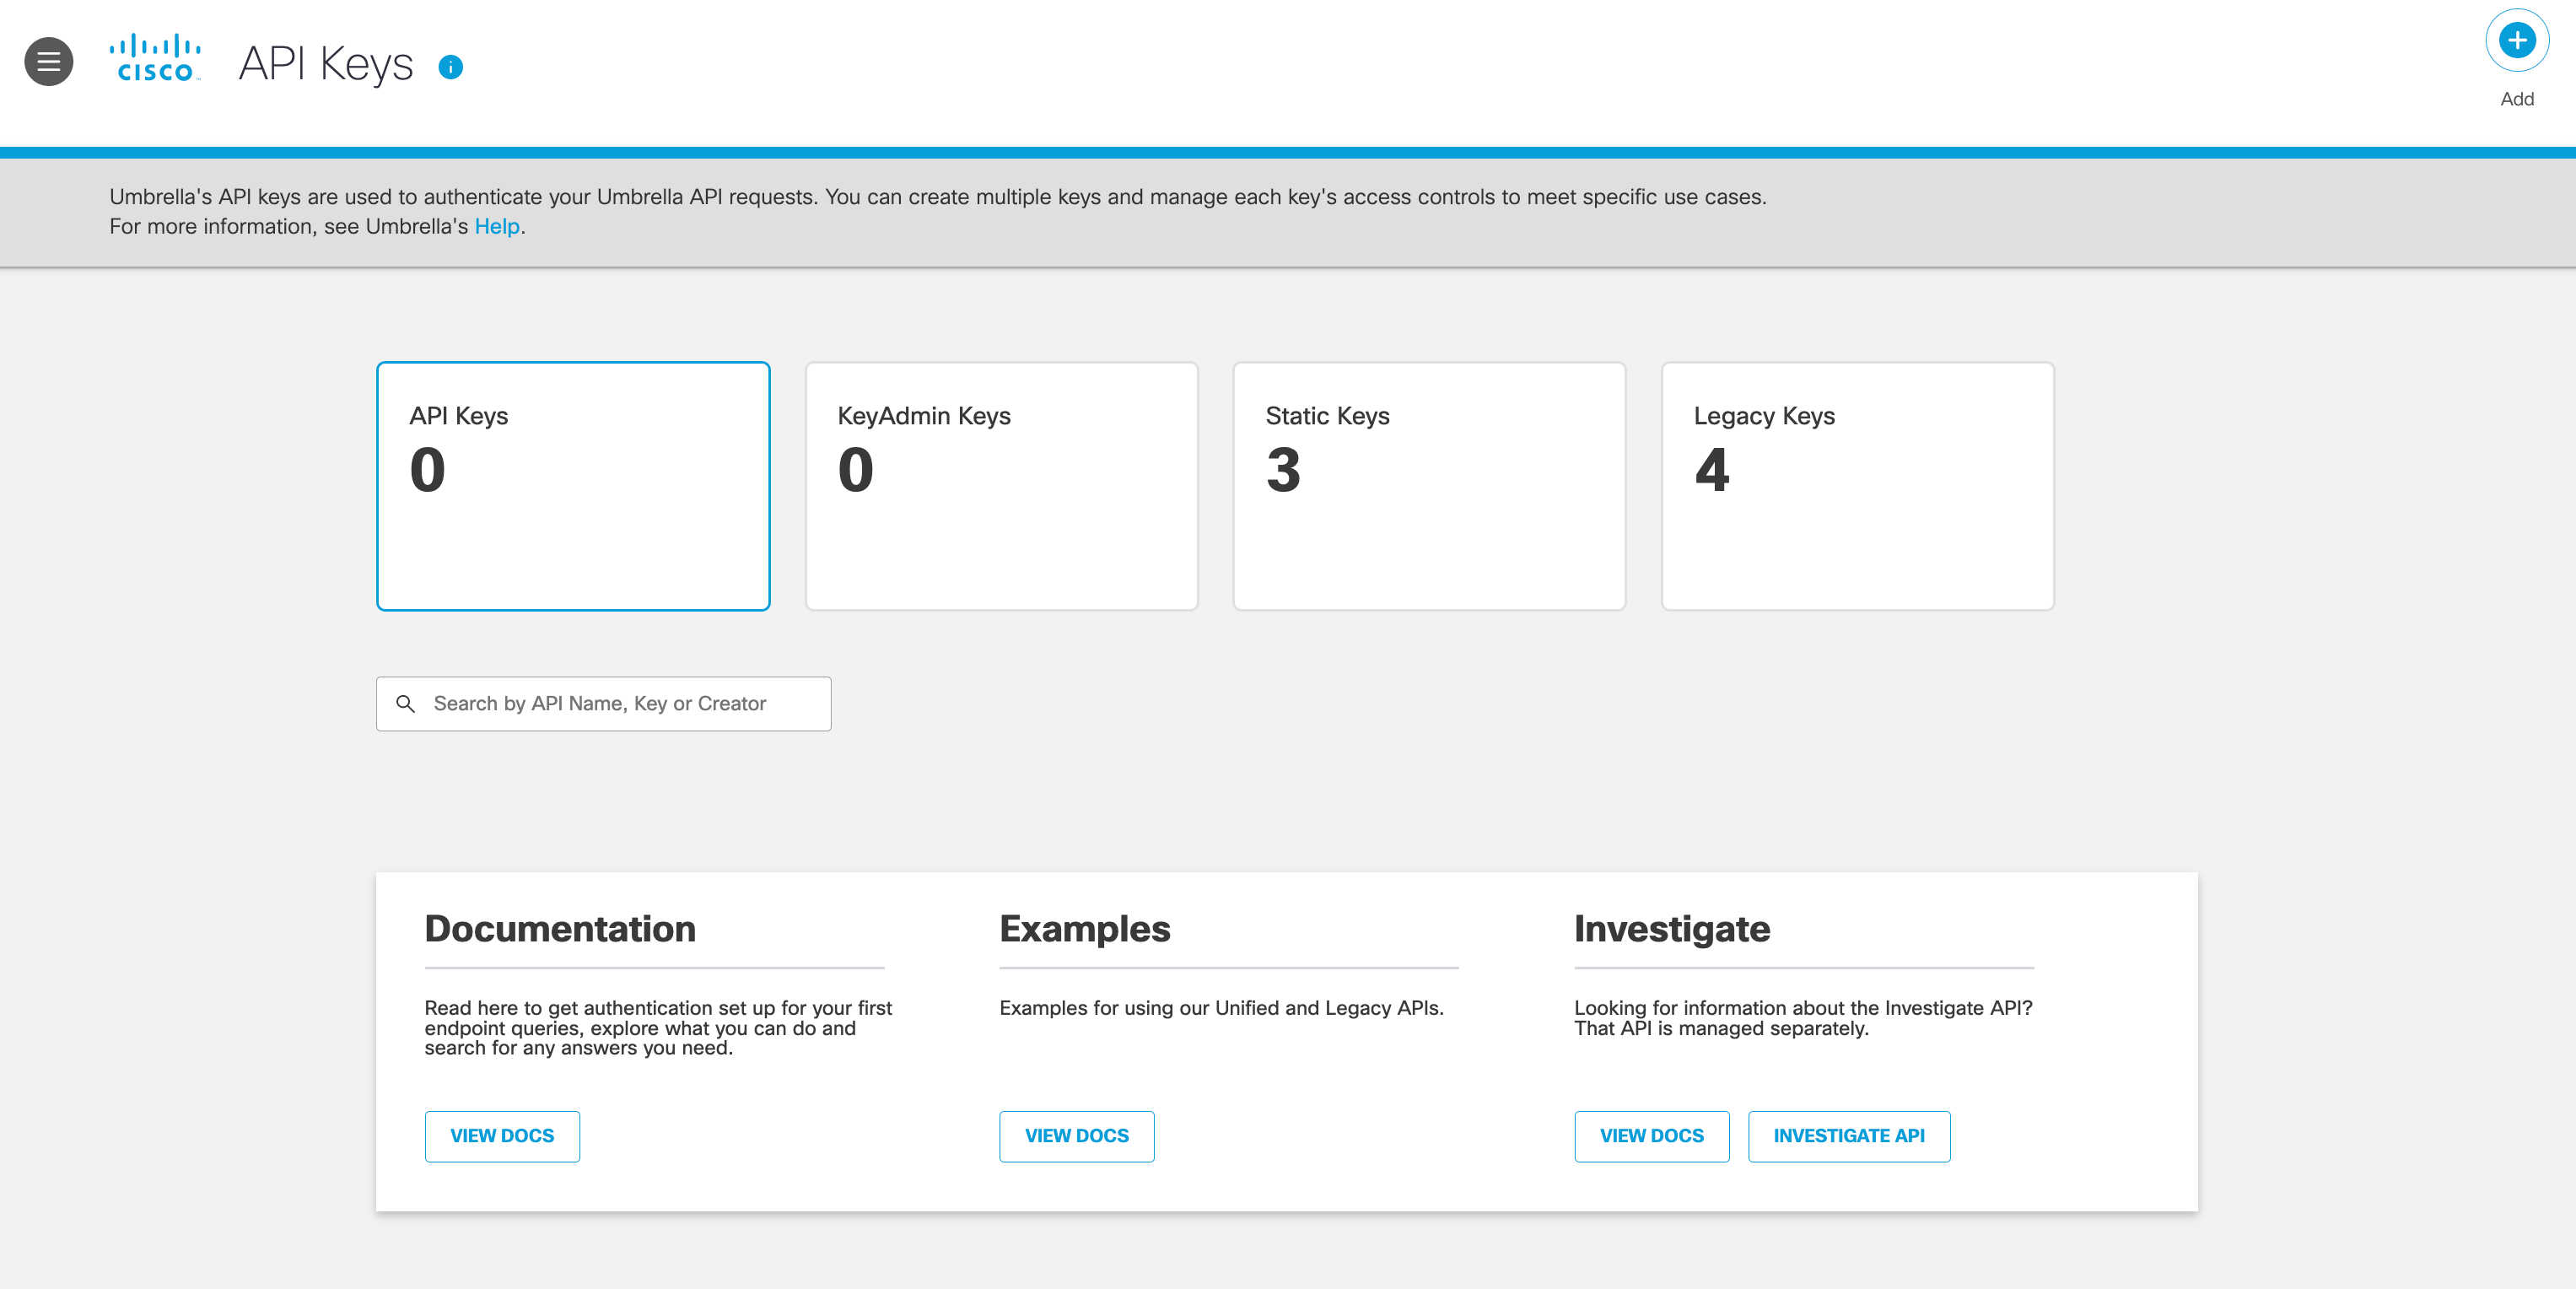
Generate Umbrella Token
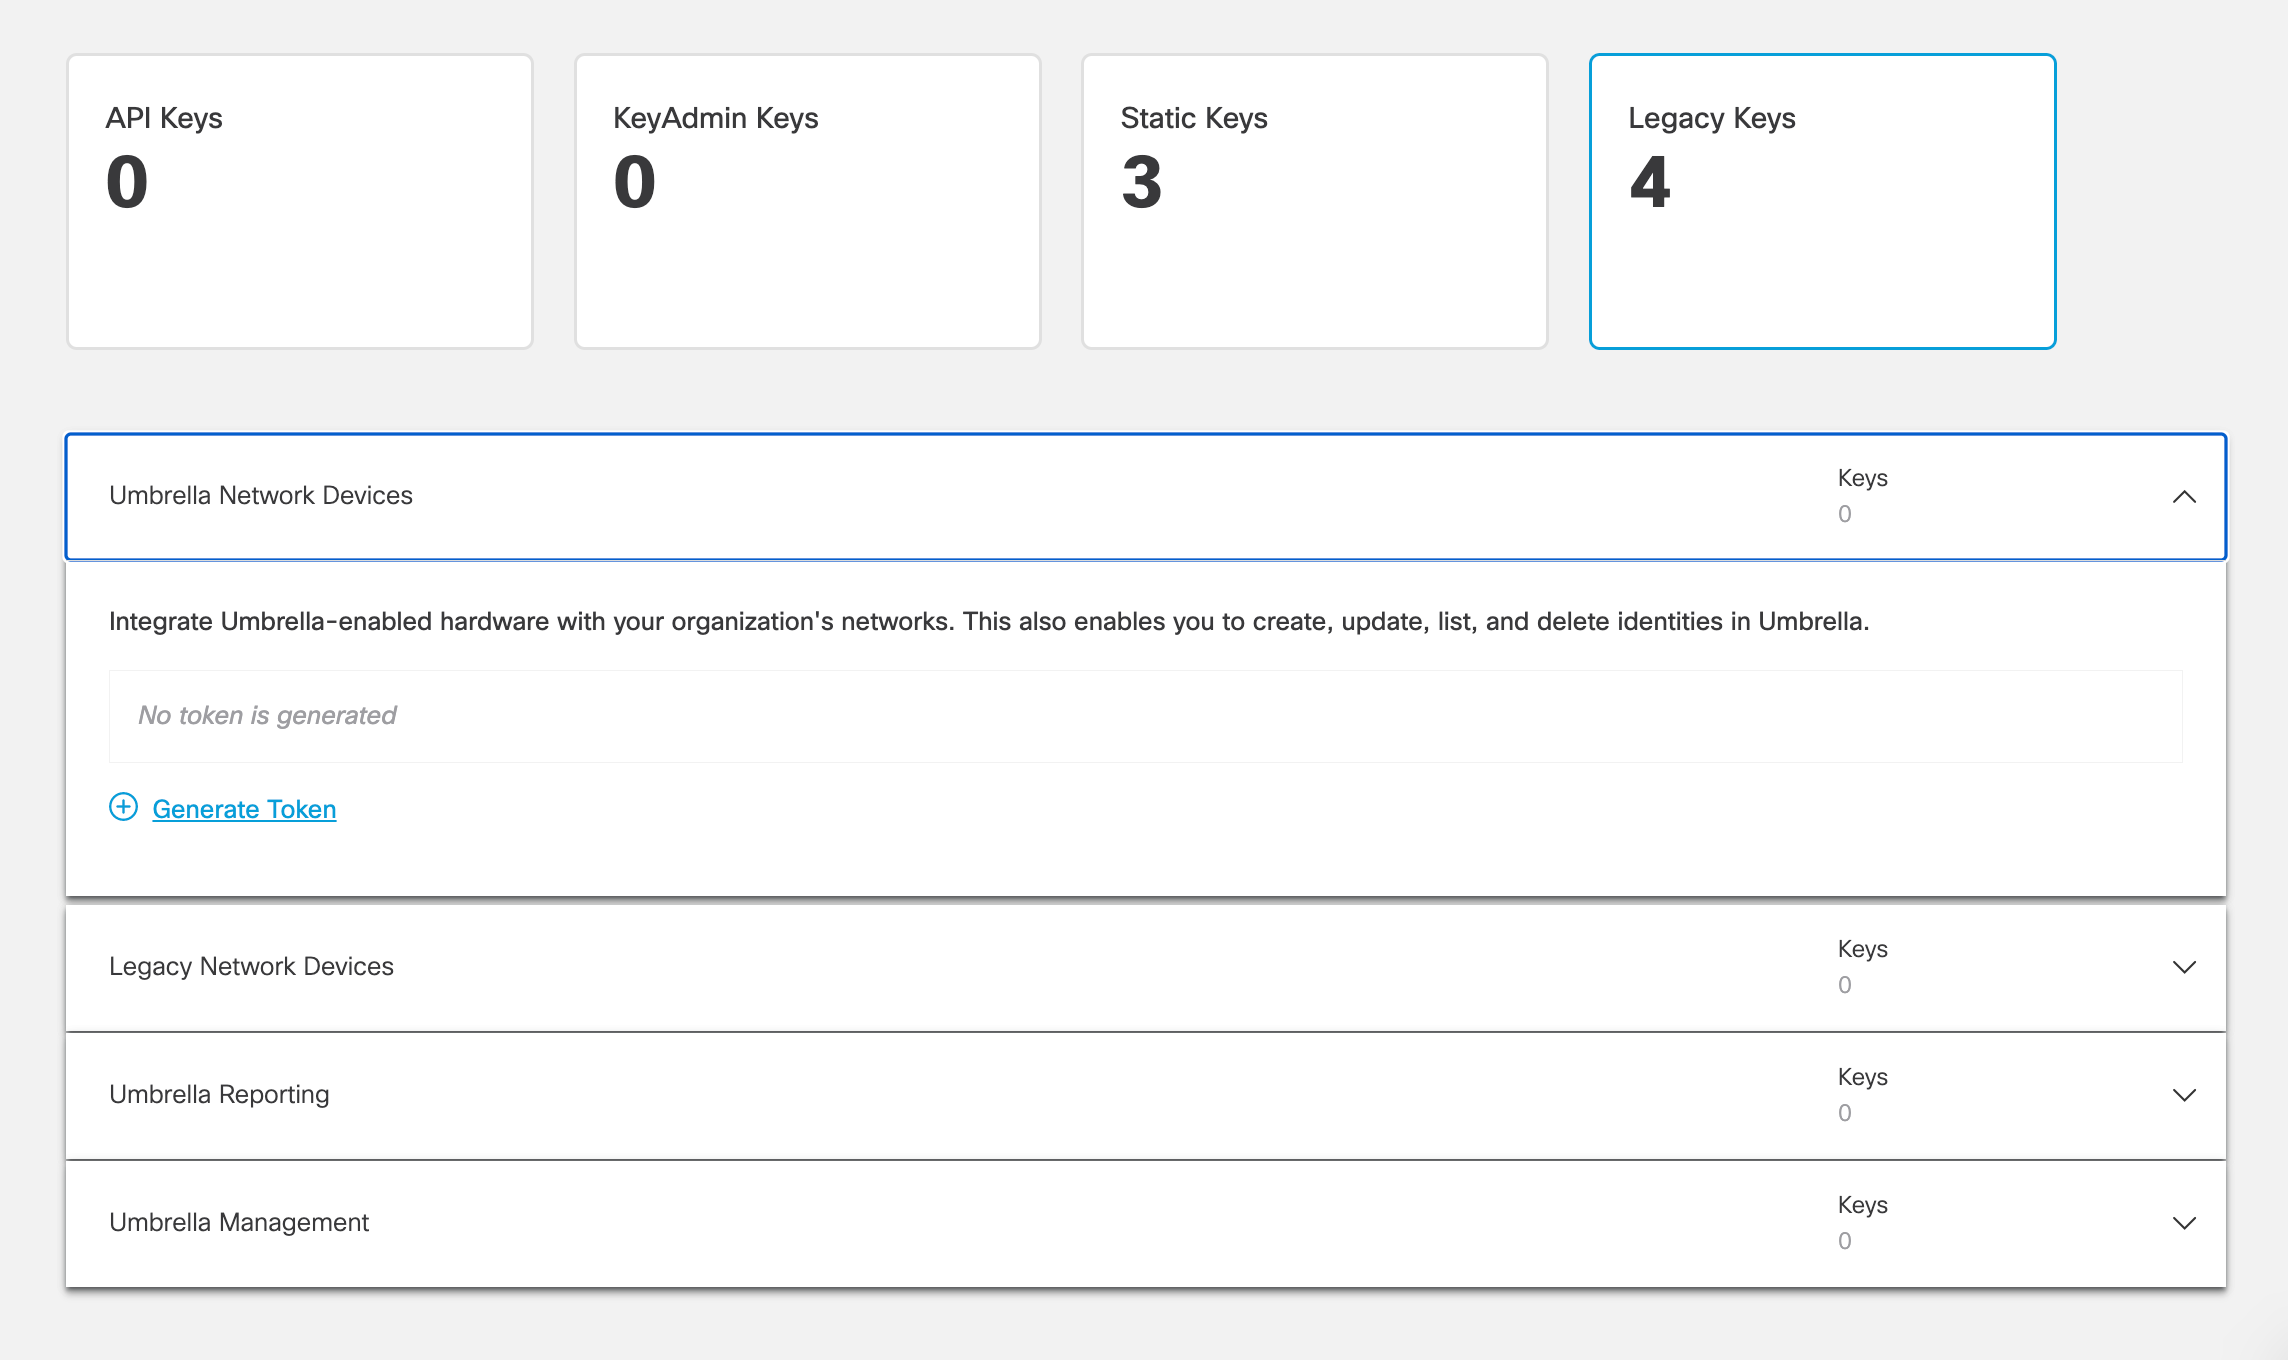
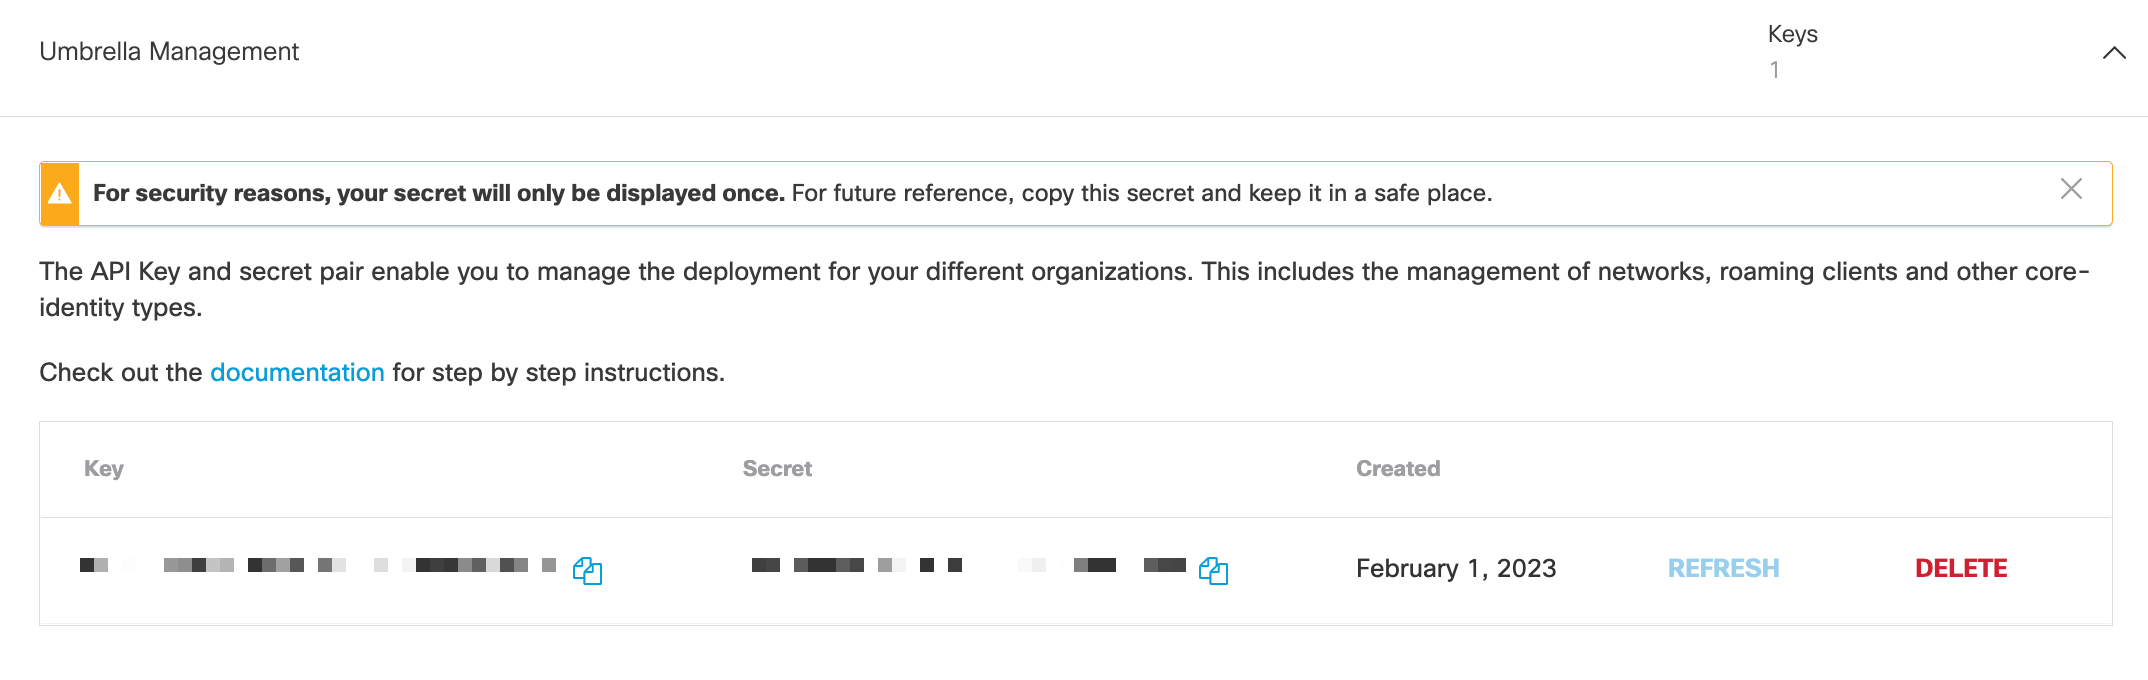
Under Admin > API Keys, select Legacy Keys, expand Umbrella Network Devices and click Generate Token.
(Note: Don’t forget to copy & paste your Key and Secret because for security reasons, your secret will only be displayed once)
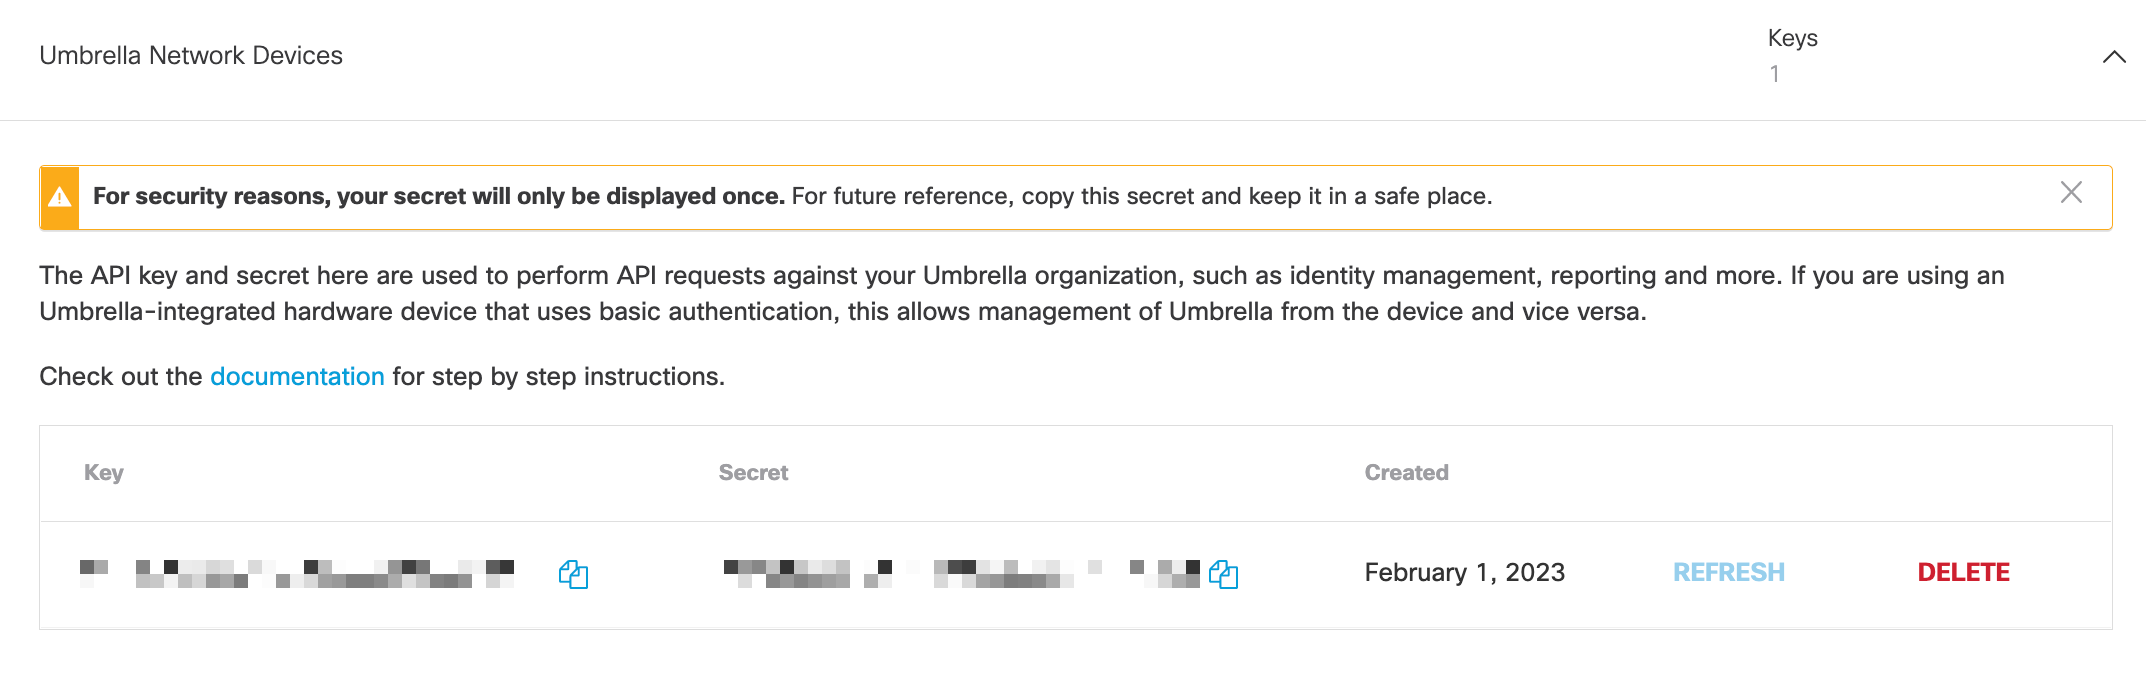
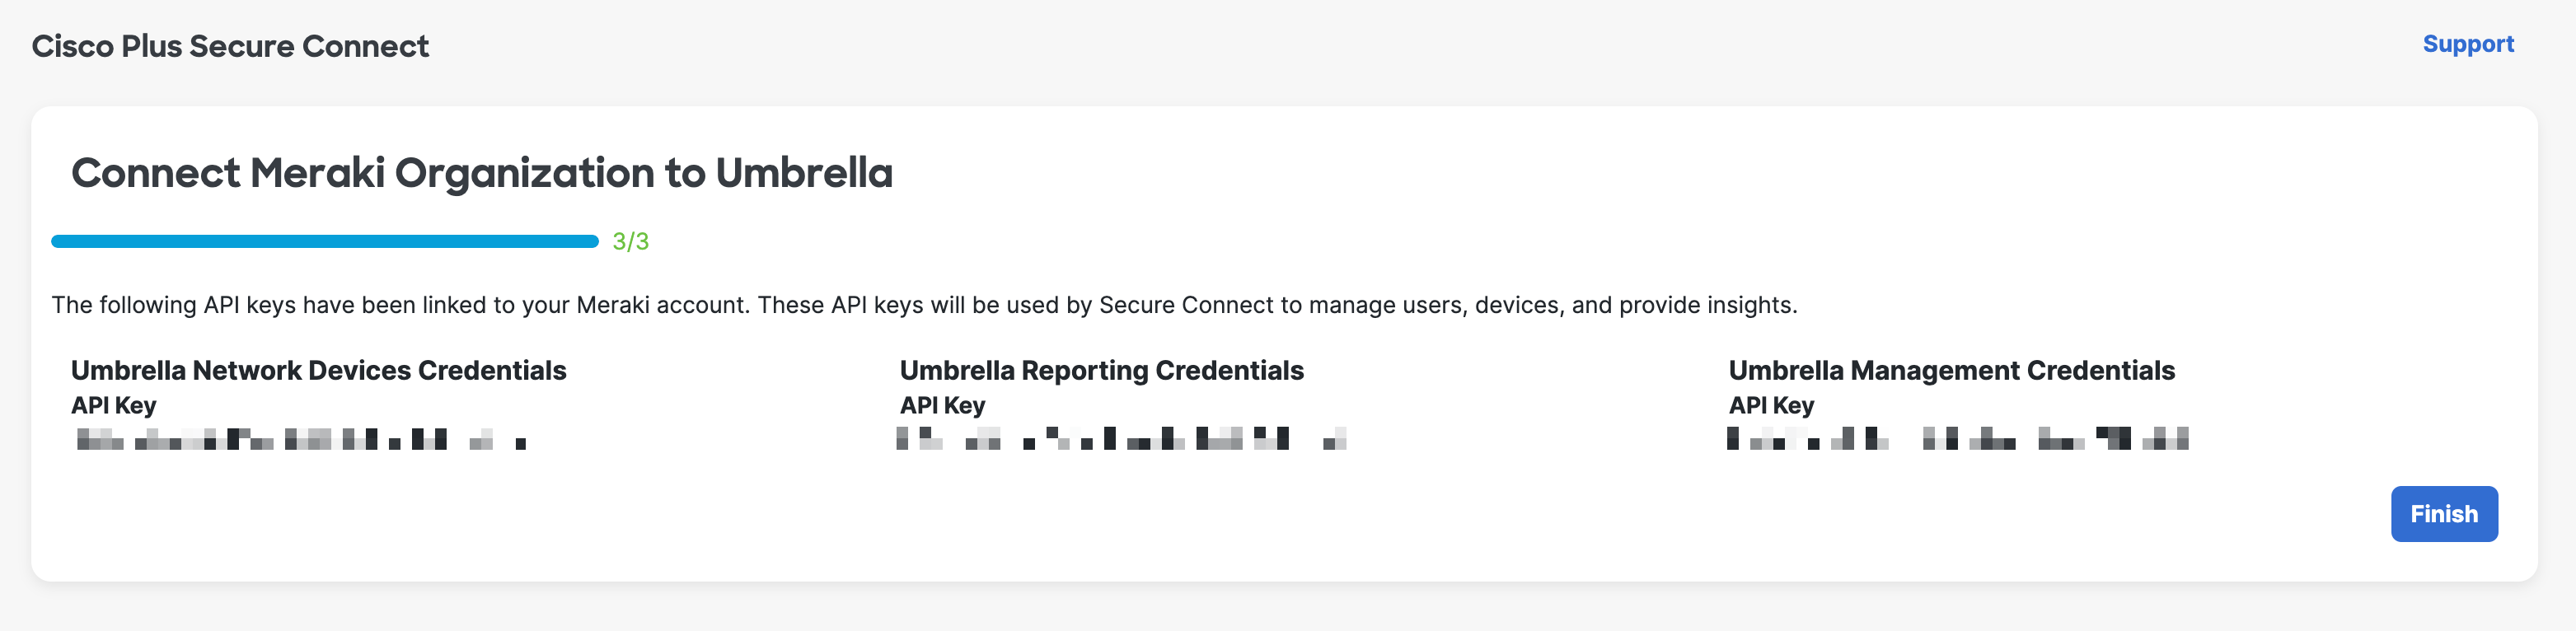
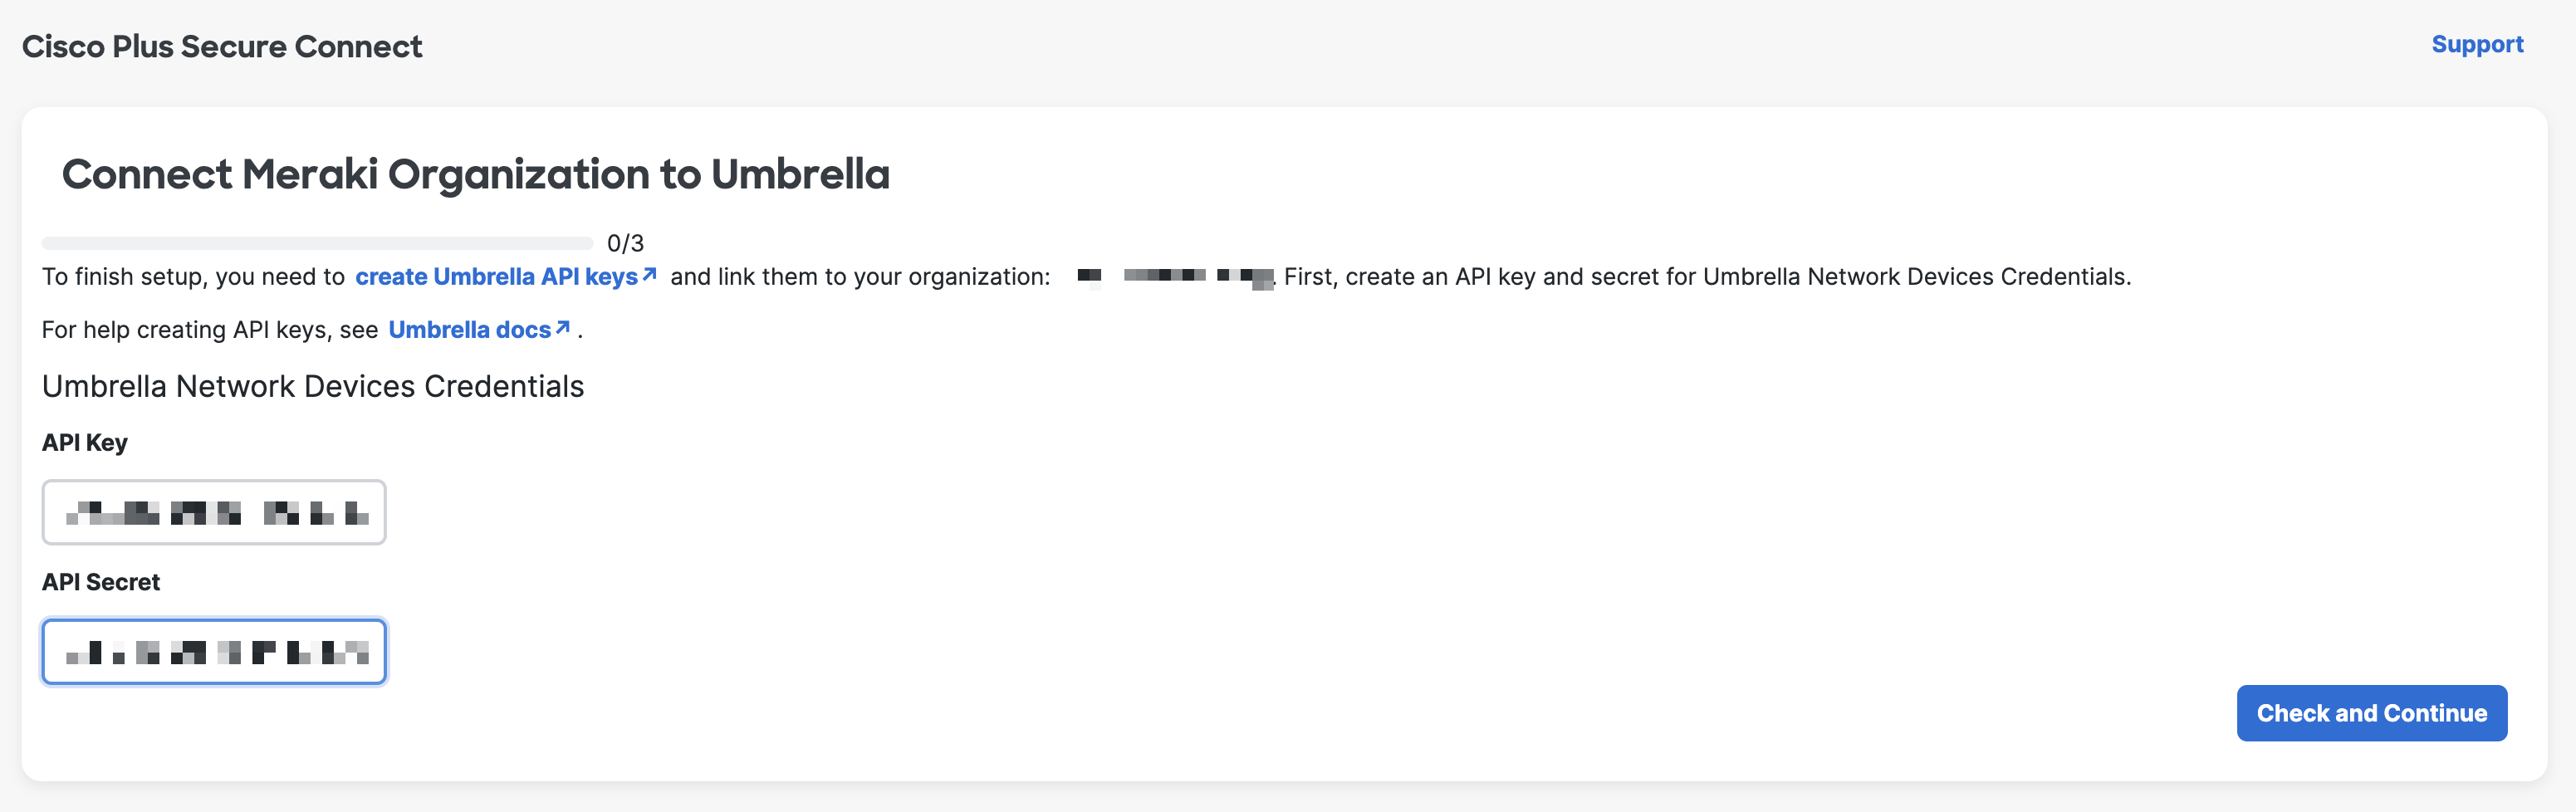
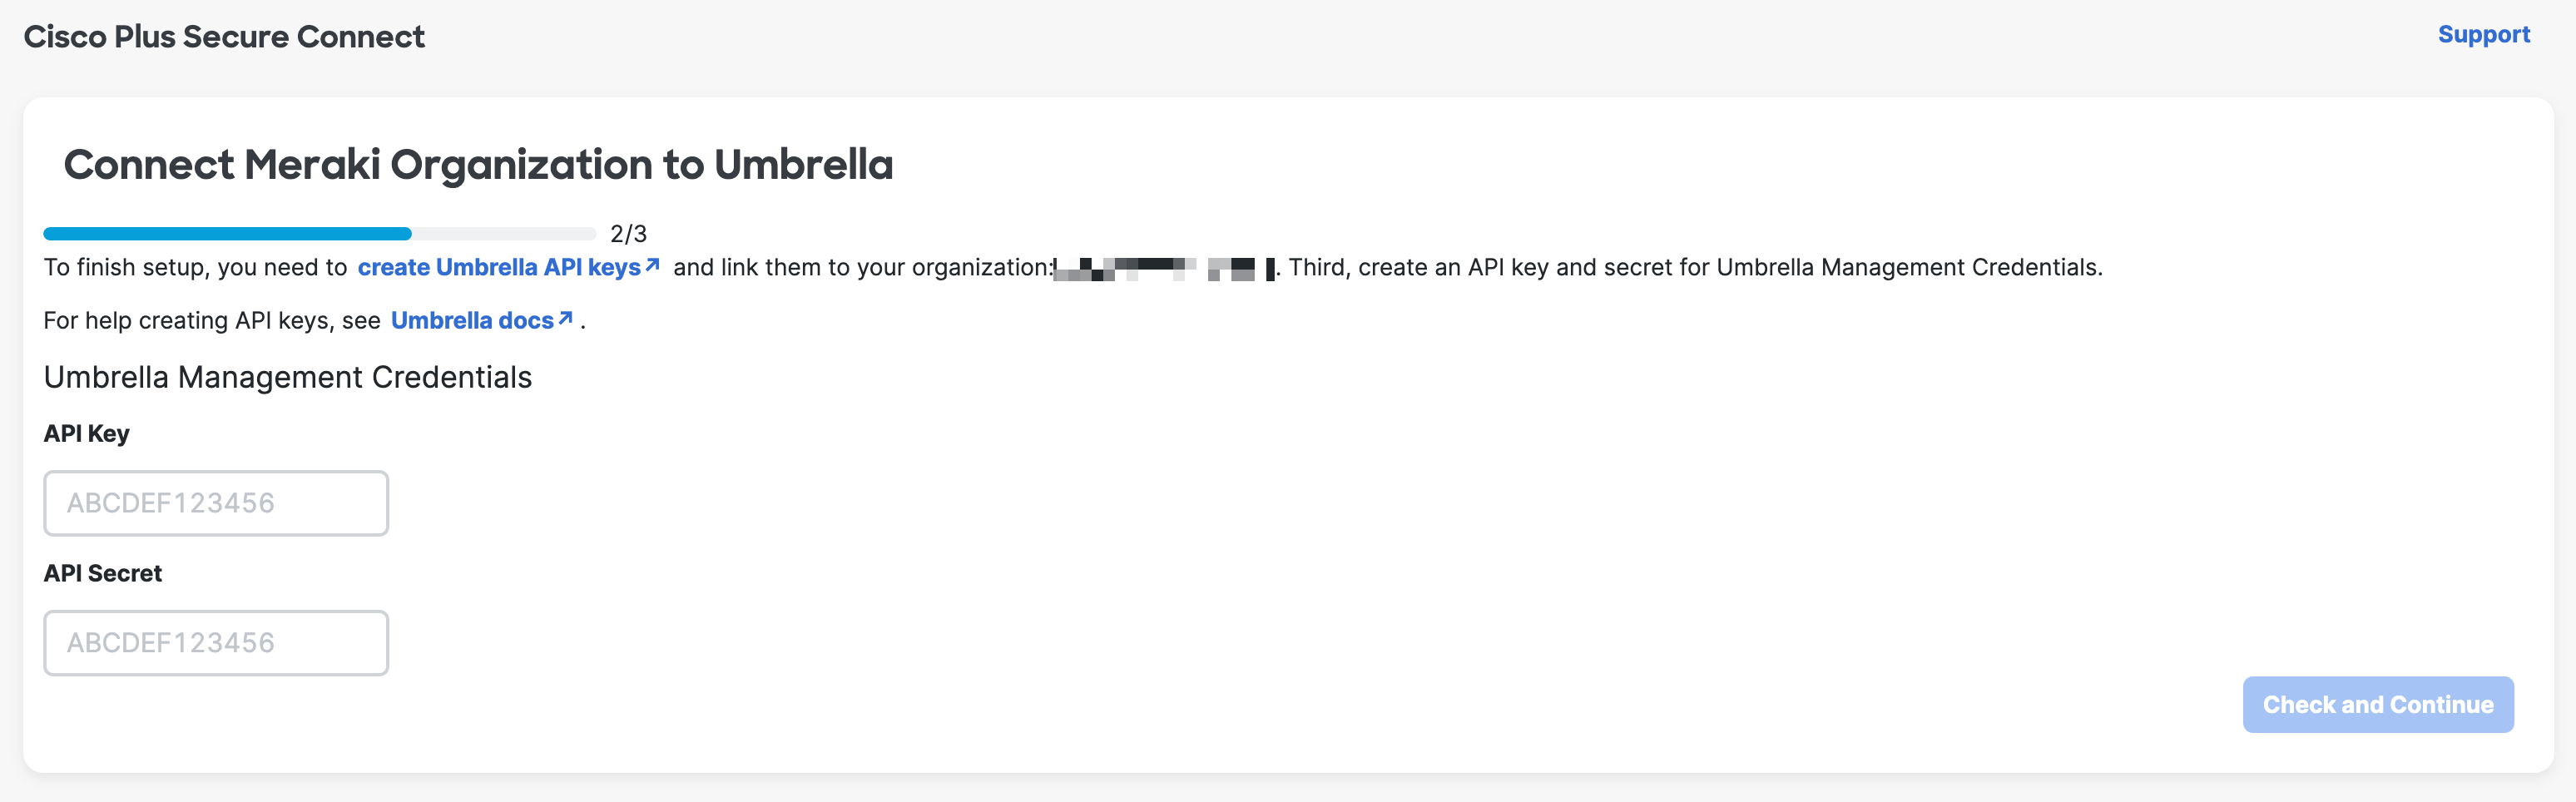
Copy the Umbrella Network Devices Key and Secret to Secure Connect page, click Check and Continue.
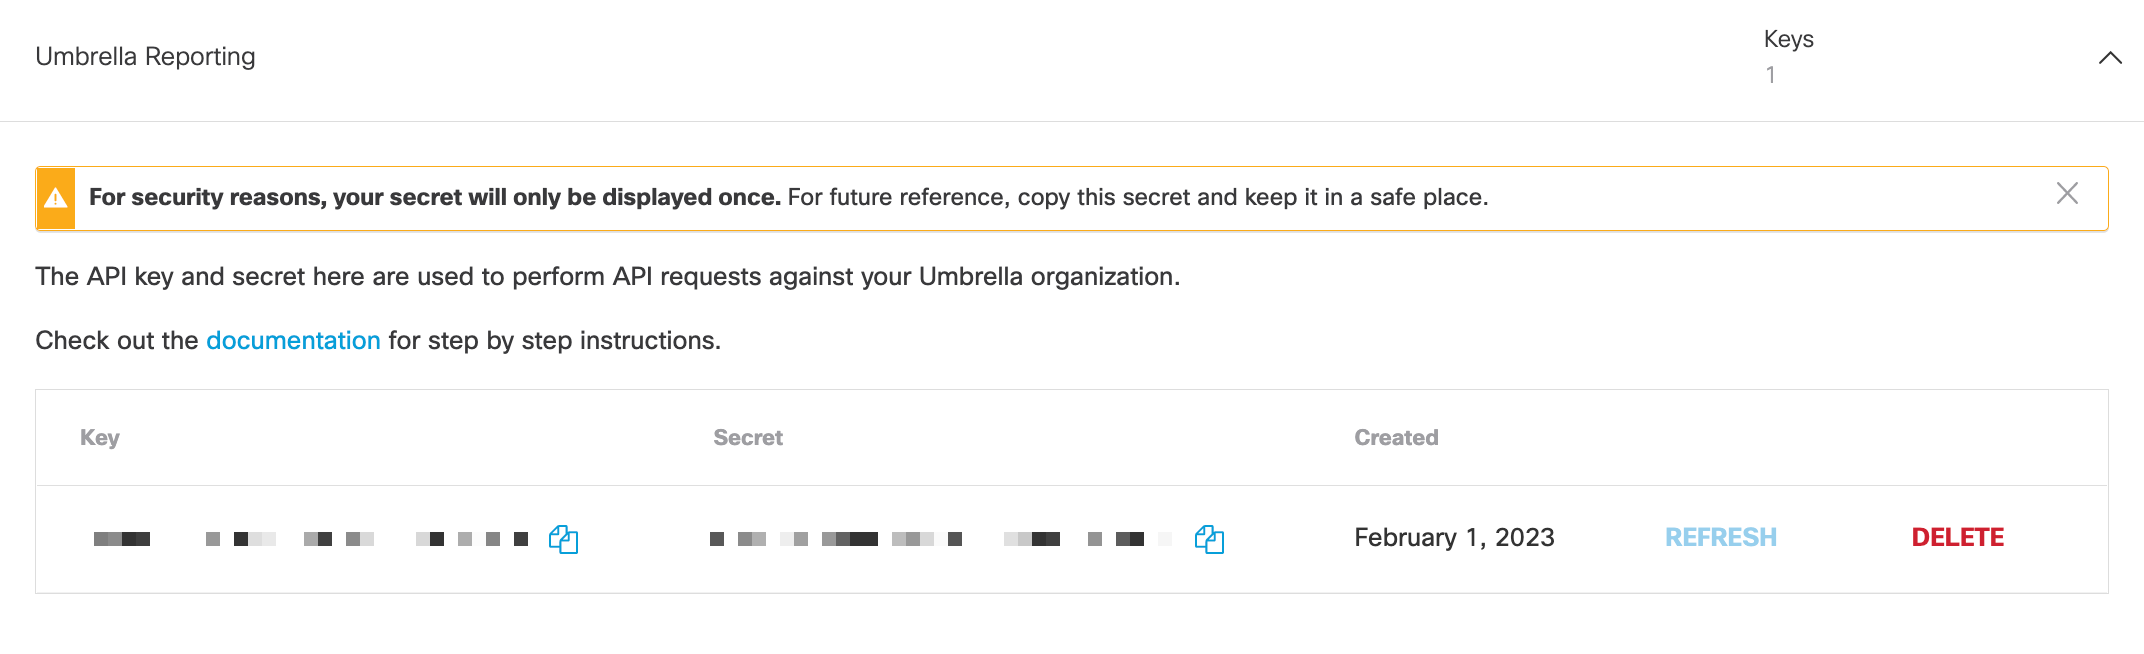
Repeat the above steps to finish Umbrella Reporting Credentials and Umbrella Management Credentials.

Click Finish. You have now successfully provisioned your Secure Connect and can begin configuring the service.