
MT Template Best Practices
Overview
MT sensors do not have any configuration other than Alert Profiles. However, since MT devices rely on either MV or MR for connectivity, there’s limited support for templates when using MR as a gateway. This article will walk you through options to add sensor support to a template configuration.
Note: MVs do not support templates, so this article mainly focuses on having sensor support with MRs in template-bound networks.
Appending MT Networks to Existing Templates
Existing templates will not have an environmental section, nor is there an option to add it. It is strongly recommended to create new templates when adding new product lines because newly created templates will have the environmental section included. The most common scenario is when you need to add a sensor to a network that is currently bound to a template.
If your existing templates do not have the environmental product available, this walk-through will guide you on adding the environmental product to an existing template in your organization.
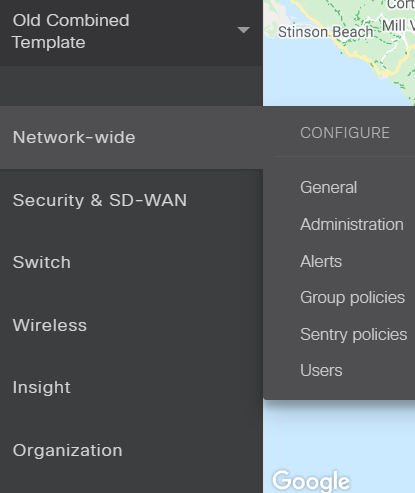 |
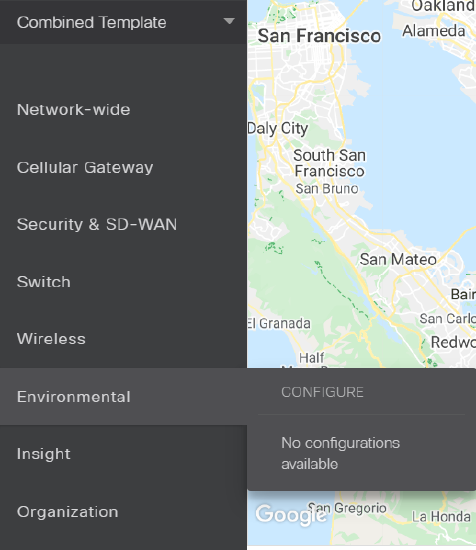 |
| This "Old Combined Template" lacks environmental options. | Newly created templates have environmental settings available. |
This process involves splitting a newly created template and combining the environmental (MT) portion with your existing template. Your existing template will not be split, so it will have an environmental option.
Warning: The appending process of existing templates is recommended to be done during a maintenance window as it could affect configurations of your existing networks bound to the template.
-
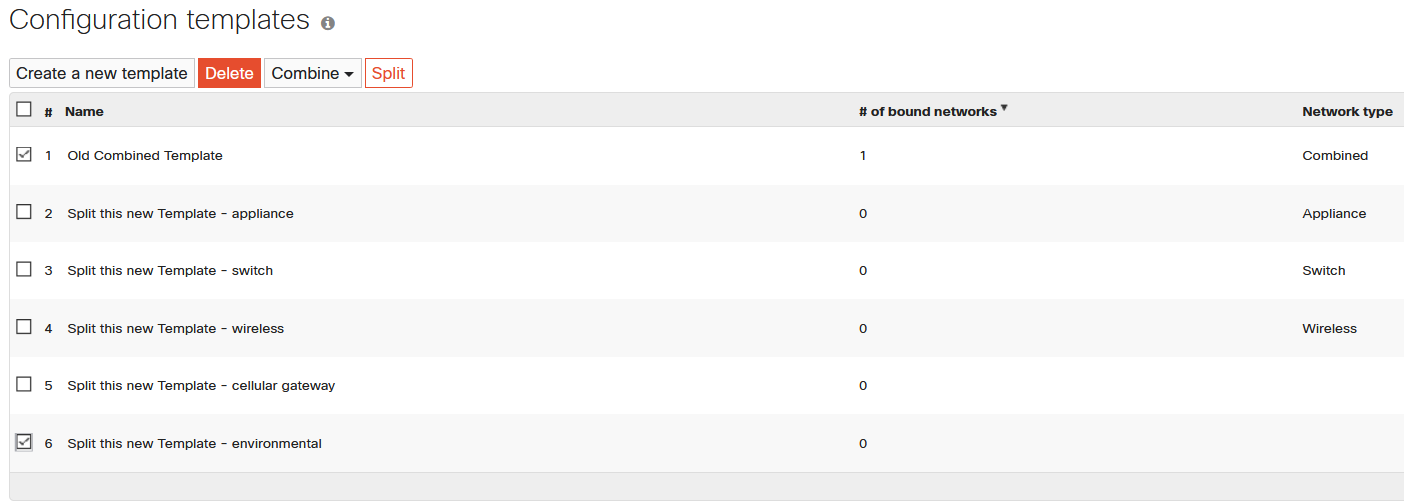
Go to Organization > Monitor > Configuration Templates and view the list of existing templates in your organization.
-
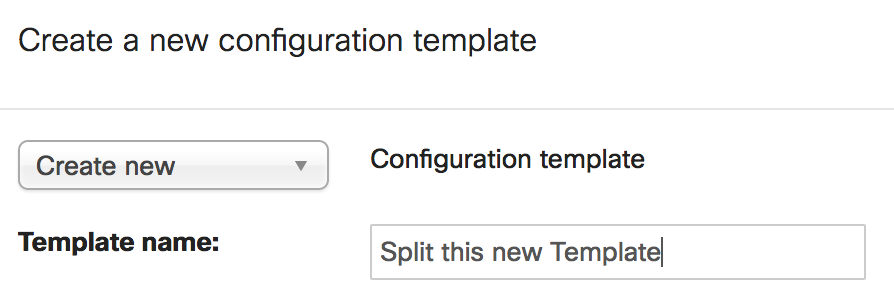
Create a new template that will be used to split the environmental (MT) portion and save your changes.
-
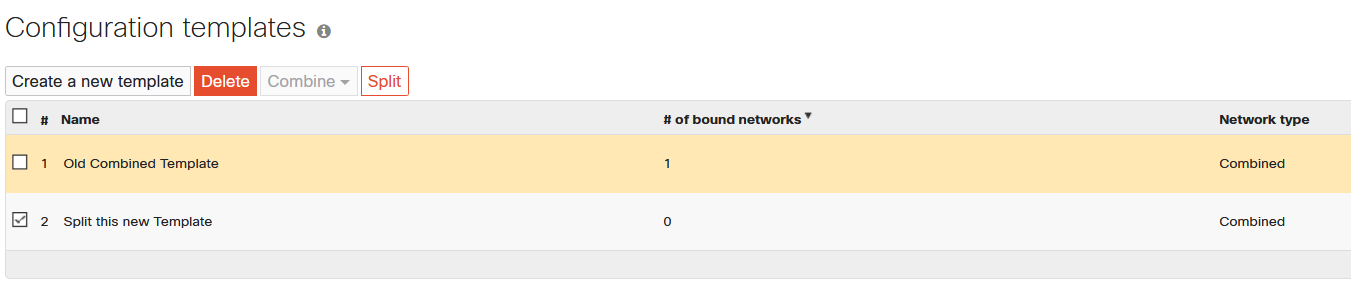
Select the new template, click on Split, then OK to confirm. This will create templates of specific network types.
-
Select the environmental template that was split from the previous step and select the existing template you wish to combine it with.
-
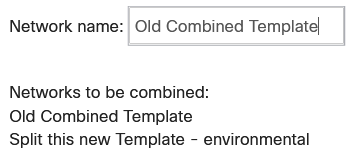
In this example, Split this new Template - environmental and Old Combined Template are selected to be combined.
-
-
Select Combine and fill in the new network name of the template.
-
In this example, the "Template Network" name remains “Old Combined Template.”
-
-
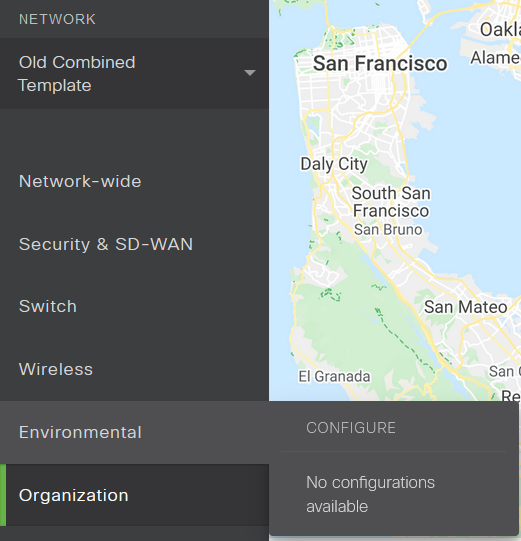
Once the template networks are combined, the environmental configuration should be available in the Old Combined Template. Your existing settings from the old template should remain.
-
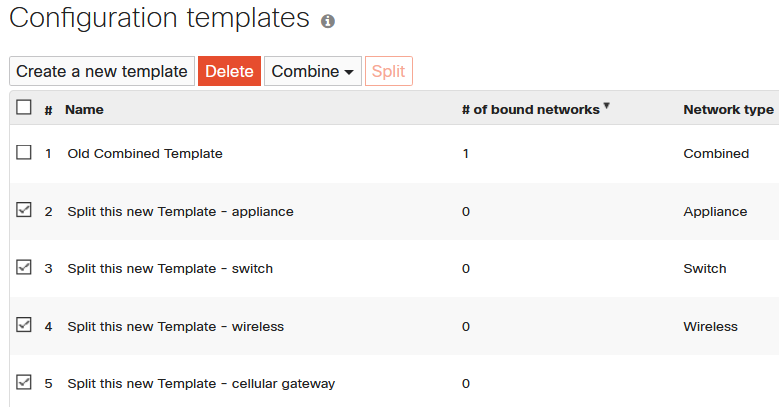
(Optional) Clean up the empty template networks that were split.
-
Under Organization > Monitor > Configuration Templates select the templates that you wish to delete.
-
Click on Delete at the top and confirm on the following section.
-
Template Support
Currently, no configuration for MT devices can be done through templates. The purpose of adding support is solely to allow users to add sensors to a network with MR bound to templates.
Please refer to the documentation to create or assign Alert Profiles.
Note: As templates do not support MT configuration, selecting the "Unbind and Retain Configurations" option when unbinding an MT network from a template will cause its existing alert profile configurations to be cleared. Conversely, the option "Unbind and Clear Configurations" will retain the alert profile configurations.
Adding Sensors to Wireless-Only Templates
In the example below, there is a WirelessOnlyNetwork that is bound to a WirelessOnlyTemplate. If you attempt to add a sensor to the WirelessOnlyNetwork, you may see the following error:

Please follow the steps below to resolve this.
Step 1 - Change a wireless-only template to a combined template
- Create a new combined template.
- For example, the name used below is NewCombinedTemplate
- For example, the name used below is NewCombinedTemplate
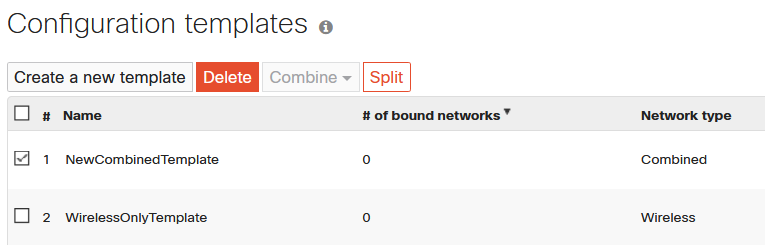
- Select the new combined template, click on Split, then OK to confirm. This will create templates of specific network types.
-
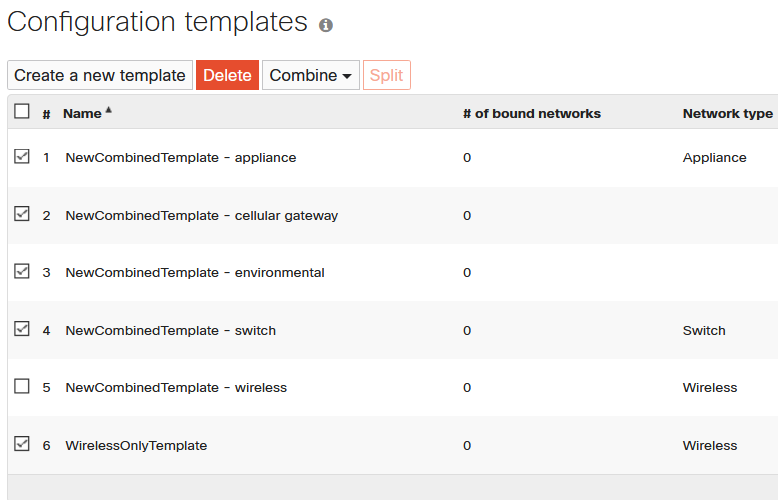
Check the box next to all the newly split templates, except NewCombinedTemplate - wireless and an existing wireless-only template, in this example, WirelessOnlyTemplate.
-
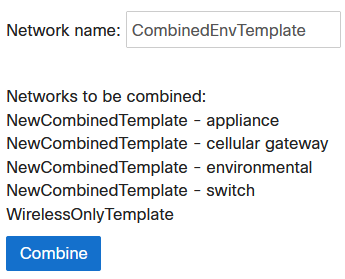
Select Combine at the top and fill in the new network name of the template.
-
In this example, the template network name was changed to CombinedEnvTemplate
-
-
(Optional) Clean up the empty template networks that were split.
-
Under Organization > Monitor > Configuration Templates select the templates you wish to delete.
-
Click on Delete at the top and confirm on the following screen.
-
Step 2 - Create a new Combined Network
- Create a new network with the combined hardware network type.
- For more help on creating a network, refer to our Creating and Deleting Dashboard Networks document
- For more help on creating a network, refer to our Creating and Deleting Dashboard Networks document
- Bind the new combined network to the CombinedEnvTemplate template.
- For more help on binding networks to templates, refer to our Managing Multiple Networks with Configuration Templates document
Step 3 - Combining the Networks
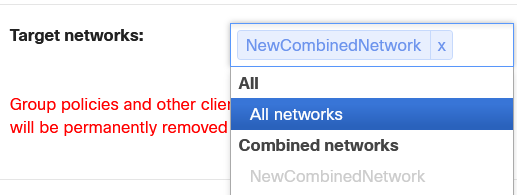
- Split the NewCombinedNetwork from Overview Page.
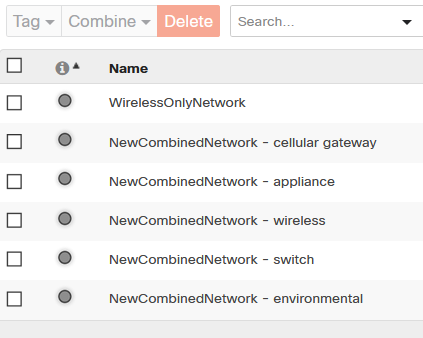
- Check the boxes next to NewCombinedNetwork - environmental and WirelessOnlyNetwork.
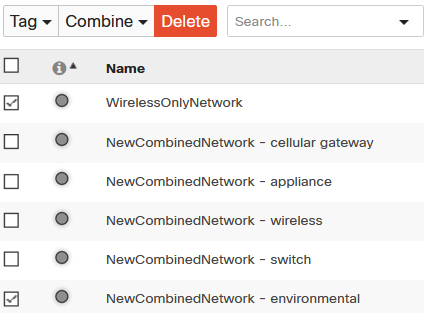
- Click on Combine and give it the same name as the original network and click on the blue combine button.
- In this example, the network name was kept the same and remains WirelessOnlyNetwork
- (Optional) Enter a network enrollment string if you are using System Manager, otherwise, you can leave this blank

- You can now add the sensor to the original network. For further help on adding devices, refer to the Adding and Removing Devices from Dashboard Networks document.