
Cisco Meraki Local Status Page: Campus Gateway
Click 日本語 for Japanese
Campus Gateway LSP Overview
This article covers the features, configuration options, and access methods available on the Cisco Meraki Local Status Page (LSP) for Meraki Campus Gateways. It outlines how to use the LSP for monitoring device health, configuring uplink and VLAN settings, managing adaptive policy tagging, viewing switchport, access point, and client information, troubleshooting issues, and performing device reload or factory reset operations. The default username is "admin" and the password is the Serial Number/Cloud ID.
Accessing the Campus Gateway Local Status Page
To physically access the Local Status Page on a Meraki Campus Gateway, the service port should be used, NOT the console port on the left hand side of the back-panel. The console port does NOT provide access to the LSP and has no use on a Meraki Campus Gateway. The service port is labeled SP as seen below:

Campus Gateway Local Status Page Options
Campus Gateway provides the following information and configuration options on the local status page:
- Connection Summary

On the home page of the LSP, the user gets an overview of the status of the key Campus Gateway components.- MCG Details: Get key information about the CG, such as Meraki Network, CG chassis name, and MAC Address.
- Cisco Meraki Cloud: Quickly view the connection status to Dashboard
- Client Connection: IP address of the client used to access the LSP
- Device Summary: The total number of APs tunneling to the CG and the number of clients connected
- System Resources: View the CPU and Memory utilization of the CG as well as the temperature of the chassis. The status of each power supply will also be shown.
- Configuration
- Uplink Configuration

The user can configure the following uplink settings:- VLAN
- IP Address
- Gateway
- DNS server(s)
- Uplink Configuration
The Campus Gateway will use these to connect to Dashboard if DHCP does not work or is not configured. As all the ports are configured in a single L2 port-channel, this will configure the L3 VLAN interface (SVI) for management connectivity.
Note: If Campus Gateway is already provisioned and is using the single interface deployment, where both the Management and AP Tunnel Interface share the same IP address, the Uplink Configuration will not be able to be changed as this would also change the AP Tunnel Interface. This would lead to downtime in the wireless network as the APs would no longer be able to tunnel to the Campus Gateway's AP Tunnel Interface.

- Adaptive Policy

In the event the Adaptive Policy is configured in the network and Campus Gateway is unable to connect to the upstream network and Dashboard due to Campus Gateway not having infrastructure Adaptive Policy enabled (uplink port is not configured with the correct SGT), the LSP can be used to enable uplink traffic to be tagged with the correct SGT, typically a value of 2.
Note: The SGT value can be found in either the upstream switch port configurations or, for Cisco cloud-managed devices, in Organization > Adaptive policy > Groups page under Infrastructure.
- Ports Page

The Admin and Operational status of all the ports as well as their VLAN configurations are shown. This can be used to verify the pushed configuration from Meraki Dashboard if any issues appear.
- Access Points Page

The list of all the APs tunneling to the Campus Gateway will be shown as well as their respective MAC and IP addresses.
- Clients Page

The list of all the clients that connect to the centralized SSIDs as well as which SSIDs and VLANs the clients are connected to. Anything other than the Run state for client state will indicate an issue in client connectivity.
- Support Bundle Creation
In the event of any issues on the Campus Gateway, Meraki Support may ask for a support bundle to be generated on the CG for debugging purposes.
Step 1: Click Generate to begin the Support Bundle creation process. This will take a few minutes to complete.

Step 2: Once completed, click Download to get the generated tar.gz file and share this with Meraki Support.


- Reset and Reload Campus Gateway
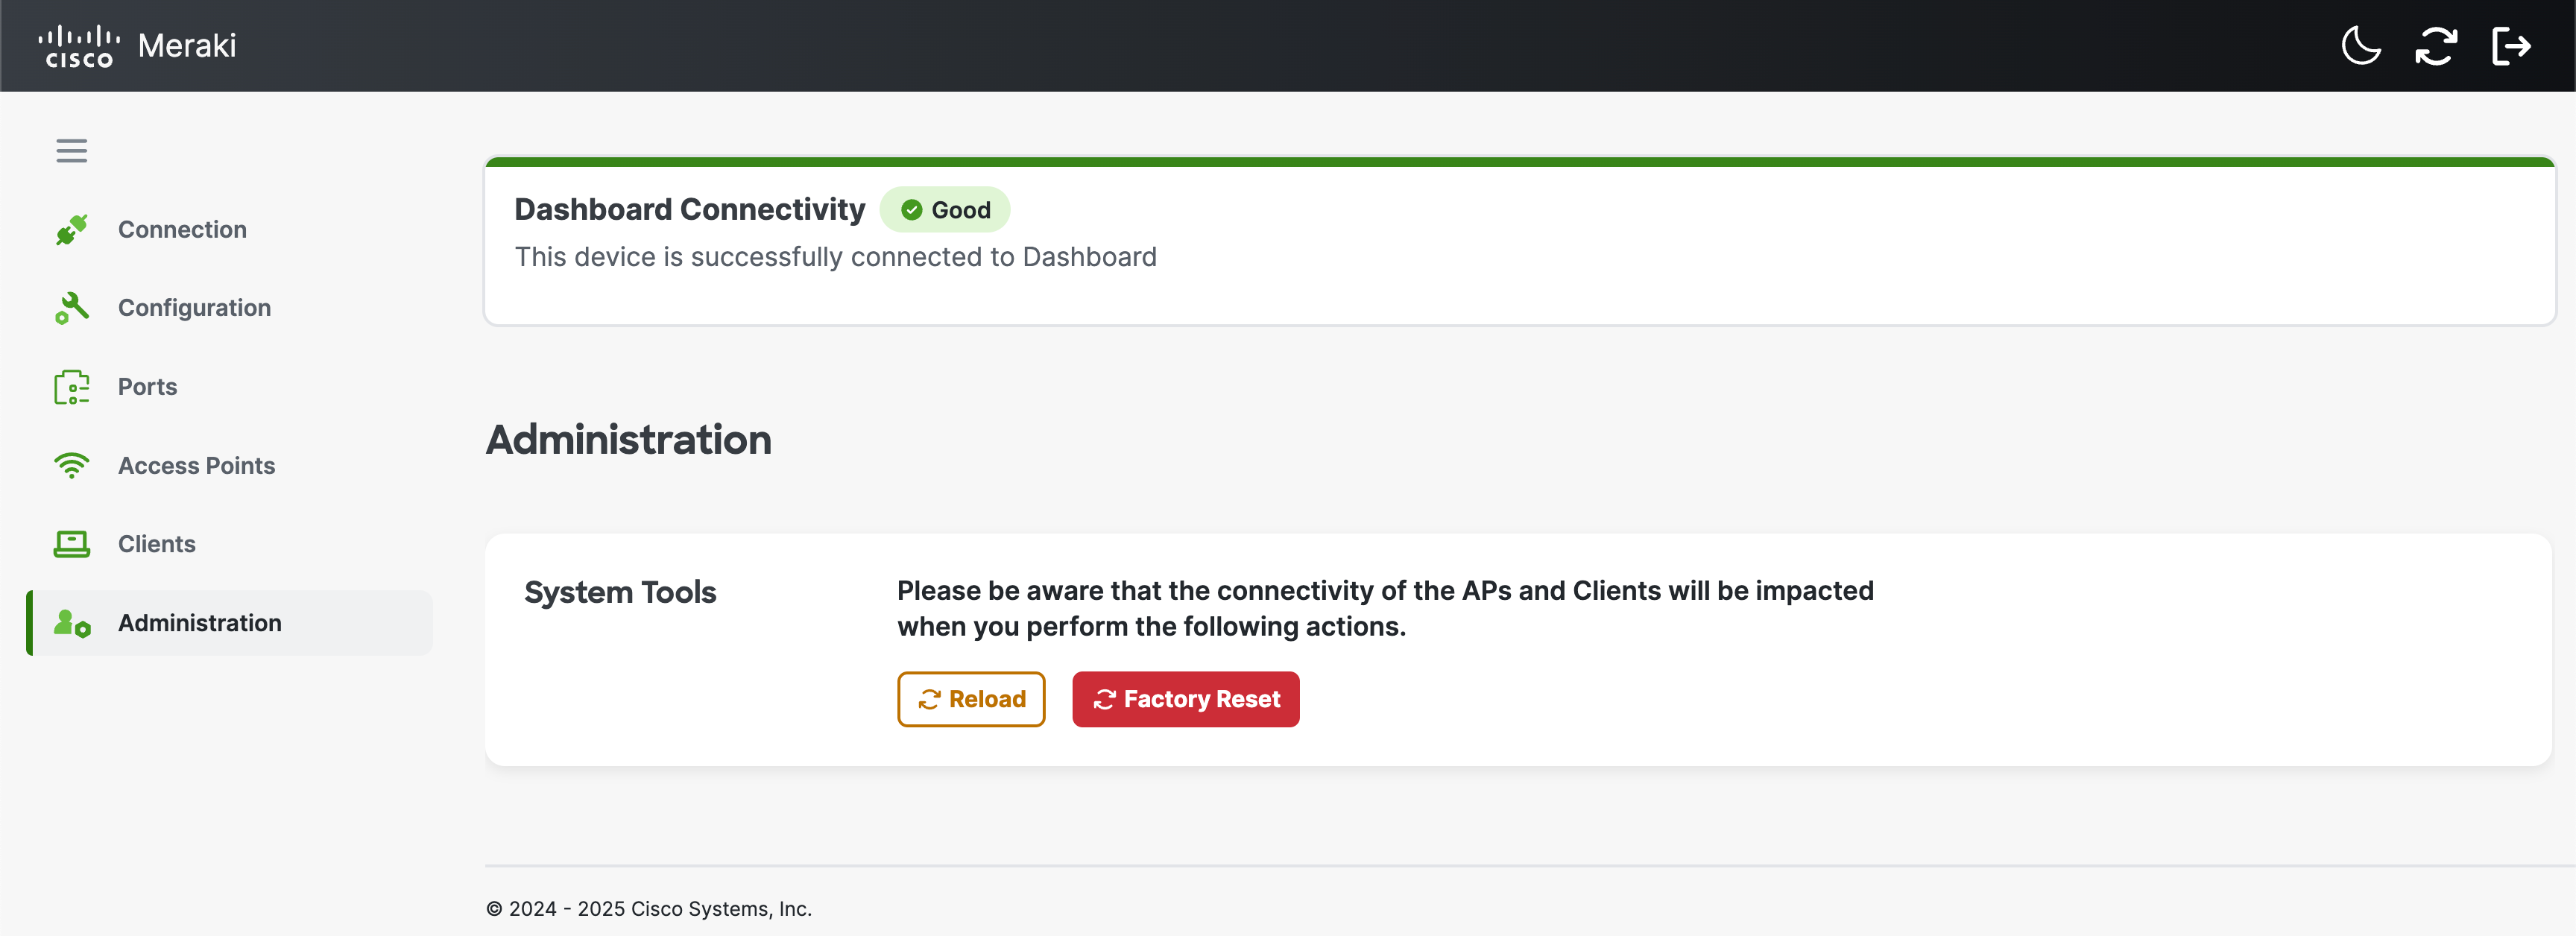
Campus Gateway can quickly be reloaded or completely factory reset using the LSP. Click on the respective button to do so.