
Cisco SASE: Onboarding/Offboarding Cisco SASE with Meraki SD-WAN
Overview
The Cisco SASE with Meraki SD-WAN enables optimized, separate management experiences for NetOps and SecOps teams. The onboarding process involves integrating Cisco Secure Access with the Meraki dashboard by navigating to Organization > Configure > Integrations, selecting Cisco Secure Access. Users then add the Integration Meraki API Key from the Secure Access dashboard to complete the integration. After successful onboarding, a SASE tab appears in the Meraki dashboard for streamlined management.
Prerequisites
Before getting started with the onboarding process, there are a few important prerequisites and initial command steps to complete. These steps will ensure a smooth and seamless onboarding experience, setting you up for success right from the beginning. Refer to CISCO SASE: Getting Started Guide for detailed prerequisites.
After onboarding is completed addition API keys are generated in Secure Access dashboard. Do not remove any of the keys as it may cause system to get into stuck state.
Claim your subscription in Security Cloud Control (SCC)
Access to Security Cloud Control platform.
Create Secure Access Integrations Meraki API Key
This section explains how to create a Meraki API Key. You will use this key later in the onboarding process.
Navigate to the Cisco Secure Access dashboard. In the left navigation panel, click Admin, then select API Keys.
Access to Cisco Secure Access dashboard with Admin privileges.

Click the Add button at the top right corner.

In the new wizard, enter the API Key Name. Under Key Scope / Admin, select Integrations > MSA key. Set the authority to Read/Write, then click CREATE KEY.

Copy and securely save your API Key and Key Secret, as they will be shown only once. After saving, click ACCEPT AND CLOSE.

You have completed creating the Secure Access Integrations Meraki API Key. To learn more about Secure Access API Keys, use this link.
Integration Experience
Prior to onboarding flow, please check Platform Optimization section.
In Meraki dashboard, navigate to Organization > Integrations (In the Configure section).
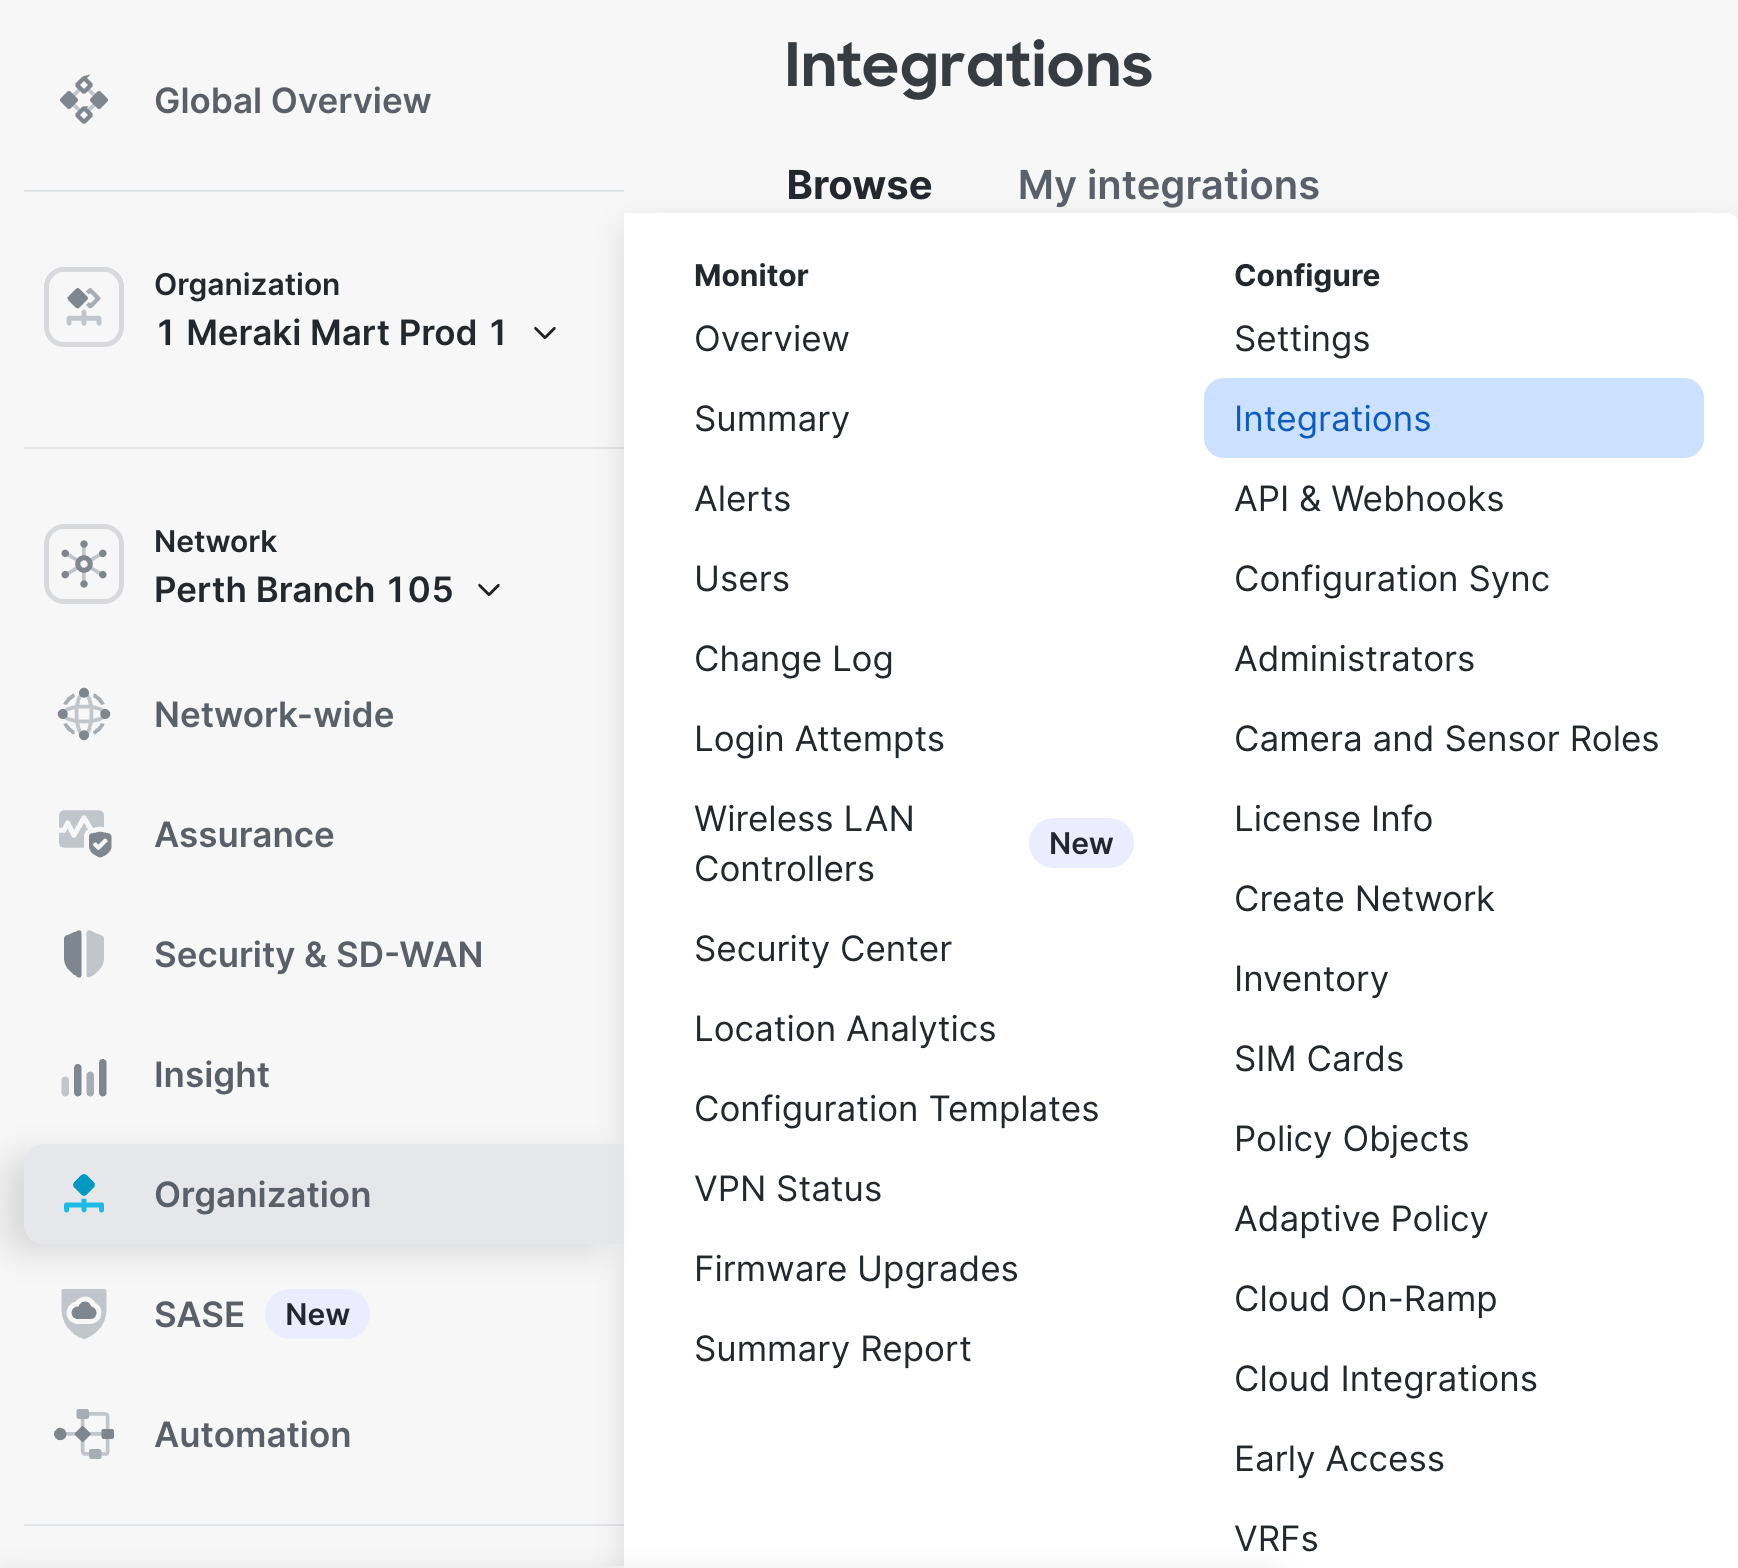
Select Cisco Secure Access on the Integrations page.

- Click Connect at the top right of the Cisco Secure Access page.

Prior to selecting Next verify that your SD-WAN environment doesn't require spoke to spoke communication over Hub.
If spoke-to-spoke communication over Hub is required, please work with support to complete this integration.

Copy and paste the Secure Access Integrations Meraki API Key pair from the Cisco Secure Access dashboard and then click Add integration.

After completion, the page displays the user who added the integration, the integration date, and the organization ID from the Secure Access dashboard.

After onboarding is completed addition API keys are generated in Secure Access dashboard. Do not remove any of the keys as it may cause system to get into stuck state.
You will see the SASE tab in the left navigation.

The next you will attach sites to connect MX devices to Secure Access (document).
Troubleshooting the Integration
The following table outlines possible error states during onboarding and the appropriate next steps for each.
| Error | Next Steps |
|
Failed to create Secure Access integration records. |
Try the request again, if it occurs again, contact support. |
|
Secure Access integration already queued for this organization. |
Try the request again, if it occurs again, contact support. |
|
Unable to retrieve the Secure Access organization ID: ####### Please verify your API key type and scope. |
You may have incorrect API Key or Scope; check the Key and Scope and try again. Correct scope is: |
|
The Secure Access organization has already been integrated with another Meraki organization. |
The Secure Access org for this API key is already connected to another Meraki org. - Check that you have a key from the correct Secure Access org - If correct, find the Meraki org that is connected and disconnect it. Learn how to Disconnect a Secure Access org here. If the steps above do not work, and your organization is not connected to another Secure Access org, contact support. |
|
The Secure Access organization is not yet eligible to integrate with Meraki. |
The Secure Access org is missing the eligibility feature flag. Contact support to enable this flag. |
|
The Secure Access organization is not yet linked to Security Cloud Control. |
Your Secure Access organization is not yet linked to Security Cloud Control. Contact Support to request the SCC linking process. |
|
Internal error, try again. |
Try to complete the request again. If the error persists, contact Support. |
|
API key generation failure: <...> |
Try to complete the request again. If the error persists, contact Support. |
|
Integration failing to activate: <...> |
Try to complete the request again. If the error persists, contact Support. |
Disintegration (Disconnecting Meraki Dashboard from Cisco Secure Access)
To disconnect your Meraki Dashboard from Cisco Secure Access, follow below steps
Navigate to Organization > Integrations (from the configure section).

Click My integrations. Click Secure Access Integration on the new page.

Click Disconnect at the top right corner.

The disconnection is complete after 10-15 minutes.
Troubleshooting the Disconnect step
|
Error Message |
Next Steps |
|
Please remove all Secure Access sites before removing the integration. |
Detach all Sites. |
|
Please remove all Secure Access regions before removing the integration. |
Removing the last Site will remove the Region(s). |
|
Invalid SecureAccessIntegrationDestroyJob: Secure Access integration removal already queued for this organization |
Wait a moment then try to complete the request again. If the error persists, contact Support. |
|
Failing job due to integration failing to be removed from Secure Access: <...> |
Wait a moment then try to complete the request again. If the error persists, contact Support. |