
How to Place Devices on the Map in Dashboard
Overview
The Google Maps tool embedded in the Cisco Meraki dashboard helps you locate devices or networks within the same Dashboard Organization. This article explains how to place and modify a device's location on the map in the dashboard. It also outlines the benefits of using the dashboard maps on their own and alongside other dashboard features.
Benefits
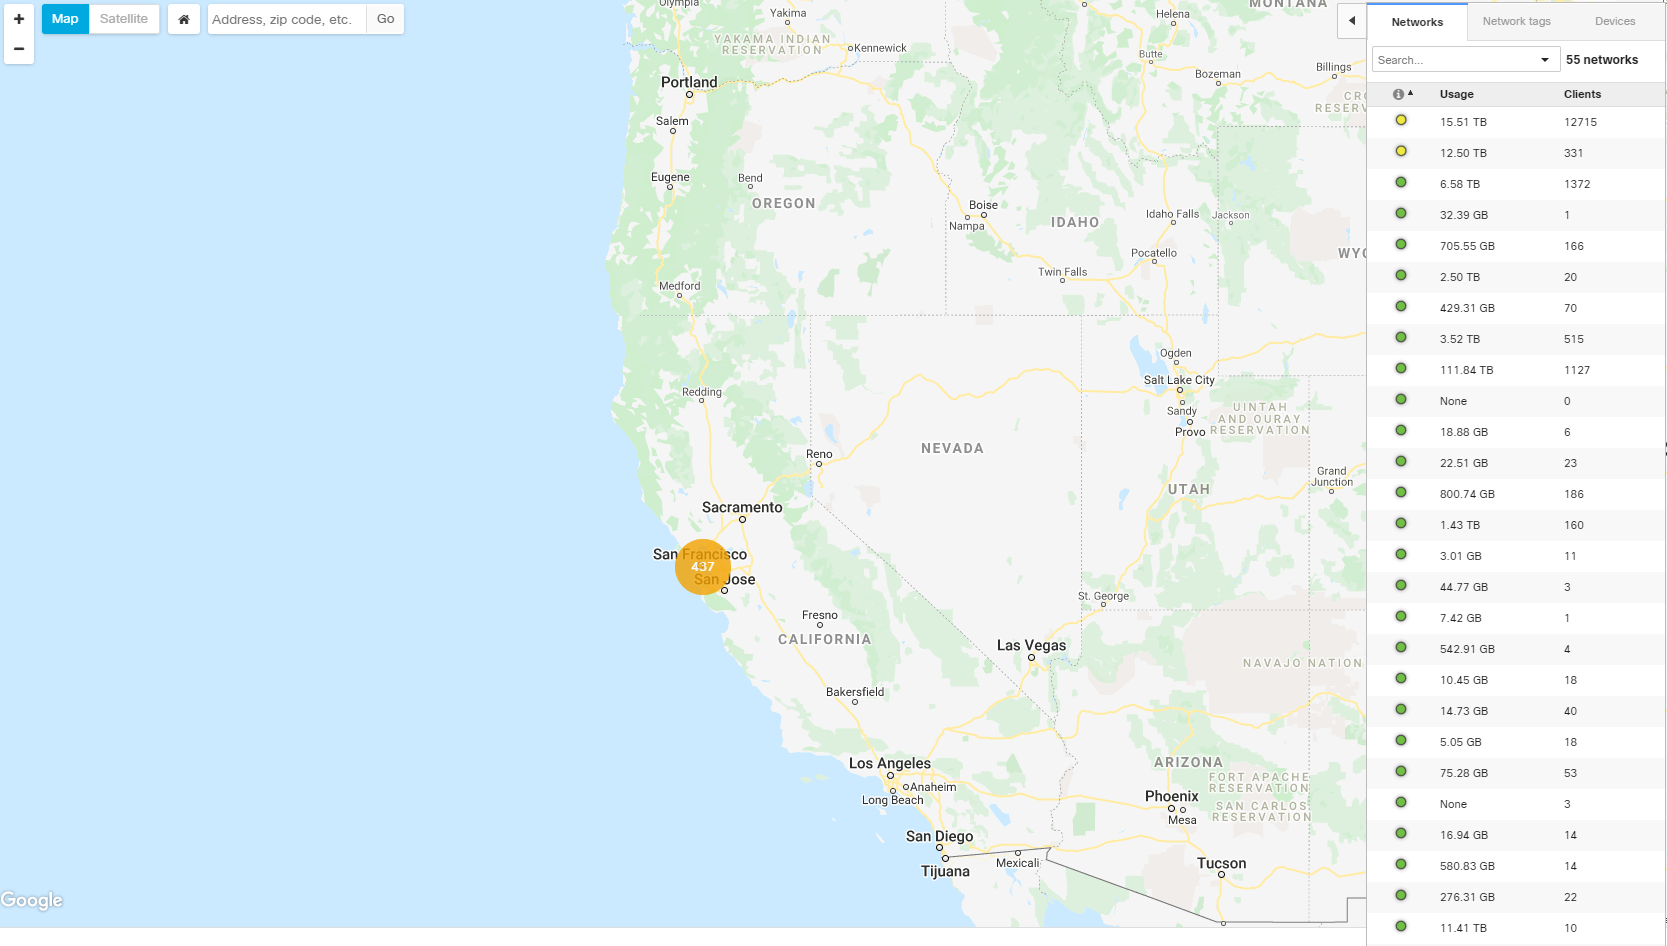
Placing devices on the map provides high-level information on the health of all networks in an organization through the Organization > Overview page. The maps group networks by geographic location and visually indicate which networks are healthy and which have offline devices. Administrators can then investigate locations across the globe that may be experiencing network outages or issues.
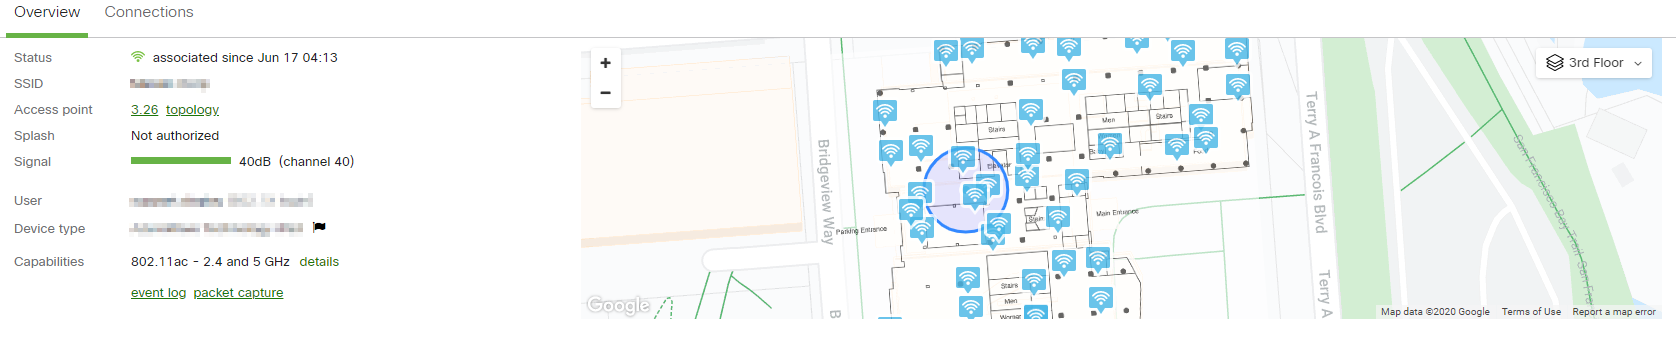
Placing devices on a map or floor plan also help administrators monitor their networks. For access points, it helps the units approximate the location of client devices on the network, shown as a blue circle in the image below. For more information, refer to Location Deployment Guidelines.
Air Marshal information, such as the location of rogue and other SSIDs on the LAN, is more accurately depicted when devices are placed on the map. For more information on this feature, refer to Air Marshal article.

The Location Analytics feature for Meraki MR access points also uses maps to overlay data on a floor plan or Google map. This can provide valuable information on guest and user foot traffic flows within certain parts of a store or building.

Step-by-step instructions
Uploading custom floor plans
Use custom floor plans to visually organize devices based on their physical locations throughout a building. You can then use these floor plans on other pages in dashboard that utilize maps, such as Air Marshal and the Location Heatmaps.
To upload custom floor plans to the dashboard:
-
Navigate to Network-wide > Monitor > Maps & floor plans.
For more information, refer to the Using a Floor Plan or Custom Map in Dashboard article.
Place devices on the map in Meraki dashboard
Method 1: Enter a Street Address or GPS Coordinates
Manually configure the street address or GPS coordinates of each Meraki device in the address field. Any form of address recognized by Google Maps is acceptable.
To change the address of the device:
- In dashboard, navigate to the network containing the device.
- Navigate to the Monitor page listing all devices in the network:
- MG - Navigate to Cellular Gateway > Monitor > Cellular gateways
- MR - Navigate to Wireless > Monitor > Access points.
- MS - Navigate to Switching > Monitor > Switches.
- MX - Navigate to Security & SD-WAN > Monitor > Appliances status
- MV - Navigate to Cameras > Monitor > Cameras.
- Z-Series - Navigate to Teleworker gateway > Monitor > Appliances status
- Select the Name of the device you wish to modify. This step is not required for MX security appliances or Z-Series teleworker gateways.
Note: If the device are not renamed, the Name will be the MAC address
- Navigate to the Network tab, for the MV only.
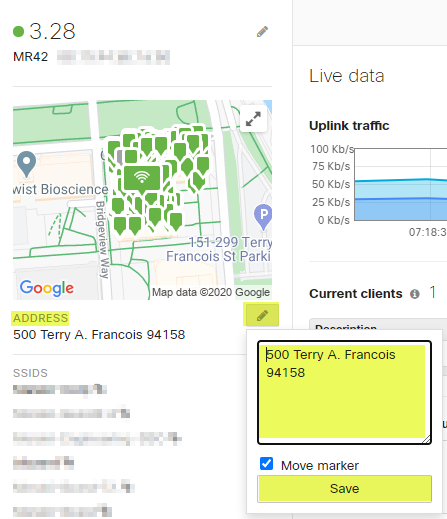
- Select the Edit (pencil icon) option next to the Address section.
- In the Address field that appears, enter the street address or GPS coordinates.
- Click Save.
MR example – Address field on the Access points page
MV example – Address field on the Cameras Network tab

Method 2: drag and drop the icon manually
-
Navigate to the network containing the device in the dashboard.
-
Navigate to the Monitor page listing all devices in the network:
- MG - Navigate to Cellular Gateway > Monitor > Cellular gateways
- MR - Navigate to Wireless > Monitor > Access points.
- MS - Navigate to Switching > Monitor > Switches.
- MX - Navigate to Security & SD-WAN > Monitor > Appliances status
- MV - Navigate to Cameras > Monitor > Cameras.
- Z-Series - Navigate to Teleworker gateway > Monitor > Appliances status
- Select the Name of the device you wish to modify. This step is not required for MX security appliances or Z-Series teleworker gateways.
Note: If the device is not renamed, the Name will be the MAC address
- Navigate to the Location tab.
- Click to select and drag the device icon to the desired location.
MX example – Location tab showing the device icon being dragged on the map

Adding Photo of Device
You are allowed to upload photos of your Meraki devices to serve as a reminder of their physical locations. You will find this option under the "Location" tab on any device's landing page:

Supported file types include:
- JPEG
- PNG
- GIF
Overriding systems manager device location
By default, Meraki Systems Manager makes a best effort to estimate a device's location. For more accurate IP geolocation:
-
Override the mapping for known IP address ranges in Systems Manager > Configure > General > Network locations.
For more information, refer to How Systems Manager Approximates the Location of a Managed Device document.