
MG Templates Best Practices
As a network deployment grows to span multiple physical sites, managing individual devices can become cumbersome. The Cisco Meraki MG cellular gateway can be used with templates to quickly roll out new deployments and make changes in bulk. This guide will outline how to create and use MG templates on the dashboard.
Service providers or deployments that rely heavily on network management via API are encouraged to clone an existing network instead of using templates. The API options available to clone networks provide more granular control than the options available for networks bound to templates.
Planning a Template Deployment for MG
It is extremely helpful to plan how the devices will be used in your deployments before rolling out a template deployment or enabling templates on a production network. This involves asking questions such as:
-
What are the characteristics of the sites?
-
e.g., small retail location, large school, medium branch office, etc.
-
-
Are there going to be multiple MGs in a network?
-
Do I need override behavior at certain locations?
Template Networks
A "site" is usually the same as a "network" in the dashboard. Each site would be in its own dashboard network. When planning multiple sites to be configured the same way, they can be bound to the same template network to reduce time administering them.
A template network is a network configuration that is used as the base configuration for multiple sites or networks. Networks can be bound to a template network, so changes to the template will be duplicated to the bound networks. An existing network can also be cloned to a template. This makes it easy to spin up new sites with a similar configuration as an existing site.
When planning a template deployment, you should have one template network for each type of site.
Creating a New Template
A template network should be created for each type of site. To create a template network:
-
In dashboard, navigate to Organization > Monitor > Configuration templates.
-
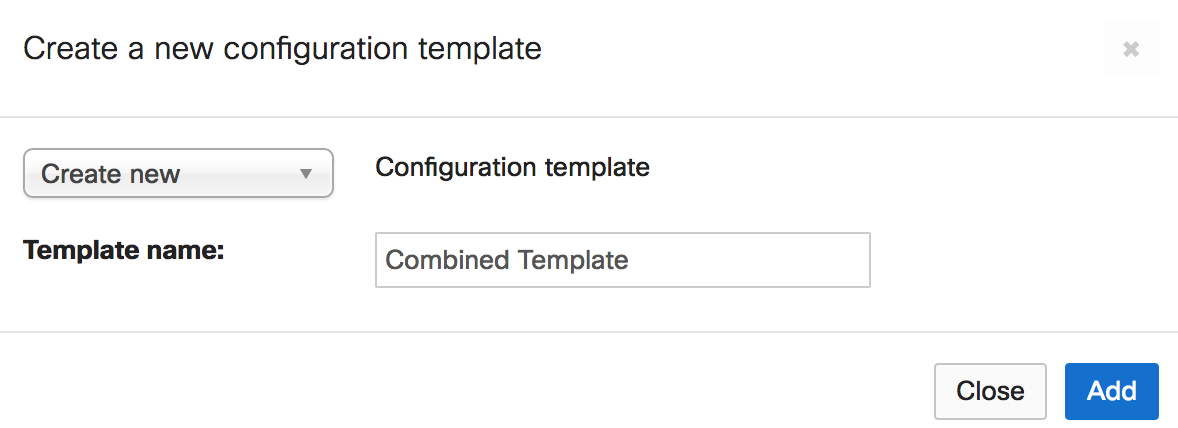
Click Create a new template.
-
Type a descriptive name for your template.
-
If this is a completely new template, select Create new.
-
If this template should be based on an existing network, select Copy settings from and select the existing network.
MG template networks must be combined networks. Stand-alone MG templates are not supported.
-
-
Click Add.
-
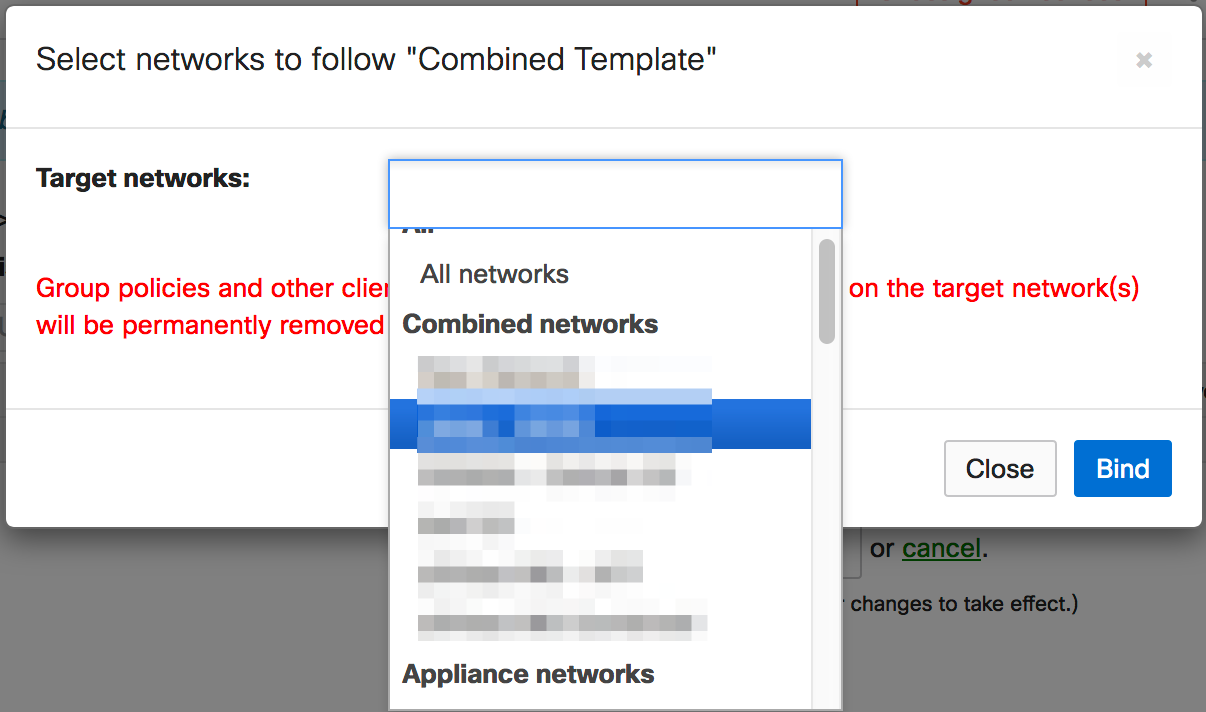
If you would like to bind existing networks to the template, select the networks as Target networks and click Bind; click Close if you want to do this later.
-
Click Save changes at the bottom of the screen.
Template Settings Configuration
-
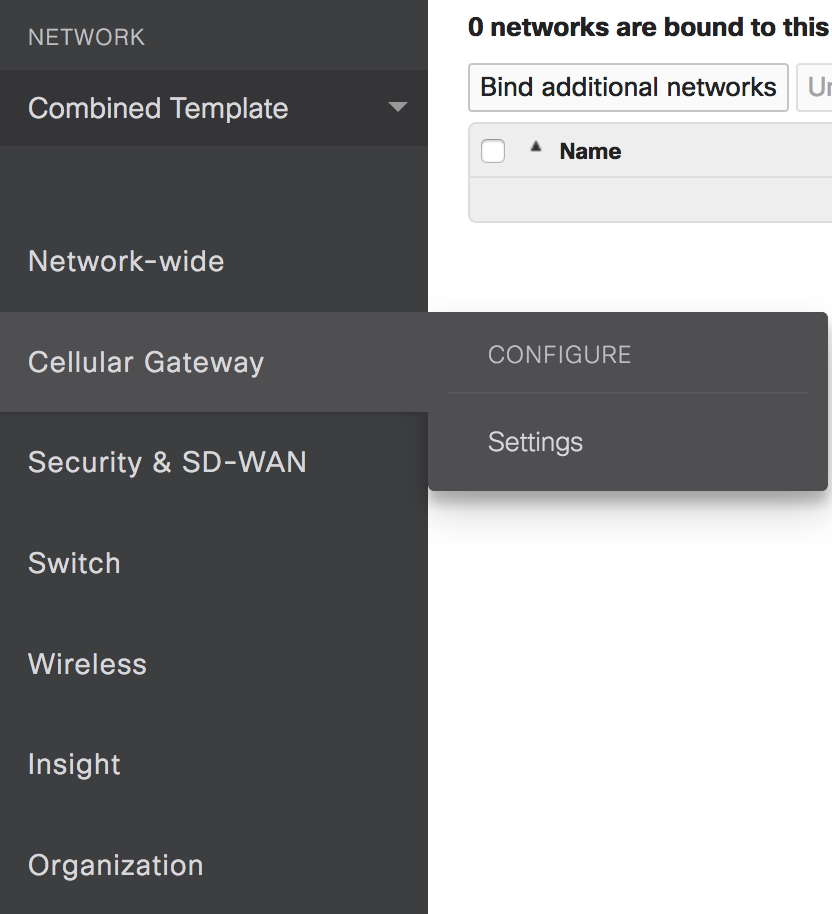
In dashboard, navigate to the template under the Network drop-down menu on the left-hand side under the Cisco Meraki logo.
-
Navigate to Cellular Gateway > Configure > Settings to access the MG settings for the template.
Please reference our article discussing MG dashboard settings for more information.

MG Network Overrides
At this time, MGs in networks bound to a template do not have any local override options. It is recommended to leverage dashboard APIs if individual configurations are required. Making changes in bulk to multiple devices is also important.
Changes on the local status page, such as static APN and carrier authentication configuration, can still be made since they are done on the device itself and not on the dashboard.
MG Template Limitations
At this time MG networks bound to templates do not support port forwarding , DHCP Reserved IP Ranges or Fixed IP Assignments.
Performing MG Template Firmware Upgrades
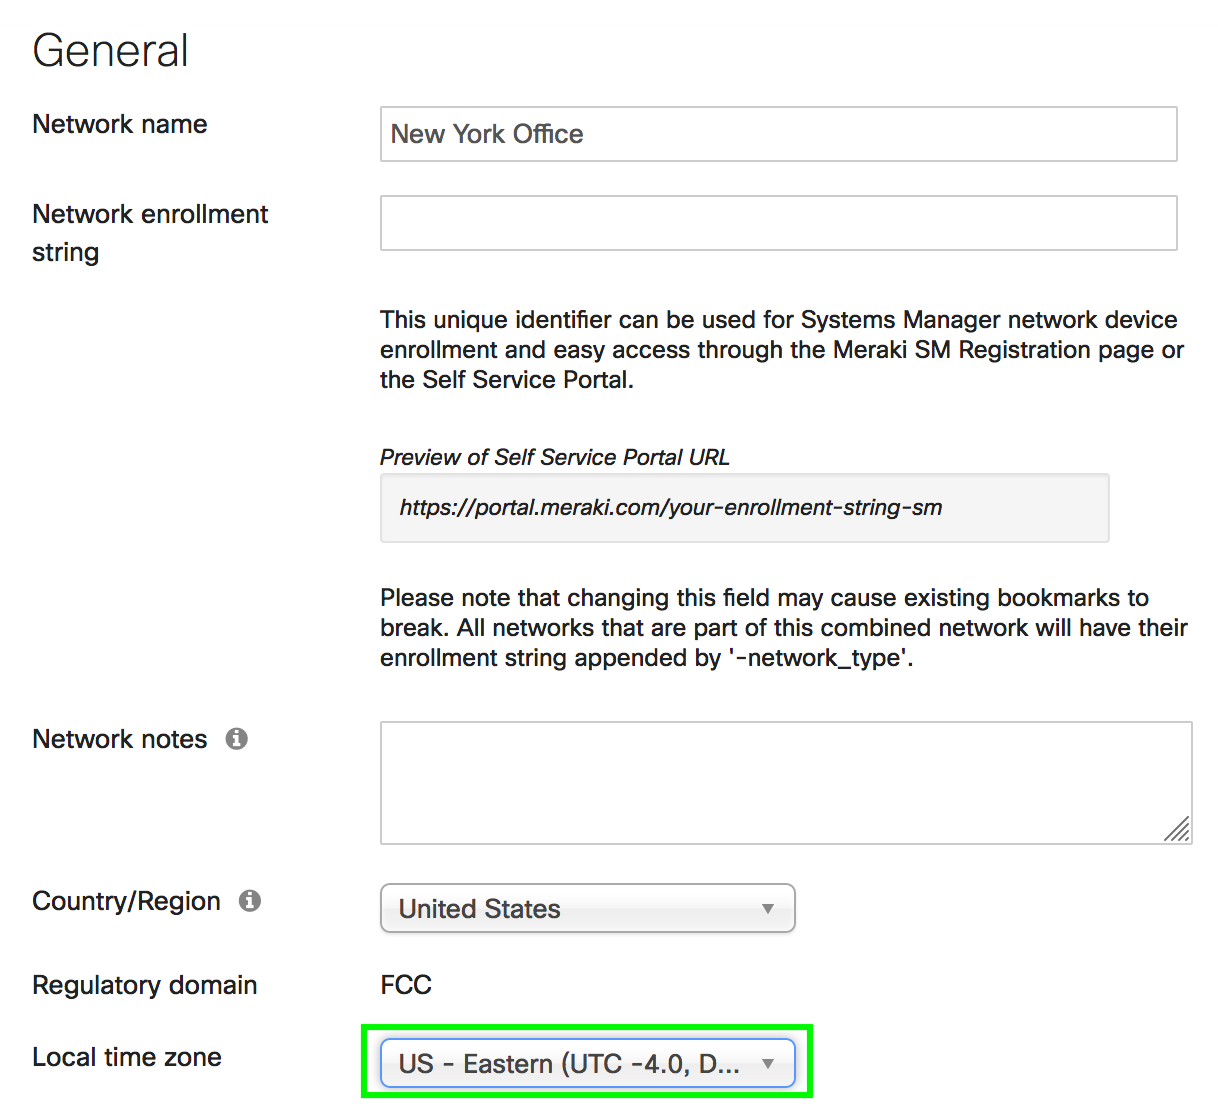
Firmware upgrades are scheduled like other networks under Organization > Monitor > Firmware upgrades. The child networks will be scheduled to upgrade based on the local time zone, which is configured under Network-wide > Configure > General > Local time zone.
Scheduling a firmware upgrade for a template will schedule an upgrade for all child networks attached to the template. You may change the upgrade time for individual networks under
Organization > Monitor > Firmware upgrades > Scheduled Changes.
Adding a Cellular Gateway Network to an Existing Template
Existing templates do not have a cellular gateway network, but newly created templates will have one. The following steps should not affect existing templates, but we do recommend creating a new template when adding new product lines to avoid any unintended configuration issues to bound networks. This process involves splitting a newly created template and combining the MG cellular gateway template with the existing one. The existing template will not be split, and the cellular gateway network will be added to the existing template.
 |
 |
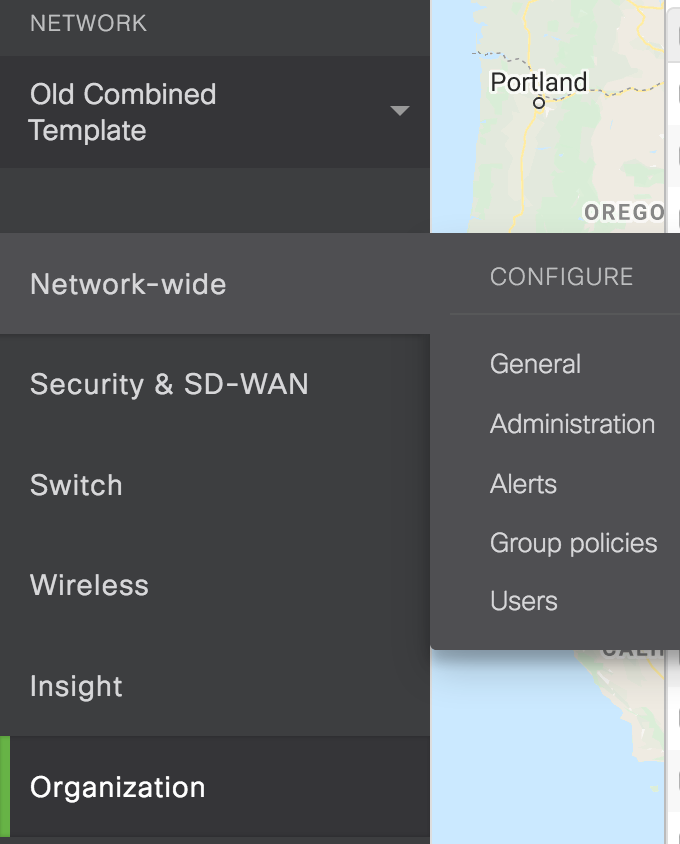
| This "Old Combined Template" lacks cellular gateway options. | Newly created templates have cellular gateway settings available. |
-
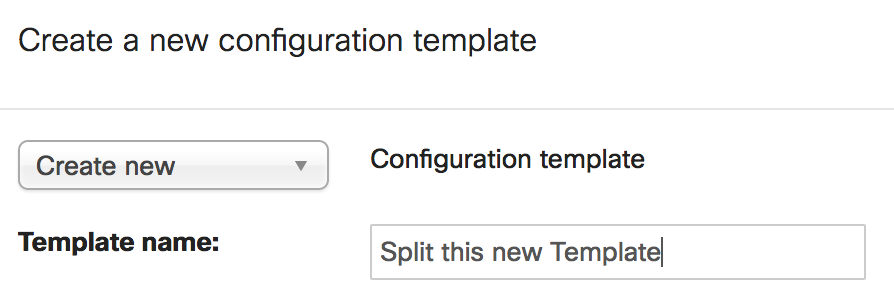
Go to Organization > Monitor > Configuration Templates and click Create a new template.
-
Type in a name for the new template and select Create new.
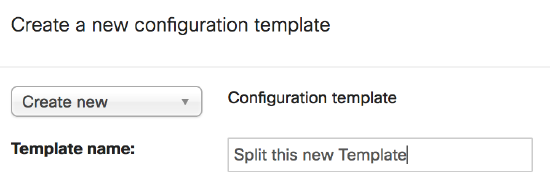
-
Click Add.
-
Click Close and click Save changes.
-
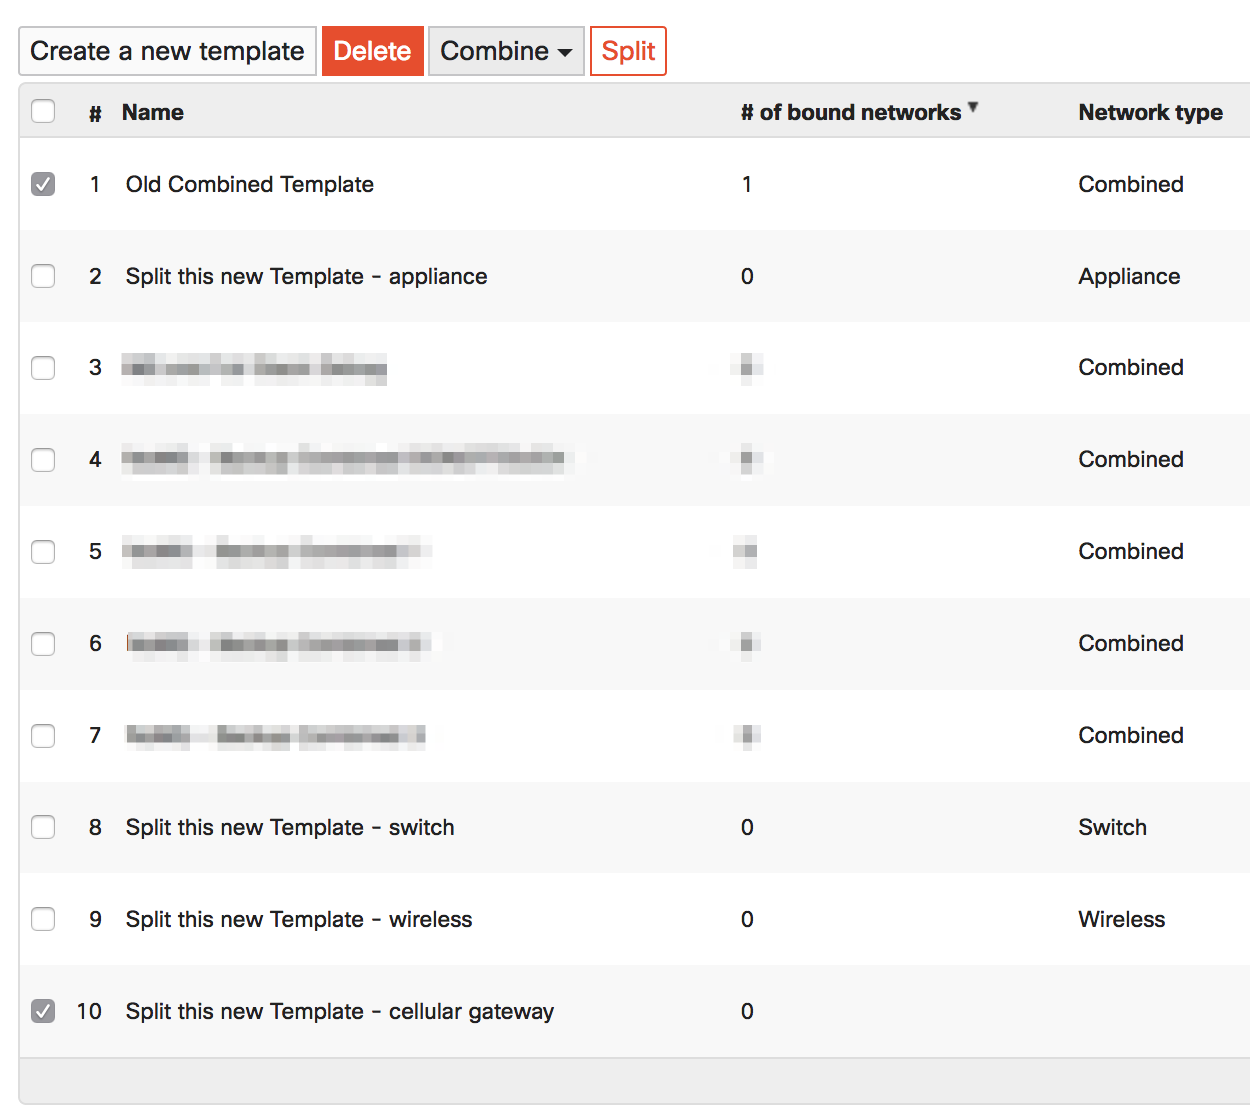
Go back to Organization > Monitor > Configuration Templates and check the box next to the new template.
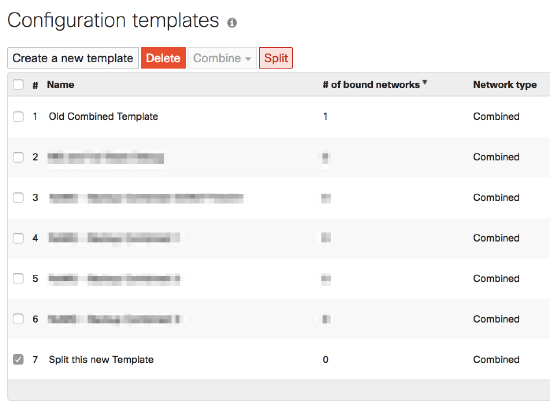
-
Click Split and OK.
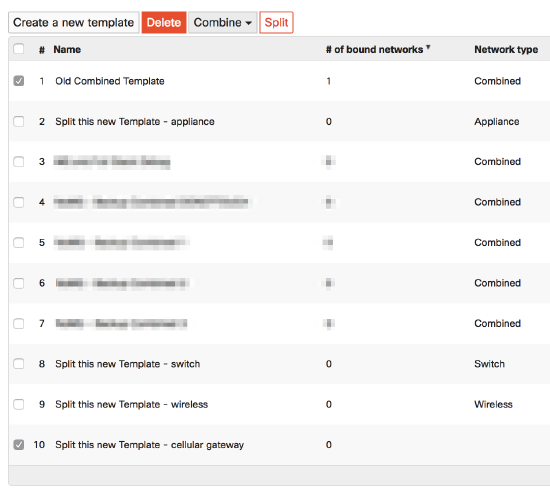
-
Check the boxes for the cellular gateway template that was split and the existing template.
-
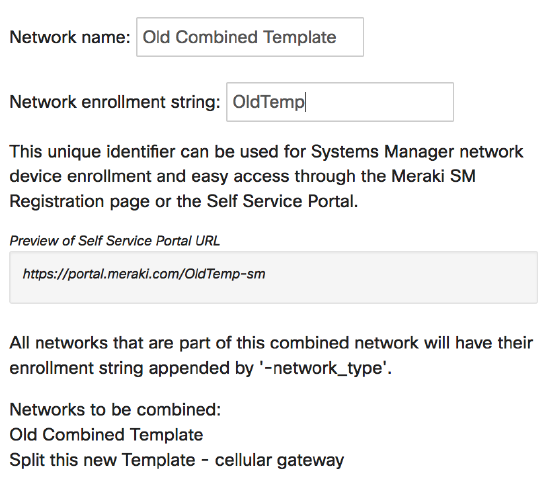
In this example, “Split this new Template - cellular gateway” and “Old Combined Tempate” are selected to be combined
-
-
Click Combine and type the Network name and Network enrollment string.
-
In this example, the template name was kept the same
-
-
Under Organization > Monitor > Configuration Templates check the other template types that were split earlier.
-
Confirm the correct templates are selected and click Delete.
-
Confirm again that the appropriate templates are selected on the following screen.
-
Check the box confirming the templates to remove and click Delete Networks.

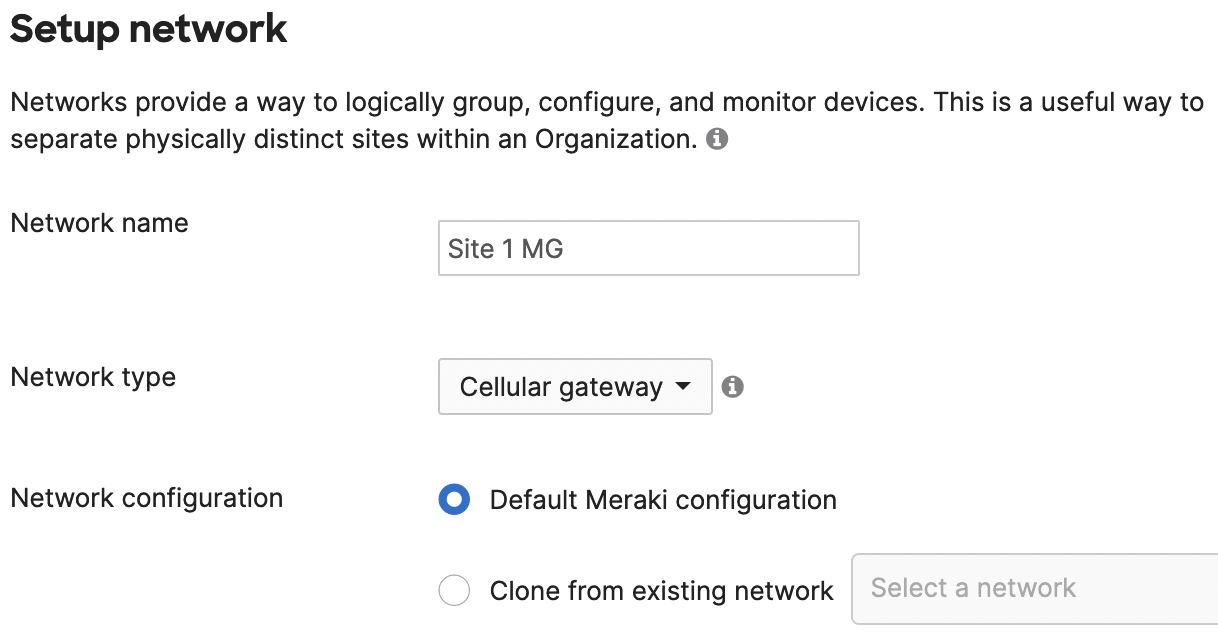
Binding a MG network to a template
-
-
In this example the new MG only network is named "Site 1 MG"
-
-
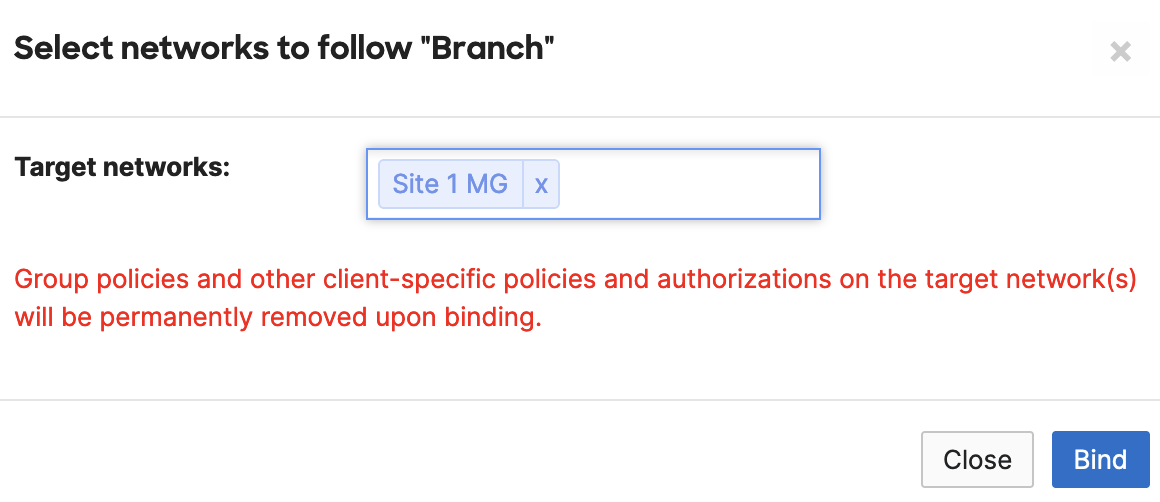
Bind newly created MG to your template
-
Bind "Site 1 MG" network to template "Branch"
-
-
-
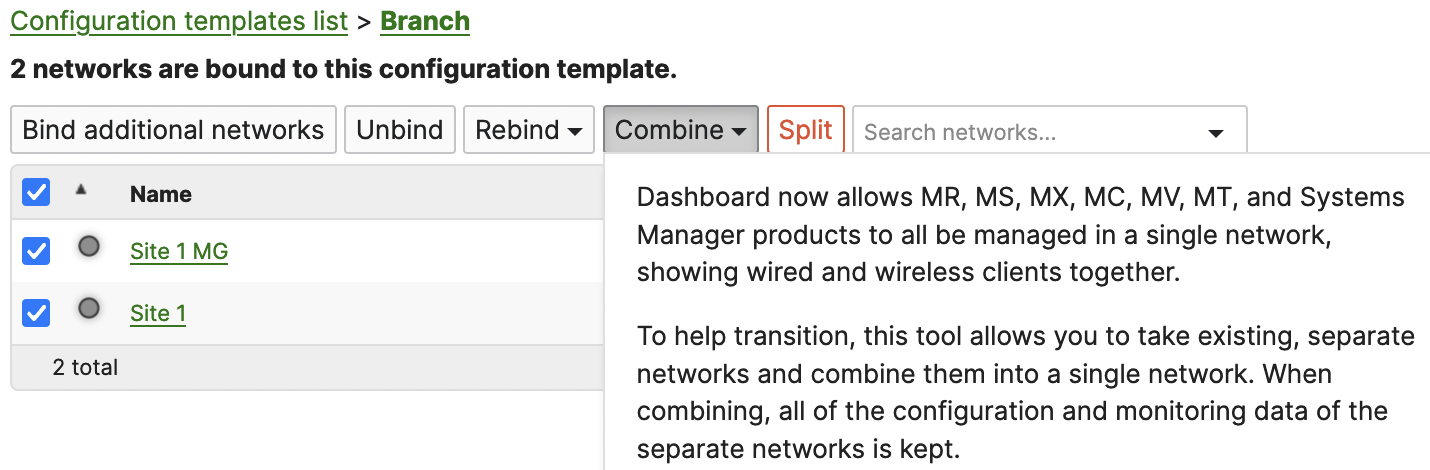
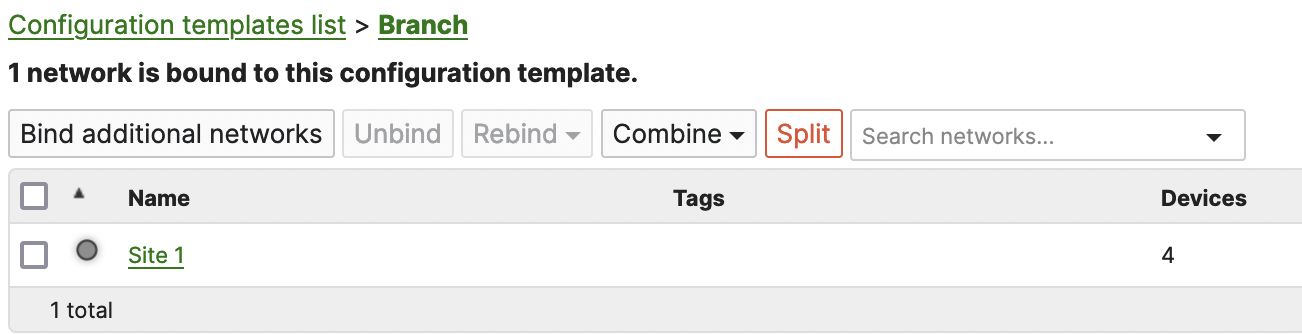
Optional - combine MG network with existing combined network (containing MX, MS, MR)
-
In this example combine networks "Site 1" and "Site 1 MG" into a single network named "Site 1"
-
For more information, please refer to Managing Multiple Networks with Configuration Templates.