
Types of Tags in Systems Manager
Before creating and applying tags, it's important to understand the different types of tags available.
Note: For information on using and configuring tags in Systems Manager, refer to this article.
Device Tags
Manual - Simple admin-generated tags that are applied statically to devices. These are labeled when scoping simply as "Tags". Must be manually added/removed, and are always active.
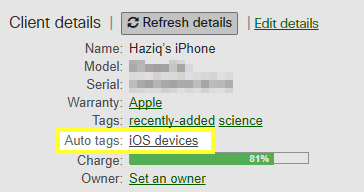
Device type - These tags are automatically generated and assigned to devices by Dashboard based on the operating system. They are listed under "Auto tags" on client pages, will show up with a magic wand icon and can not be permanently deleted from the dashboard.

Policy Tags
Most tags are considered static, meaning the tag remains unchanged unless it is modified or removed by a Dashboard Admin. Policy tags are considered dynamic, as they can automatically change themselves into one of two binary states (i.e. compliant or violating, within hours or after hours). This allows you to gate settings or applications on devices meeting certain criteria, for example pushing work materials only during work hours, or only to devices that are within school location bounds. Continue reading below, or check the profile example.
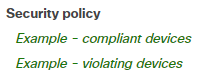
Security policy - For each policy configured in Dashboard, devices are either compliant or violating, and will automatically be labeled with the corresponding tag. These are set under Configure > Policies. For more information, refer to the article on security policies.
Geofencing - These dynamic tags are automatically assigned to devices depending if they are within a designated physical boundary, such as a campus or office location. These are set under Configure > Geofencing. For more information, refer to the article on Geofencing.
Schedule - Only active during scheduled periods. Also known as time-based tags. Configured under Configure > General.
User Tags
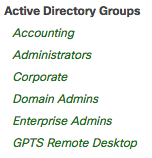
Active Directory - Another example of dynamic tags. If you configure enrollment authentication with AD or Meraki-hosted accounts, Systems Manager can use your existing AD organization units as tags. During enrollment, users will authenticate their device and automatically have owner or AD groups applied as tags to that device. This allows you to scope by user role, like 'Administrators', instead of manually marking each device or owner as an administrator.
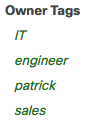
Owner Tags - Similar to manual device tags, except these are applied directly to owners under Configure > Owners. These can be used to scope by individual, or by role. For example, if 'Patrick' owns multiple devices, or multiple devices belonging to people labeled 'sales', it may be easier to scope by owner tag instead of device tag.
Schedule Tags
Schedule tags can be used with Systems Manager (MDM) to dynamically add and remove profiles from devices based on defined time periods. This can be very useful if profiles should only be present on devices during particular times, such as during business hours. This section will discuss how to create schedule tags and how they operate. For information on applying tags, such as schedule-based ones, to profiles, please reference the article on Using and Applying Tags in Systems Manager.
Schedule tags apply to all client devices in the network they are configured for. When within the time bounds defined for the tag, it will be active as an Auto tag for any clients. This can then be used in conjunction with profiles.
Note: ScheduleTags are only available for Systems Manager Enterprise customers.
As with any other changes to profiles and clients, for the change to go into effect, the client must be reachable to Systems Manager. Thus a profile dependent on a schedule tag that goes inactive at 15:00 may not actually be removed until some time later when the client is reachable. Likewise, a profile dependent on a tag going active at 08:00 may not be applied until 10:00 if that is the first time the client is reachable after 08:00.
In the example configuration below, a scheduled tag is configured:
business_hours - Active on Mon-Fri, from 9am-5pm each day.

Creating Schedule Tags
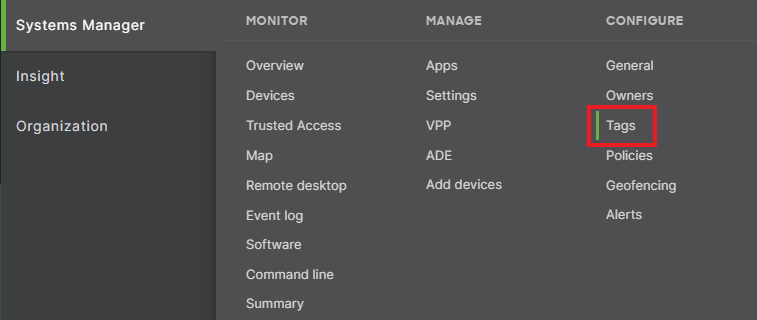
- Navigate to Configure > Tags
- Click on Add tag

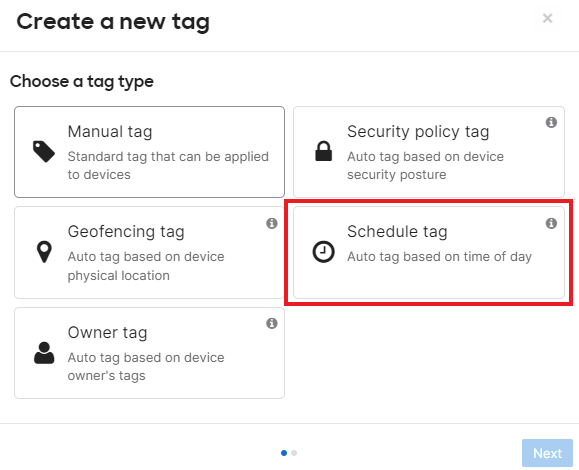
- Select Schedule tag, then click on Next
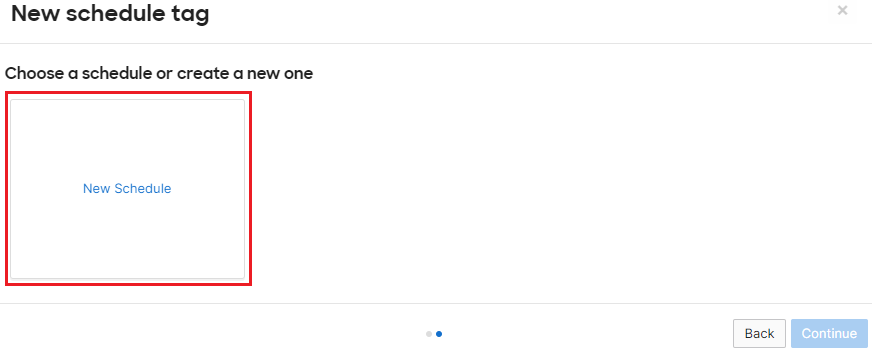
- Select New Schedule
- Enter a new schedule name and pick the start time and end time. This will indicate when the tag should go active/inactive on each day.
Note: This must be greater than the Start time.
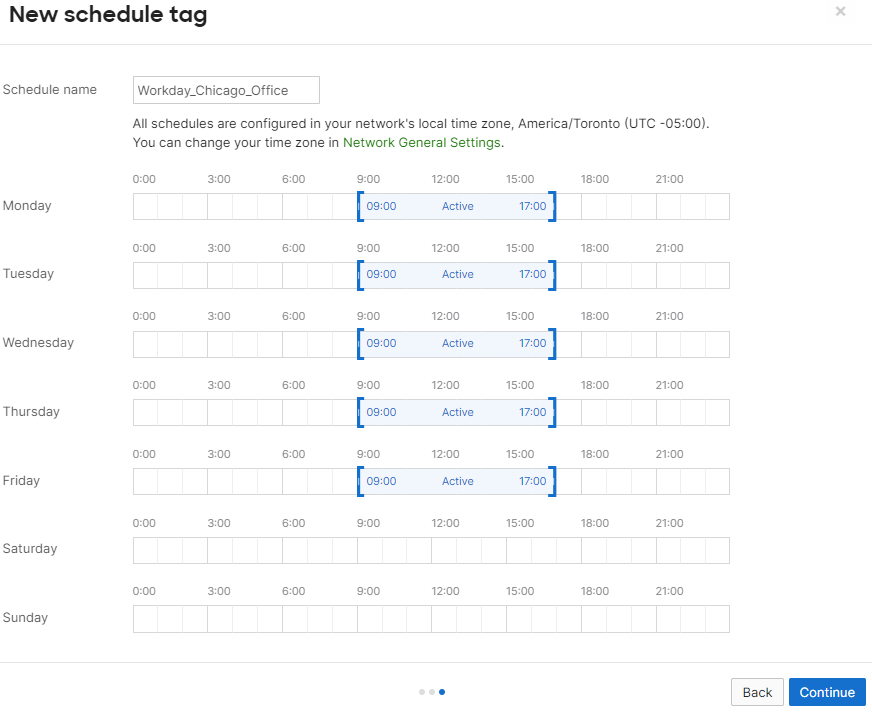
- Click Continue
- You can confirm that the new schedule tag has been created on the right side of the UI under 'Schedule'. Click save to finalize the creation of the tag.

Auto Tags
Auto tags are system-generated labels assigned to devices automatically by the Dashboard. These tags are primarily based on the device's operating system or specific hardware attributes identified during the enrollment process. Auto tags are clearly marked with a magic wand icon in the Dashboard. Because these tags are dynamically managed by the system, they cannot be manually deleted or permanently removed from the Dashboard by an administrator.
Default Tags
Default tags are pre-configured labels automatically applied to devices by Systems Manager upon enrollment or initial discovery. These tags provide a standardized baseline for categorizing your device inventory. Configure a default tag on the "Systems Manager > General" page.