
Enrolling Devices
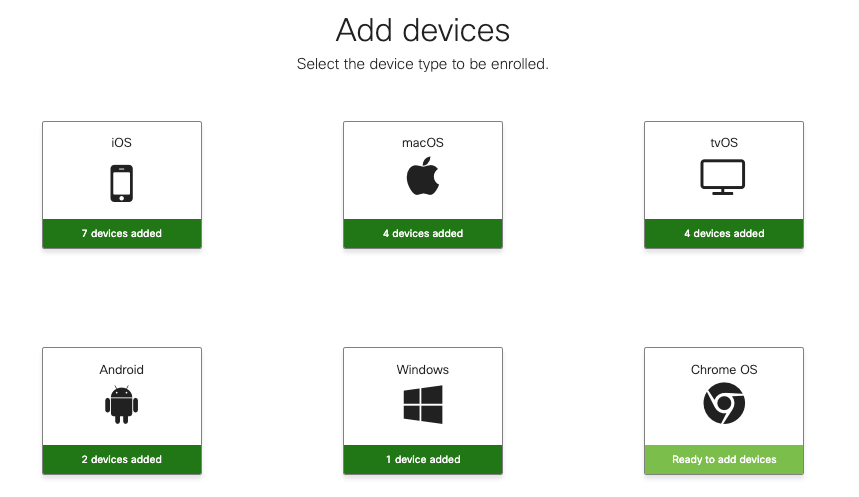
This article explains how to enroll your devices into mobile device management with Systems Manager. If you have a Dashboard account set up with an EMM network, you can find instructions under Systems manager > Add devices, or follow along with the steps below for each device operating system type.
Systems Manager provides device enrollment through an agent installation and/or management profile for all major OS platforms. Most devices simply enroll with a management profile, but Windows and Macs can unlock additional management functionality with an agent install as well. See this article for more info.
Windows
There are two methods for Windows installation: Agent or Profile. Either one can be used for enrollment, but since each enables a different subset of features, both should be utilized when possible to access all available MDM features.
Profile installation is only supported on Windows 10 Pro and only on non-Legacy Systems Manager accounts. Other Windows desktop versions, and Legacy customers will need to use the agent installation.
Agent Installation
It is important to note that an agent installer package is network specific, meaning you must use an install package downloaded directly from the Systems Manager network from which you wish to manage your clients. In addition, Systems Manager software must be installed with local administrator privileges as applicable by the device type.
- Navigate to Systems Manager > Add devices > Windows.
-
Click the Download button. MerakiPCCAgent.msi should begin downloading. Note that this installer will enroll devices into the Systems Manager network it was downloaded from.
- After the installer finishes downloading, double-click MerakiPCCAgent.msi and click Run when prompted.
- Accept the Licensing Agreement and click Install.
- Once the Systems Manager Agent has finished installing, your Windows device will show up under Systems Manager > Monitor > Clients in Dashboard as soon as it has an Internet connection.
You can also use methods like Systems Manager Sentry or Active Directory Group Policy Objects to install the agent en masse.
Profile Installation
- Navigate to Systems Manager > Add devices > Windows.
- From the device, open: enroll.meraki.com
- For MDM, click the link to open the Work access settings page.
- Otherwise, enter your network ID, where XXX-XXX-XXXX is the network-specific ID.
- For the agent, click the link to download the Systems Manager Agent and install the downloaded executable.
- Click Connect on mobile, or on native Windows 10 click 'Enroll into device management' or 'Enroll only in device management'.
- Enter your email address, click Connect or Continue.
- In the Server box, enter your server URL (check your browser URL while signed into Dashboard, e.g. n7.meraki.com), and click Connect or Continue.
- Enter your network ID, where XXX-XXX-XXXX is the network-specific ID.
- Click register.
- The device will automatically synchronize with the Meraki Cloud and appear in the client list.
macOS
There are two methods for Mac enrollment: Agent or Profile. Either one can be used for enrollment, but since each enables a different subset of features, both should be utilized when possible to access all available MDM features.
For information on deploying Mac devices through DEP, see our DEP guide here.
Agent Installation
The agent now supports automatic and remote installation through the Apps page, which does not require manually executing the .pkg on the end device. See this article for more information.
-
Navigate to Systems Manager > Add devices > macOS.
- Click the Download button. An agent, "MerakiPCCAgent.pkg" will download. Note that this installer will enroll devices into the Systems Manager network it was downloaded from.
- After the download is complete, double-click MerakiPCCAgent.pkg.
- When the installer begins, click Continue.
- Read the Software License and click Continue.
- Click Agree to accept if prompted.
- Click Install to perform a standard installation.
- Once the installation has finished, your Mac device will show up under Systems Manager > Clients in Dashboard as soon as it has an Internet connection.
Profile Installation
-
Navigate to Systems Manager > Add devices > macOS.
-
From the device, open enroll.meraki.com
- Enter your network ID, where XXX-XXX-XXXX is the network-specific ID.
- Press Register.
- If using SM Enrollment Authentication then follow the prompts accordingly. For more information view the Enrollment Authentication article here.
- In the profile that appears, press Install, then Install again to confirm.
When enrolling iOS or iPadOS devices, it is important to distinguish between supervised and unsupervised MDM enrollment. The below steps cover basic manual unsupervised enrollment, but please see the full iOS Enrollment article for info on bulk enrollment via the Device Enrollment Program (DEP), Apple Configurator, email, or SMS.
Although iOS and iPadOS devices can be managed without the Systems Manager app, there are added features enabled with the app (e.g. GPS location, notifications). View the article here for more information.
To manually enroll a device without supervising it, navigate to Systems Manager > Add devices > iOS in Dashboard and follow the below steps.
- From the device's browser, open: enroll.meraki.com
- Enter your ten-digit Network ID found in Dashboard: XXX-XXX-XXX
- Press register
- If using SM Enrollment Authentication then follow the prompts accordingly.
- In the profile that appears, press 'install', then 'install' again to confirm.
- Click install, yet again, then confirm that you trust the enrollment.
Android
There are a few ways of enrolling Android devices - the below instructions cover normal BYOD enrollments, but for more info on device owner mode or KNOX enrollment and the differences between them, see the Android Enrollment article.
-
Navigate to Systems Manager > Add devices > Android and select the Android version for the devices you'll be enrolling.
- Follow the instructions based on your enrollment method: KNOX, work profile, or device owner mode.
- For a QR code-based deployment, please scan the code listed on the current page
- For a web-based deployment, follow these instructions:
- From the device's browser, open: enroll.meraki.com
- Enter your ten-digit Network ID found in Dashboard: XXX-XXX-XXX
- Press register
- If using SM Enrollment Authentication then follow the prompts accordingly.
- The Android Systems Manager app will install and enroll. If using a work profile, the app will prompt to set up an encrypted work container, install Systems Manager into the container, and uninstall the original app.
Chrome OS
See full instructions for enrolling Chromebooks in this documentation article.
- Navigate to Organization > MDM > Chrome OS Device Management.
- All Chrome OS devices that you want to manage must be enrolled with Google. More information here.
- In the Google Admin console, enable API access to allow Cisco Meraki to retrieve information about your managed Chrome OS devices.
- You can find the setting to enable API access in 'Admin console' > 'Security' > 'API reference' > 'API access'. More details here.
SM Sentry Enrollment SSID
You can also use SM Sentry to force Apple, Android, Windows, and Mac devices to enroll in Systems Manager for an efficient mass deployment or BYOD. When enabled on a given SSID for a Cisco Meraki wireless AP, Sentry facilitates the secure and rapid onboarding and deployment of SM to mobile devices. For more information on Systems Manager Sentry enrollment, please visit the following page.
Automatic Network Discovery Enrollment
If your client devices are associated with a Meraki wireless network, you have the option to immediately enroll to a Systems Manager network within the same Organization when enrolling through the Android or iOS & iPadOS app. To disable this feature, please see Systems Manager > Configure > General.
Device Check-in Frequency
- Mobile Devices - Mobile devices check-in to the dashboard at an interval of roughly every 15 minutes.
- Windows/Mac - These clients maintain a persistent connection to the Meraki Dashboard and refresh information at various intervals. Network information is provided roughly every 12 hours and the software inventory updates roughly every 24 hours.